Enhancing engagement and accessibility is crucial when it comes to YouTube videos and adding captions can greatly help with that aspect! In this blog post we’ll delve into an approach to incorporate animated captions into your YouTube content – be it videos or Shorts – utilizing a user friendly editing tool known as CapCut! Whether you’re working on a computer or mobile device this guide will smoothly walk you through the steps of integrating captions into your videos.
Getting Started with CapCut
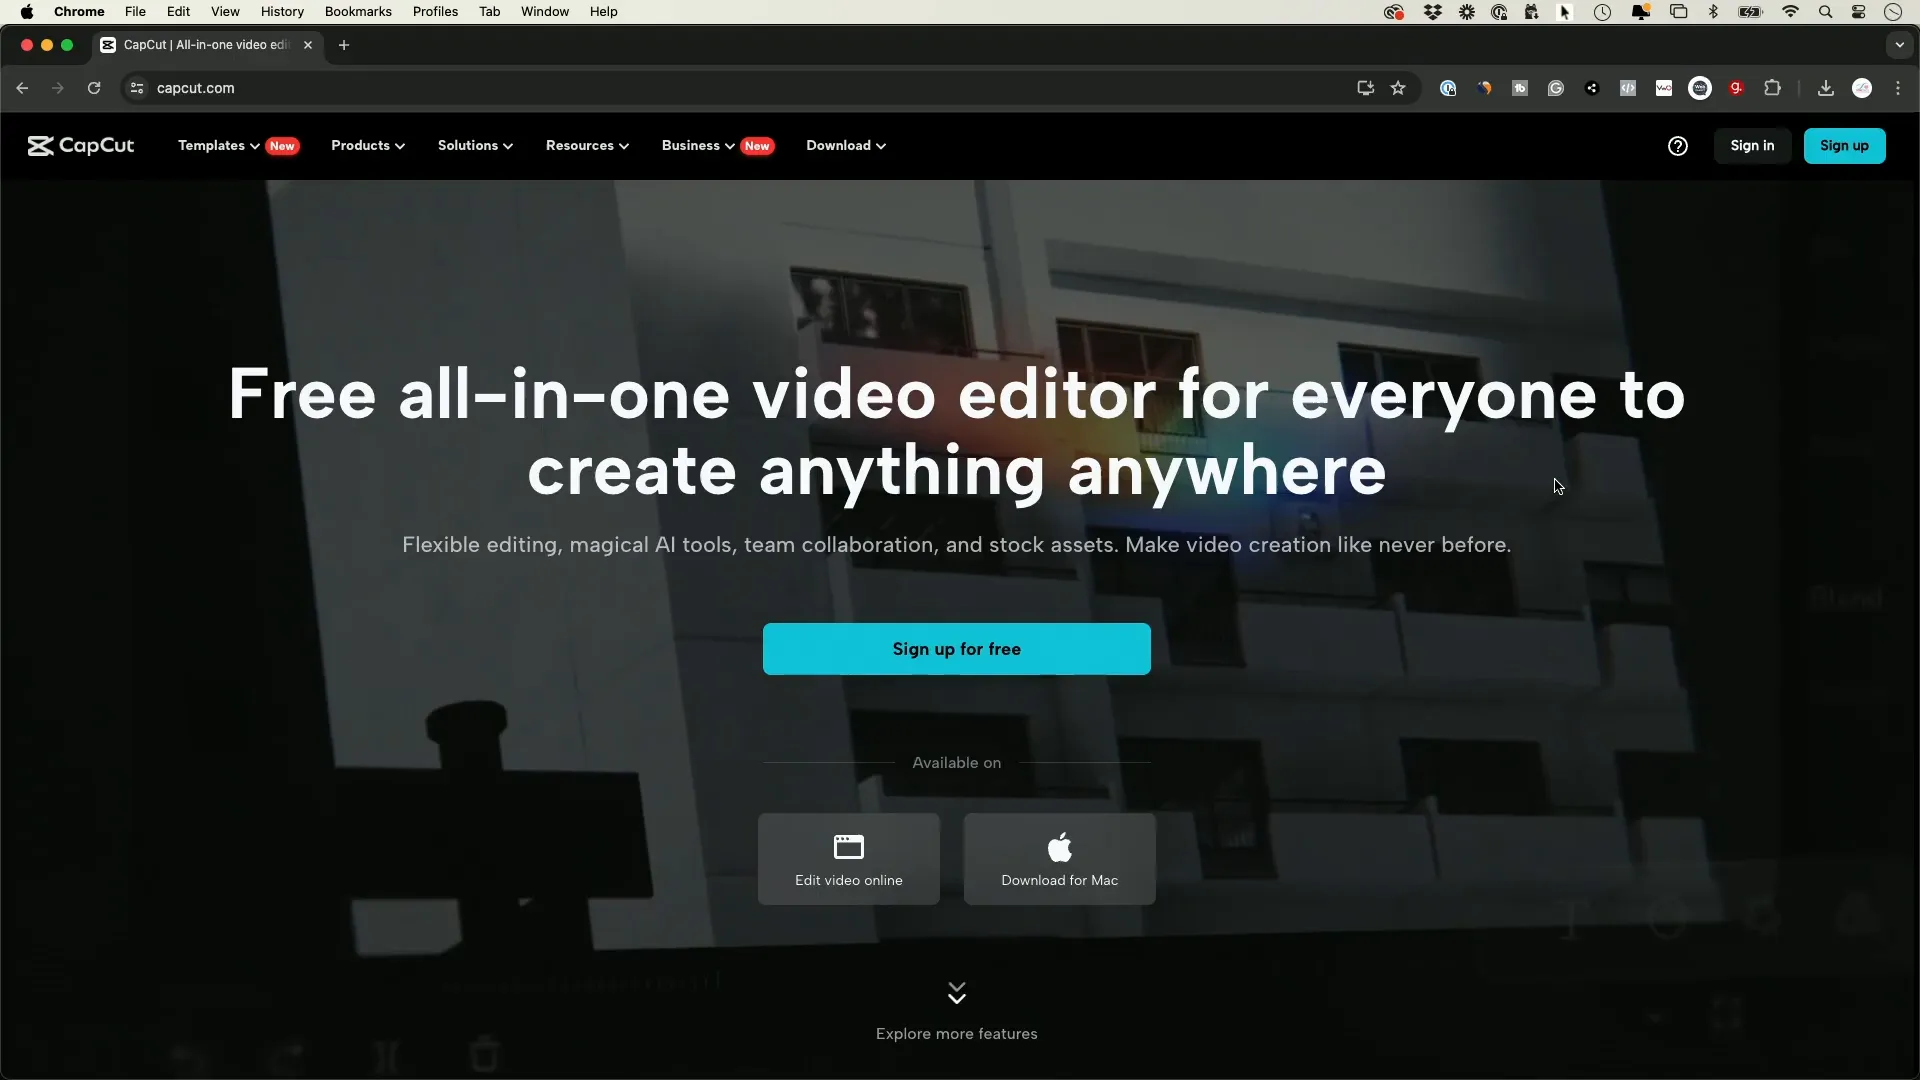
To begin, you need to download CapCut, which is available for free at capcut.com. This app is versatile and can be used across different platforms, including smartphones and online editors. Once you have CapCut installed, you’re ready to import your video.
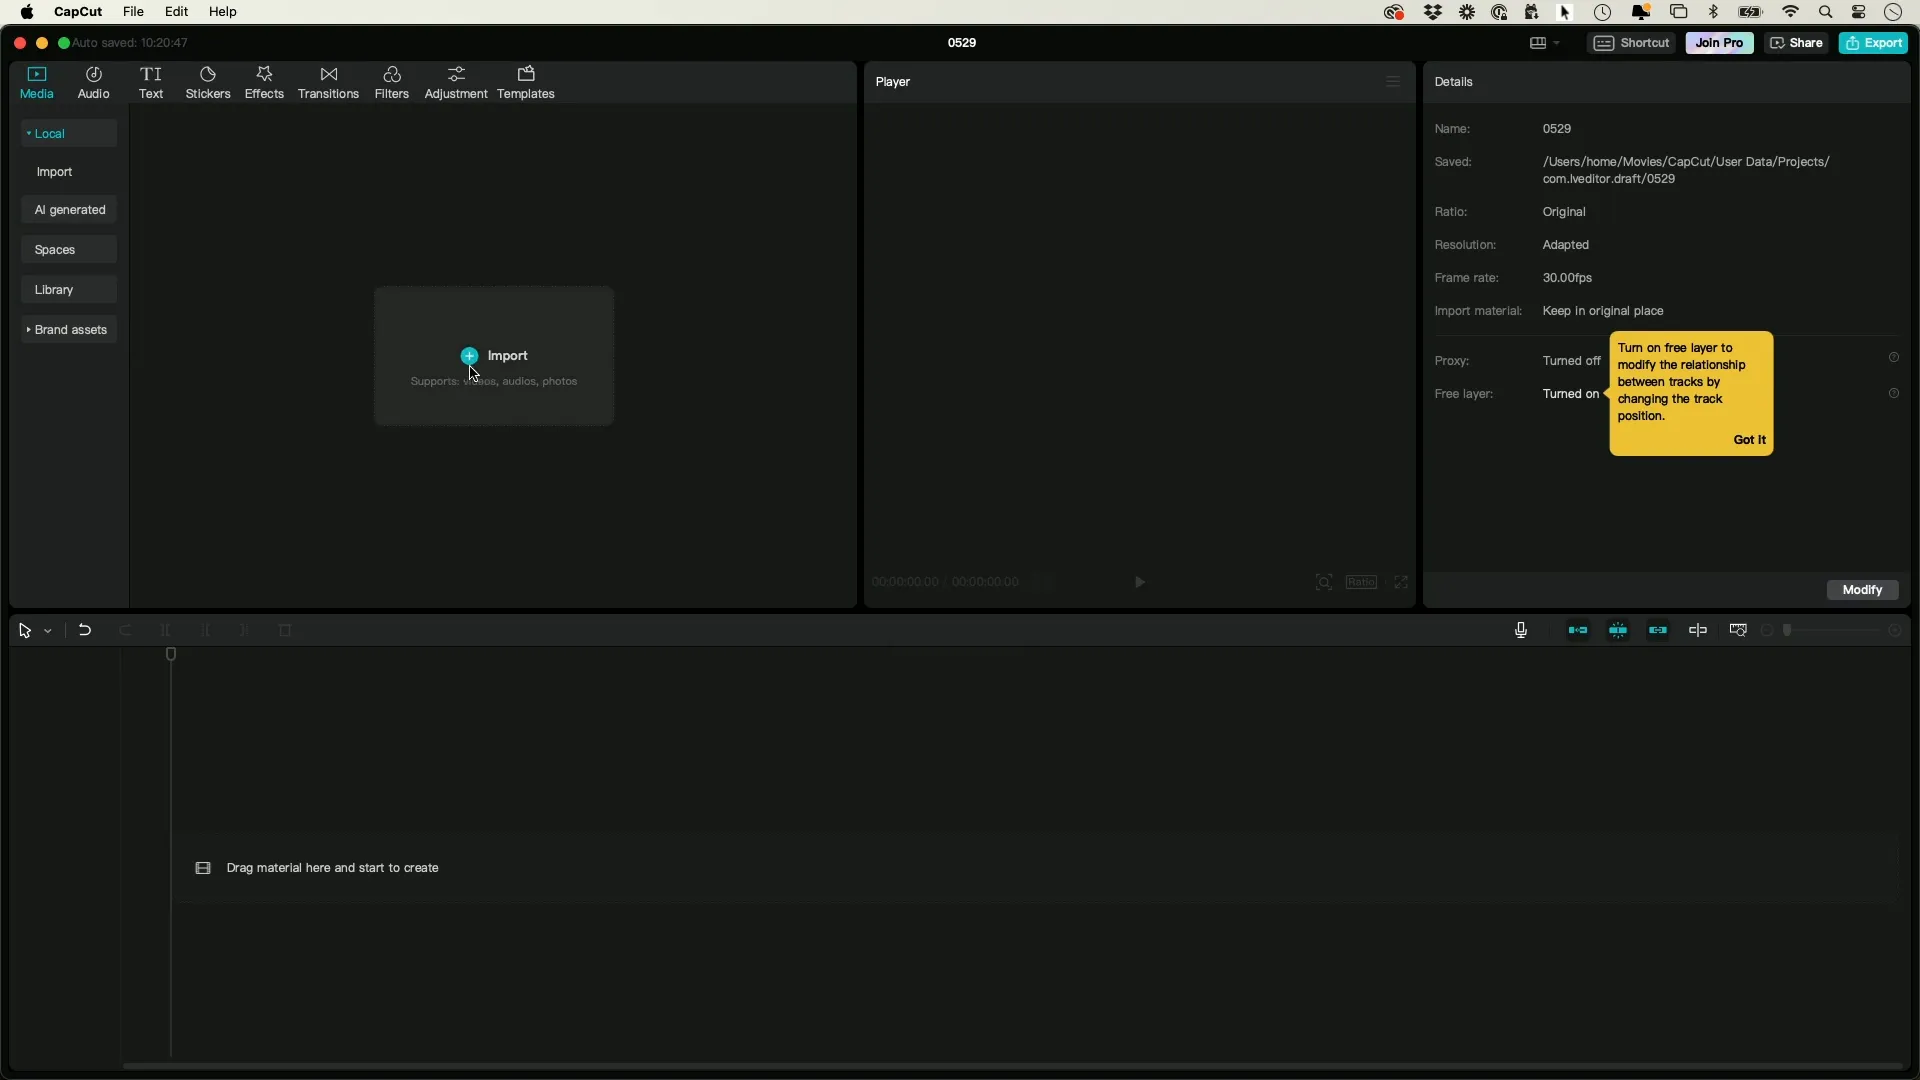
Upon launching CapCut software application on your device or computer system you will be greeted with the project interface where you can begin your video editing journey. Import your video content effortlessly by dragging and dropping it into the timeline section. If you have captured your video on a device you can easily transfer it to your computer to commence the editing process. This simple procedure empowers you to make desired adjustments and enhancements, to your video content before incorporating captions into your project.
Importing Your Video
Once you open CapCut app for the time and get to the project screen you can start by importing your video content;
- Click on the import button or drag your video file to the timeline.
- If your video is on your phone, download it to your computer first or use the CapCut app on your phone directly.
- Once imported, you can proceed to edit the video as needed.
Adding Automated Captions
CapCut provides a feature, for adding captions to your videos with just a few simple steps;
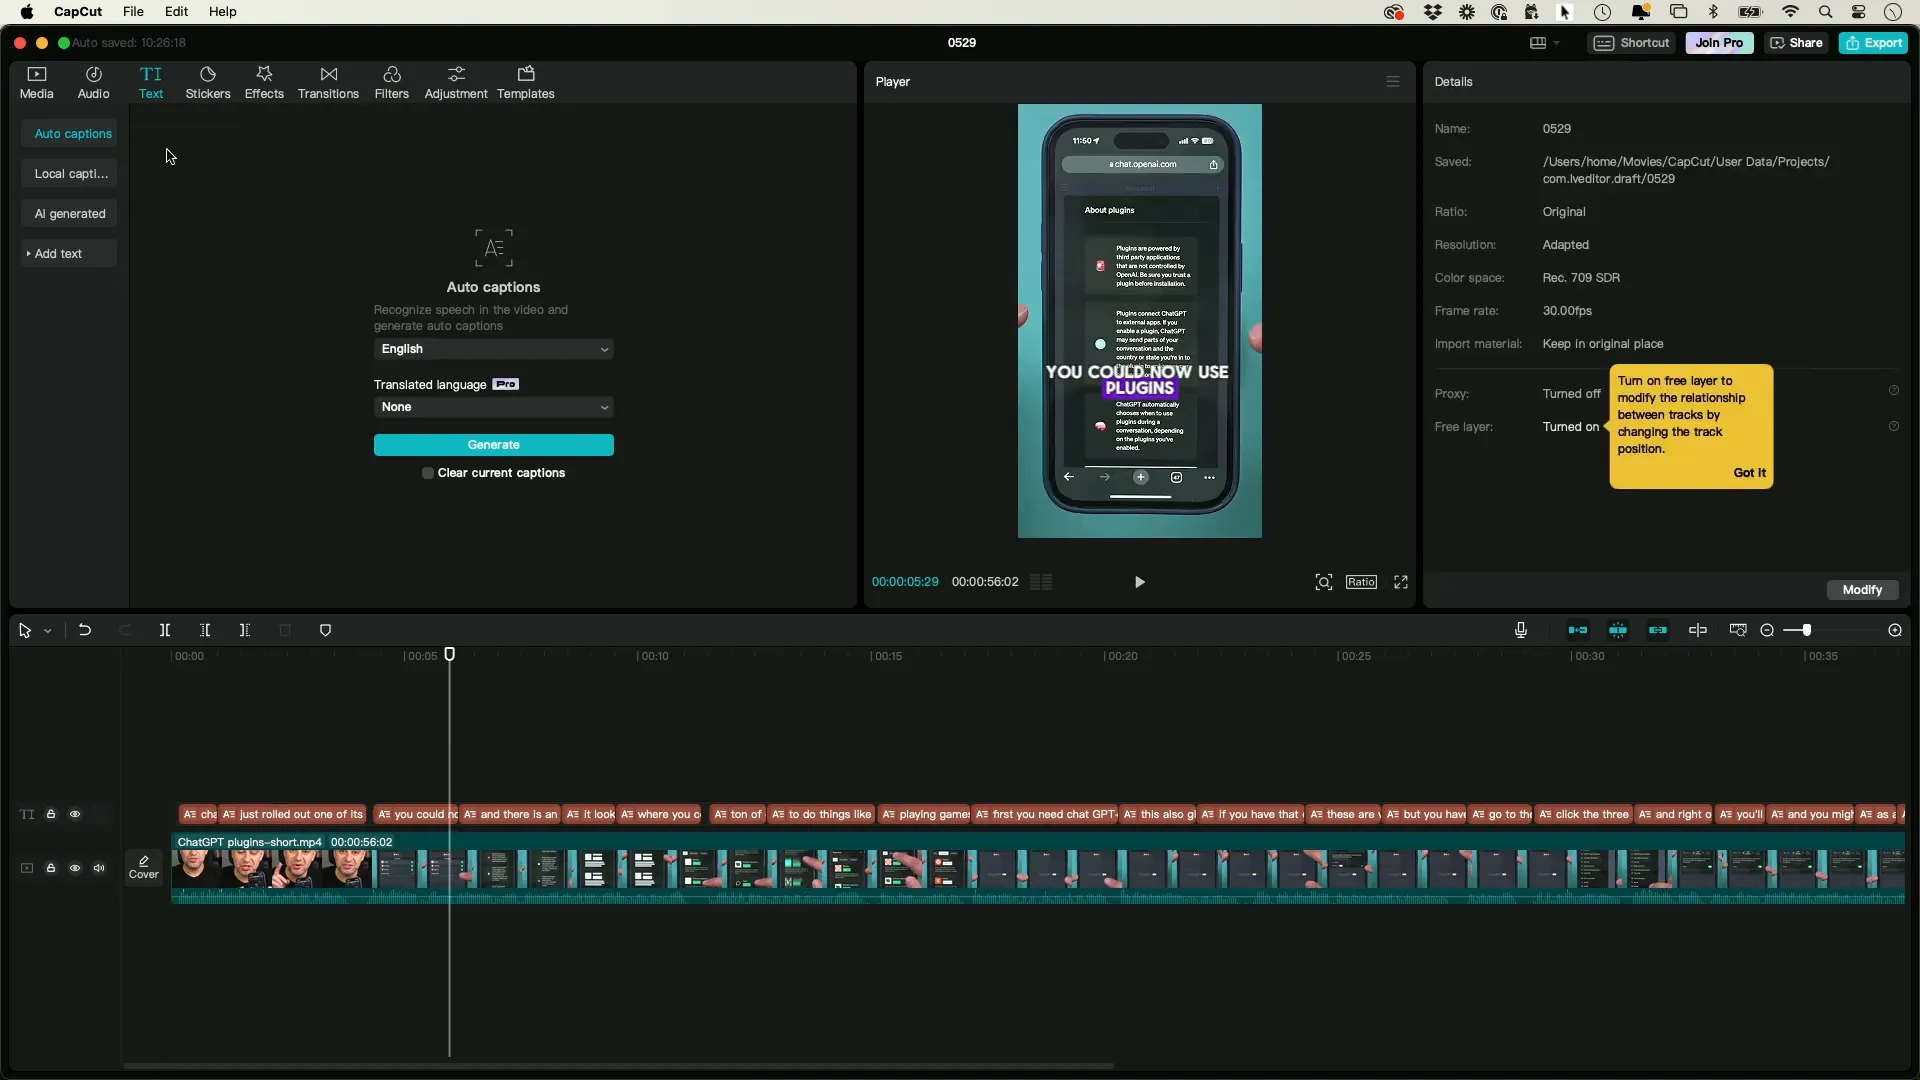
- Click on the “Text” option in the toolbar.
- Select the “Auto Caption” feature.
- The app will automatically detect the language of your video.
- Press “Generate” to create captions for your video.
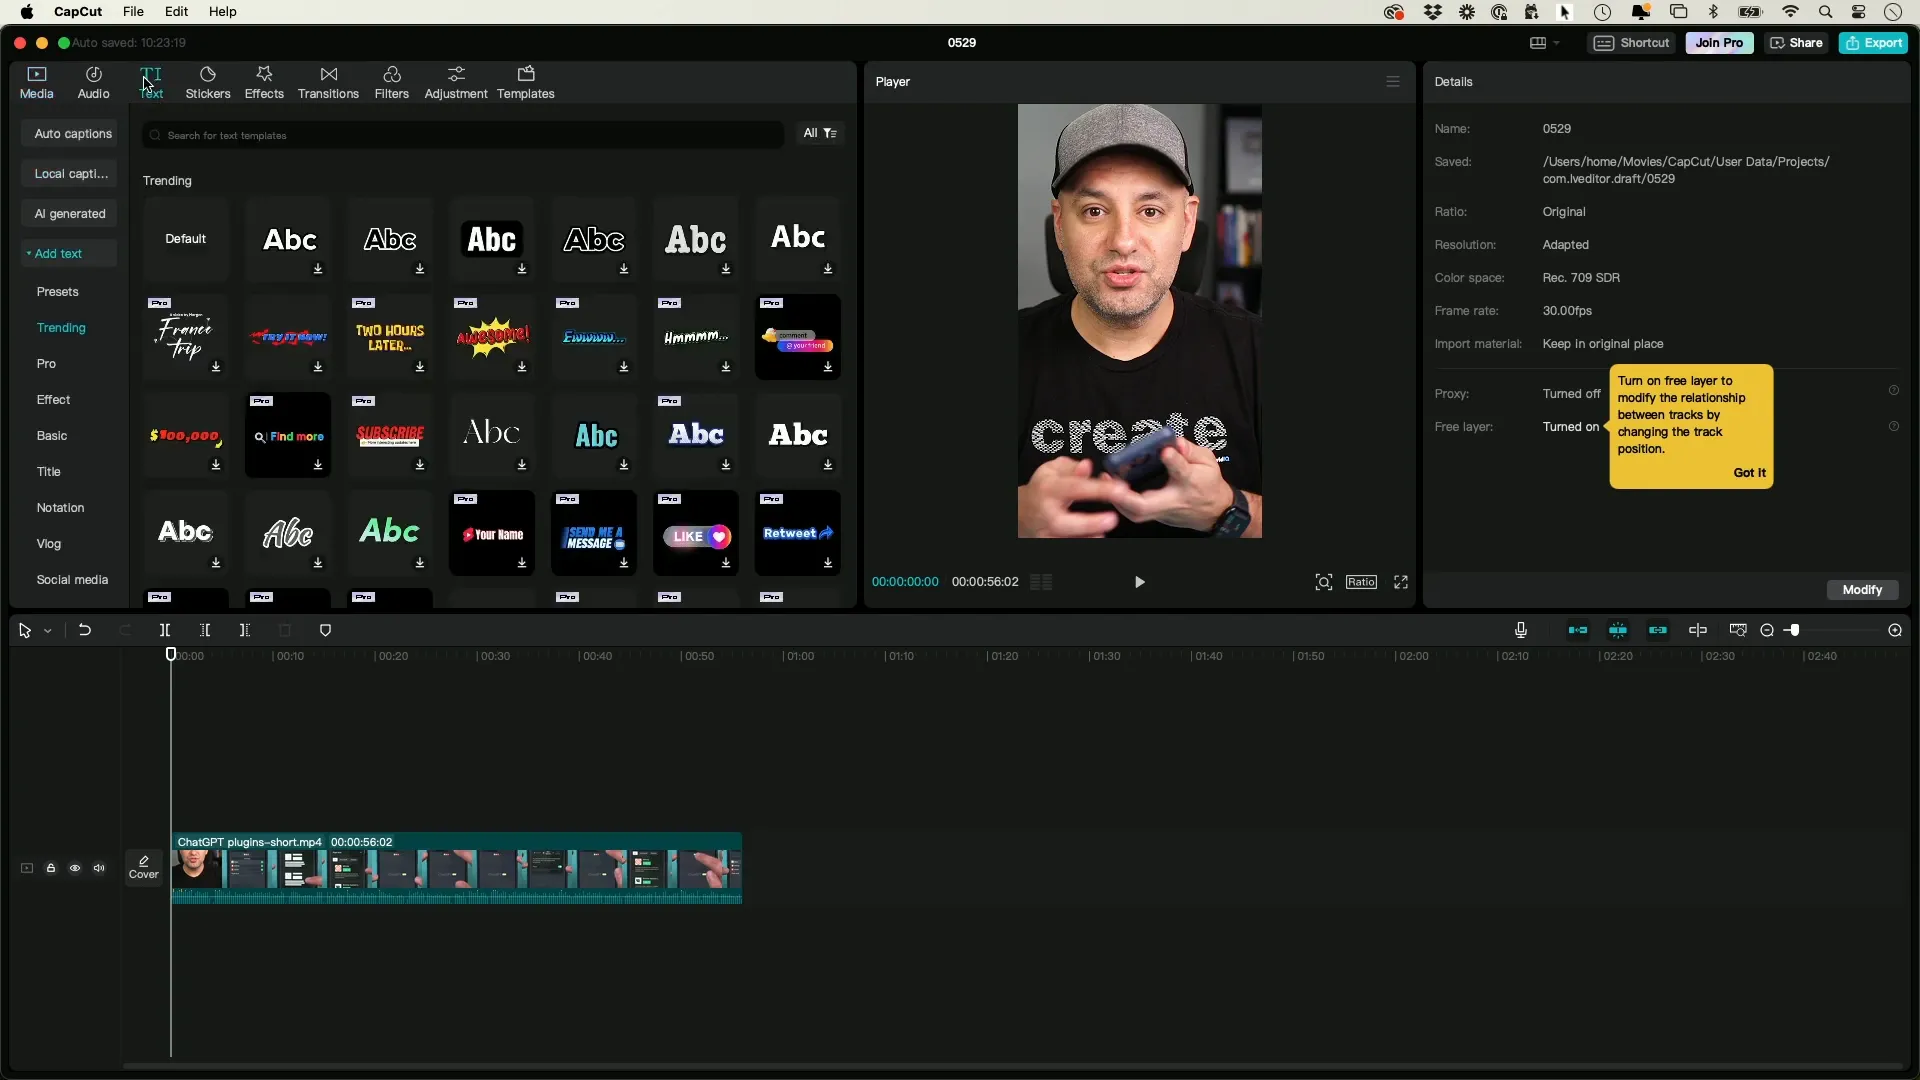
After creating the captions on your screen they will show up on the side of your screen This automatic process helps you save time and energy so you can concentrate on designing and arranging your captions effectively.
Styling Your Captions
Now that you’ve created the captions, for your videos it’s time to add a flair to them. Enhancing captions with style can enhance the appeal and engagement of your videos. Here’s a guide, on how to achieve this;
- Select the first caption in the timeline.
- On the right side, you’ll see various styling options.
- Choose a style you like; this will be copied to the rest of the captions.
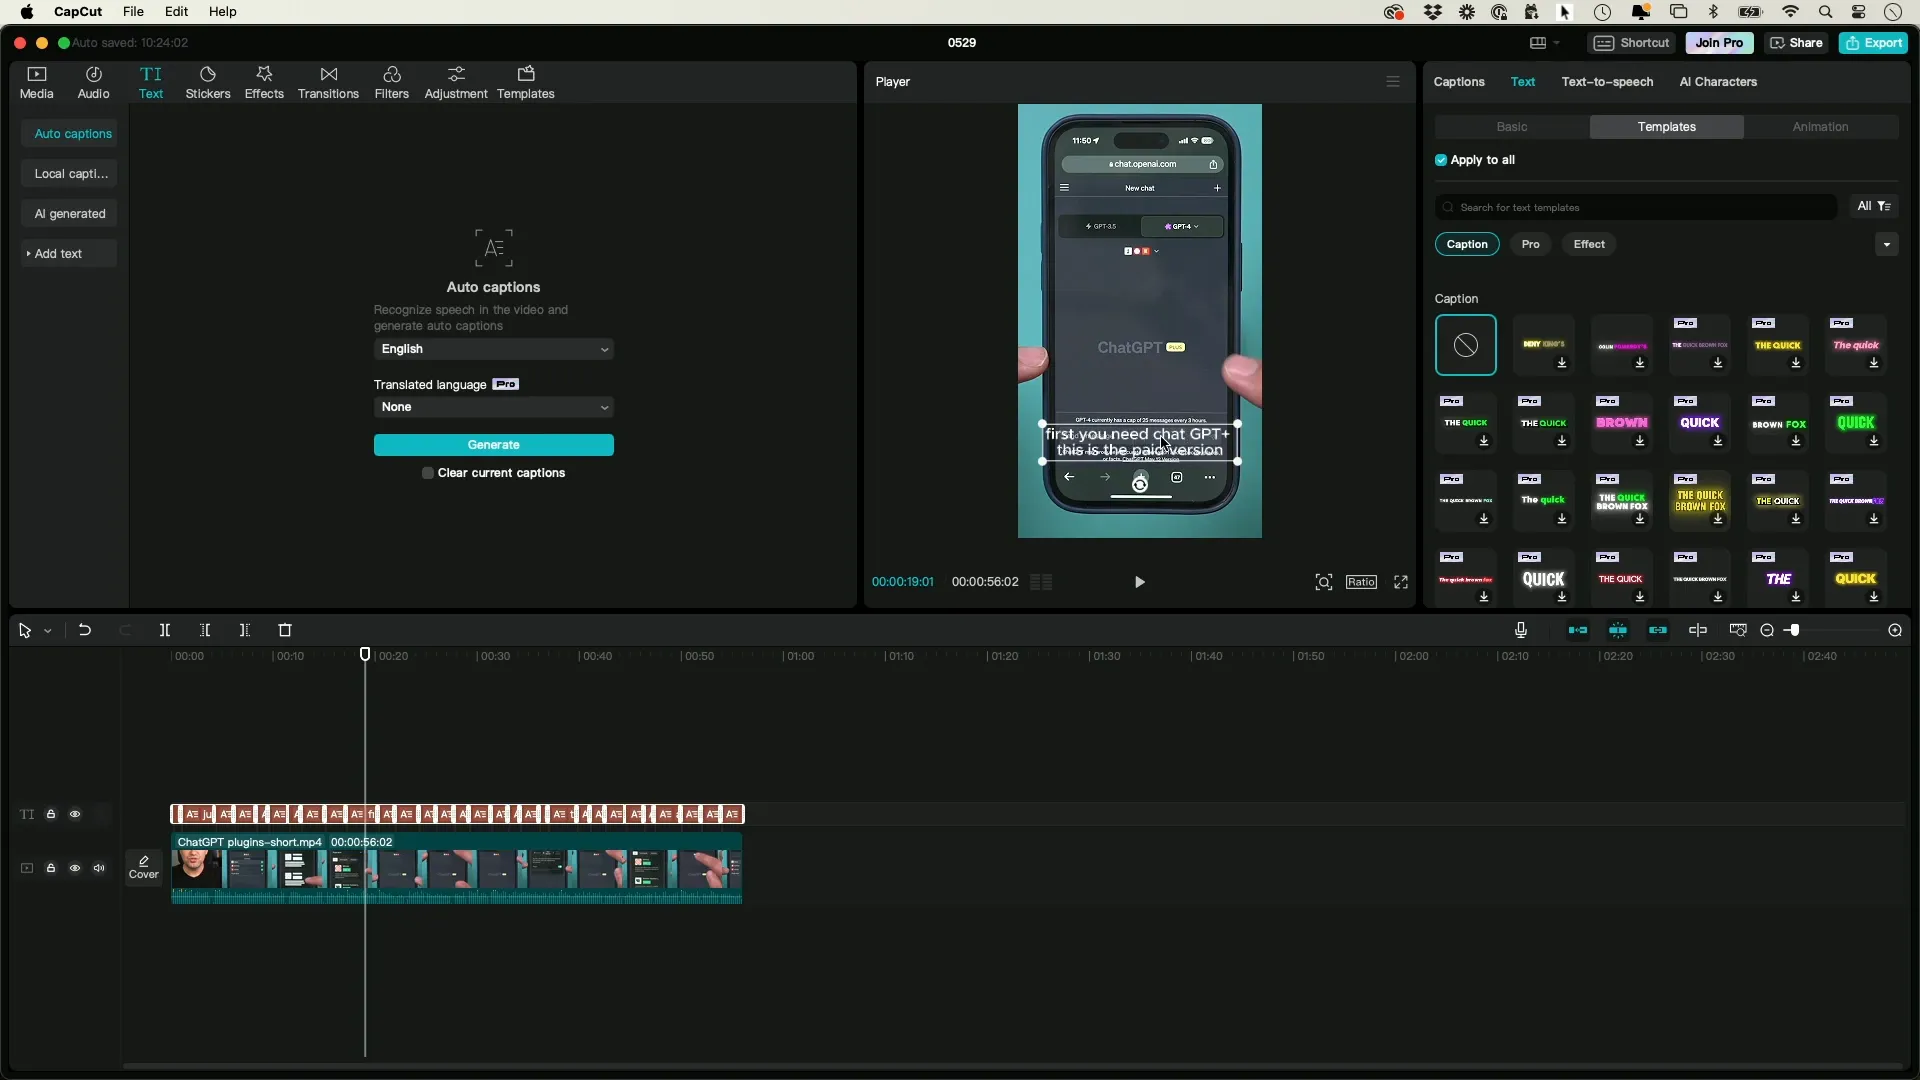
You have the option to select from styles even animated ones that emphasize certain words! This functionality enables you to craft engaging captions that truly captivate the viewers focus.
Editing Your Captions
Sometimes there could be mistakes or the need to make changes, in automated subtitles on CapCut, for videos.
- Navigate to the “Captions” tab.
- Click on any caption you wish to edit.
- Type in the corrections directly.
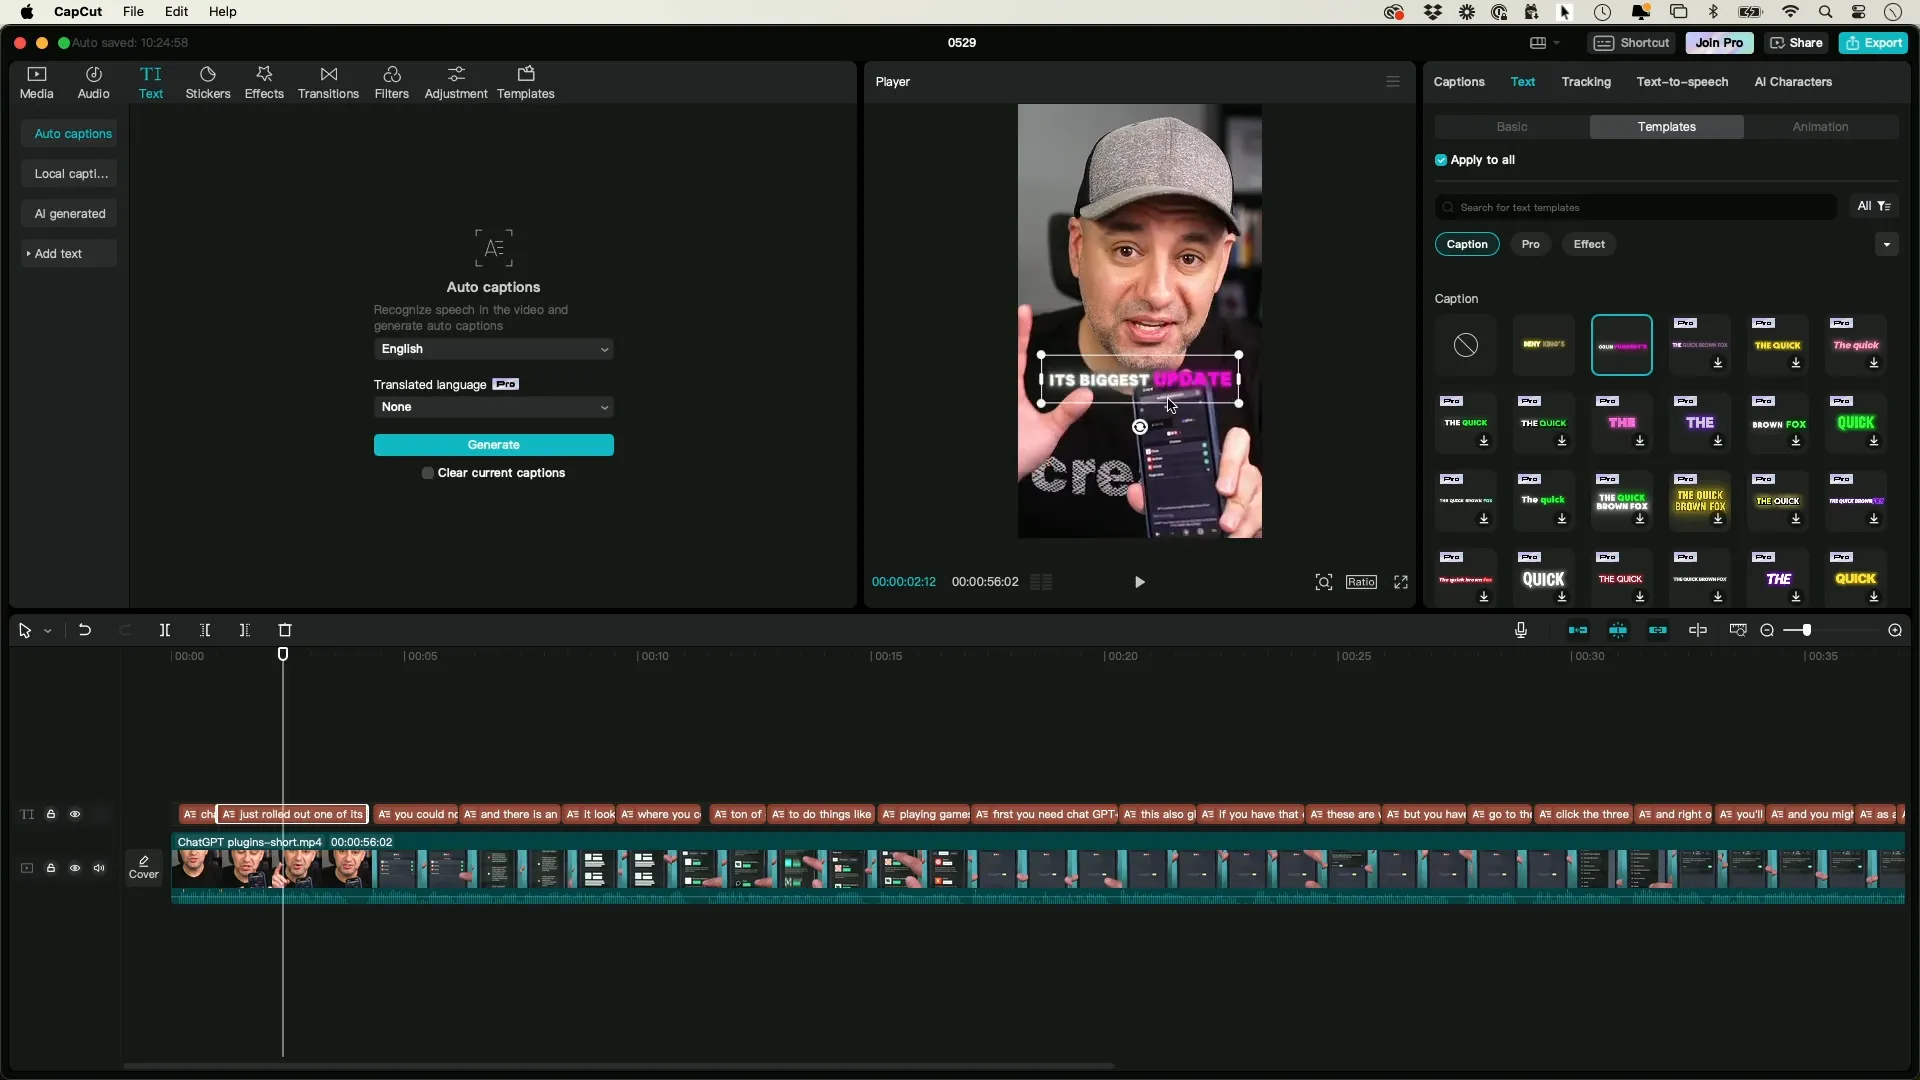
Some design choices come at no charge. Certain styles may necessitate a membership fee to access them fully.. There exist appealing free alternatives to enrich your captions without any expense involved.
Finalizing Your Video
When you’re happy, with how your captions look and feel in your video project it’s time to export your creation Here’s what you need to do;
- Go to the “File” menu.
- Select “Export”.
- Check that the default settings are correct, especially the video format.
- Change the format to MP4 if it isn’t already set.
- Choose a save location and give your video a title.
- Press “Export” to finalize the process.
After you finish exporting the video file from your device or transferring it to your phone for uploading, on YouTube is also a choice to make sharing your content effortless, across various platforms.
Why Use Captions?
Including subtitles, in your YouTube videos offers advantages.
- Accessibility: Captions make your videos accessible to a wider audience, including those who are deaf or hard of hearing.
- Engagement: Viewers are more likely to watch videos with captions, as they can follow along even in noisy environments.
- SEO Benefits: Captions can improve your video’s searchability, as the text can be indexed by search engines.
- Language Learning: Captions can assist non-native speakers in understanding the content better.
Conclusion
One easy method to boost interaction and accessibility, in your YouTube videos is by incorporating captions into them using CapCut software to create and customize captions for any video content such as YouTube Shorts videos easily follow the instructions shared in this blog post to produce engaging and user content, for your viewers.
Ready to put your skills to the test, on YouTube today ? Your audience will love the touch. It might even attract more engagement and a wider viewership.
