
Welcome to my guide on how to edit YouTube videos using CapCut, a powerful and user-friendly free video editing tool. If you’re just starting your YouTube journey and wondering how to edit your first YouTube video, you’re in the right place! In this article, I will walk you through the entire editing process, from uploading your footage to exporting your final product. Let’s get started!
Why Choose CapCut for Editing Your YouTube Videos?
When it comes to editing videos, there are countless applications available, each with its own features, pricing, and learning curves. Some are expensive, while others offer limited free trials. However, I’ve found that CapCut stands out as the best option for beginners due to its ease of use and completely free access. Whether you’re on a computer, tablet, or smartphone, CapCut has you covered.
CapCut is not only available as a downloadable app but also offers an online version that can be accessed directly through your web browser. This means you won’t even need to download anything to get started, making it incredibly convenient for those who want to jump right into video editing.
Getting Started with CapCut
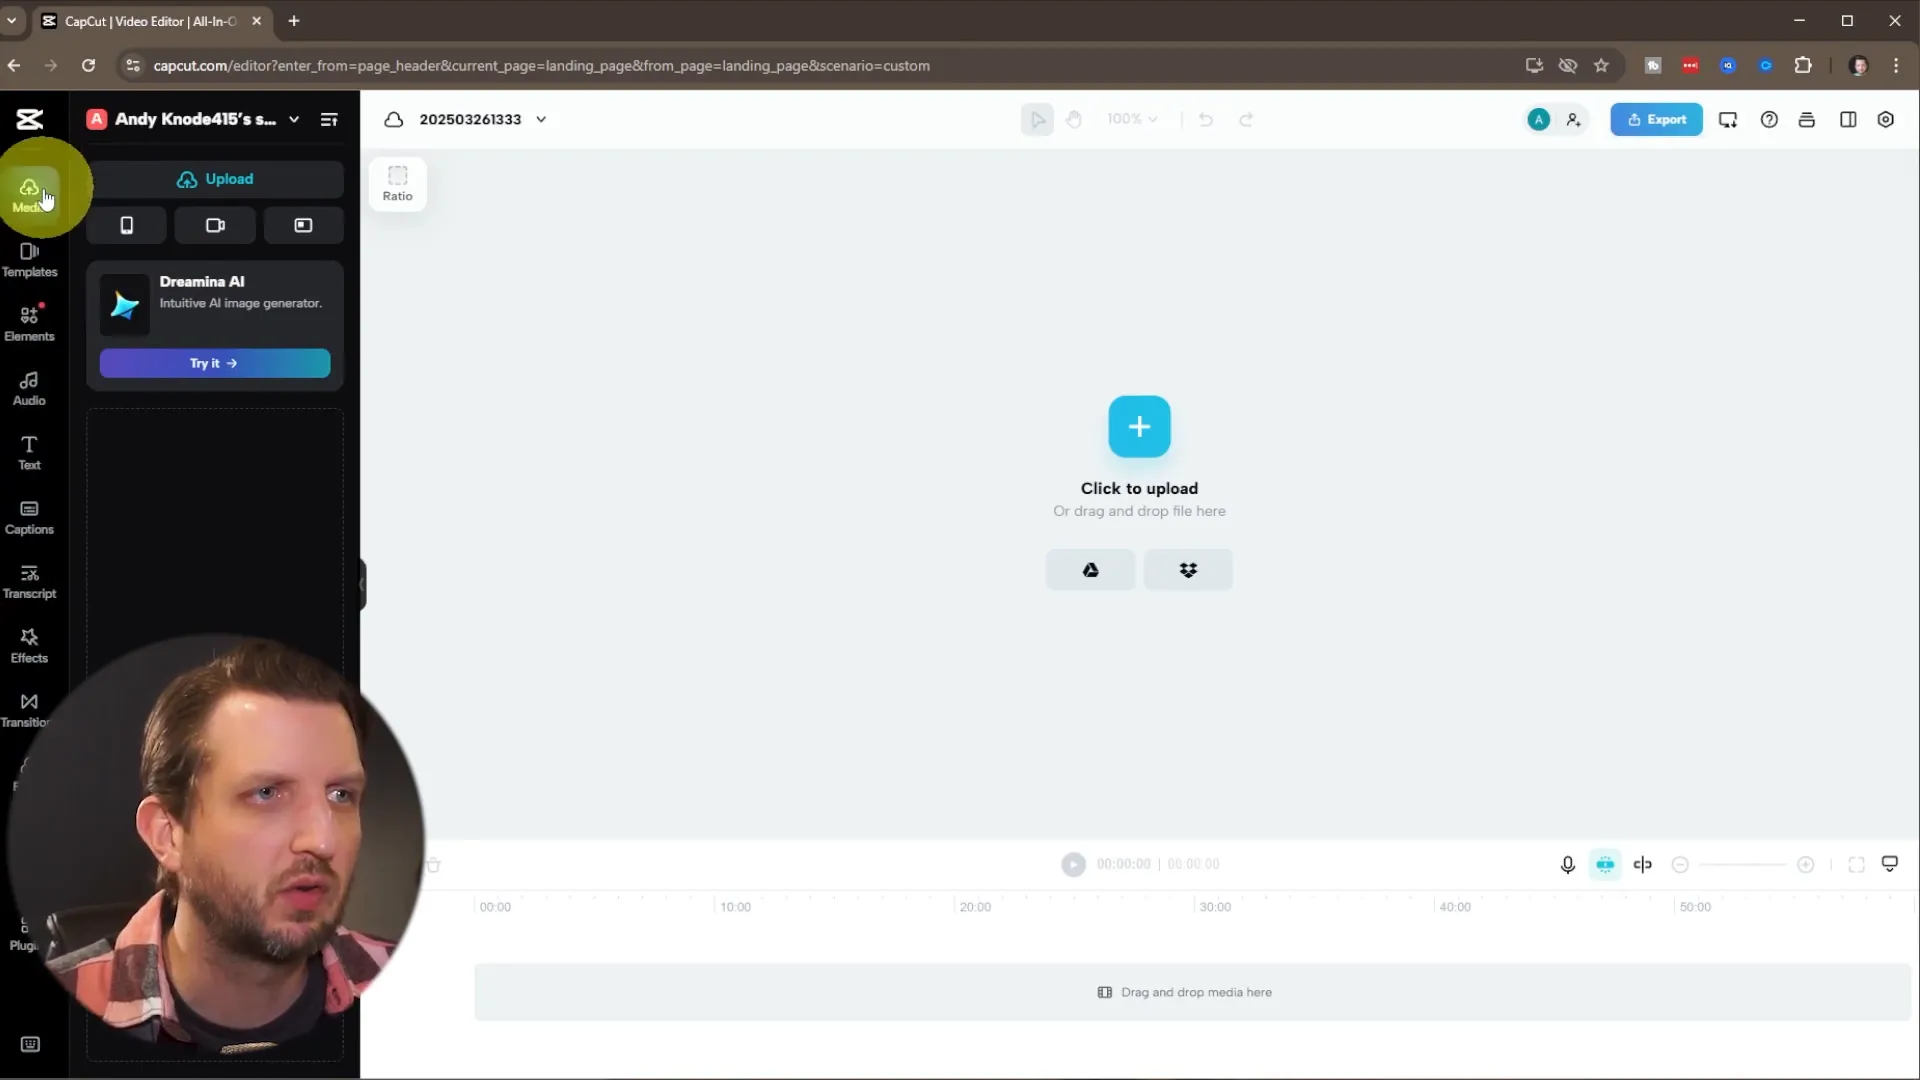
To begin, head over to capcut.com. Once there, you will need to create an account or sign in. This is a simple process, and once completed, you’ll be ready to upload your video files.
Uploading Your Video
After signing in, the first step in editing your YouTube video is to upload the footage you want to edit. CapCut allows you to upload either individual video files or entire folders, providing flexibility based on your needs. To upload, click on the media section in the side panel and navigate to your video files.
After selecting your video, you will see a progress bar indicating that your video is uploading. While this is happening, it’s a good idea to rename your project for easy identification later. I recommend naming it something simple, like “My First YouTube Video,” to keep things organized.
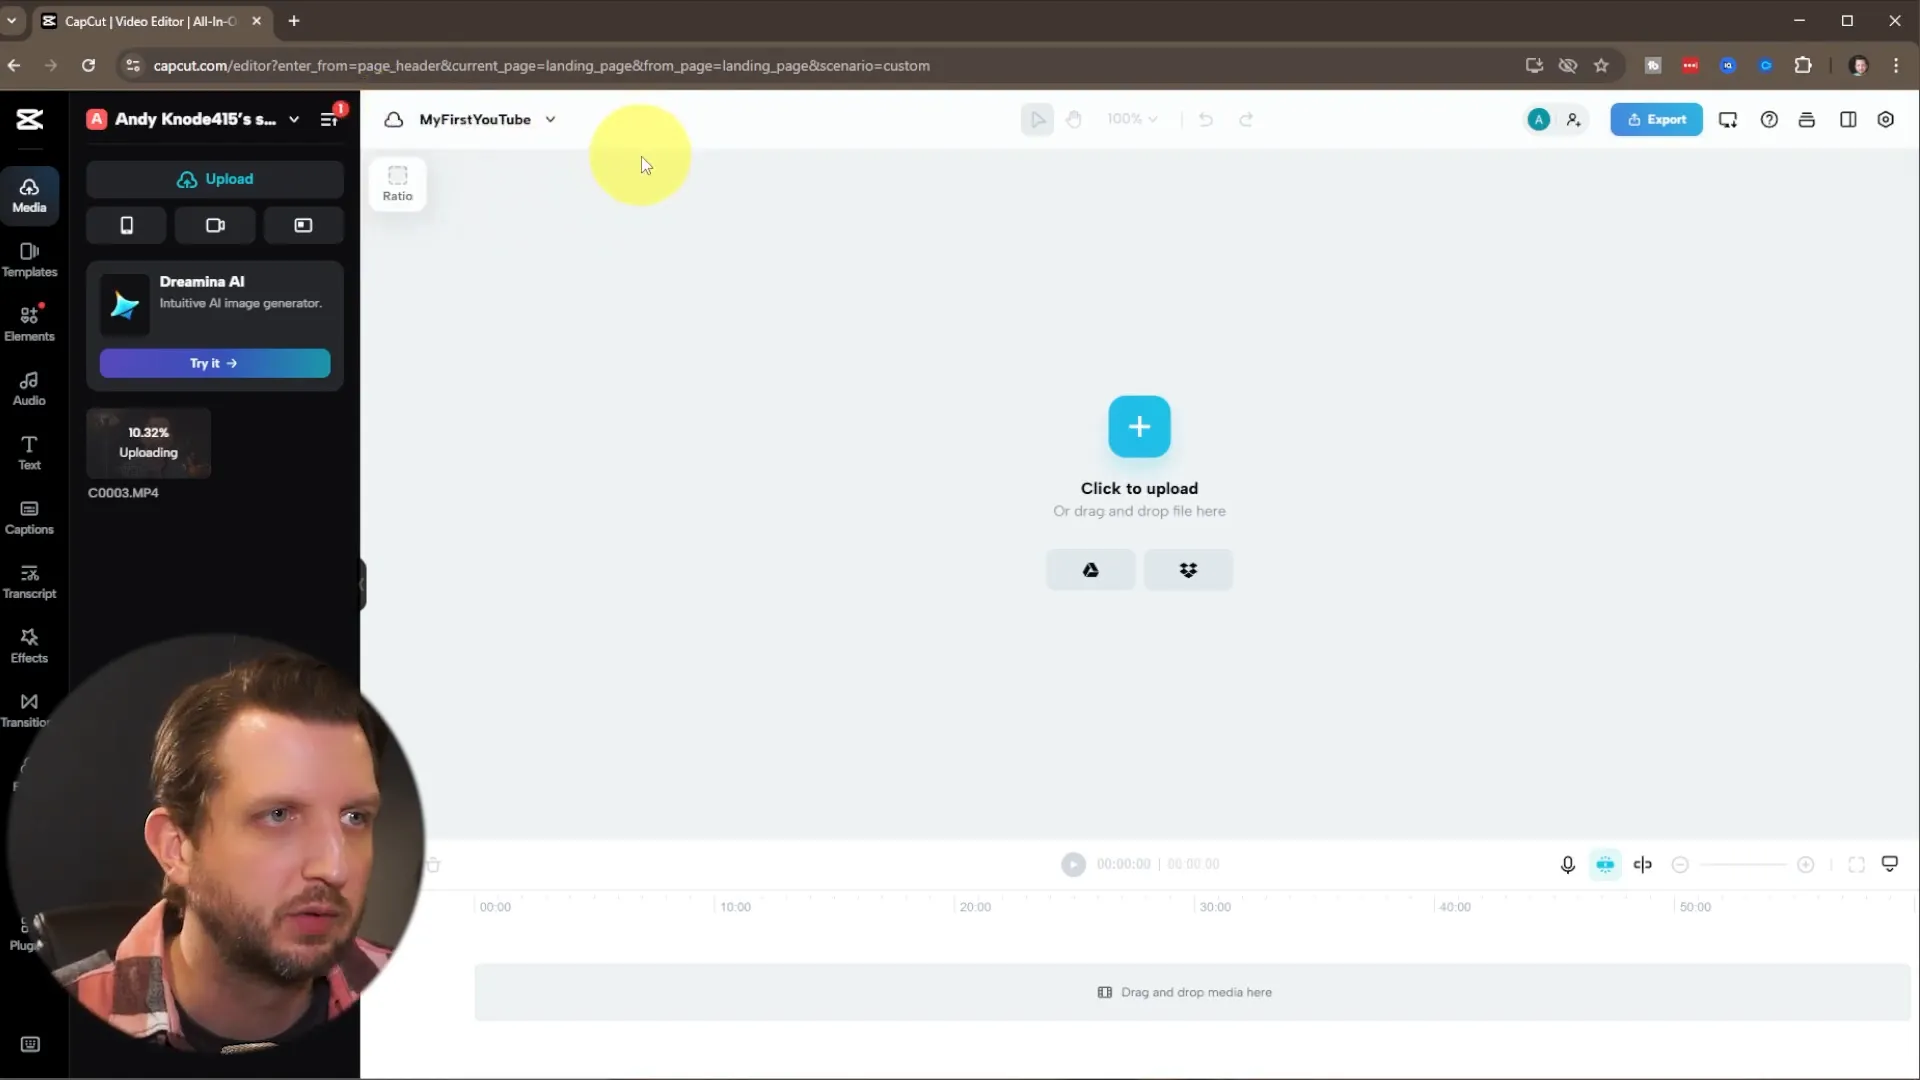
Editing Basics: Cutting Your Footage
Once your video is uploaded, it’s time to start editing. The first thing you’ll want to do is cut out any mistakes, awkward pauses, or filler words like “um” and “uh.” This is crucial for maintaining a smooth flow in your video.
To cut your footage, simply stretch the timeline to see more detail and find specific sections you want to edit. Play through the video and pause where you want to make a cut. With the video selected, you’ll see a menu pop up that allows you to click on “split.” This action will cut your video at the playhead position.
After splitting, click on the unwanted portion and hit delete. You can repeat this process throughout your video until you have a clean edit without any unnecessary parts.
Adding Transitions
Transitions can enhance the flow between different clips in your video. CapCut makes it easy to add transitions. Simply drag your chosen transition effect between two clips, and you’ll have a smooth transition that makes your video look more professional.
Enhancing Your Video with Music and Titles
Another great feature of CapCut is the ability to add music. You can find a variety of soundtracks and sound effects within the application. To add music, simply select the music option from the side panel and drag your chosen track into the timeline.
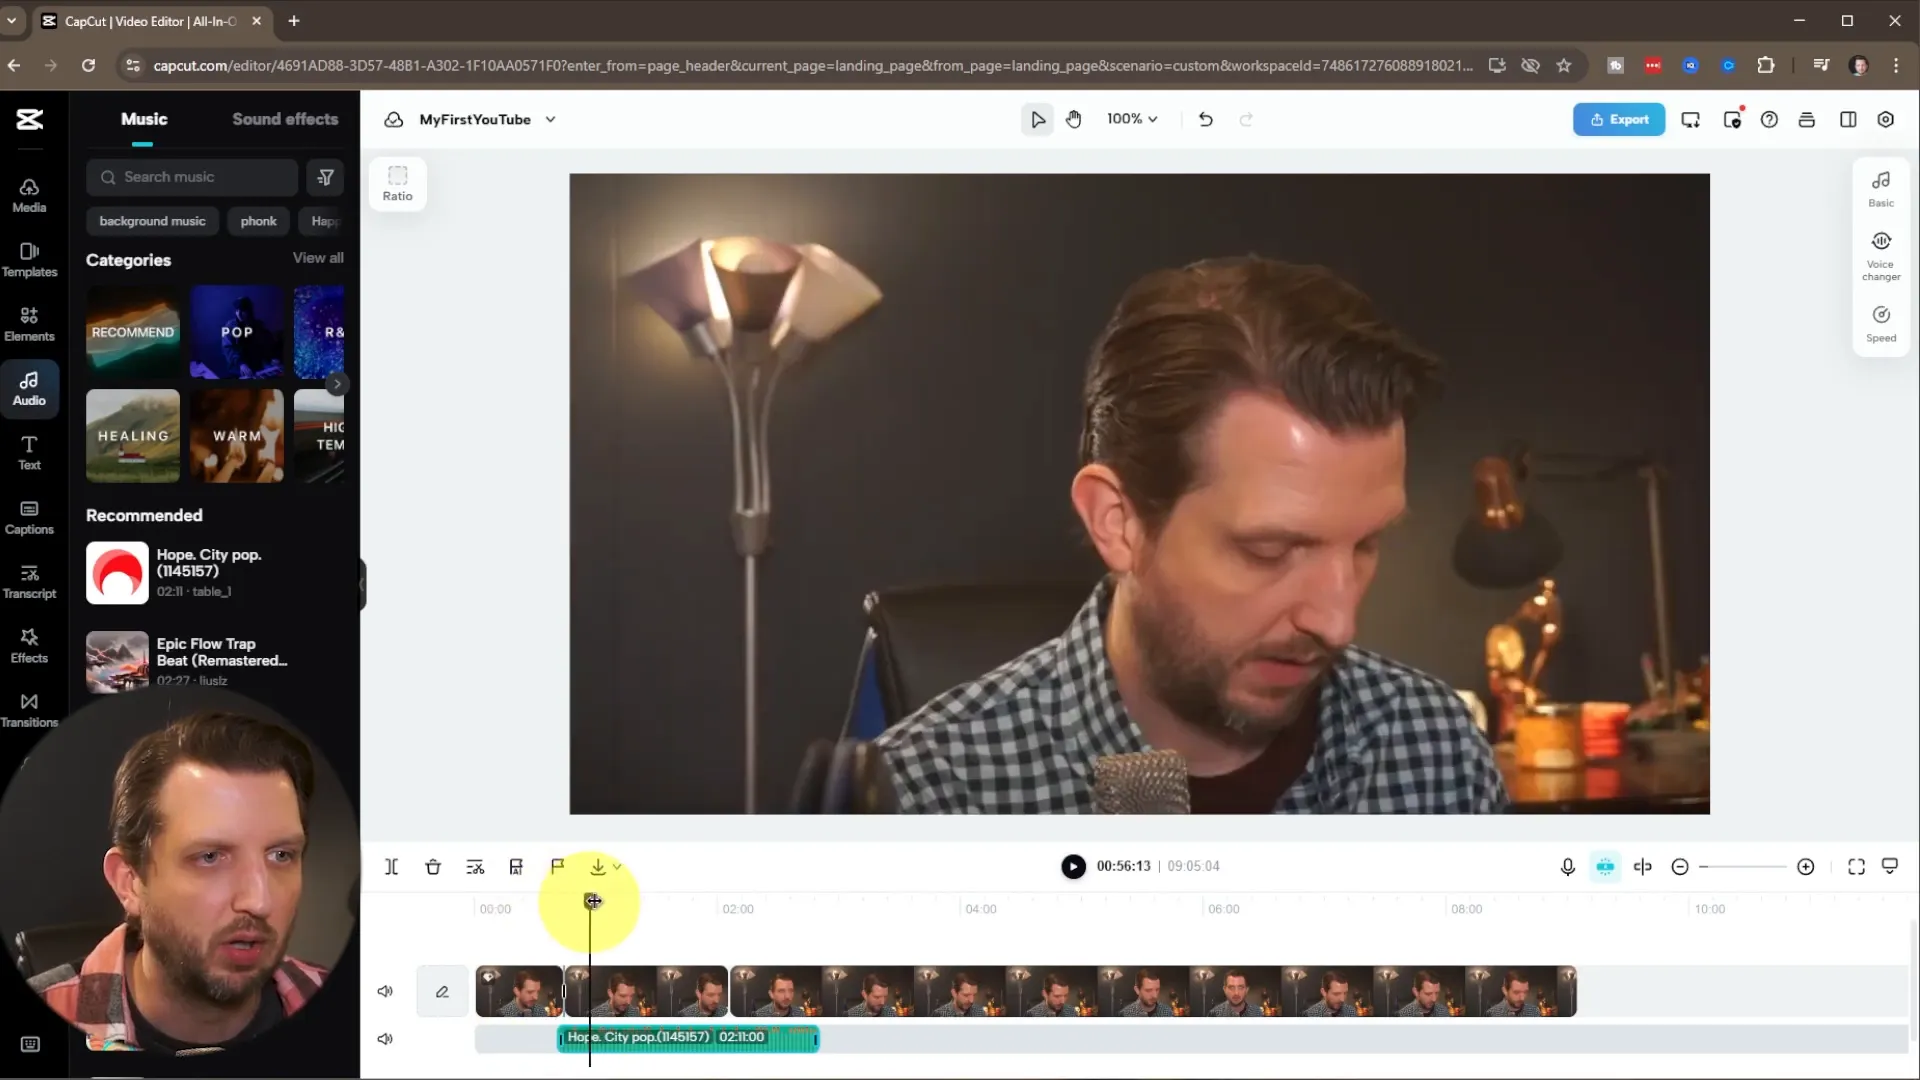
After adding music, you can adjust the volume to ensure it complements your video rather than overpowering your voice. This is important for maintaining clarity in your content.
Creating Titles and Text Overlays
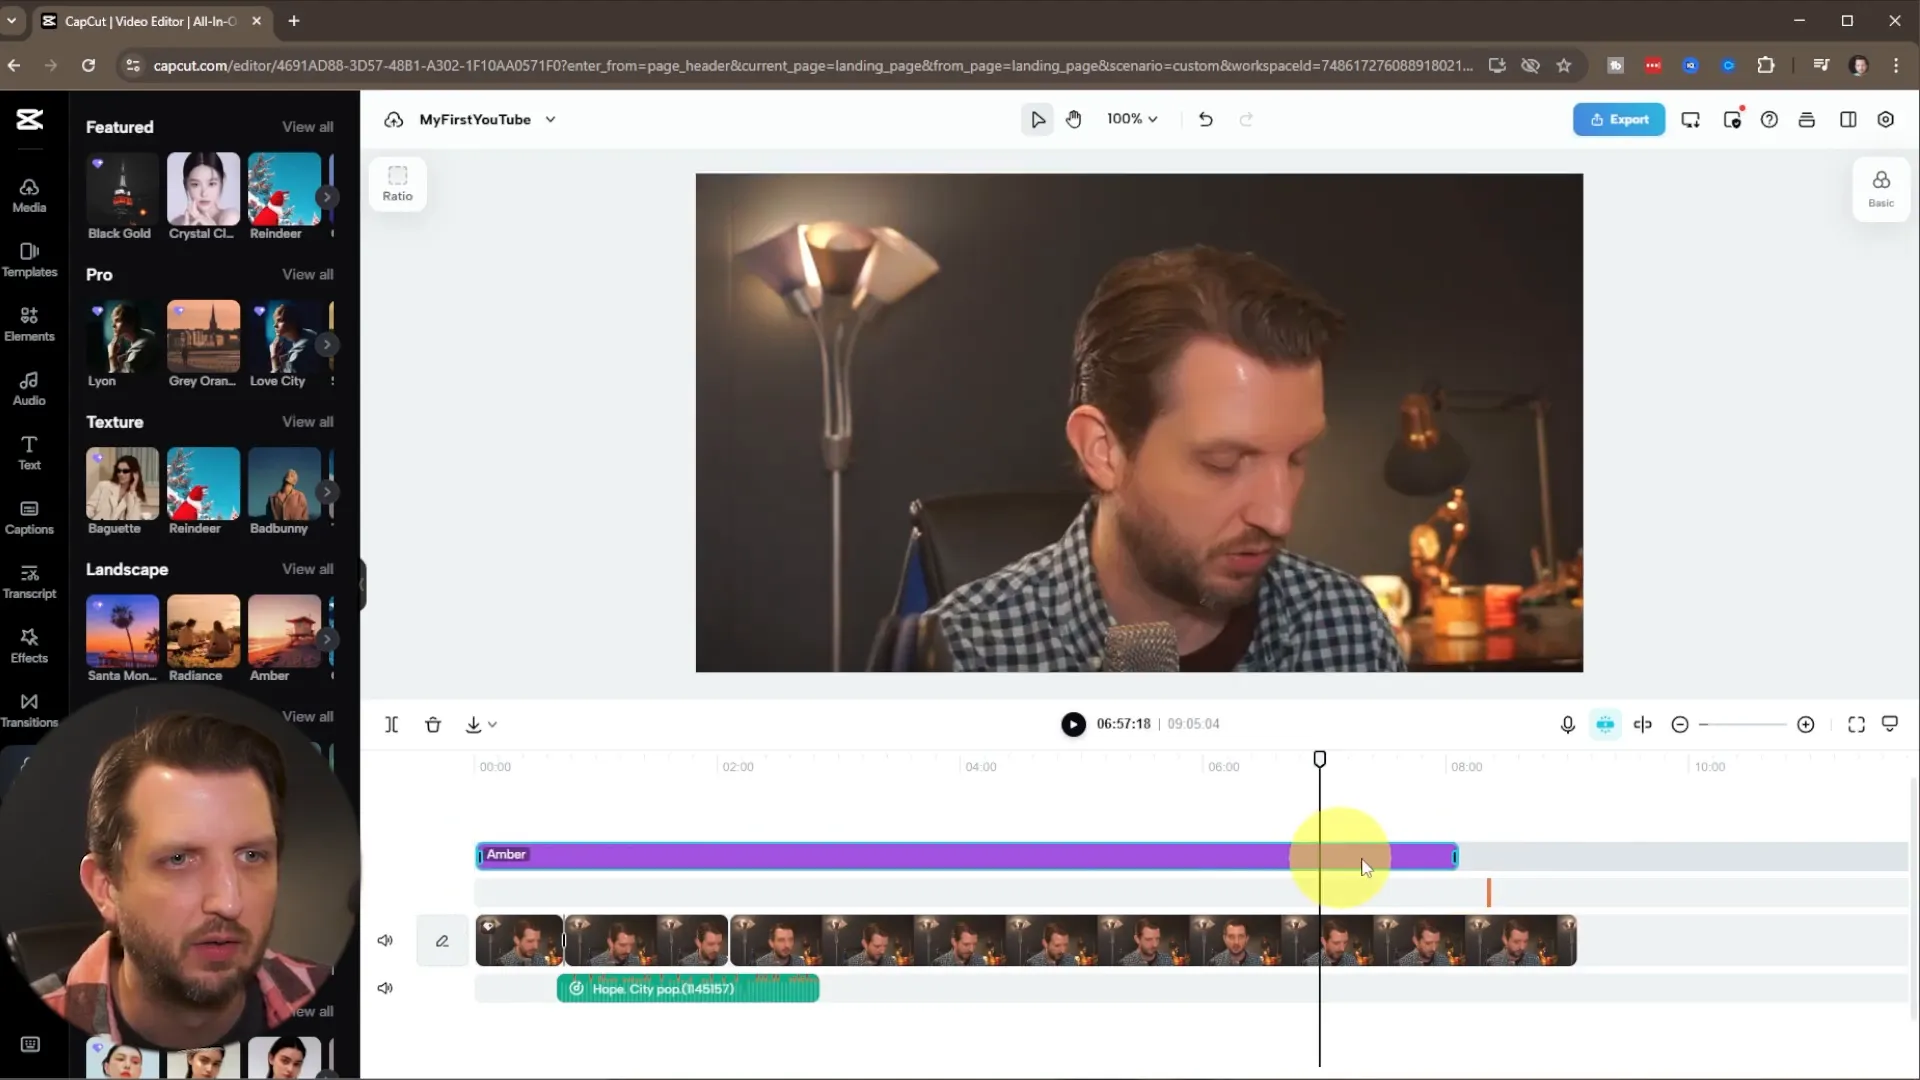
Titles can help introduce your video or emphasize key points. CapCut offers various templates for titles that you can customize. Drag a title template into your timeline, position it where you want it to appear, and modify the text as needed.
You can also apply filters to add a unique touch to your video. While some filters are labeled as “pro” and require a subscription, there are several free options available that can enhance the visual appeal of your project.
Finalizing Your Edit: The Less is More Approach
As you wrap up your editing, remember the principle that “less is more.” While it can be tempting to add multiple effects, the most effective videos often have a clean and straightforward presentation. Ensure that your sentences flow well and that your edits create a cohesive narrative.
After you’ve made all your cuts and added your effects, take a moment to watch your video back. This will help you catch any last-minute mistakes and ensure everything is just the way you want it.
Exporting Your Finished Video
Once you’re satisfied with your edits, it’s time to export your video. Click on the export option, where you can name your video and adjust settings like resolution and frame rate. If you’re unsure, feel free to leave these settings at their defaults.
After clicking export, CapCut will process your video and save it to your computer. Congratulations! You now have your first edited YouTube video ready to upload.
Conclusion
Editing your first YouTube video can be an exciting journey, and with tools like CapCut, it doesn’t have to be complicated or costly. By following the steps outlined in this guide, you can create a polished and professional-looking video that will engage your audience. Don’t forget to experiment with different features and styles as you continue to improve your editing skills!
I hope you found this guide helpful. Now go out there and start creating amazing content for your YouTube channel!