
Have you ever uploaded a video to YouTube, only to realize that there was a mistake in it? You’re not alone! Many creators find themselves in this situation, and luckily, there’s a simple solution. In this article, we will explore how you can edit your YouTube videos even after they are live, without losing views or starting over. This guide will provide you with step-by-step instructions, tips, and tricks to ensure your videos are polished and professional.
Why Edit YouTube Videos After Upload?
Editing videos after they’ve been uploaded can be crucial for several reasons:
- Correcting Mistakes: Perhaps there’s a clip that shouldn’t have made it into the final cut, or maybe there’s incorrect information displayed.
- Privacy Concerns: You might need to blur out sensitive information, like a phone number or a license plate.
- Improving Quality: Adding better audio or enhancing visuals can make a significant difference in viewer experience.
With these reasons in mind, let’s dive into how you can effectively make these edits using YouTube Studio.
Accessing YouTube Studio
The first step in editing your YouTube videos is to access YouTube Studio. Here’s how to do it:
- Log into your YouTube account.
- Click on your profile picture at the top right corner.
- Select YouTube Studio from the dropdown menu.

Navigating to the Video Editor
Once you’re in YouTube Studio, follow these steps to find the video you want to edit:
- Click on the Content tab located on the left sidebar.
- Find the video you wish to edit and click on it.
- On the video details page, select the Editor option from the sidebar.

Available Editing Options
In the YouTube video editor, you’ll find several useful options to help you make the necessary adjustments:
- Trim: Remove unwanted sections from the beginning or end of your video.
- Cut: Make specific cuts in the video to eliminate mistakes or unwanted clips.
- Blur: Blur out faces, license plates, or any sensitive information.
- Audio: Add or modify background music and adjust volume levels.
- End Screen and Info Cards: Update your video’s end screen and add cards to promote other content.
Note that while these tools are helpful, they may not be as robust as full video editing software. However, they are perfect for quick fixes!
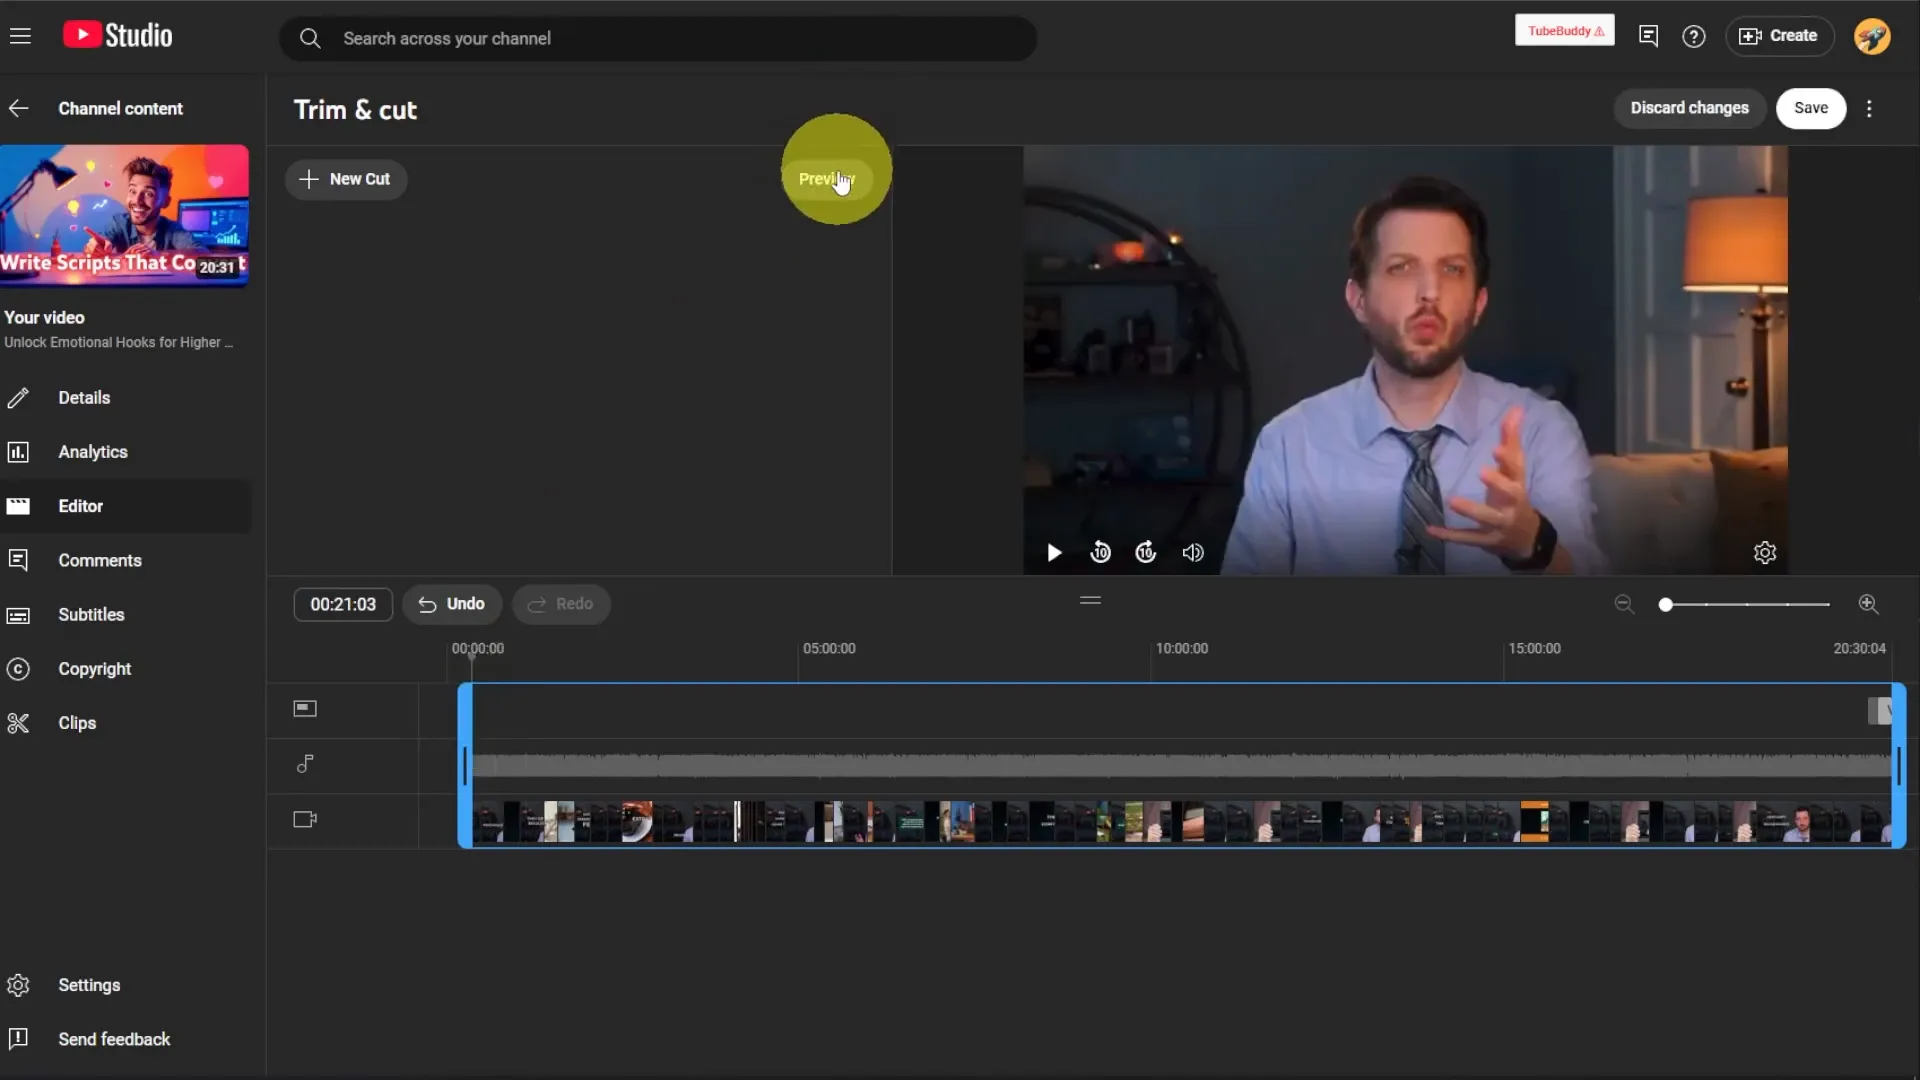
Trimming Your Video
Let’s start with the trimming feature, which is often used to remove unwanted parts:
- Click on the Add Trim button.
- Use the slider to select the portion of the video you want to keep. You can move the slider to cut out the beginning or end of the video.
- Preview your changes by clicking the Preview button.
- If you’re satisfied with your edits, click Save to apply them.
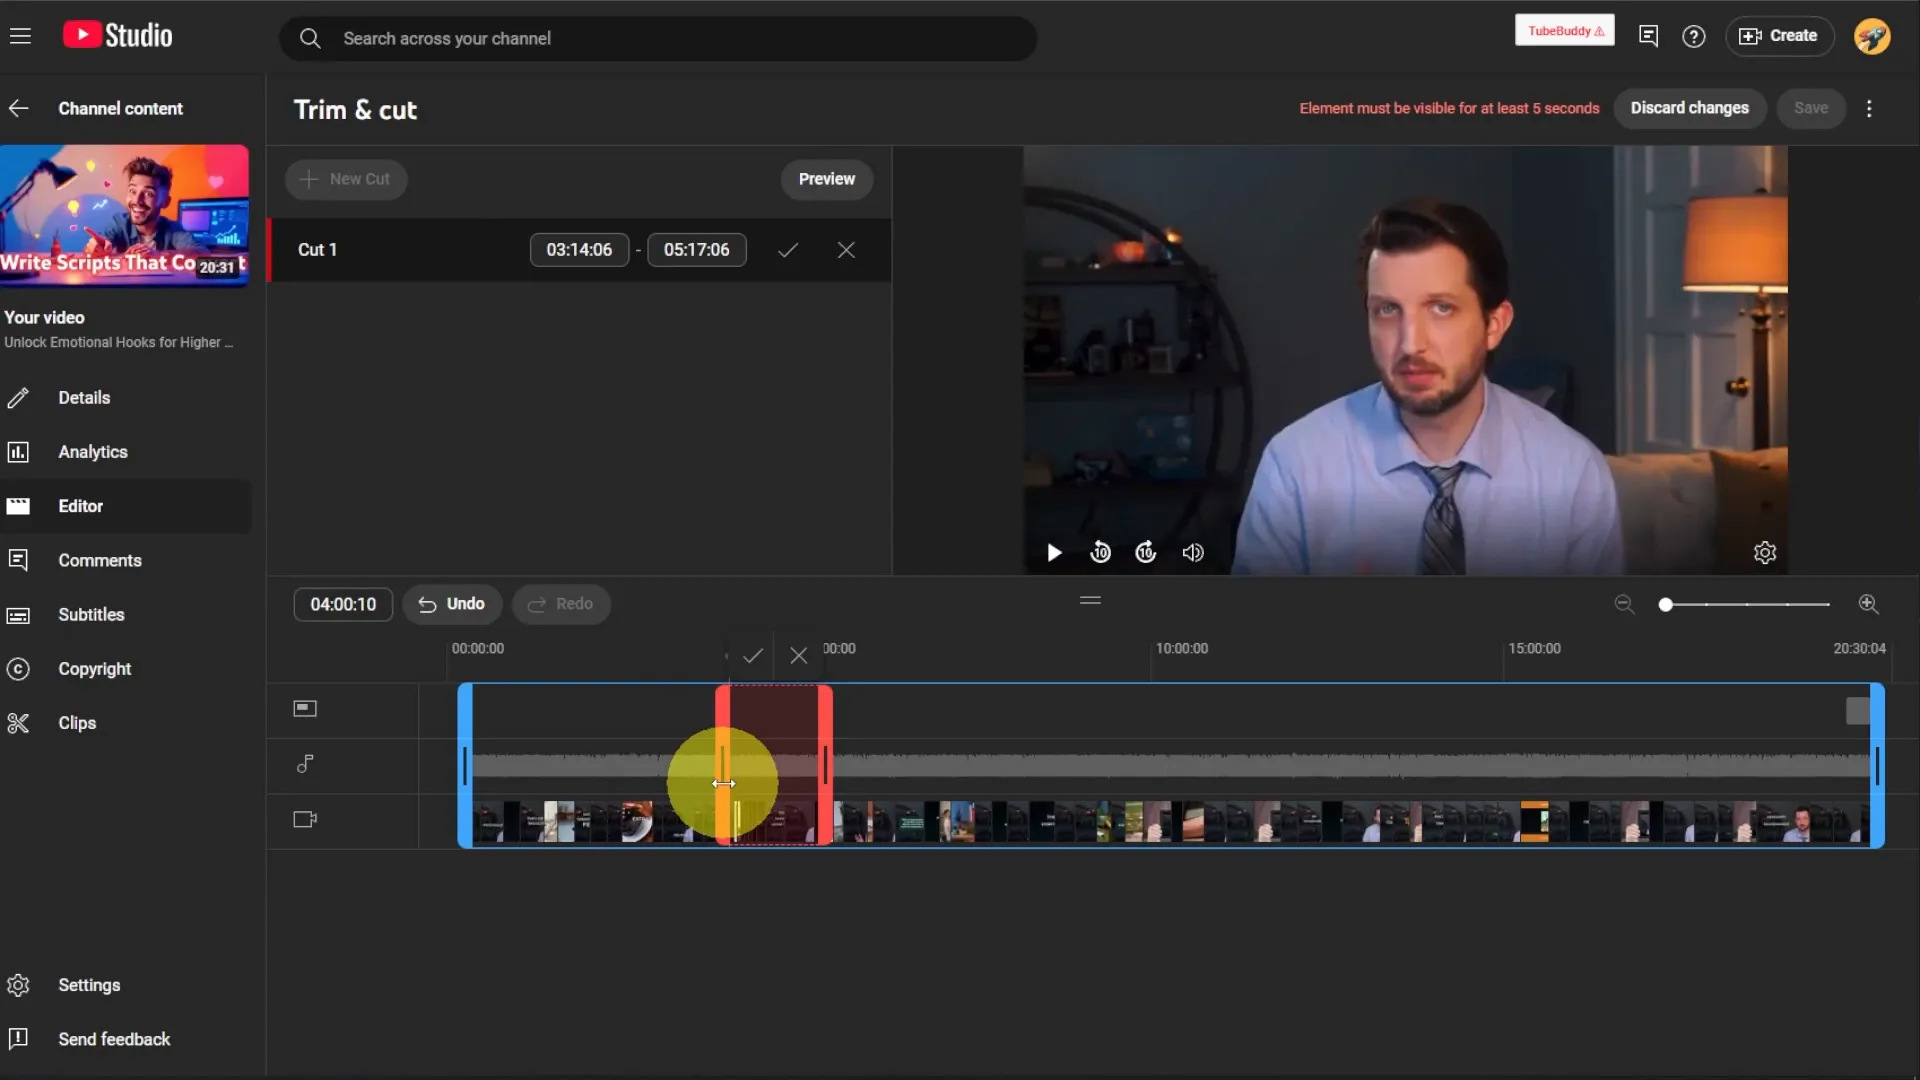
Making Cuts in Your Video
If you need to cut out a specific section of your video, follow these steps:
- Click on the Add Cut option.
- Adjust the sliders to select the section you want to remove.
- Like trimming, it will take a few minutes to process these changes.
This feature is particularly useful for removing bad clips or mistakes that may have slipped through during your initial edit.
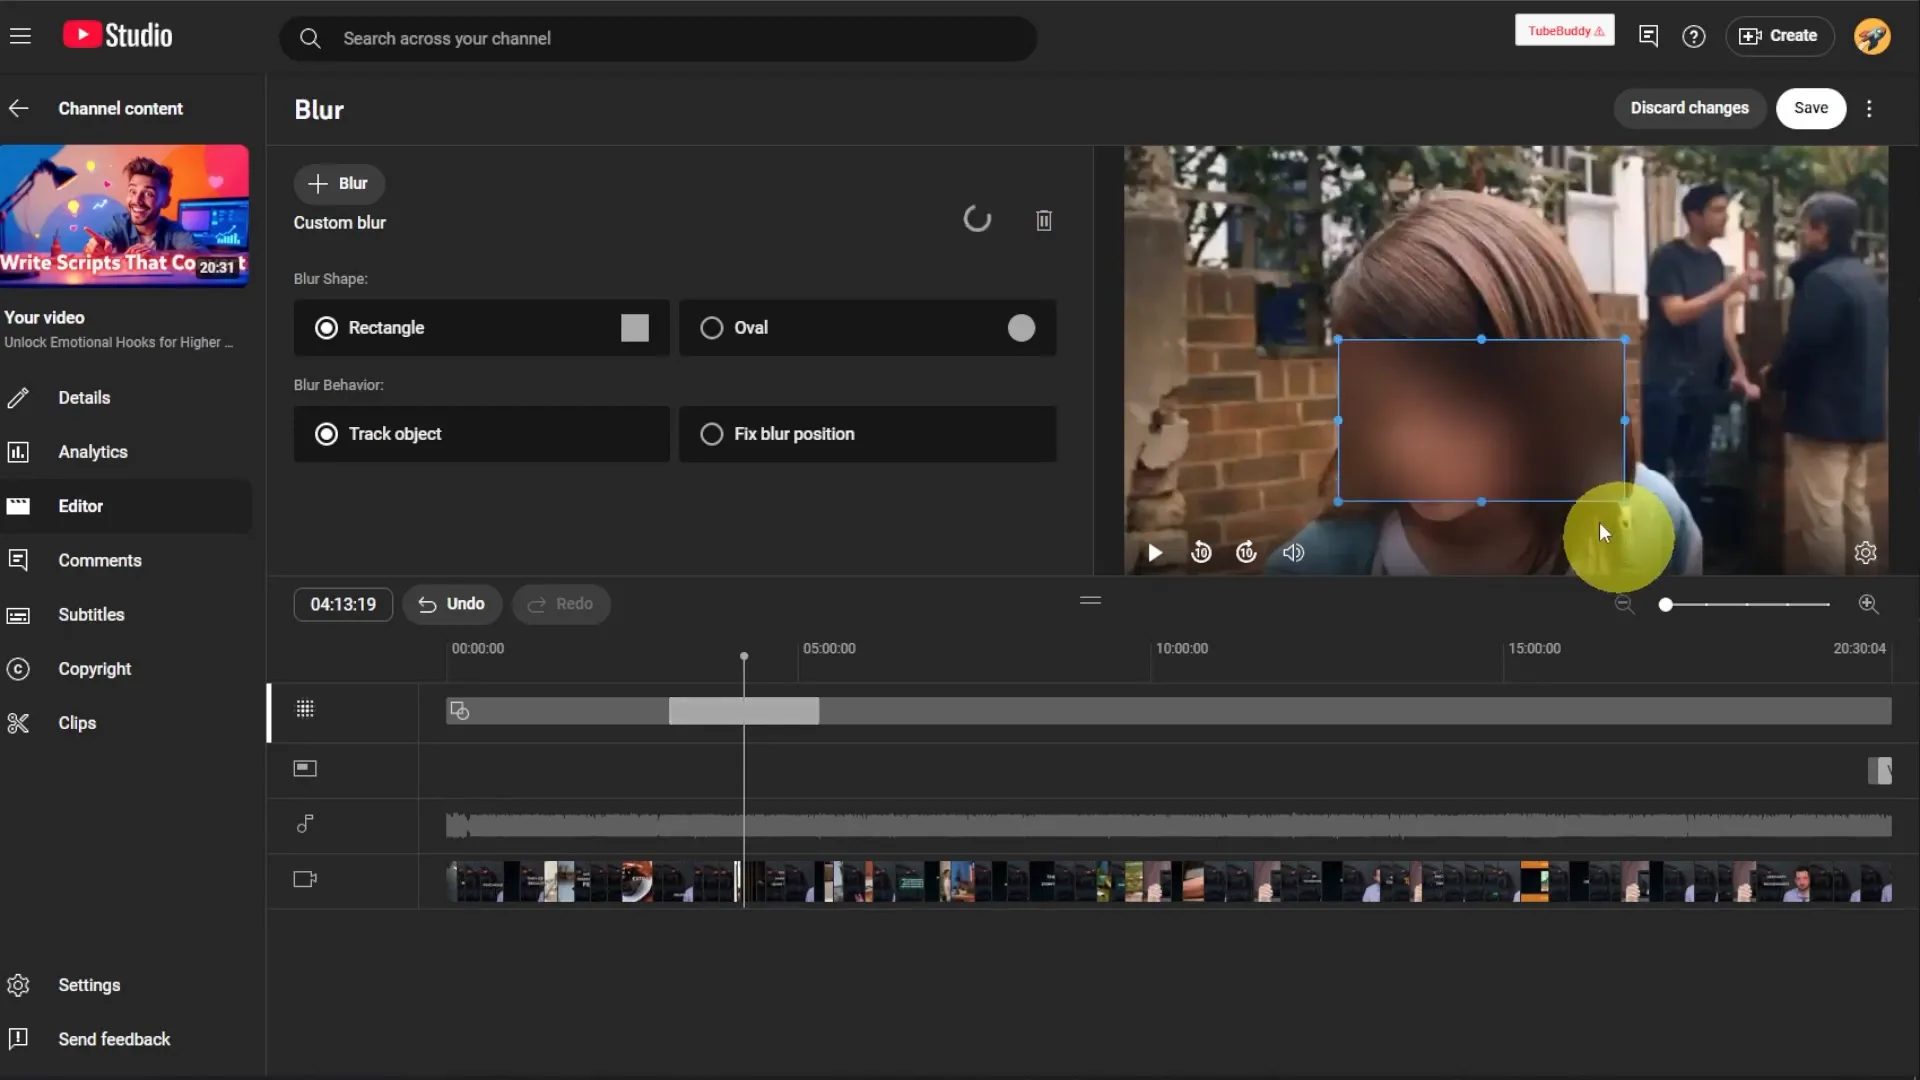
Blurring Sensitive Information
One of the most valuable tools in the YouTube editor is the blur feature. If you’ve accidentally shown private information, here’s how to blur it out:
- Select the Blur option.
- Choose whether you want to blur a face or add a custom blur.
- If you select face blur, YouTube will automatically detect faces. Click on the face you want to blur.
- For custom blur, draw a box around the area you want to obscure.
Adding and Modifying Audio
Good audio quality is vital for maintaining viewer engagement. Here’s how to enhance your video’s audio:
- Click on the Audio section in the editor.
- You can choose from YouTube’s royalty-free music library or upload your own audio files.
- Adjust the volume levels to ensure your audio complements your video.

Updating End Screens and Info Cards
Finally, you can update your video’s end screens and info cards. These tools help promote your other content and keep viewers engaged:
- Click on the End Screen option to modify what appears at the end of your video.
- Add links to other videos, playlists, or channels.
- Use the Info Cards feature to add clickable links during the video.

Saving Your Changes
Once you have made all the necessary edits, it’s time to save your work:
- Click on the Save button.
- The changes will take some time to process, but your original video will remain live during this time.
- Once processing is complete, your edited version will seamlessly replace the old one without affecting views or analytics.

Conclusion
Editing your YouTube videos after they’ve been uploaded doesn’t have to be a daunting task. With the tools provided in YouTube Studio, you can make quick fixes without losing your views or starting from scratch. Whether it’s trimming out mistakes, blurring sensitive information, or updating audio, these features allow you to maintain the quality of your content.
So next time you notice a mistake in your video, remember that you have the power to edit it with ease. Don’t forget to check out more tips and tricks to enhance your YouTube journey!
I hope you found this guide helpful! For more insights, feel free to explore my other videos on the channel Howfinity.