

Editing a YouTube video after it has been posted can seem daunting, but it’s entirely possible and built right into the YouTube platform. Whether you need to trim out an awkward beginning, blur sensitive information, or replace audio, YouTube Studio provides the tools you need to refine your content without losing views, likes, or comments. Let’s explore how to navigate these features effectively.
Getting Started with YouTube Studio
The first step in editing your video is accessing YouTube Studio. Here’s how to do it:
- Log into your YouTube account.
- Navigate to YouTube Studio.
- On the left side, click on the Content tab to see all your uploaded videos.
Once you’ve selected the video you want to edit, you’ll find the editing tools readily available.

Understanding the YouTube Video Editor
Inside the video editor, you’ll see a timeline representing your entire video. This includes:
- A video track
- An audio track
- An end screen track
You can edit these tracks to make your video more polished and professional. The tools available allow you to trim, cut, blur, and adjust audio, which we’ll discuss in detail.

Trimming and Cutting Your Video
One of the most common edits is trimming unwanted sections from your video. Here’s how to do that:
Trimming the Beginning or End
If you want to cut out the beginning or the end of your video, simply:
- Use the slider to select the start or end point of the section you want to remove.
- For example, to cut the first 20 seconds, move the slider to the 20-second mark. This will remove everything before that point.
- Click Save to apply the changes.

Cutting Sections from the Middle
Need to remove something from the middle? No problem! Follow these steps:
- Position the playhead where you want to start the cut.
- Click to start a new cut and then position the playhead where you want it to end.
- Click the check mark to confirm the cut.
- Preview your edit and click Save if you’re happy with it, or discard if you change your mind.

Using the Blur Tool
Sometimes, you may need to hide sensitive information. The blur tool is perfect for this. Here’s how to use it:
Face Blur
You can automatically detect and blur faces in your video. This is useful if someone appears in your video without their consent.

Custom Blur
If you need to blur specific elements like a logo or license plate, use the custom blur feature:
- Select the custom blur option and adjust the box to cover the area you want to blur.
- You can move and resize the box as needed.

Adjusting Audio
Another crucial aspect of editing is managing your audio. YouTube Studio allows you to:
Replace Problematic Audio
If you’ve used music that you shouldn’t have, you can replace it with royalty-free music from YouTube’s audio library. Here’s how:
- Click on the audio option in the editor.
- Choose a royalty-free track and add it to your audio track.
- You can adjust the volume to make it background music or remove it entirely if needed.

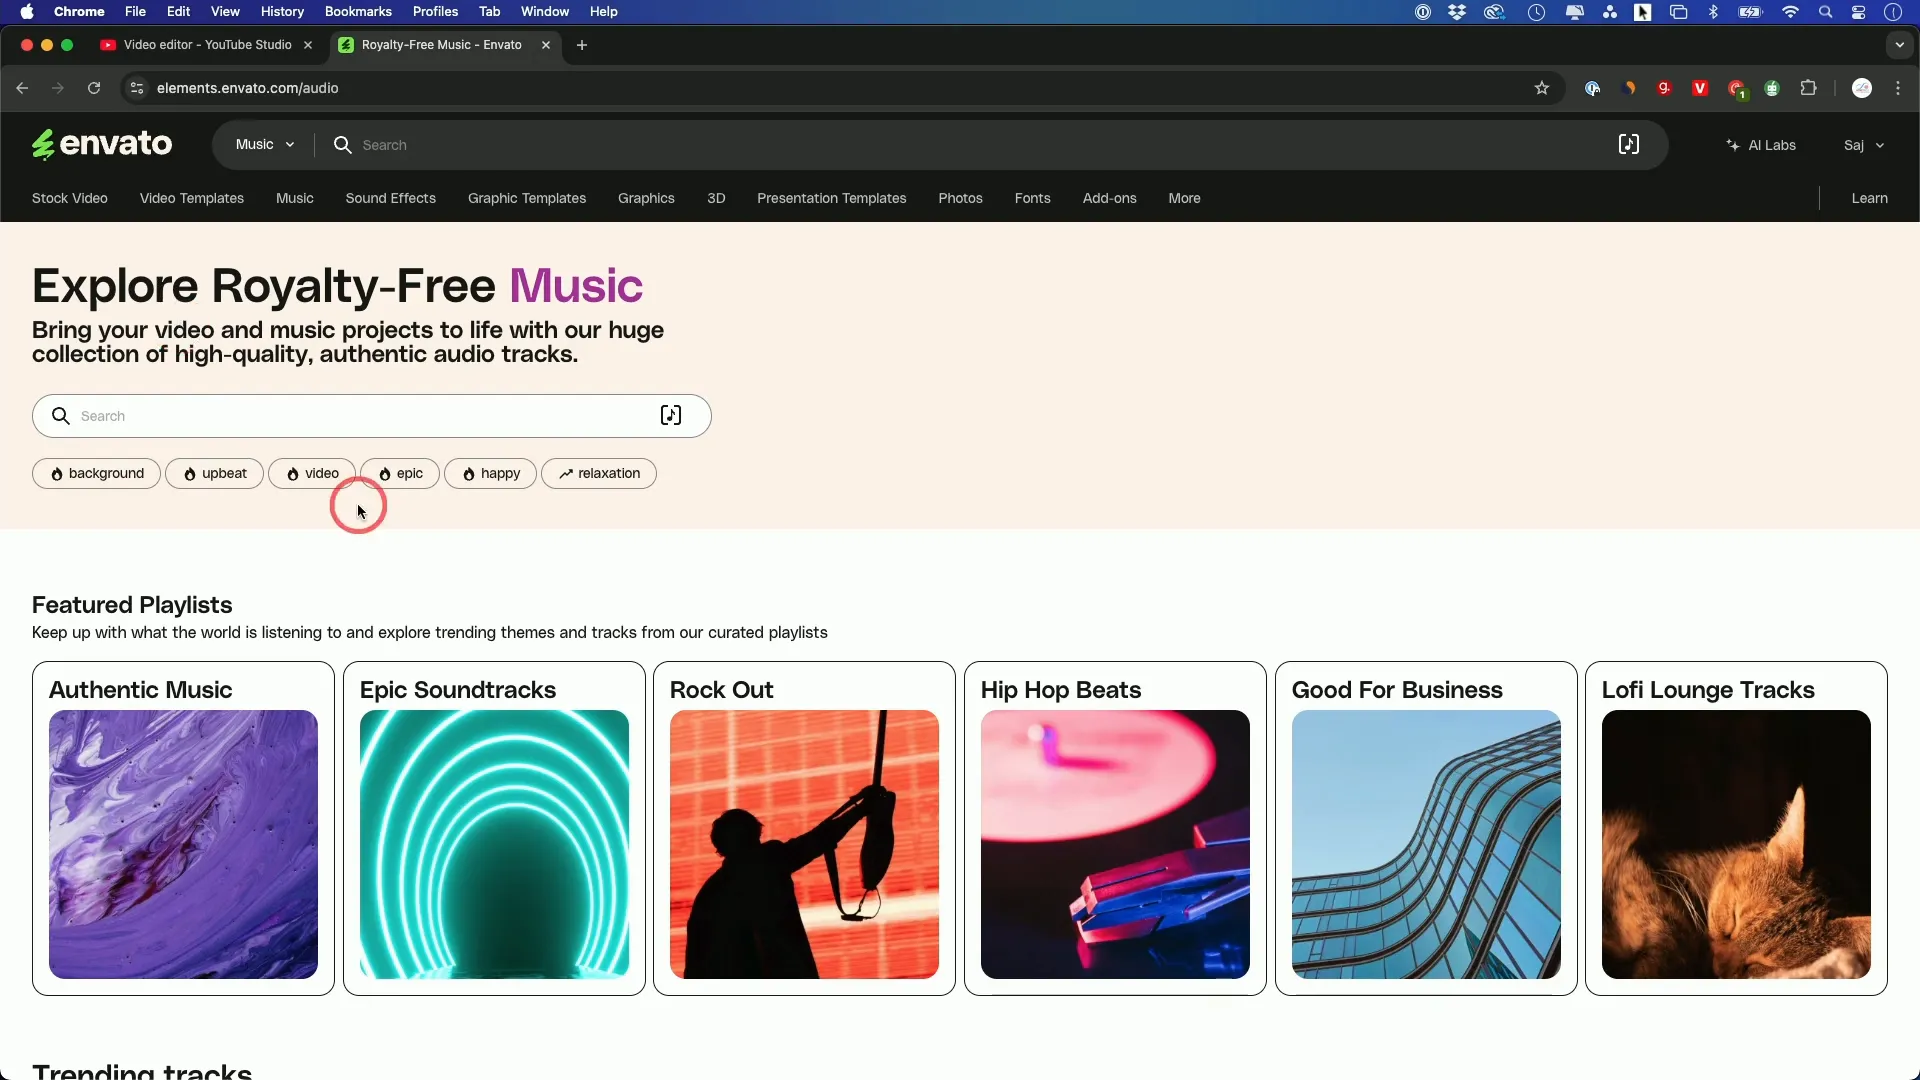
Using Royalty-Free Music
While YouTube’s audio library is helpful, it’s somewhat limited. For a broader selection, consider using platforms like Envato Elements:
- Envato offers millions of royalty-free tracks.
- Simply search for the type of music you need, listen, and download.
Limitations of YouTube Studio Editing
While YouTube Studio is powerful, it does have limitations. You can cut and adjust existing content, but you cannot add new footage. If you want to add new sections, you’ll need to re-upload a new version of your video.

Conclusion
Editing your YouTube videos after posting is simple and effective with YouTube Studio. Whether you’re trimming the start, blurring sensitive information, or adjusting audio, these tools can significantly enhance your video quality. Just remember, while you can make many changes, adding new footage is not one of them. If you find yourself needing to do that often, consider planning your videos more thoroughly before uploading.
Thanks for reading, and happy editing!