
Uploading YouTube Shorts has traditionally been a mobile-first experience, but what if you want to manage your Shorts directly from your PC? Whether you’re a content creator looking to streamline your workflow or someone who prefers editing and uploading videos from a desktop environment, uploading YouTube Shorts from your PC can save you a lot of time and hassle. This comprehensive guide will walk you through the entire process of uploading your Shorts from your computer, breaking down each step and sharing tips to make your uploads smooth and efficient.
By the end of this article, you’ll know exactly how to upload multiple Shorts at once, edit details like titles and descriptions, and schedule your videos—all without ever needing to pick up your phone. Let’s dive in!
Why Upload YouTube Shorts from Your PC?
Many creators start by uploading Shorts directly through their phones because it’s simple and quick. However, uploading through your PC offers several benefits:
- Batch Uploading: Upload multiple videos simultaneously, which is perfect if you have a backlog of Shorts ready to go.
- Better File Management: Easily access and organize your videos from your computer’s file explorer.
- More Efficient Editing: Quickly add titles, descriptions, and tags without the constraints of a mobile interface.
- Scheduling Flexibility: Plan your Shorts’ release times ahead of schedule.
Let’s go through the exact steps to upload your Shorts from your PC.
Step 1: Access YouTube and Start Uploading
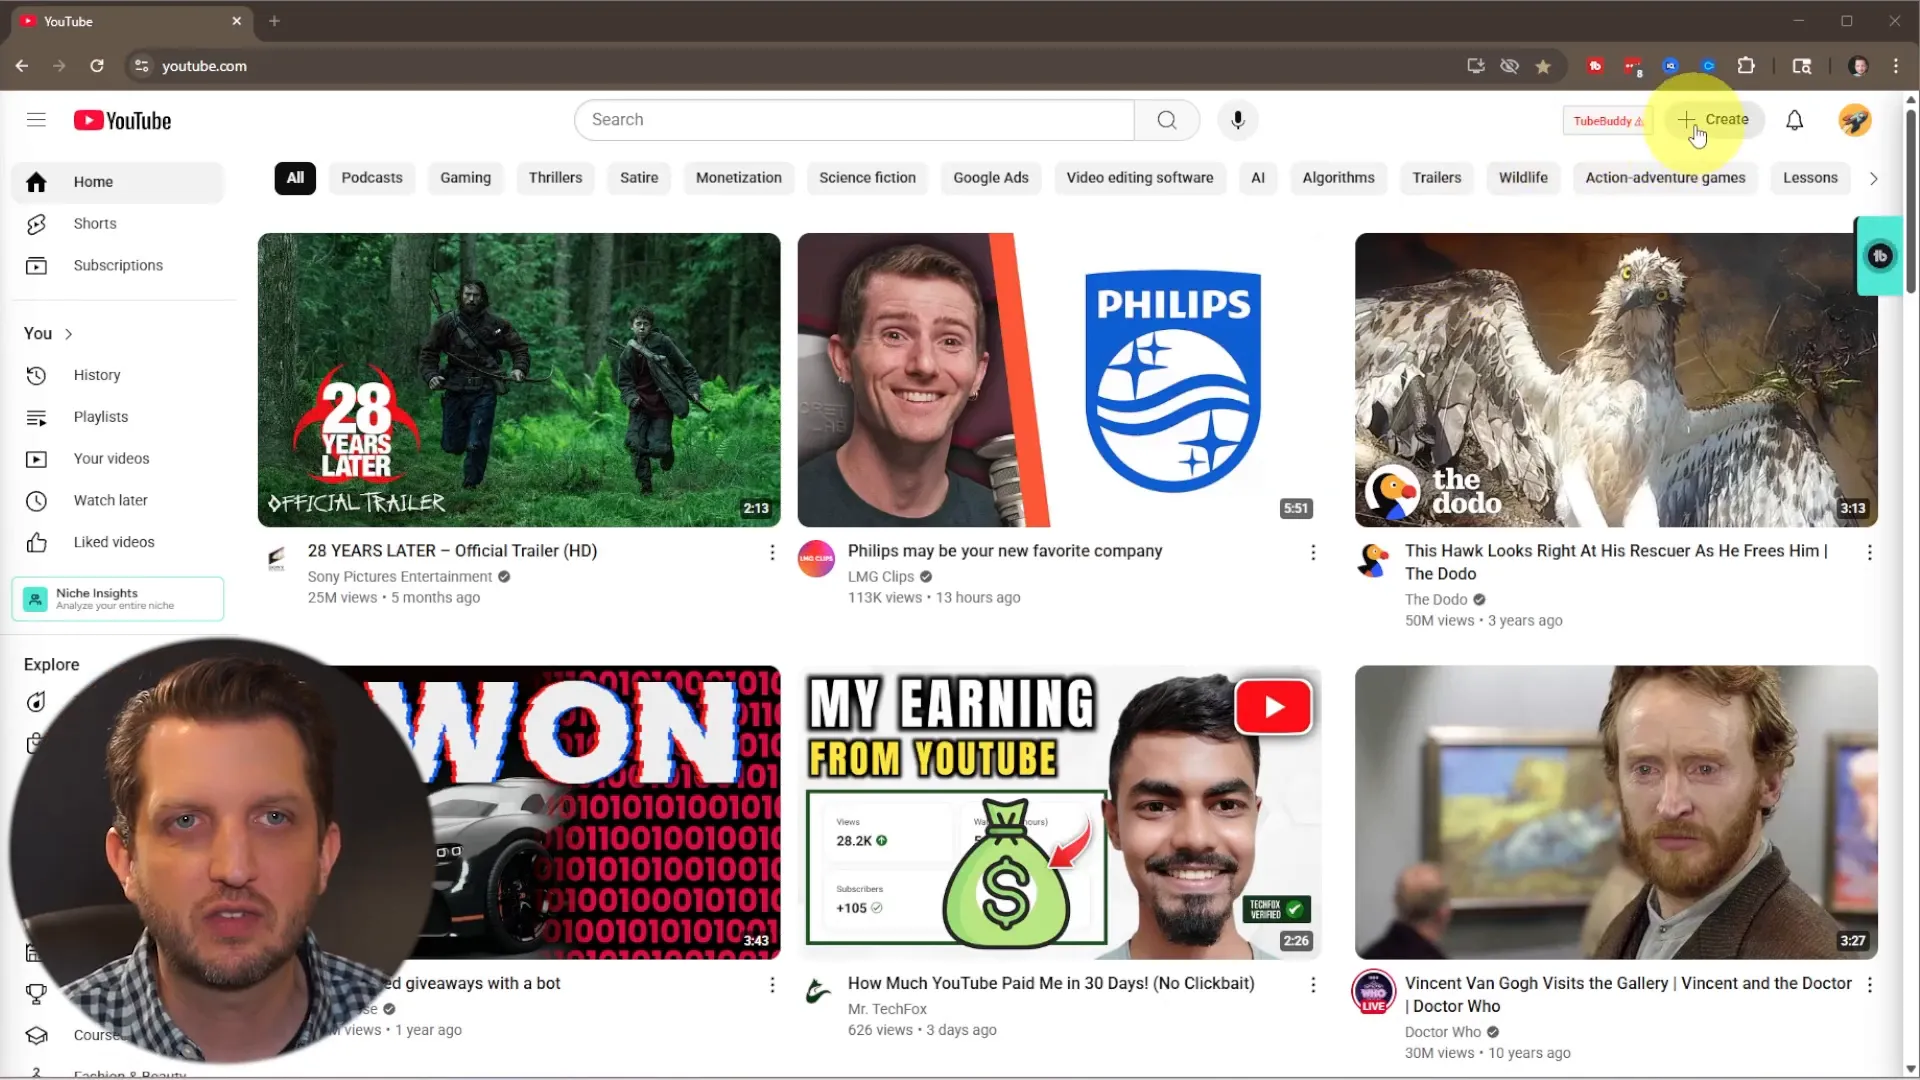
The first thing you’ll want to do is head over to youtube.com and make sure you’re signed into the account you want to upload your Shorts to. Once logged in, look for the Create button, which is usually represented by a plus (+) icon in the upper right corner of the screen.
Click on this button and then select Upload video. This will open the upload interface where you can add your Shorts files.
Step 2: Upload Multiple Shorts at Once
One of the biggest advantages of uploading from your PC is the ability to upload multiple videos simultaneously. For example, if you have a week’s worth of Shorts or even ten videos ready, you can upload them all at once, saving you a ton of time.
To do this, open your computer’s File Explorer and navigate to the folder where your Shorts are stored. You can then select multiple videos by holding down the Ctrl key (or Cmd on Mac) and clicking each file you want to upload.
Once selected, drag and drop the files into the YouTube upload window. You’ll see all the videos begin uploading together.
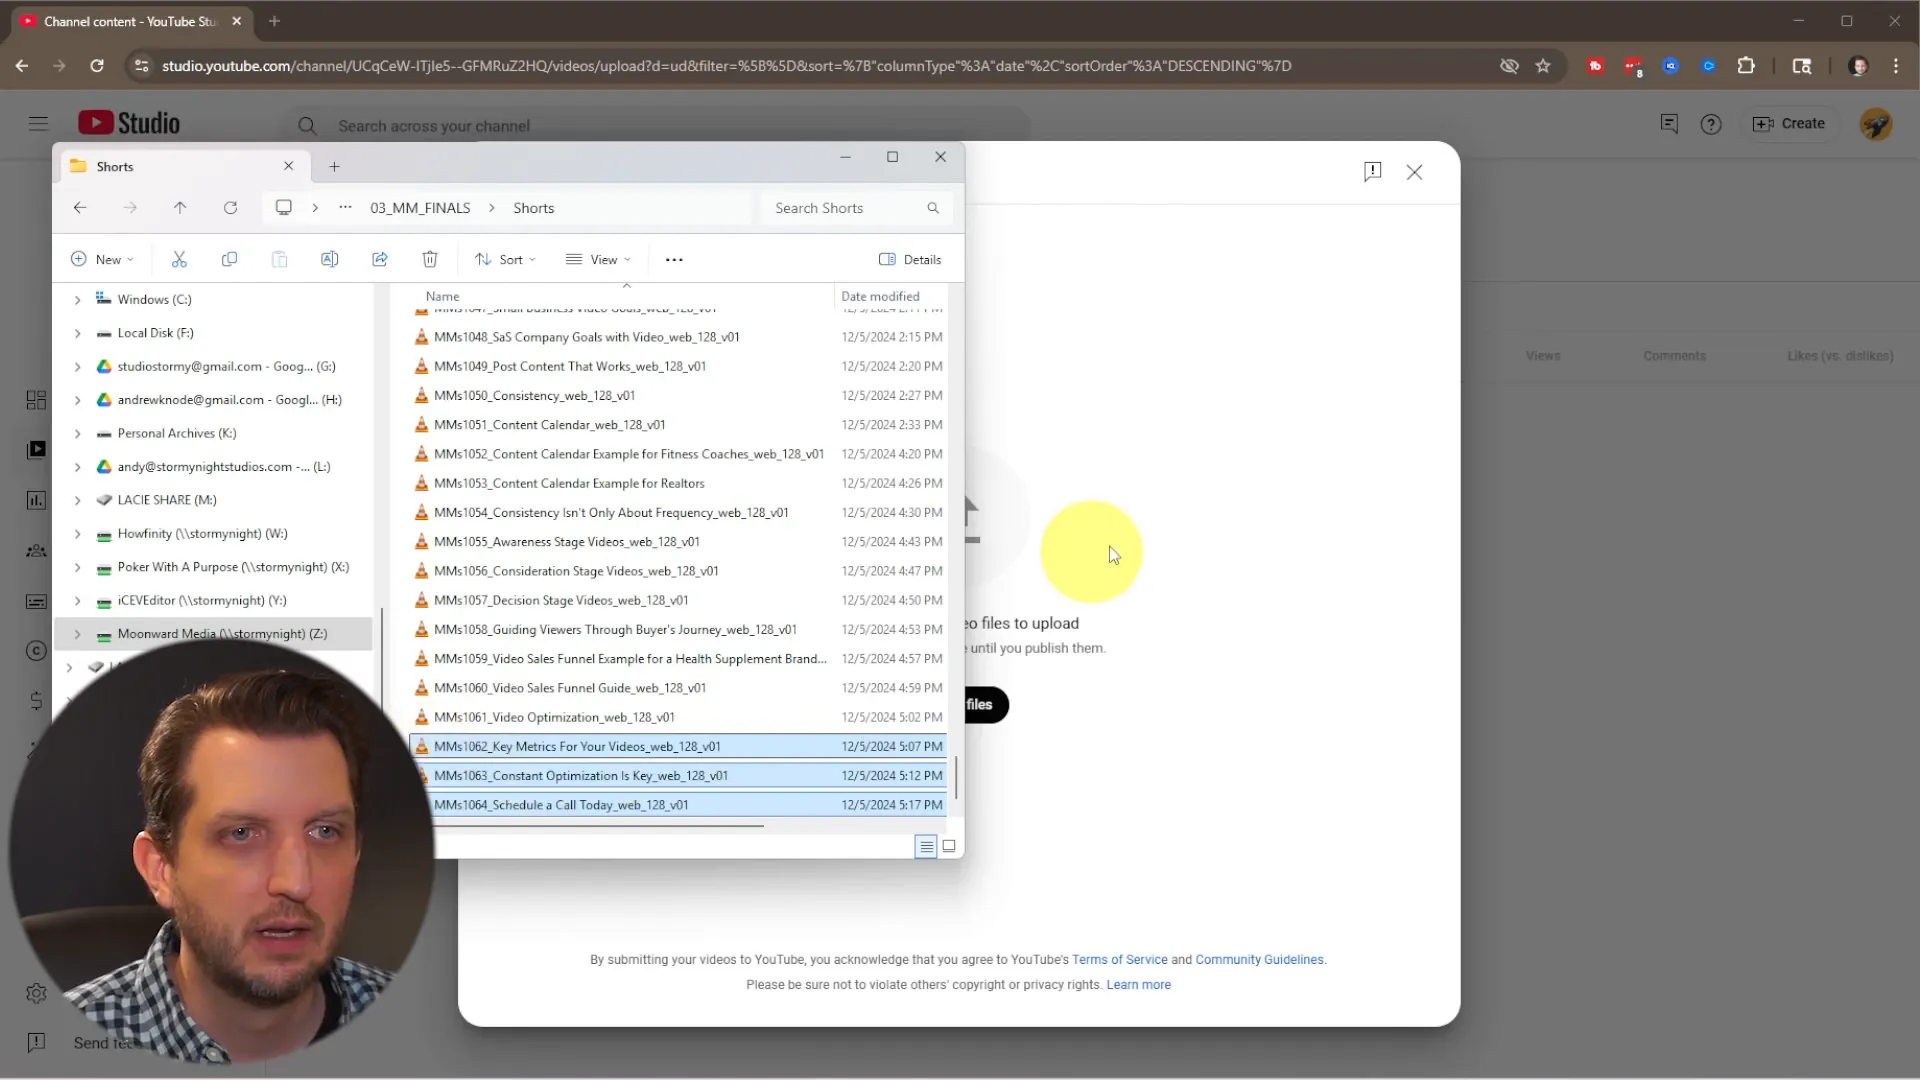
YouTube allows you to upload up to 15 videos at a time, and you can always add more later if needed. As the videos upload, they will initially appear in your Videos category.
Step 3: Understanding How Shorts Are Categorized
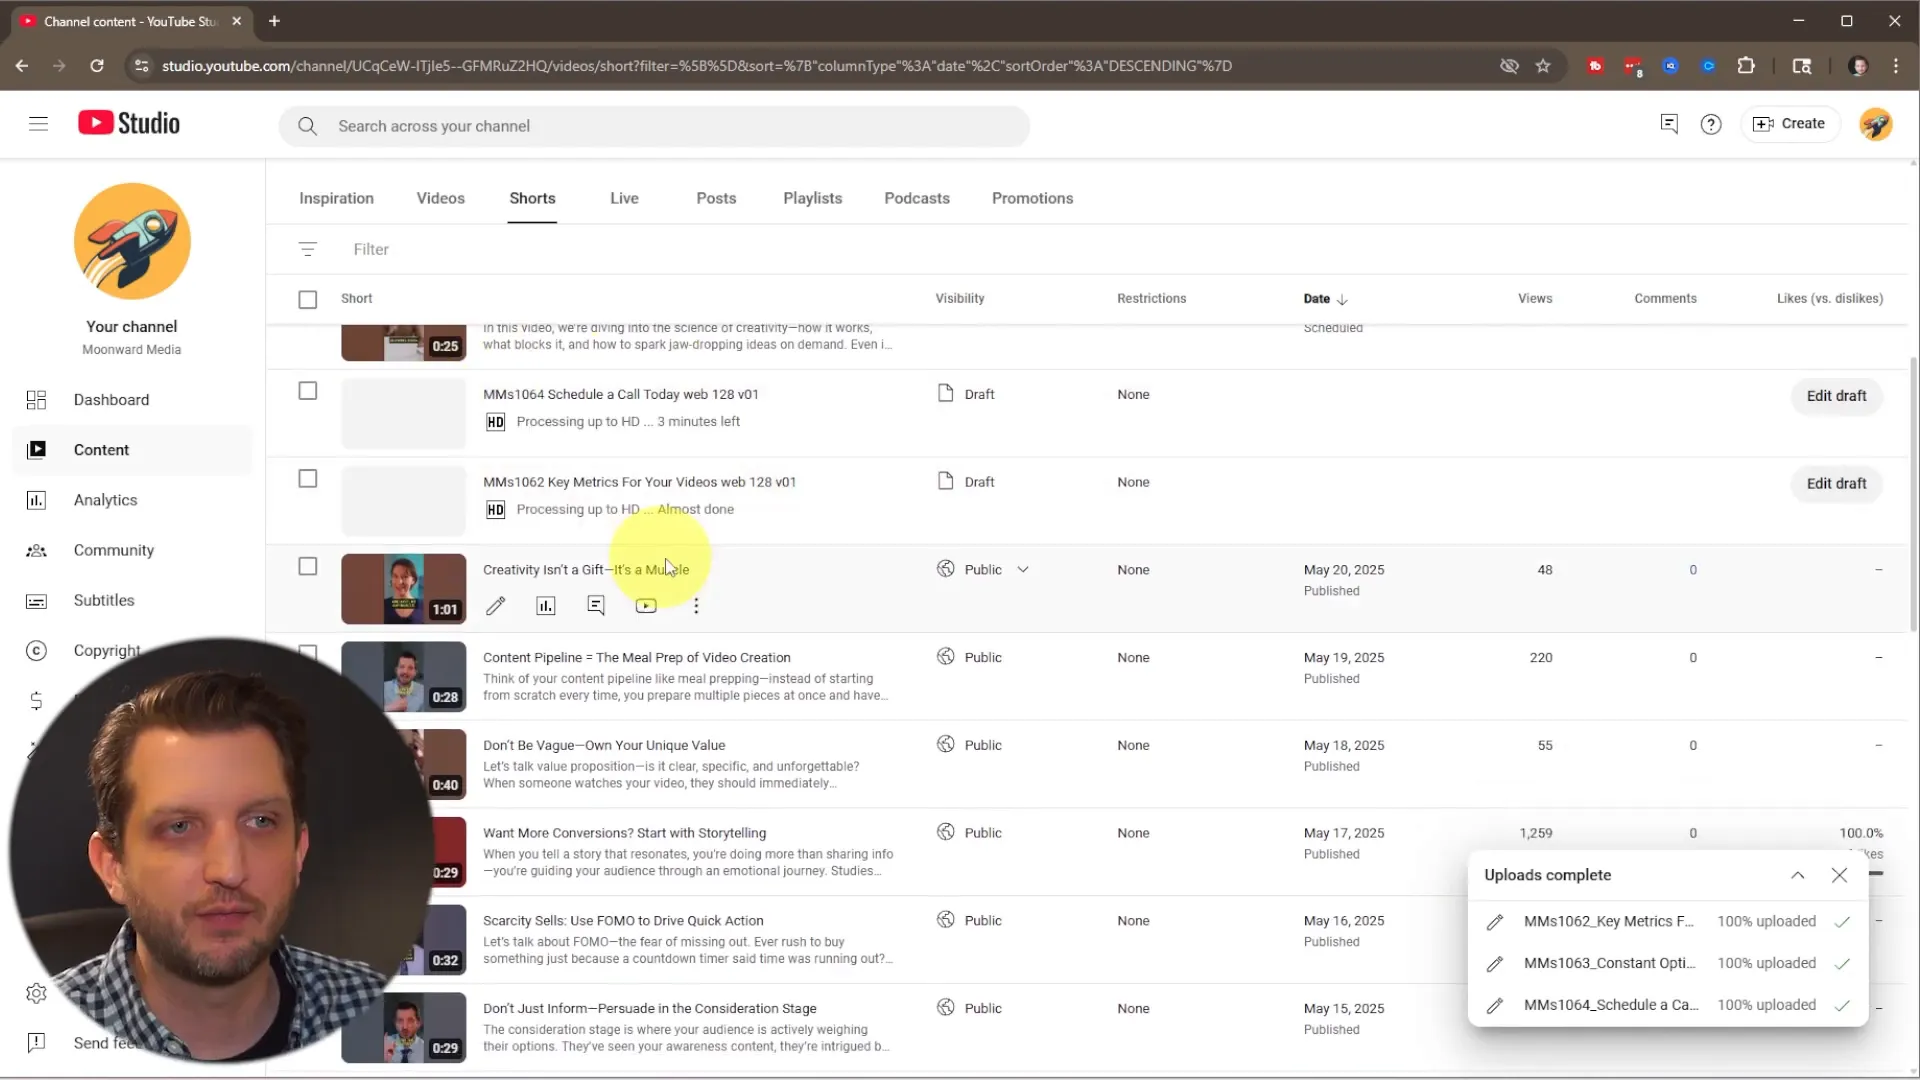
After uploading, YouTube’s system will automatically detect if your videos meet the qualifications to be categorized as Shorts. This usually depends on the video length (under 60 seconds) and aspect ratio (vertical format).
Once detected, the videos will move from the general Videos category to the Shorts category in YouTube Studio. This helps you keep your content organized and makes it easier to manage your Shorts specifically.
Step 4: Editing Your Shorts Details on Desktop
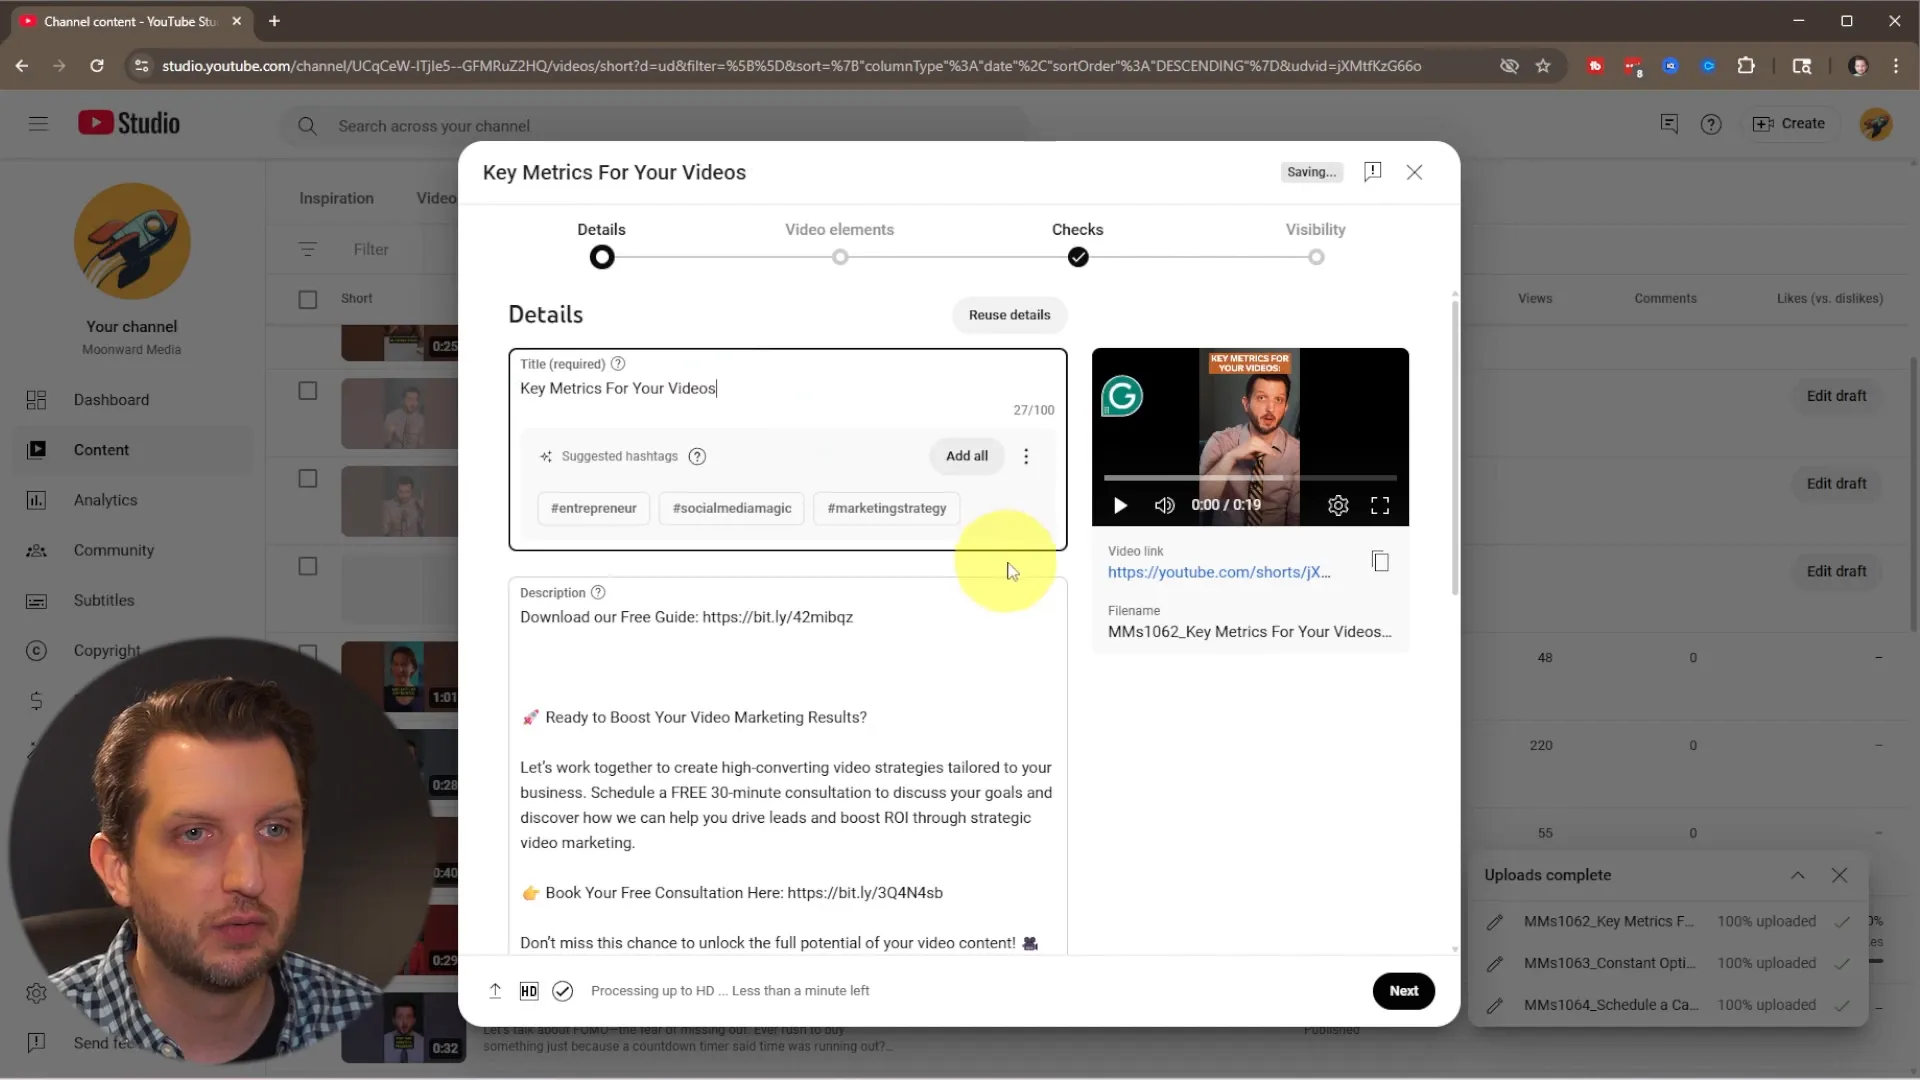
With your videos uploaded, you can start adding important metadata to make your Shorts ready for publishing. Click on the pencil icon next to the video you want to edit. This will take you to the details page where you can add or change the following:
- Title: Give your Short a clear, engaging title. For example, “Key Metrics for Your Videos.”
- Description: Add a description to provide context or additional information.
- Playlist: Assign your Short to a playlist to improve discoverability and organization.
- Audience Settings: Specify whether your video is made for kids or not, which is important for compliance with YouTube’s policies.
- Tags: Add relevant tags to help YouTube understand your video’s content and improve searchability.
However, there is one important limitation to note: on desktop, you cannot manually change the thumbnail for your Shorts. YouTube automatically selects one of the early frames from your video as the thumbnail. If you want more control over the thumbnail, you’ll need to adjust this on your mobile device after uploading.
Step 5: Using Advanced Features: Related Videos and Subtitles
One powerful feature available when uploading Shorts from your PC is the ability to add a related video. This is especially useful because YouTube Shorts don’t allow clickable links within the video description or comments. Instead, you can link a related video directly, which viewers can click to watch a longer or more detailed video.
To add a related video, click on the Add button and select the full-length video you want to link. This helps drive traffic from your Shorts to your main content, boosting engagement and watch time.
Additionally, you can edit the subtitles for your Shorts. YouTube auto-generates subtitles based on speech recognition, but you can review and correct these to ensure accuracy. This is great for improving accessibility and viewer retention.
Step 6: Copyright Checks and Visibility Settings
Before publishing, YouTube performs an automatic copyright check on your uploaded videos. This process helps protect your content from being flagged or removed due to copyright infringements.
If the check passes, you’ll see a green checkmark indicating that your video is clear to be published. Sometimes this process can take a bit of time, so if you check too early, it might still be working.
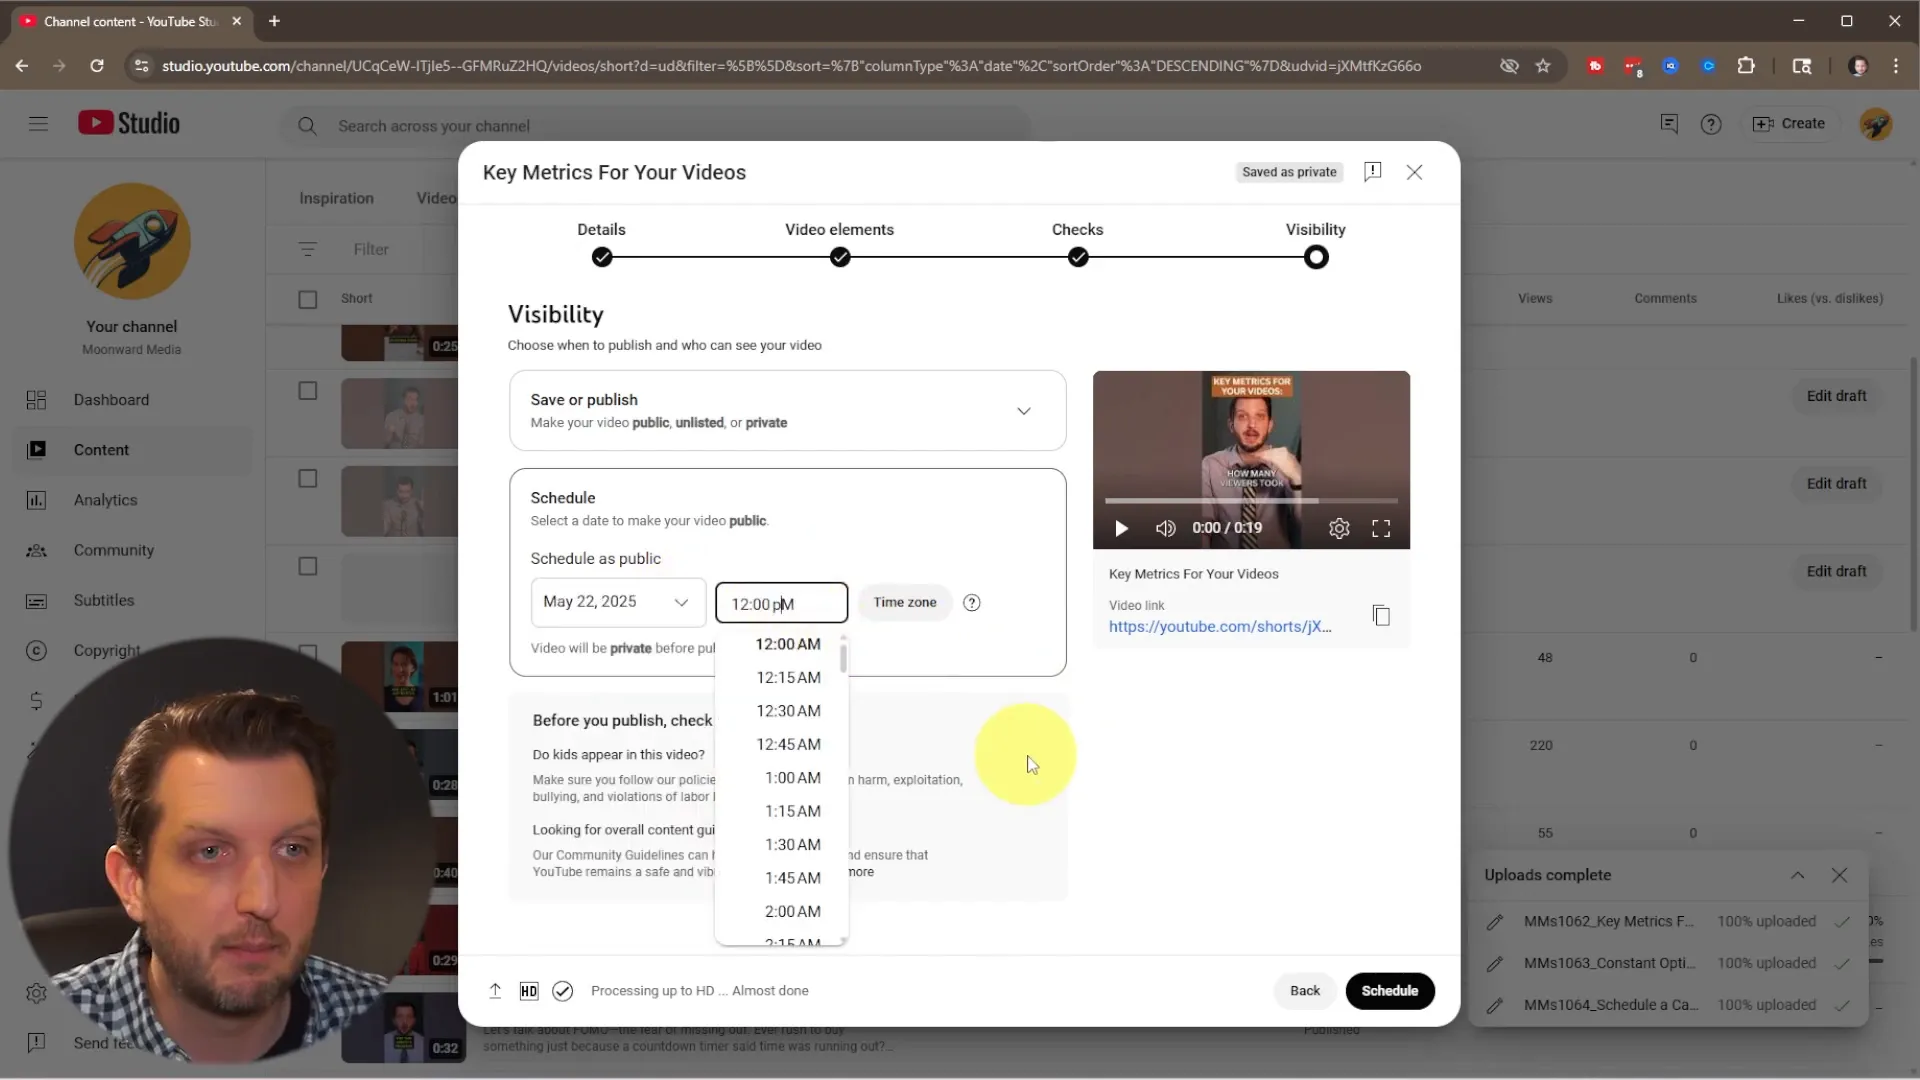
Next, select your video’s visibility:
- Private: Only you can see the video.
- Unlisted: Anyone with the link can view the video, but it won’t appear in search results.
- Public: The video is visible to everyone immediately.
If you don’t want to publish your Short immediately, you can schedule it for a future date and time. For example, you might schedule your video to go live tomorrow at 12 PM. This scheduling feature is a huge time saver for creators planning content in advance.
Step 7: Finalizing and Sharing Your YouTube Shorts
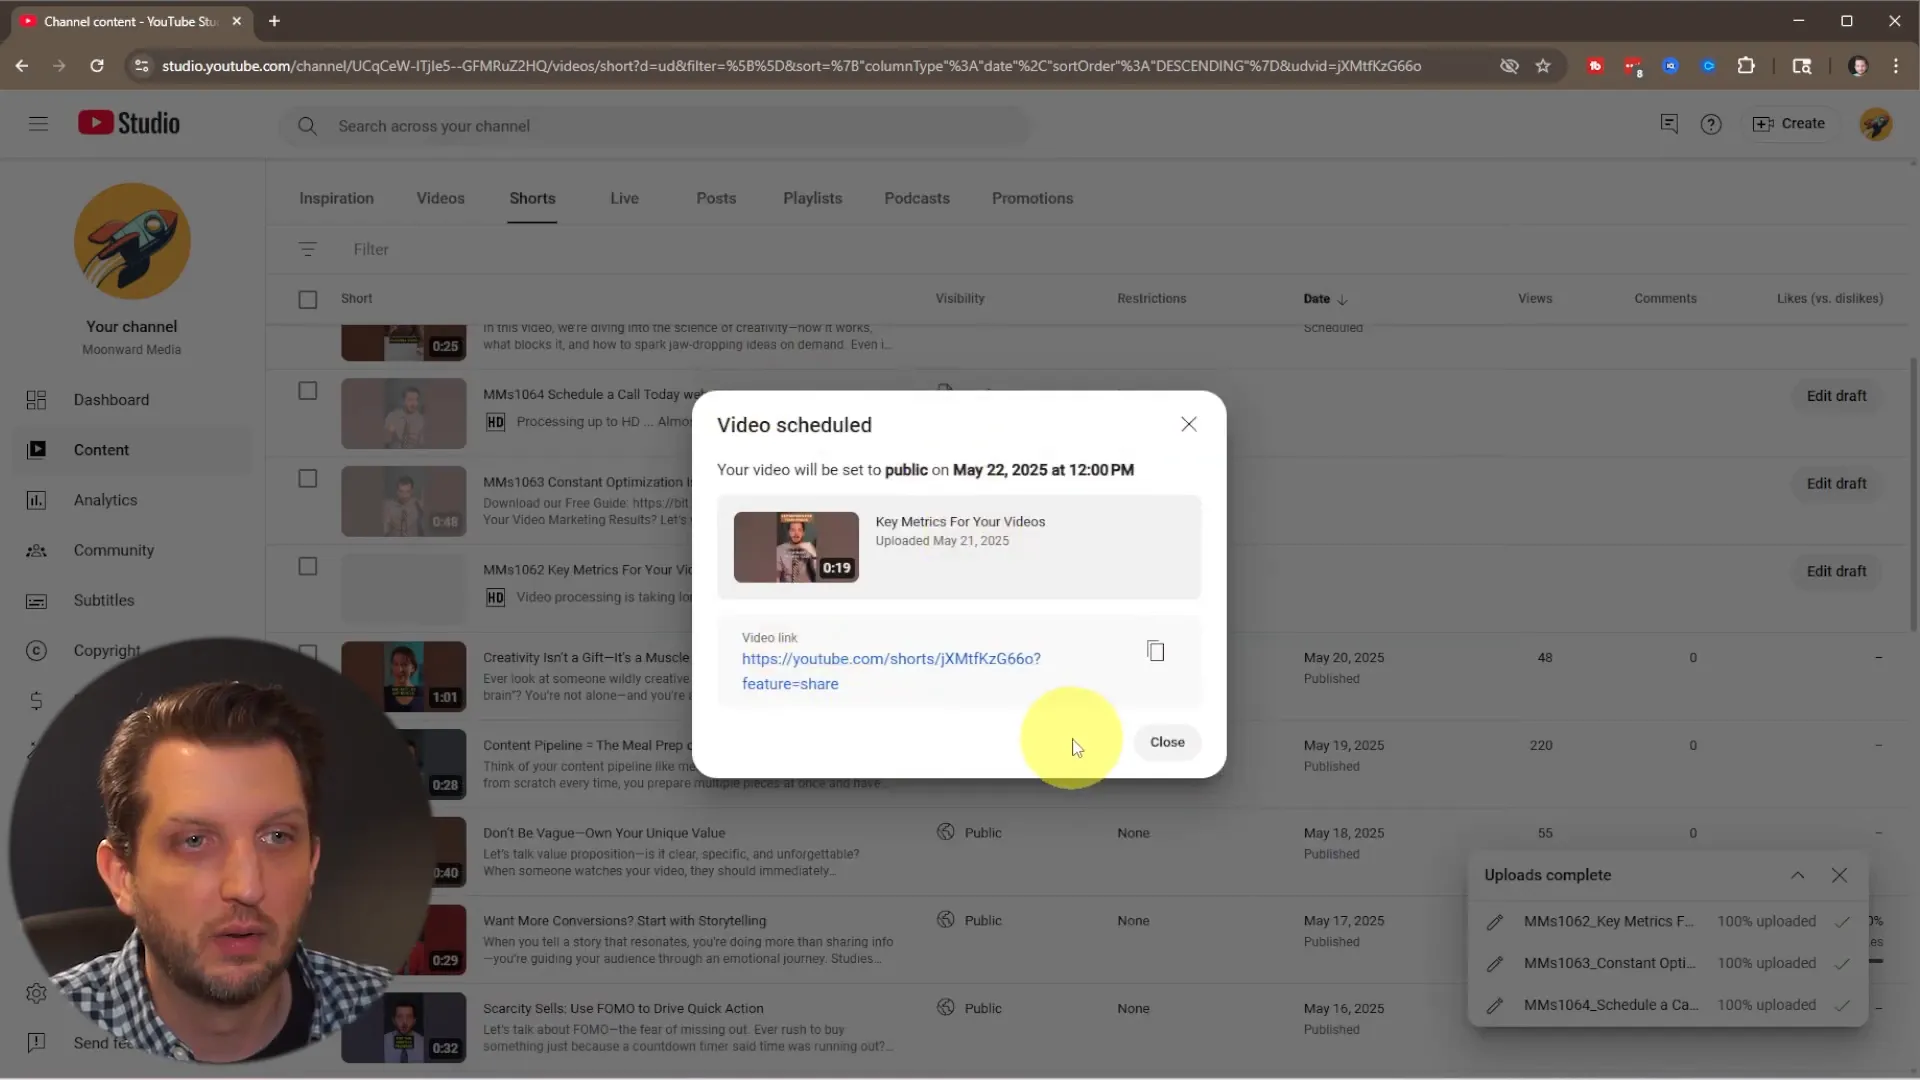
Once everything is set up—your title, description, tags, related video, subtitles, copyright check, and visibility—you simply click Schedule or Publish depending on your preference.
You’ll then receive a link to share your Short immediately if you want to promote it right away. Otherwise, your video will be ready to go live at the scheduled time.
And just like that, you’ve successfully uploaded and managed your YouTube Shorts right from your desktop.
Tips and Best Practices for Uploading YouTube Shorts from PC
- Prepare Your Videos in Advance: Organize your Shorts in folders on your computer for easy batch uploading.
- Use Clear, Engaging Titles: Catch viewers’ attention with concise titles that reflect your Shorts’ content.
- Leverage the Related Video Feature: Link to full-length videos to funnel Shorts viewers to longer content.
- Review and Edit Subtitles: Ensure subtitles are accurate to improve accessibility and viewer engagement.
- Schedule Your Uploads: Plan your content calendar and automate publishing for consistent uploads.
- Check Your Thumbnail on Mobile: If the automatic thumbnail isn’t ideal, adjust it on your phone after uploading.
Conclusion
Uploading YouTube Shorts from your PC is a fantastic way to save time, stay organized, and take full control over your video uploads. By following these steps, you can easily upload multiple Shorts at once, add detailed metadata, connect related videos, and schedule your content for optimal engagement—all without touching your phone.
This method is perfect for creators who produce a steady stream of Shorts and want to streamline their workflow. So next time you’re ready to upload your batch of Shorts, give the desktop method a try and experience the convenience firsthand.
Happy uploading, and may your Shorts reach new heights of success!