
Discord is a free app and website that has revolutionized real-time communication, boasting over 150 million users. This platform allows for text-based chats, voice calls, video sharing, and screen sharing. Initially designed in 2015 for gamers, Discord has evolved into an all-in-one communication tool that serves diverse communities. If you’re new to Discord, don’t worry! This guide will walk you through everything you need to know about how to use Discord effectively.
Introduction to Discord
Discord is more than just a chat app; it’s an all-in-one communication platform. You can engage in text, voice, and video chats, making it incredibly versatile. Whether you’re playing games, collaborating on projects, or just hanging out with friends, Discord provides the tools you need to connect. It’s free to use and can be accessed through various platforms, including browsers, Windows, Mac, iOS, and Android.
Getting Started with Discord
To start using Discord, follow these simple steps:
Accessing Discord
- Visit discord.com to get started.
- You can download Discord for your PC or Mac, or use it directly in your web browser. The interface is identical across platforms.
Creating an Account
Once you access Discord, you’ll need to create an account:
- Click on “Register” to create an account.
- Fill in your email, display name (how others will see you), username, password, and date of birth.
- Verify your account via email.
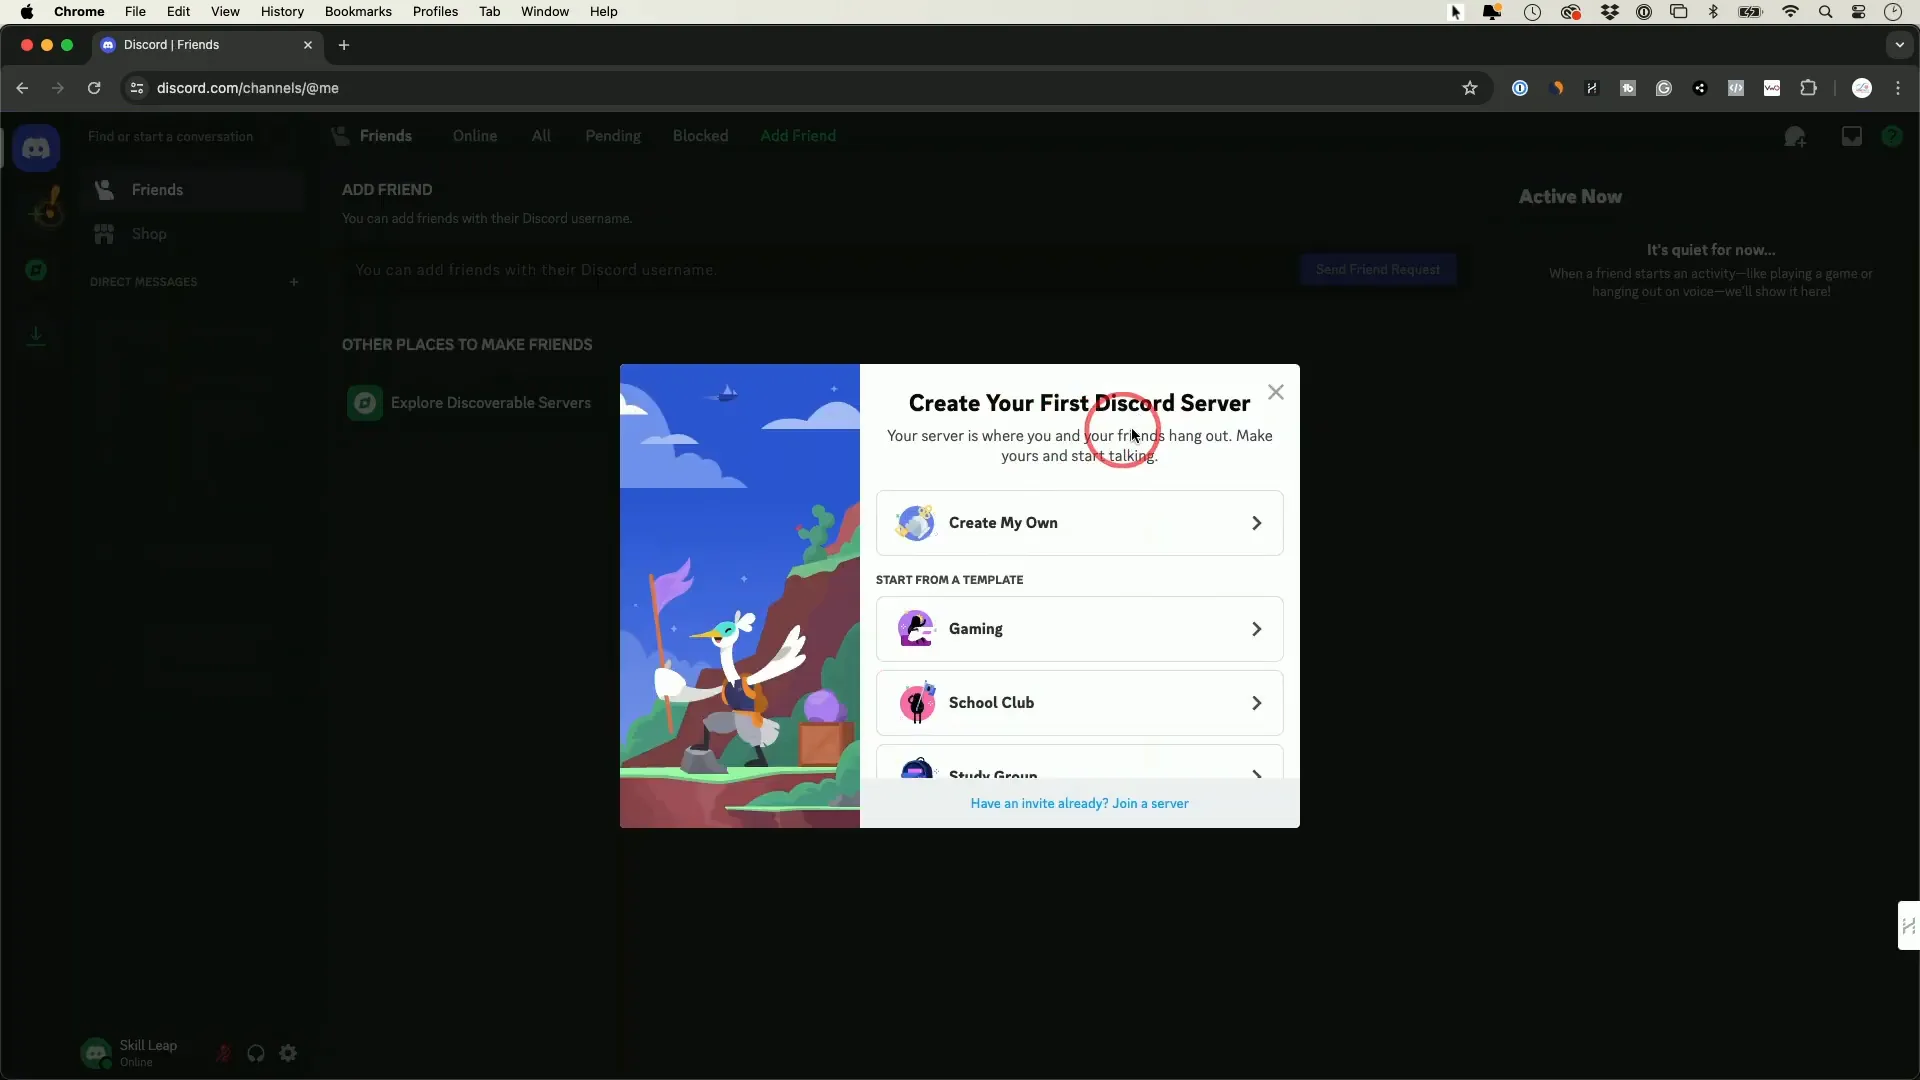
After registering, you may see a pop-up asking you to create a server. You can skip this for now and explore the platform first.
Understanding Servers
Servers are at the heart of Discord. Think of them as private communities where you can organize different chats and activities.
Creating Your Own Server
To create your server:
- Click the plus sign on the left side of the app.
- You can either create your server from scratch or start with a template.
- Choose a name and icon for your server and invite friends using a generated link.
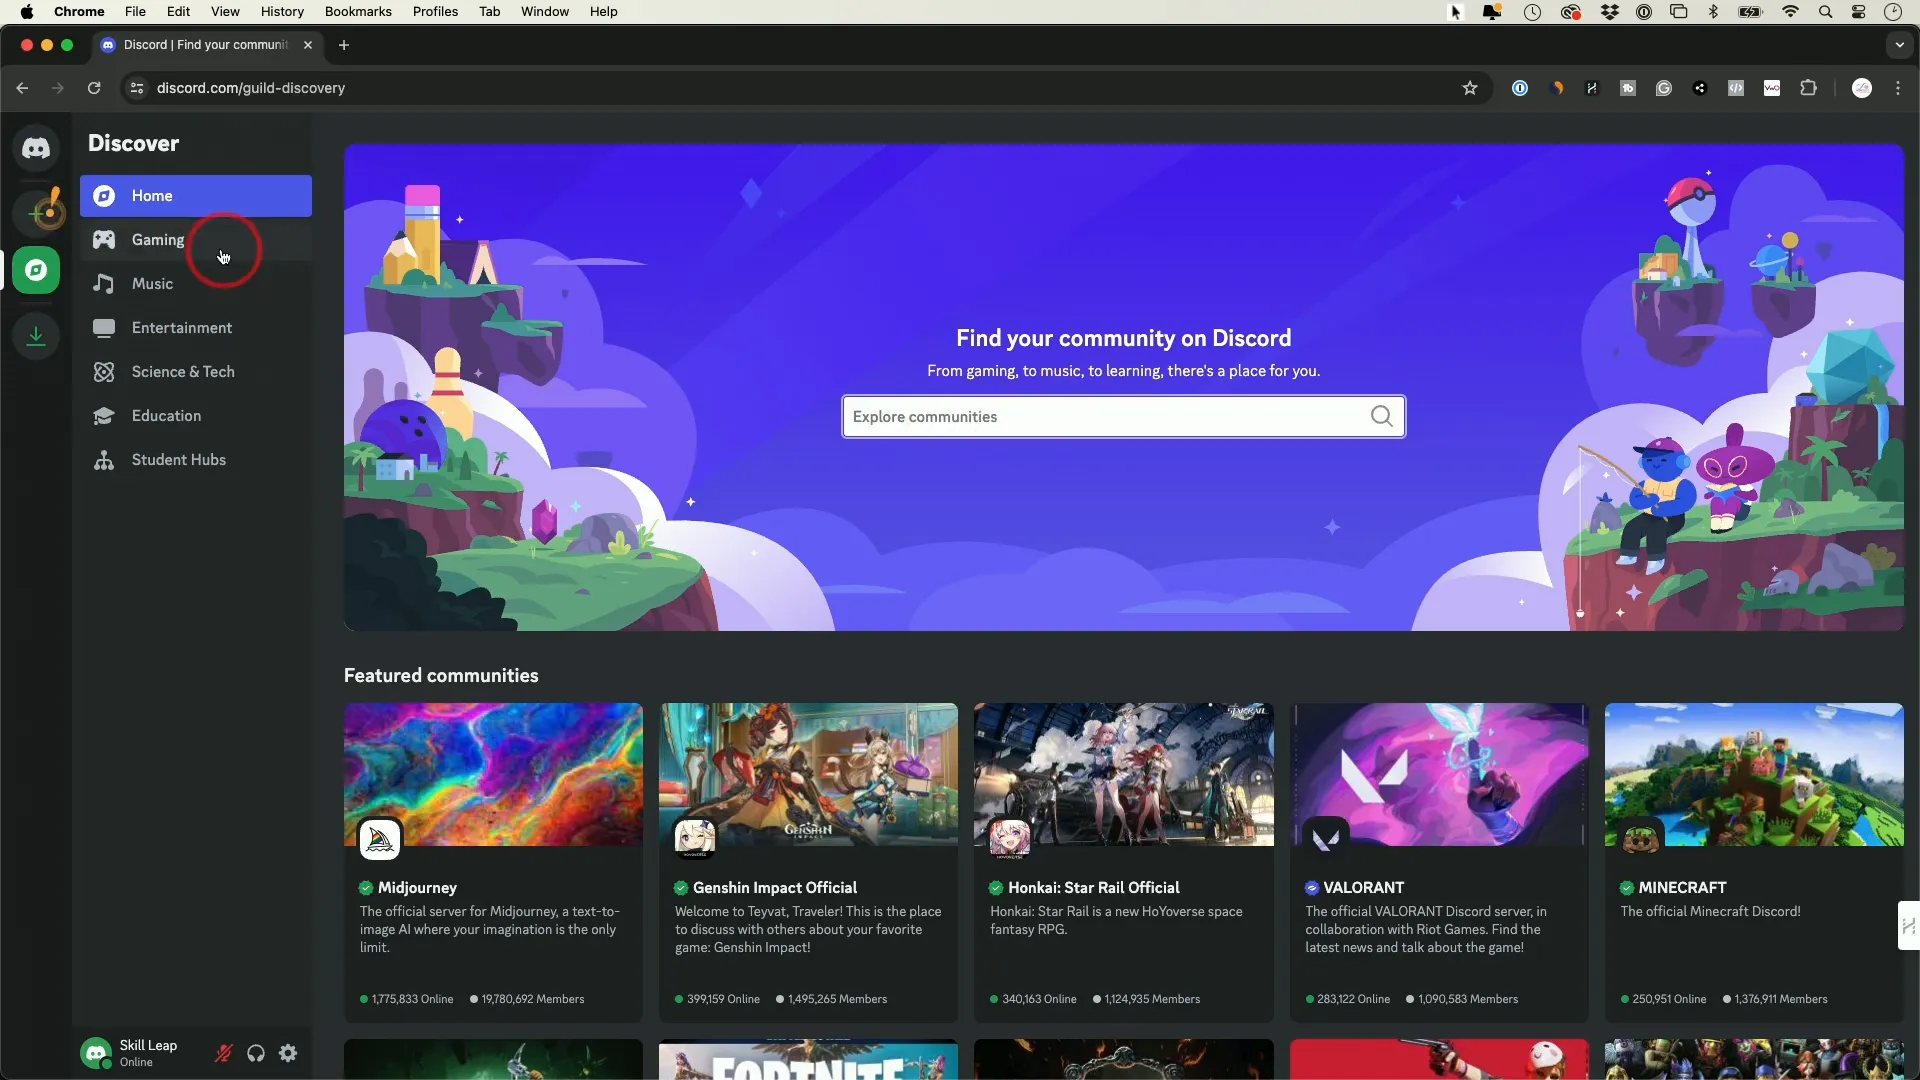
Joining Existing Servers
If you want to join existing servers:
- Click on “Explore Discoverable Servers” to find communities that interest you.
- Join by clicking on the server and then clicking “Join Server.”
Navigating the Discord Interface
The Discord interface can seem overwhelming at first, but understanding its layout will help you feel more comfortable.
Layout Overview
On the left side, you will see:
- Your servers listed as icons.
- Each server has channels categorized into text and voice channels.
- Text channels are indicated by a hashtag (#), while voice channels have a microphone icon.

Types of Channels
Within each server, channels can be:
- Text Channels: Where conversations happen in written form.
- Voice Channels: Where you can talk with others using your microphone.
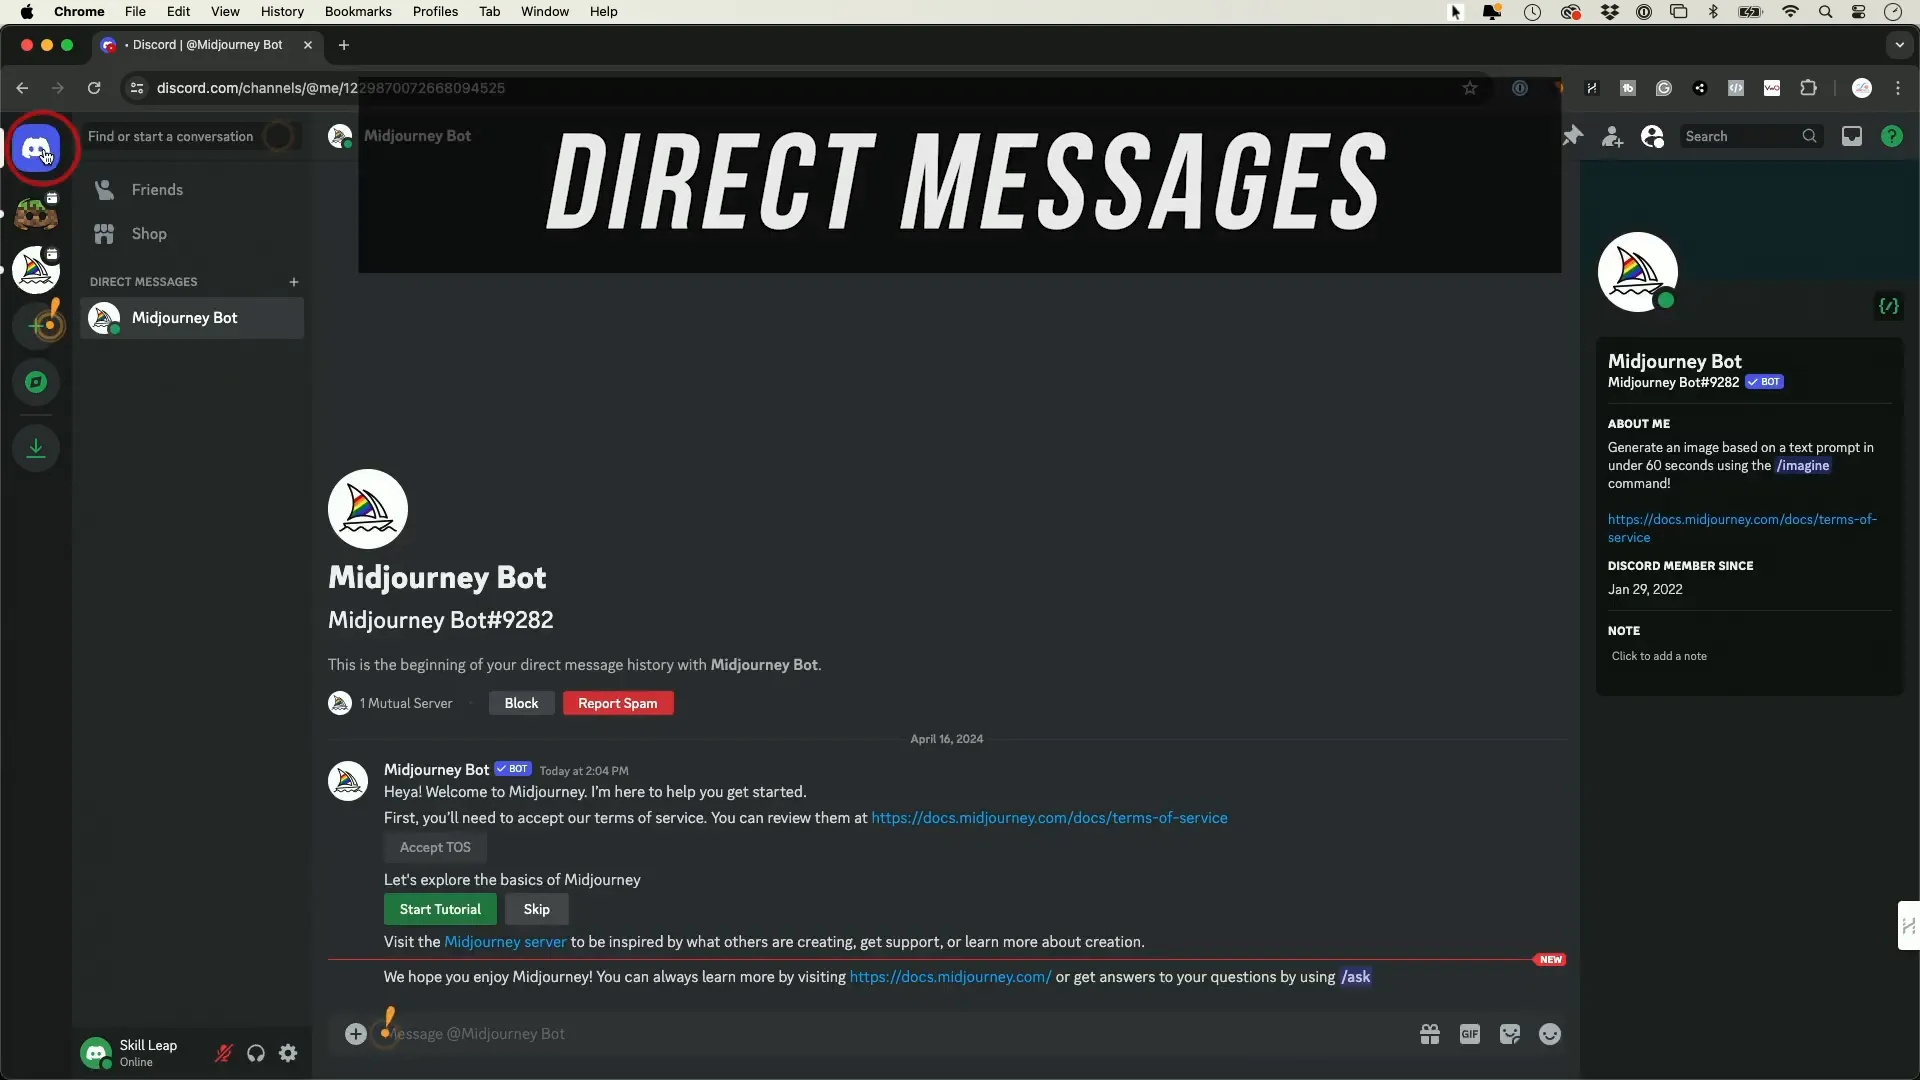
Using Direct Messages
Direct Messages (DMs) allow you to have private conversations with other users.
- To send a DM, go to the top of the left sidebar and click on “Direct Messages.”
- Add friends by typing their username and sending a friend request.
- You can chat, share files, and even start voice or video calls directly from DMs.
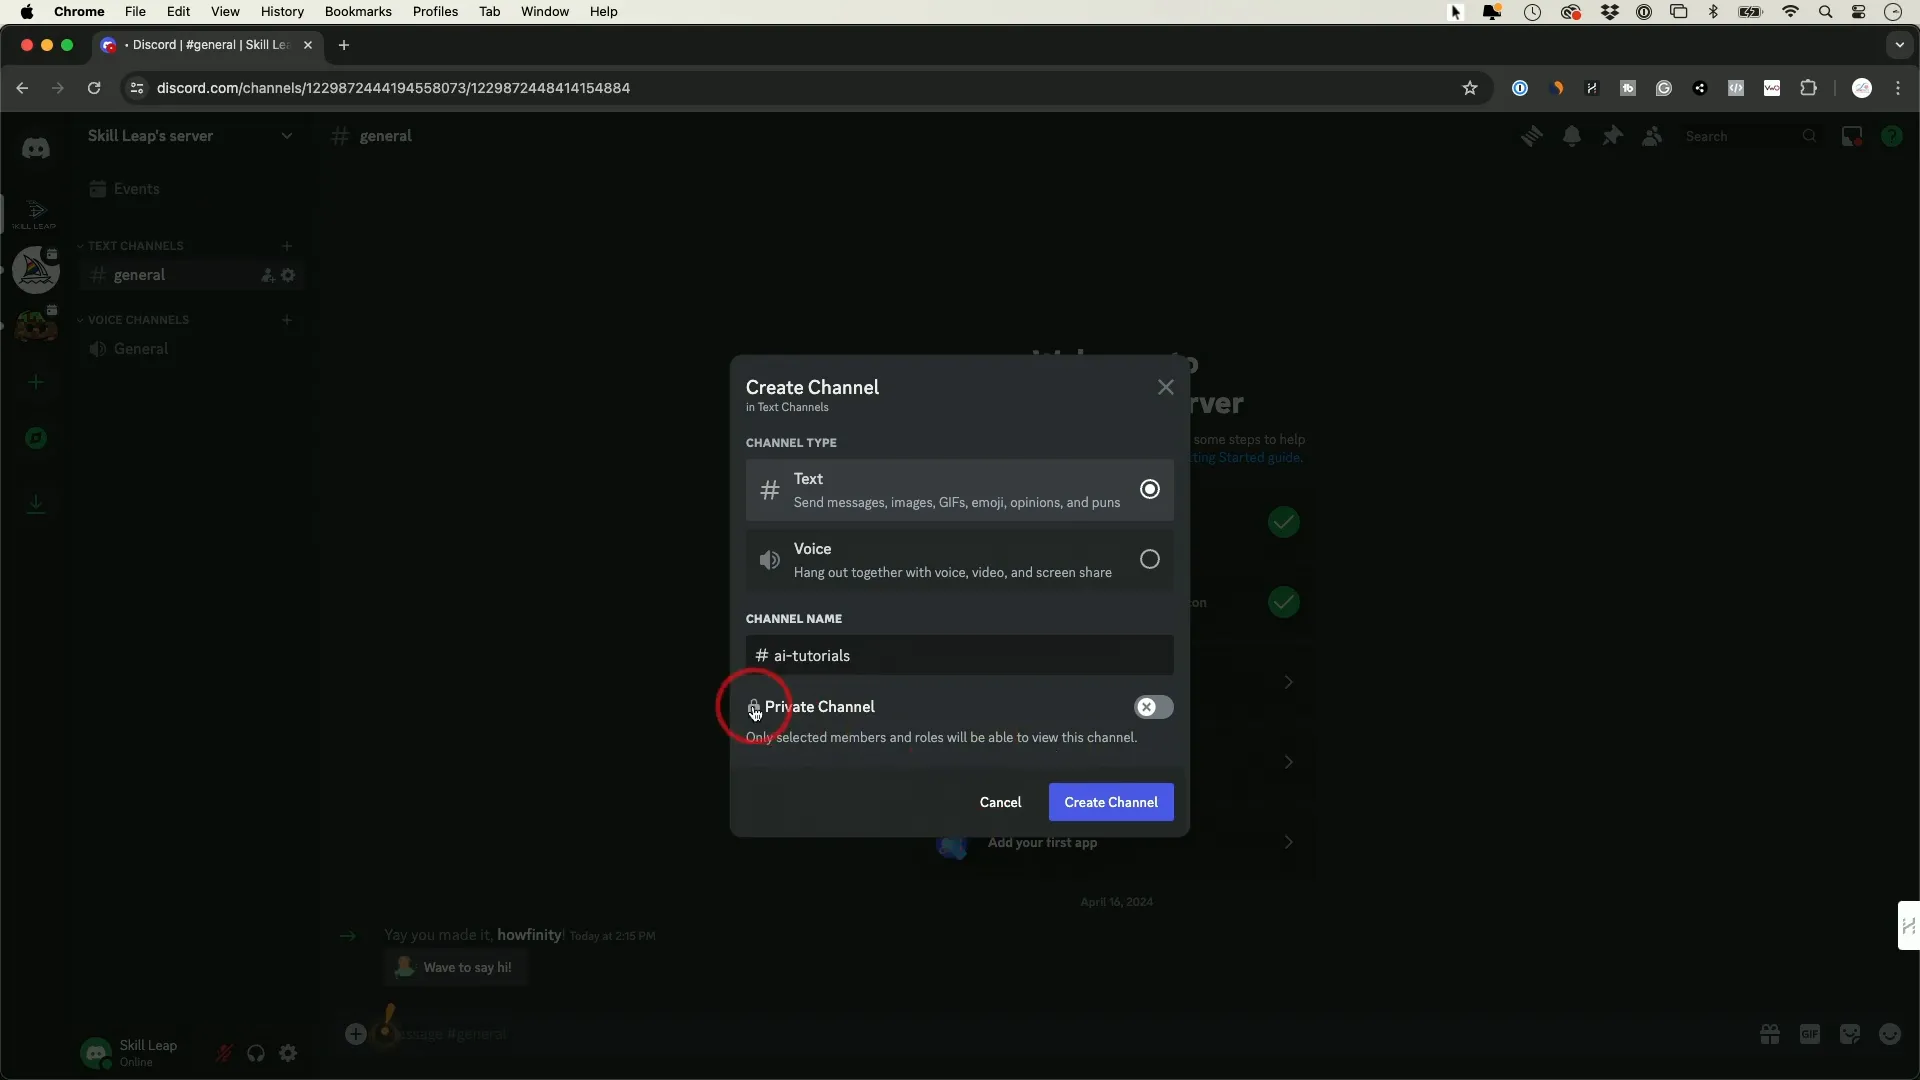
Creating Channels
Channels are essential for organizing conversations within your server. Here’s how to create them:
- Select your server and click the plus sign next to “Text Channels” or “Voice Channels.”
- Name your channel and decide if it should be public or private.
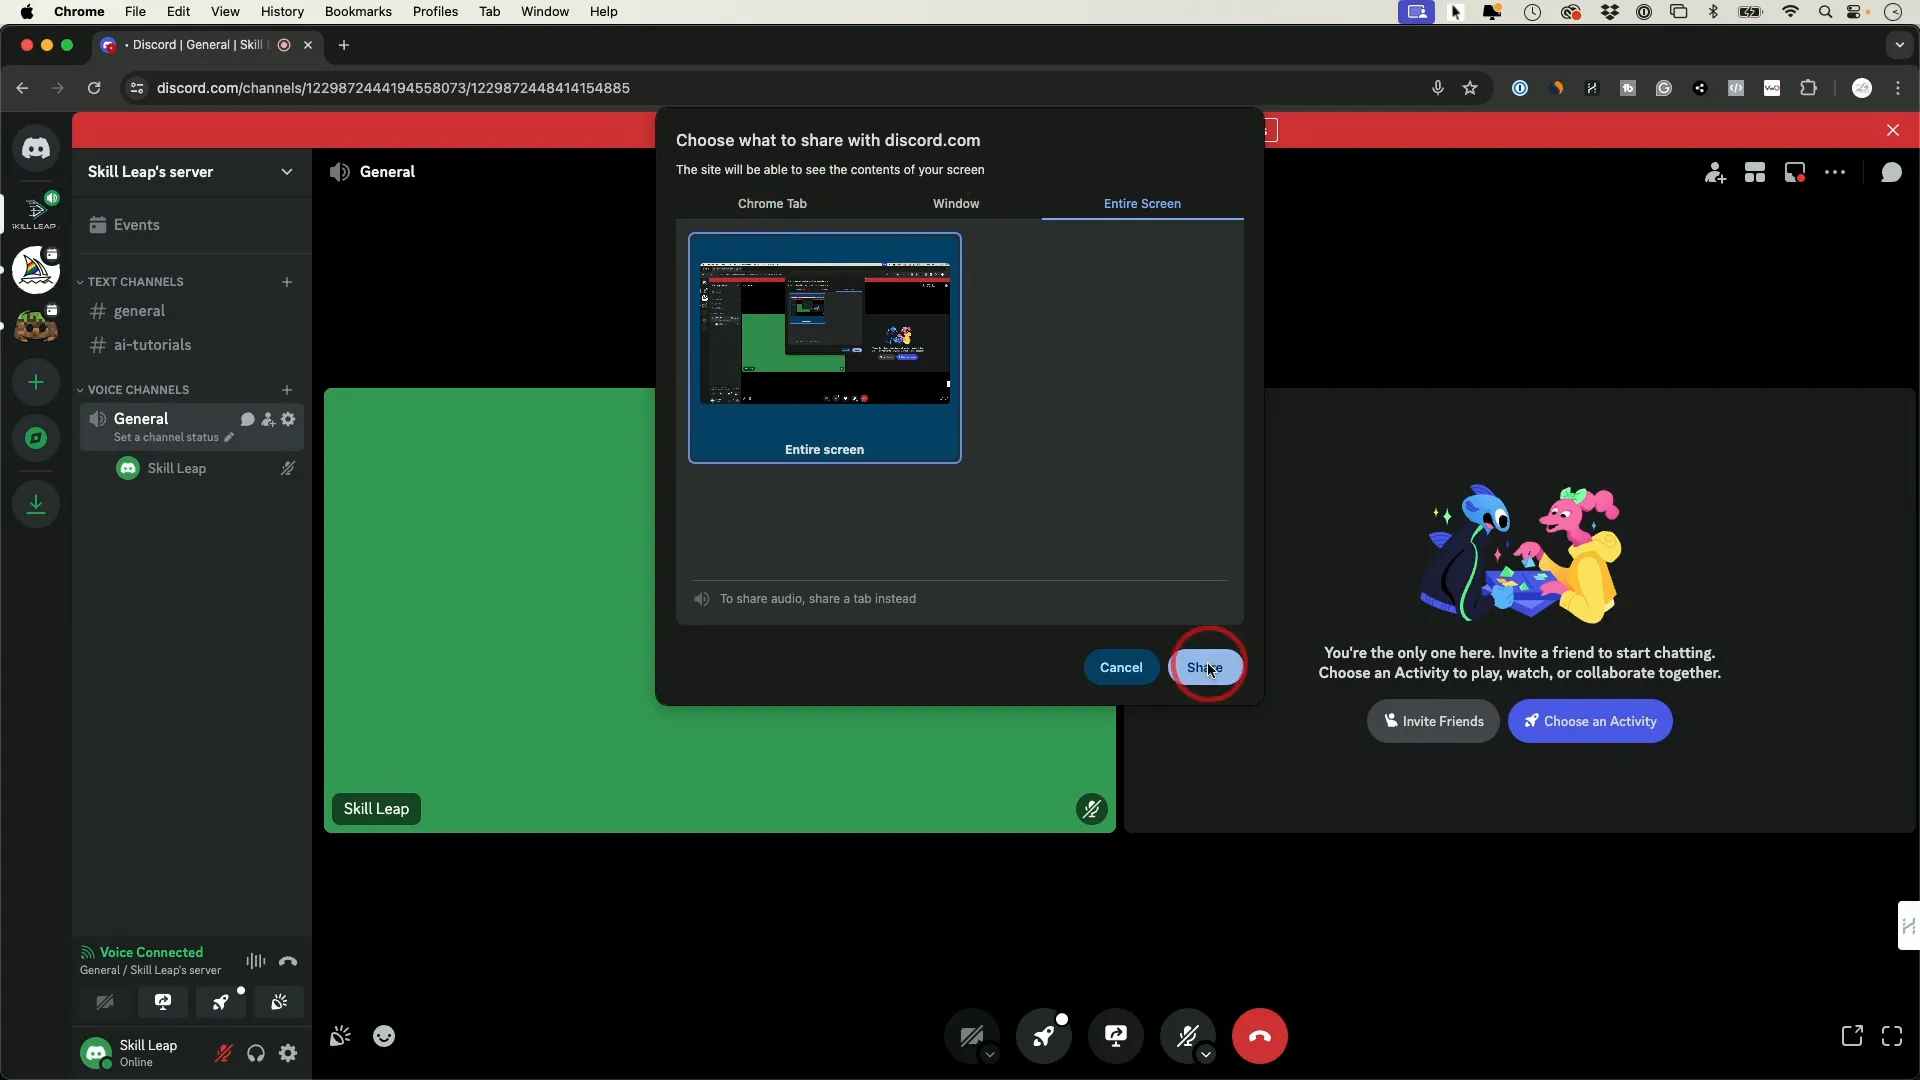
Voice Channels and Screen Sharing
Discord excels in voice communication. To use a voice channel:
- Click on a voice channel to join.
- Make sure you allow microphone access if prompted.
- You can also share your screen during voice calls by clicking the “Share Screen” button.
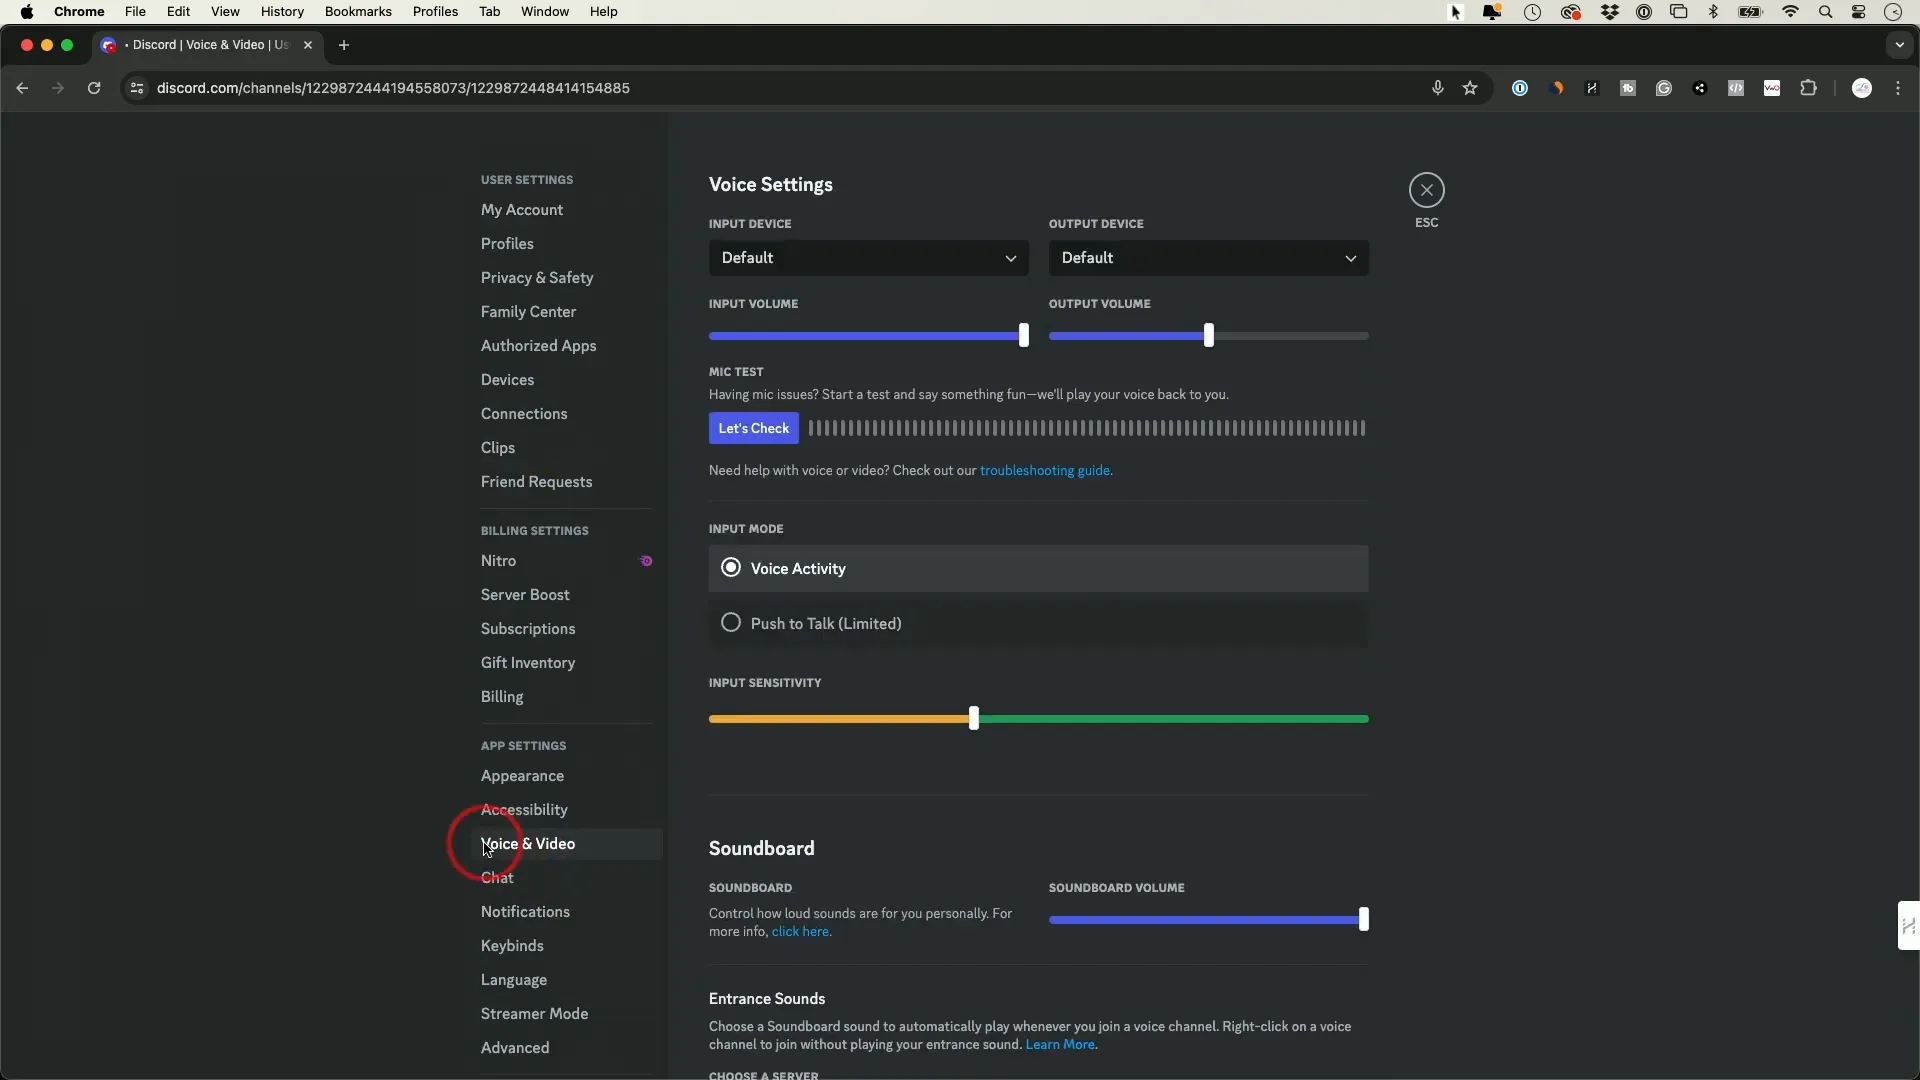
User Settings and Customization
Customize your Discord experience by adjusting your user settings:
- Click on the gear icon next to your username to access user settings.
- Adjust your voice and video settings, including input and output devices.
- Consider upgrading to Discord Nitro for additional features, such as increased file upload limits and better streaming quality.
Conclusion
Discord is a powerful platform for communication, whether for gaming, collaboration, or socializing. By following this guide, you can confidently navigate and utilize Discord to connect with others. Remember, practice makes perfect, so don’t hesitate to explore different features and communities. Happy chatting!
For those looking to enhance their audio experience on Discord, I recommend checking out this USB microphone that many users find beneficial for clearer sound quality.