
If you’re looking to dive into video editing, Adobe Premiere Pro is one of the best tools available. Whether you’re a complete beginner or someone who has dabbled in editing before, this guide will help you learn Adobe Premiere Pro in just eight minutes. This walkthrough will cover everything from setting up your first project to exporting the final video. So, let’s jump right in!
Getting Started with Adobe Premiere Pro
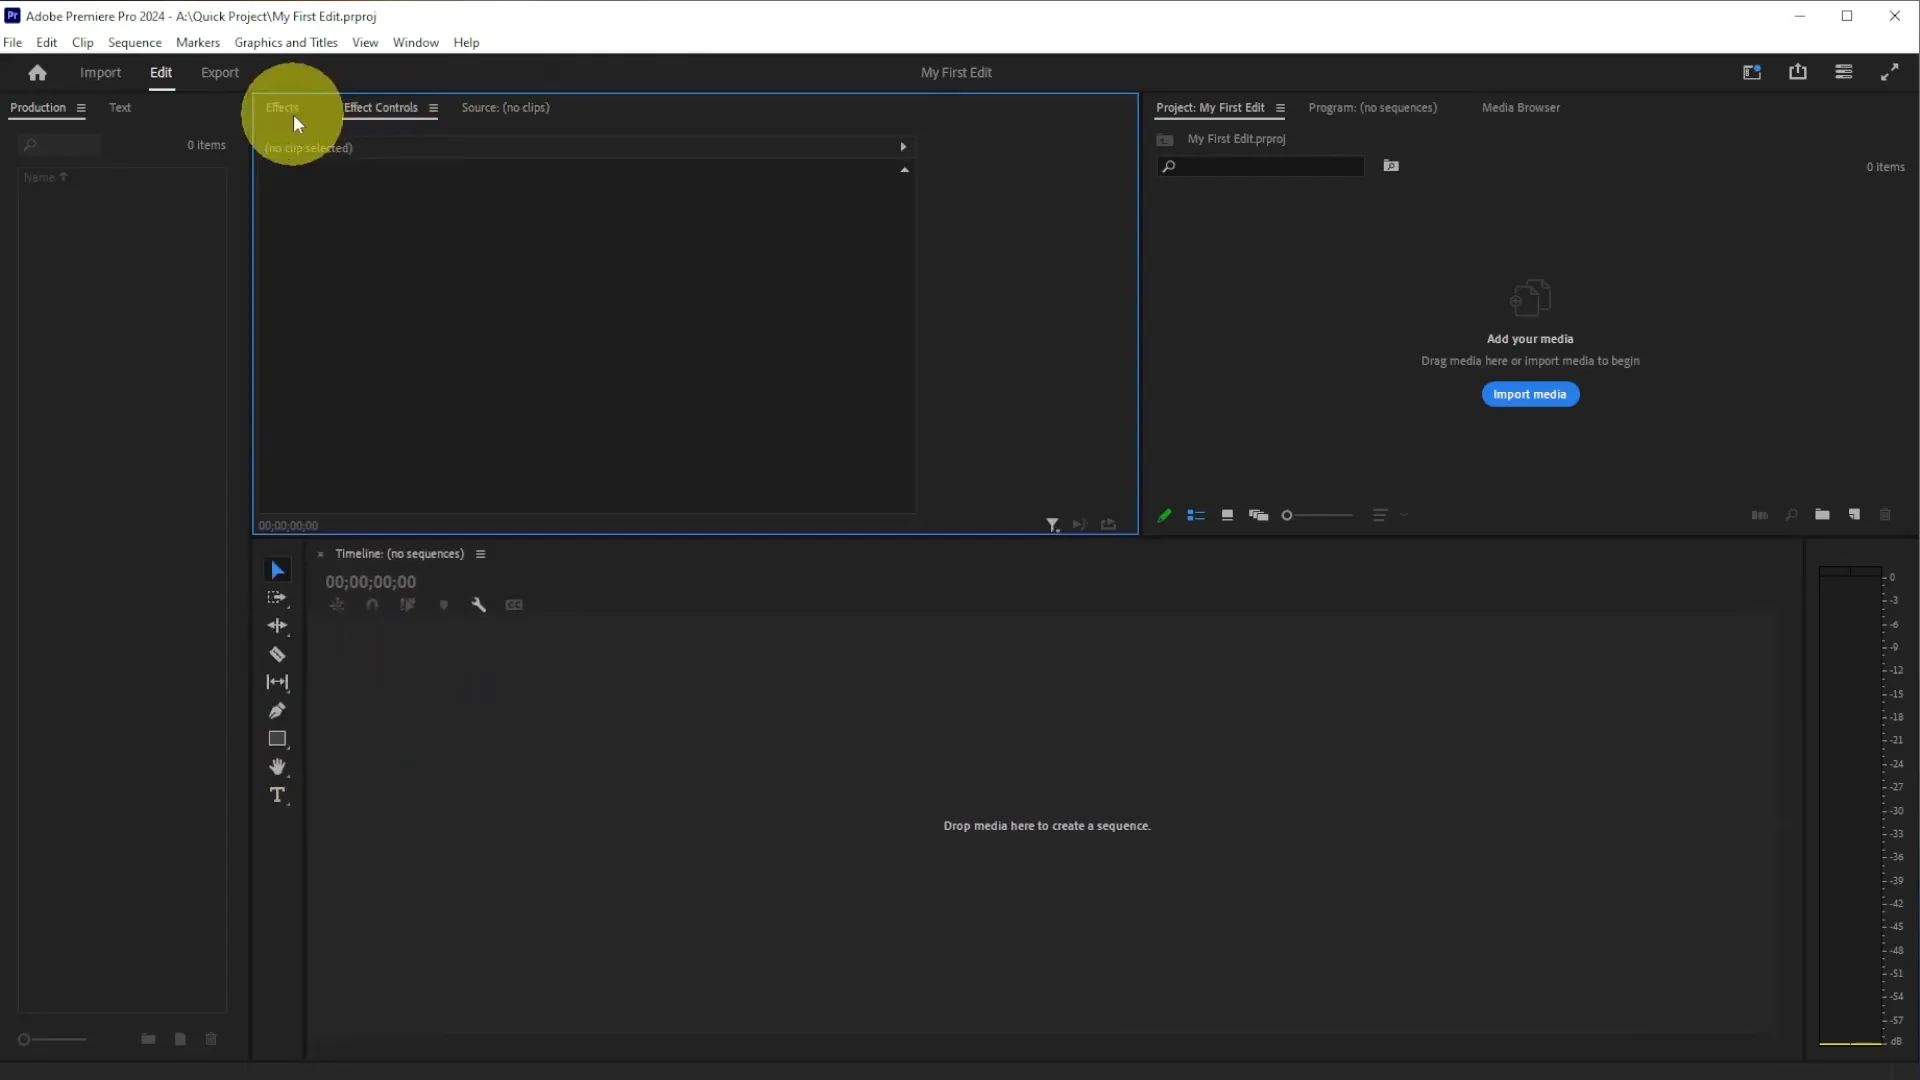
Once you’ve installed Adobe Premiere Pro and opened it for the first time, you’ll be greeted with a screen that sets the stage for your editing journey. The first thing you’ll want to do is create a new project.

Click on “New Project.” You’ll be directed to a page where you can name your project. For example, let’s call it “My First Edit.” Next, select the location on your computer where you want to save this project. For the sake of simplicity, you might want to create a folder called “Quick Projects.” After naming your project and selecting its location, click “Create.”
Understanding the Interface
Now that you’ve created your project, you’ll be taken to the editing interface. This is where all the magic happens. Adobe Premiere Pro has a customizable layout, allowing you to adjust the panels according to your preferences.
Each window serves a different purpose. You can stretch them out, make them bigger or smaller, and toggle through different panels. If you don’t see a specific panel that I mention, you can always find it under the “Window” menu. Don’t hesitate to rearrange them in a way that feels comfortable for you.
Choosing Your Workspace
Adobe Premiere Pro offers various workspaces tailored to different types of projects. For beginners, the “Assembly” workspace is highly recommended as it’s straightforward and user-friendly. As you become more familiar with the software, you can explore other workspaces like “Editing” or “Color.”
Importing Media
Before you can start editing, you need to import some media. There are two primary ways to do this:
- In the project panel, click “Import Media” and navigate to the folder where your files are saved.
- Alternatively, you can use the media browser. This functions similarly to your file explorer, allowing you to drag and drop files directly into the project panel.

Creating a Sequence
Once your media is imported, the next step is to create a sequence. A sequence is where you’ll do all of your editing. You can create a new sequence by clicking on “New Item” and selecting “Sequence.” However, the easiest way is to click and drag your primary video into the timeline, which automatically creates a new sequence for you.
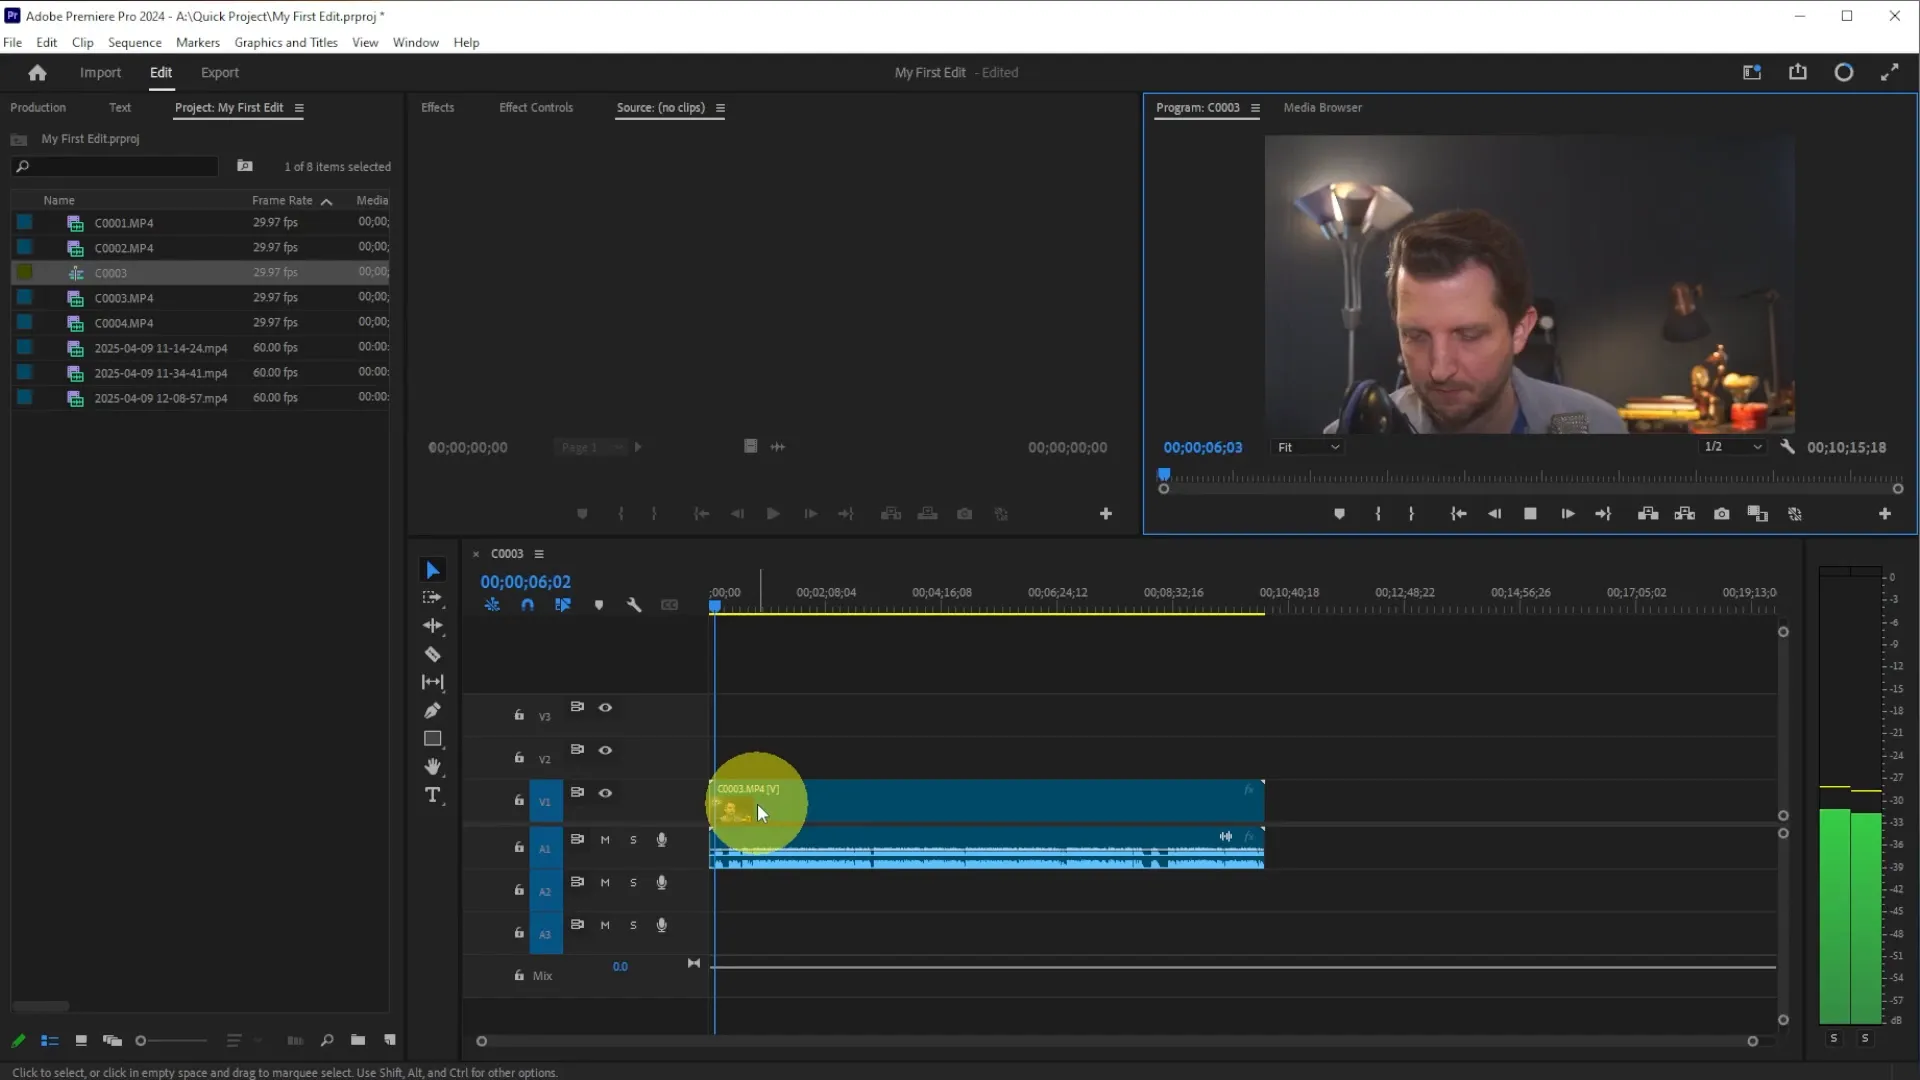
In the timeline, you’ll see your video track on top and the audio track below it. This is where you will perform all your cutting, layering, and adjustments.
Basic Editing Techniques
Now that you have your sequence set up, it’s time to start editing. Here are some fundamental techniques:
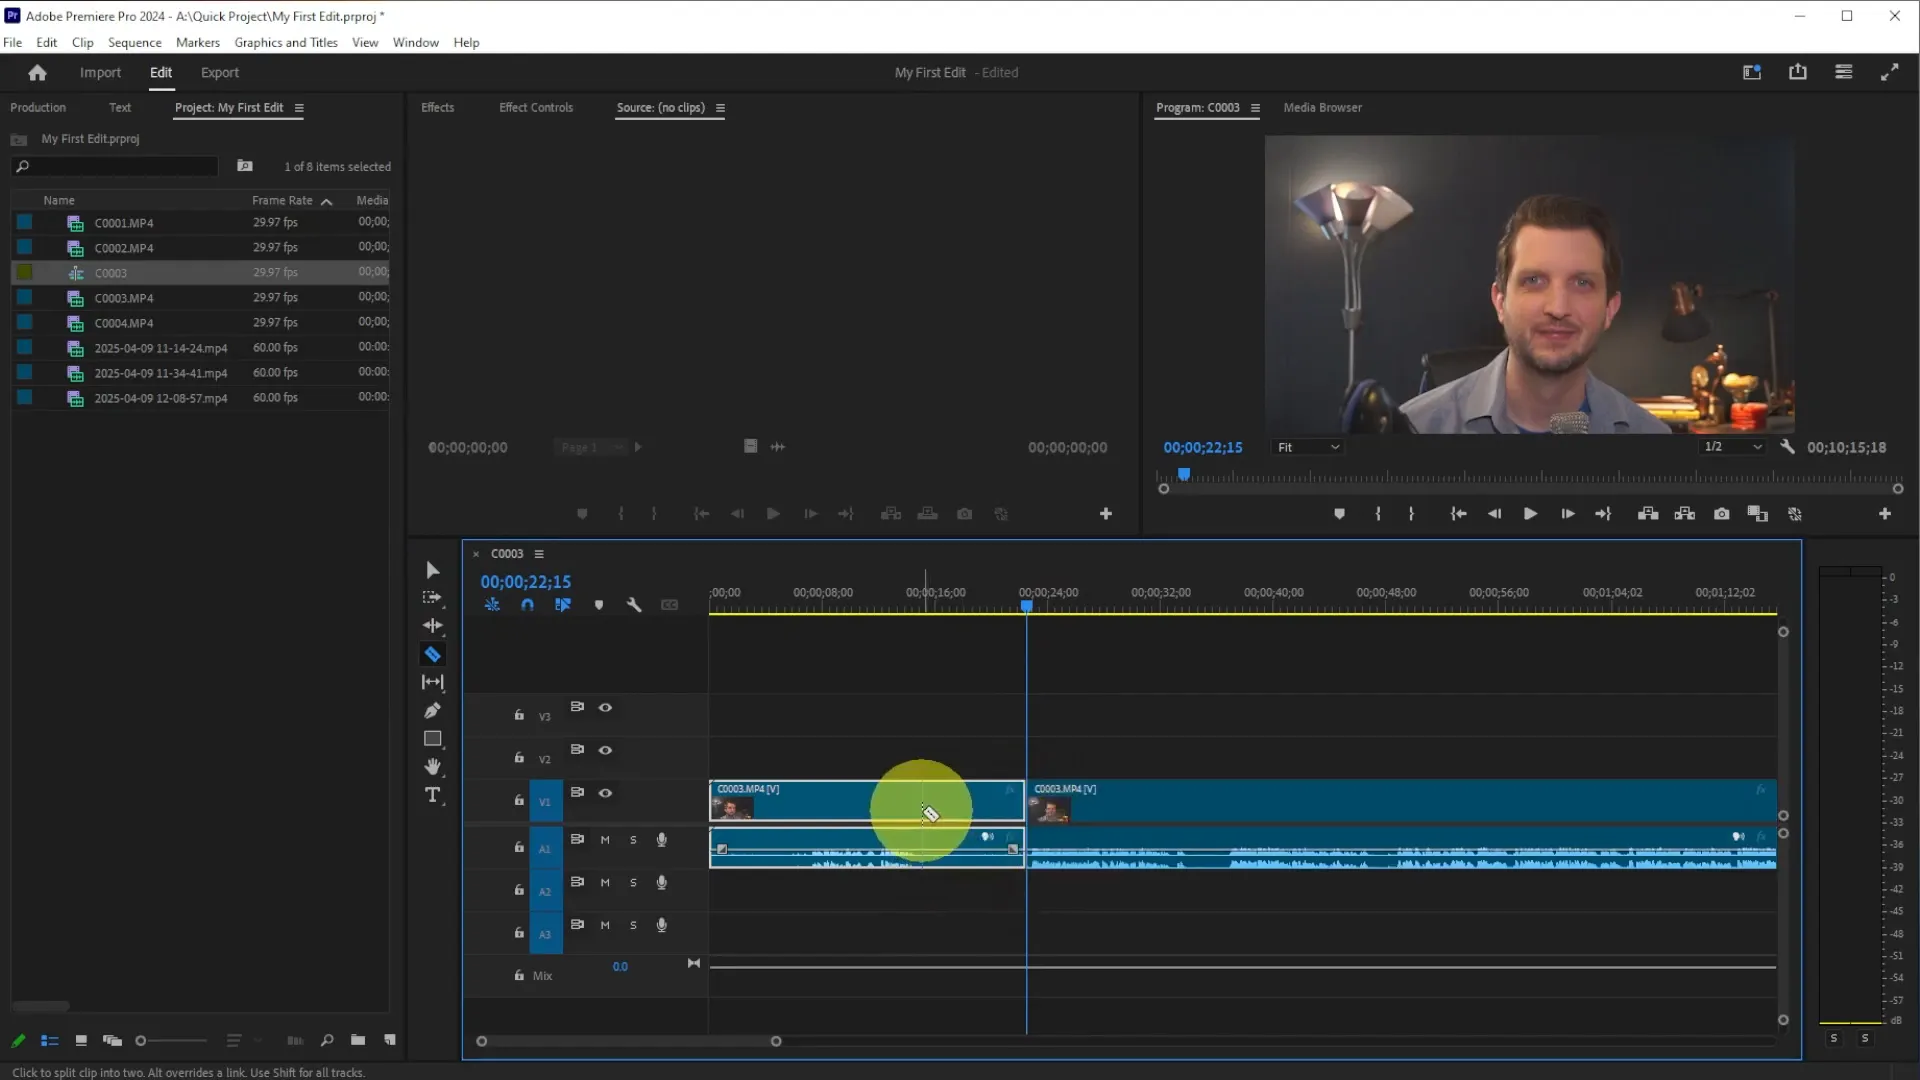
Cutting Video Clips
To cut clips, hover your playhead over the section you want to edit and select the “Razor Tool.” Click on the video where you want to make your cut. You can repeat this for any other parts you wish to slice. After making your cuts, switch back to the “Selection Tool” to choose the parts you want to delete or rearrange.
Moving Clips Around
To move clips, simply click and drag them to your desired location on the timeline. This flexibility allows you to assemble your video in a way that flows best.
Adding Transitions
Once your clips are arranged, you might want to add transitions to make your video more polished. You can find transitions in the “Effects” panel. Common transitions include fades and dissolves.
Applying Transitions
To apply a transition, drag it to the beginning or end of a clip. You can also place it between two clips for a smooth transition effect.

Working with Audio
Audio is just as important as video in any project. Adobe Premiere Pro allows you to adjust audio levels easily. Each audio track has a volume control line that you can pull up or down to increase or decrease volume. You can also add audio transitions to fade in or out between clips.
Keyframing Audio
For more advanced audio editing, you can add keyframes. This enables you to control audio levels dynamically, allowing for smooth transitions in volume.

Adding Titles
Titles can enhance your video significantly. To add a title, select the “Type Tool,” click in the program monitor, and start typing. You can move the title around, adjust its size, and customize its appearance.
Customizing Titles
For more advanced title editing, navigate to the “Essential Graphics” panel. Here, you can change the font, color, and add effects like shadows or strokes to make your title pop.

Exporting Your Final Video
Once you’re satisfied with your edits, it’s time to export your video. Go to the “Export” panel, where you’ll name your file and choose the folder to save it in. A good file name could be “My Video.” For beginners, it’s advisable to keep the format as H.264, which is the most common MP4 video format.
Make sure to select the “Match Source” option to keep all your settings consistent with the original footage. Once everything looks good, hit “Export” and let Adobe Premiere Pro render your video.

Conclusion
Congratulations! You’ve just learned Adobe Premiere Pro in less than eight minutes. From creating a new project to exporting your final video, you’ve covered a lot of ground. Remember, practice makes perfect, so keep experimenting with the various features and tools available in Adobe Premiere Pro.
If you found this guide helpful, be sure to check out the original video by Howfinity for more tips and tricks. Happy editing!