

If you’re looking to create stunning videos on your iPhone, iMovie is the app for you. This powerful yet user-friendly video editing tool allows you to edit videos seamlessly on your device. In this guide, I’ll walk you through the essential steps to master iMovie on iPhone and share tips to enhance your video editing skills!
Getting Started with iMovie
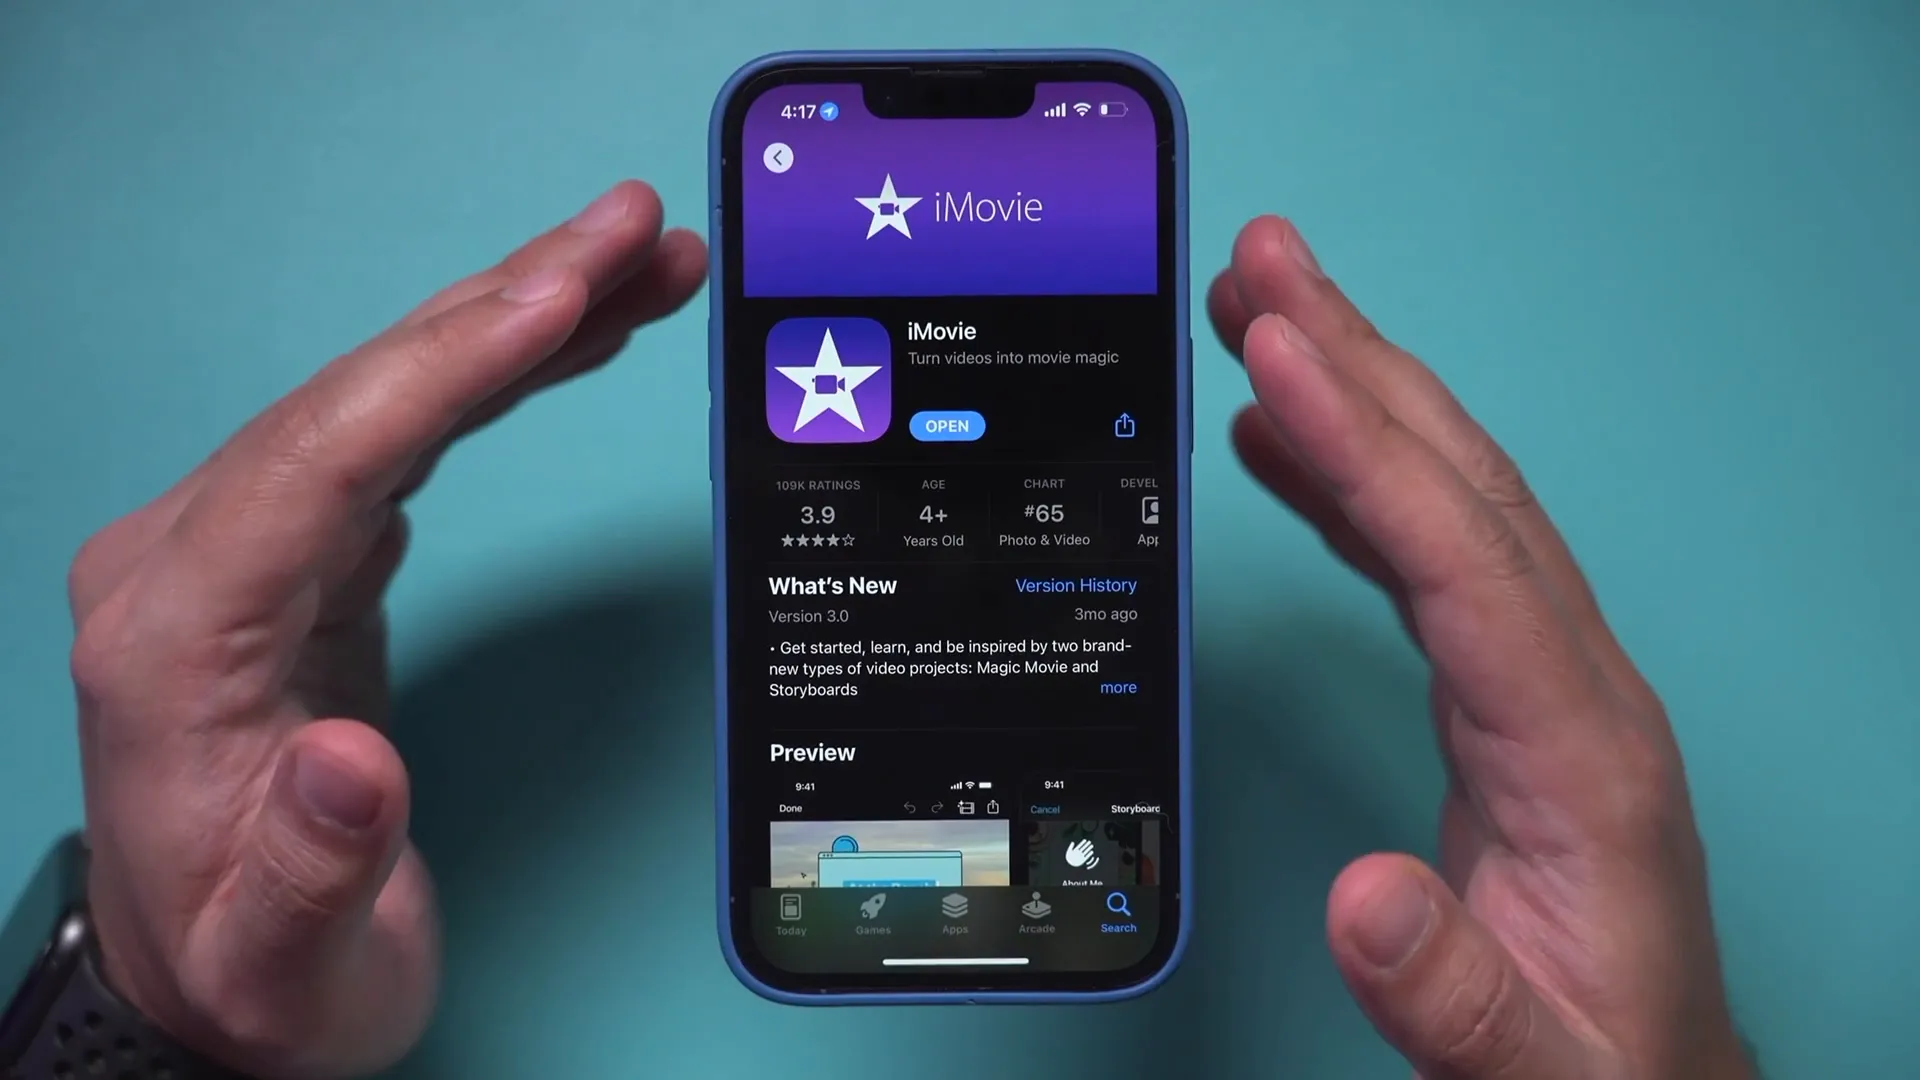
First things first: you need to download iMovie from the App Store. This app is free and made by Apple, so you can trust its quality. Once you have it installed, open it up. You might not see any projects initially, but don’t worry—this is normal!
Creating Your First Project
Now it’s time to create your first project. When you open iMovie, you’ll see three options: Magic Movie, Storyboard, and Movie. While Magic Movie and Storyboard have their benefits, I recommend starting with the Movie option for full control over your editing process.

Importing Footage
To begin, you will need to import your footage. Tap on the clips or photos you want to include, ensuring they are checked. Once selected, press ‘Create Movie’ at the bottom of the screen. This will take you to the editing interface.
Understanding the iMovie Interface
The iMovie interface is quite intuitive. At the top, you’ll find your preview window, which shows the edited video. Below it is the timeline, where you can see all your clips. The playhead indicator allows you to navigate through your timeline easily.

Editing Your Clips
One of the first things you may want to do is arrange your clips in the desired order. To move a clip, simply press and hold it, then drag it to your preferred location. This is a crucial step in organizing your video story.

Trimming Clips
Sometimes, a clip might be too long. To trim it, select the clip and drag the yellow line inward to shorten it. You can also trim the beginning of the clip in the same way. If you want to cut something from the middle, select the clip and use the ‘Split’ option to divide it into two separate clips.

Working with Audio
Audio is a vital part of your video. To adjust audio levels, tap on the microphone icon and drag the volume slider. You can mute clips or increase the volume as needed. If you want to add background music, you can import soundtracks directly from iMovie’s library.

Adding Transitions
Transitions help create smooth changes between clips. By default, iMovie uses a dissolve transition, but you can change it by selecting the transition area between clips and choosing from options like slide, wipe, or fade.

Applying Filters
Filters can enhance the visual appeal of your video. You can apply filters to individual clips or the entire project by going into the settings. This allows you to create a consistent look throughout your video.
Adding Text
Text can be used for titles, captions, or credits. Simply select a text template, edit the text, and position it wherever you like within your video. You can customize the font and color to match your video’s theme.

Exporting and Sharing Your Video
Once you’re satisfied with your project, it’s time to export it. Press ‘Done’ and then select the upload option. This will save your video to your photo library, making it easy to share with friends and family or upload to social media.

Tips for a Successful Editing Experience
- Keep your clips organized for easier editing.
- Experiment with different transitions and filters to find what works best for your project.
- Don’t hesitate to use background music to enhance the emotional impact of your video.
Conclusion
iMovie on iPhone is an excellent tool for anyone looking to create videos easily and effectively. With these steps, you’re well on your way to producing fantastic videos right from your phone. Whether you’re making family memories, YouTube content, or anything in between, iMovie gives you the tools you need to succeed.
For more tutorials and tips, consider exploring additional resources or subscribing to channels like Howfinity – YouTube for straightforward tech tutorials.