
Creating a custom YouTube channel banner is one of the most effective ways to brand your YouTube presence and make your channel look professional and polished. Whether you’re just starting out or looking to refresh your channel’s look, a great banner can instantly communicate your style, niche, and personality to your viewers. The good news? You don’t need to be a graphic designer to create a stunning YouTube banner. With tools like Adobe Express, the process is simple, intuitive, and accessible to everyone.
In this guide, I’ll walk you through exactly how to create a custom YouTube channel banner using Adobe Express, step-by-step. From choosing the right template to personalizing the text, uploading your photo, and customizing colors and fonts, you’ll learn how to design a banner that fits your brand and looks great on all devices.
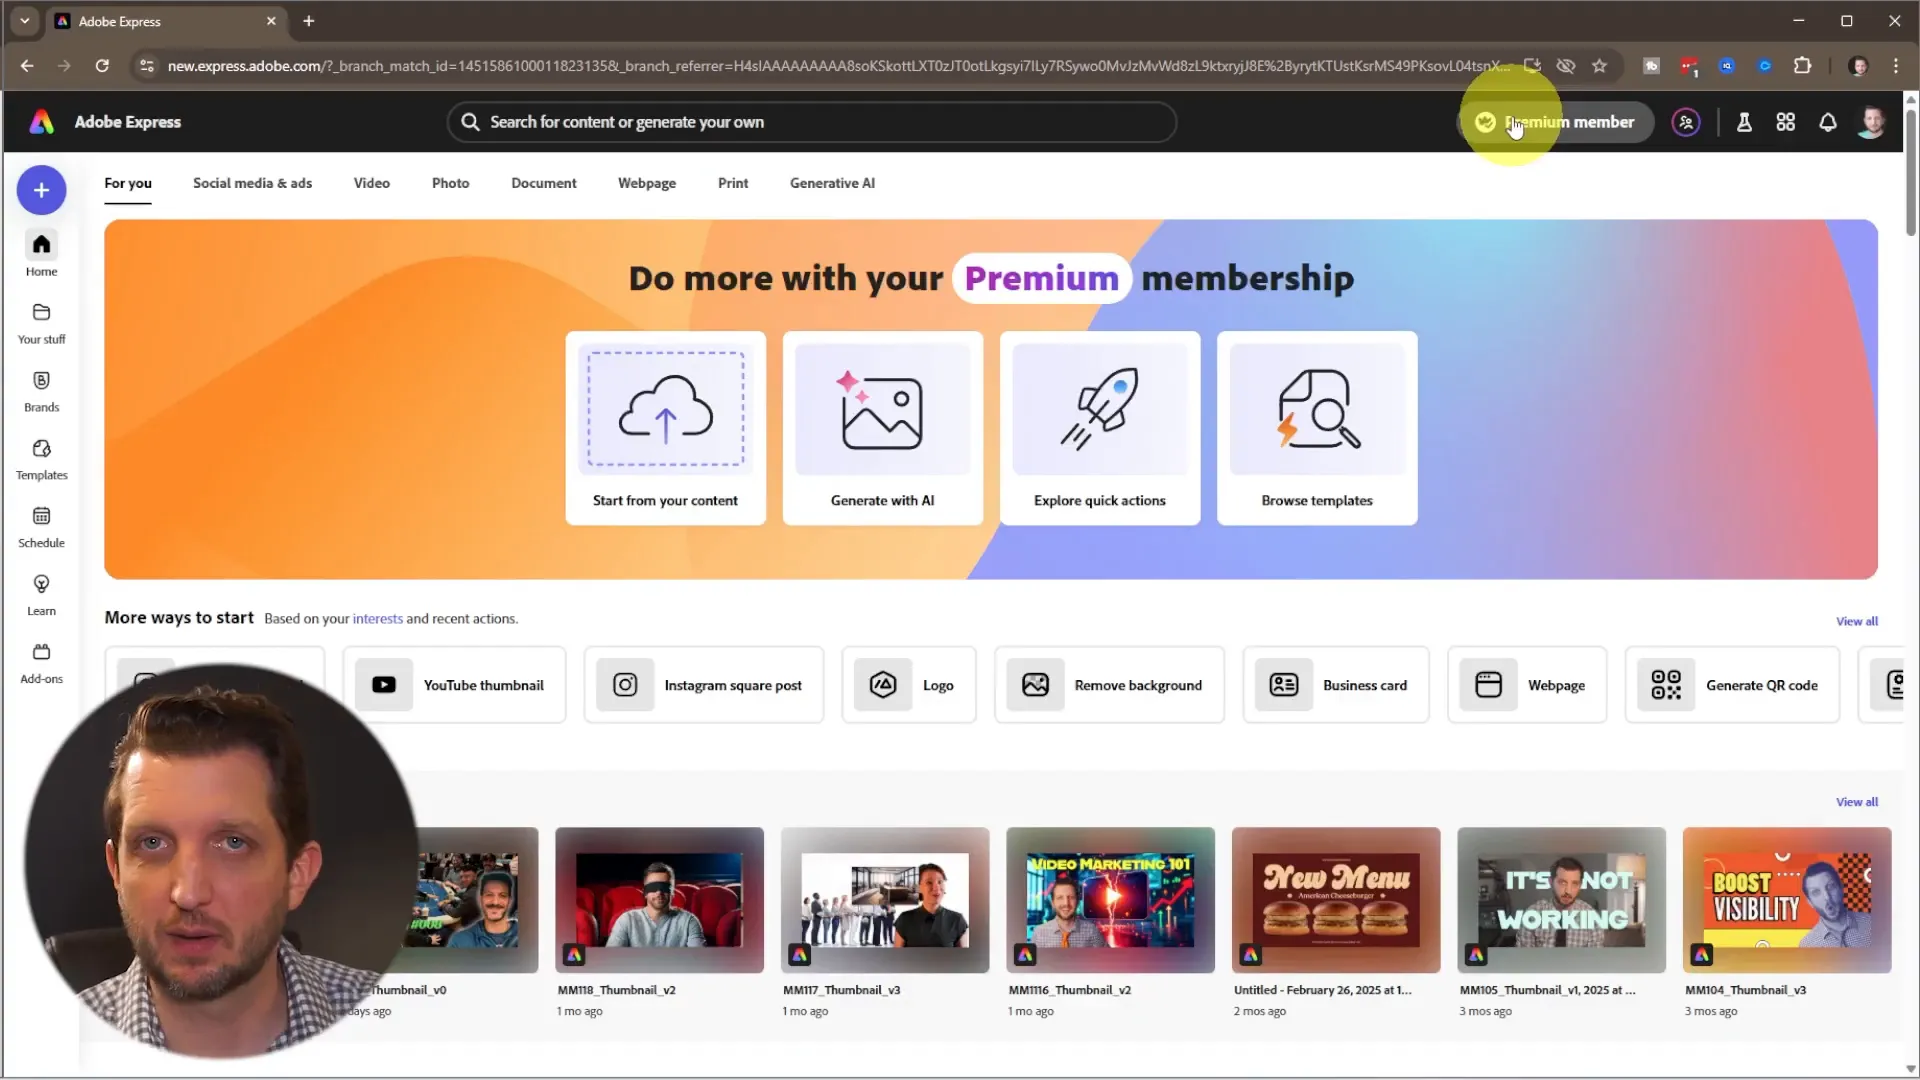
Getting Started with Adobe Express
If you don’t already have an Adobe Express account, signing up is quick and easy. For those who already have an Adobe Creative Cloud subscription, Adobe Express is included, whether you’ve used it before or not. Once logged in, you’ll be greeted by a dashboard filled with various creative project options — but the focus here is on creating a YouTube channel banner.
One of the things I love about Adobe Express is the abundance of pre-built templates designed for specific needs. This means you don’t have to start from scratch or have advanced design skills to create a professional look. Instead, you can choose a template that closely matches your vision and customize it to make it your own.

Choosing and Customizing Your YouTube Banner Template
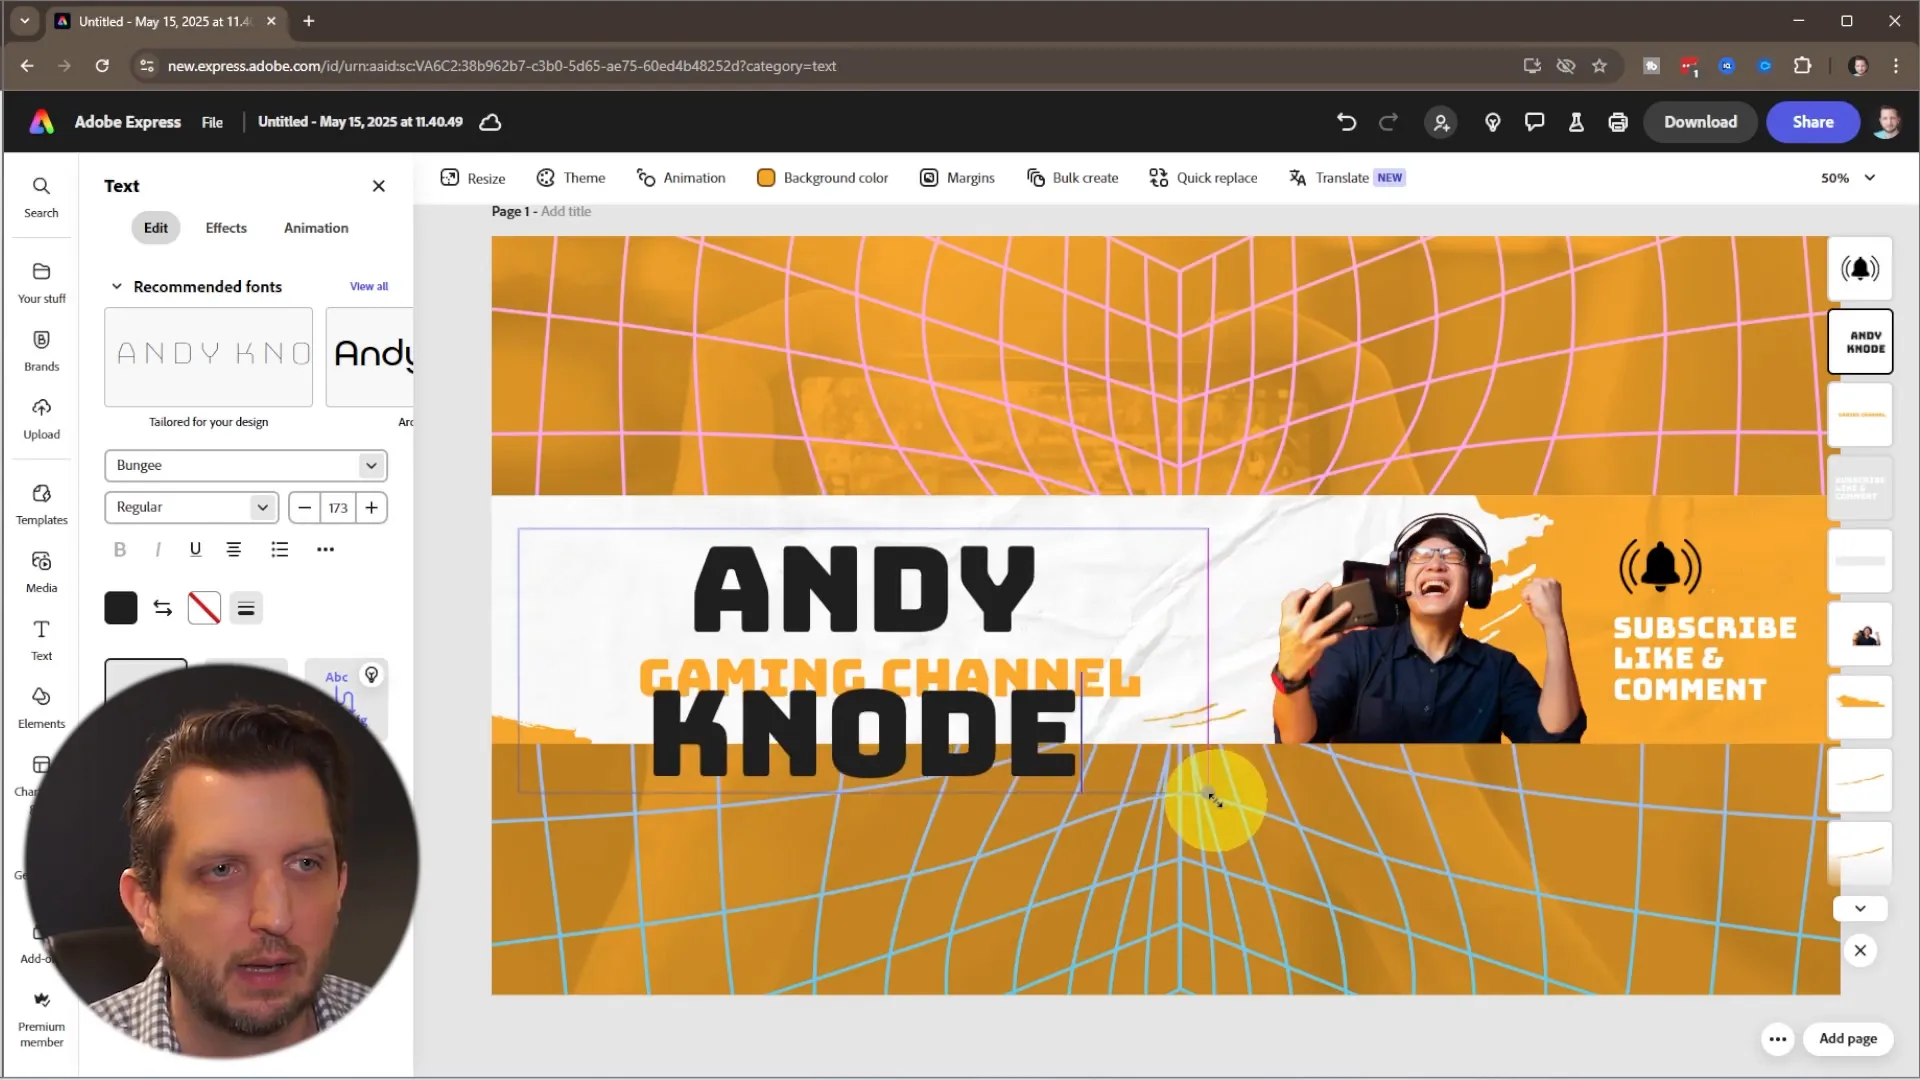
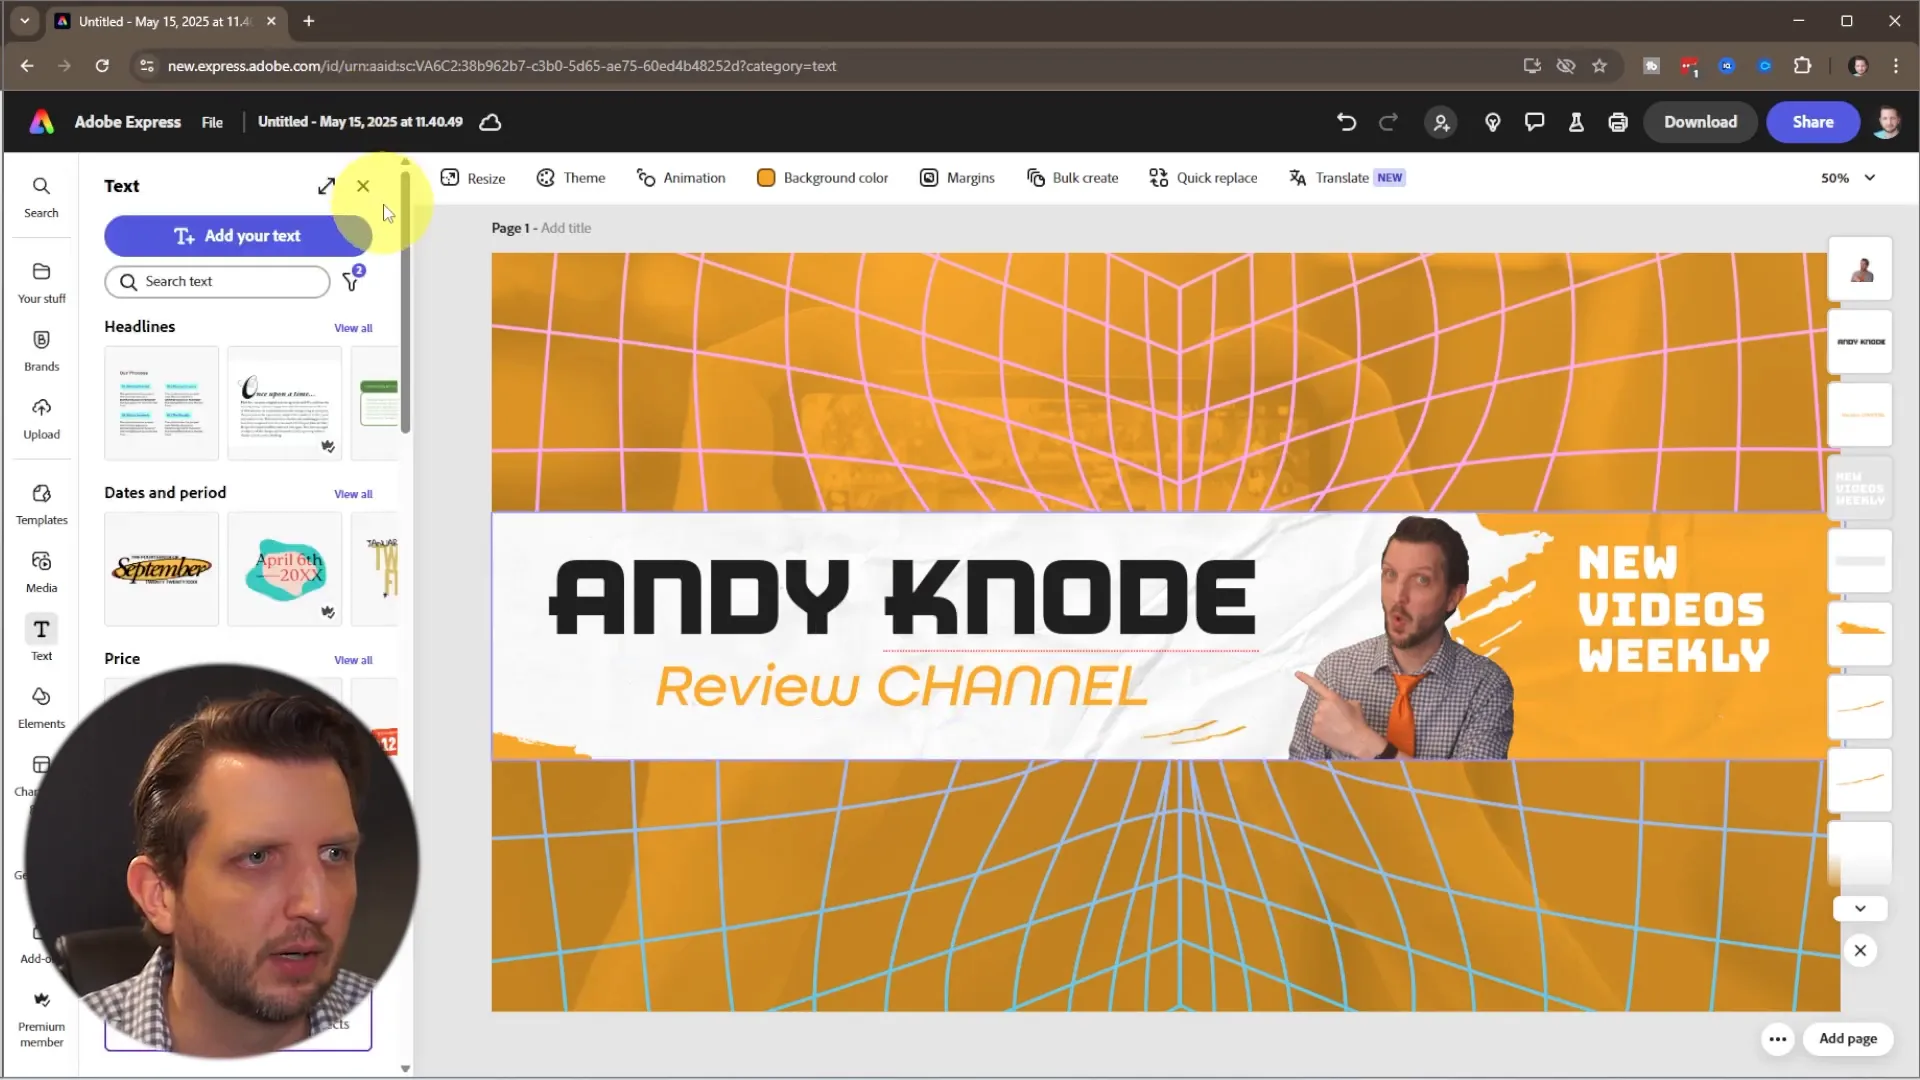
Start by browsing templates and searching specifically for “YouTube banner.” Adobe Express will present a wide variety of banner styles. You can filter through these to find the perfect aesthetic for your channel’s vibe. When you find one you like, click on it and then select “Customize Template” to open the editing interface.
It’s important to remember that YouTube banners display differently across devices. For example, most desktop viewers will see the central “safe area” of the banner, while TV viewers and those on larger screens will see more of the extended background. This means your key information—like your channel name and tagline—should be placed within the central safe zone to ensure it’s always visible.
Editing Text Elements
Once your template is open, the first step is to update the placeholder text. Click on the channel name (like “John Doe” in the template) and replace it with your own name or channel name. If your text is longer or shorter than the template’s default, simply drag the corners of the text box to resize it and make sure it fits neatly within the safe zone.
Next, update your channel description or tagline. For example, if your channel focuses on reviews rather than gaming, change the text accordingly to something like “Review Channel.” This not only clarifies your channel’s purpose but also helps attract the right audience.
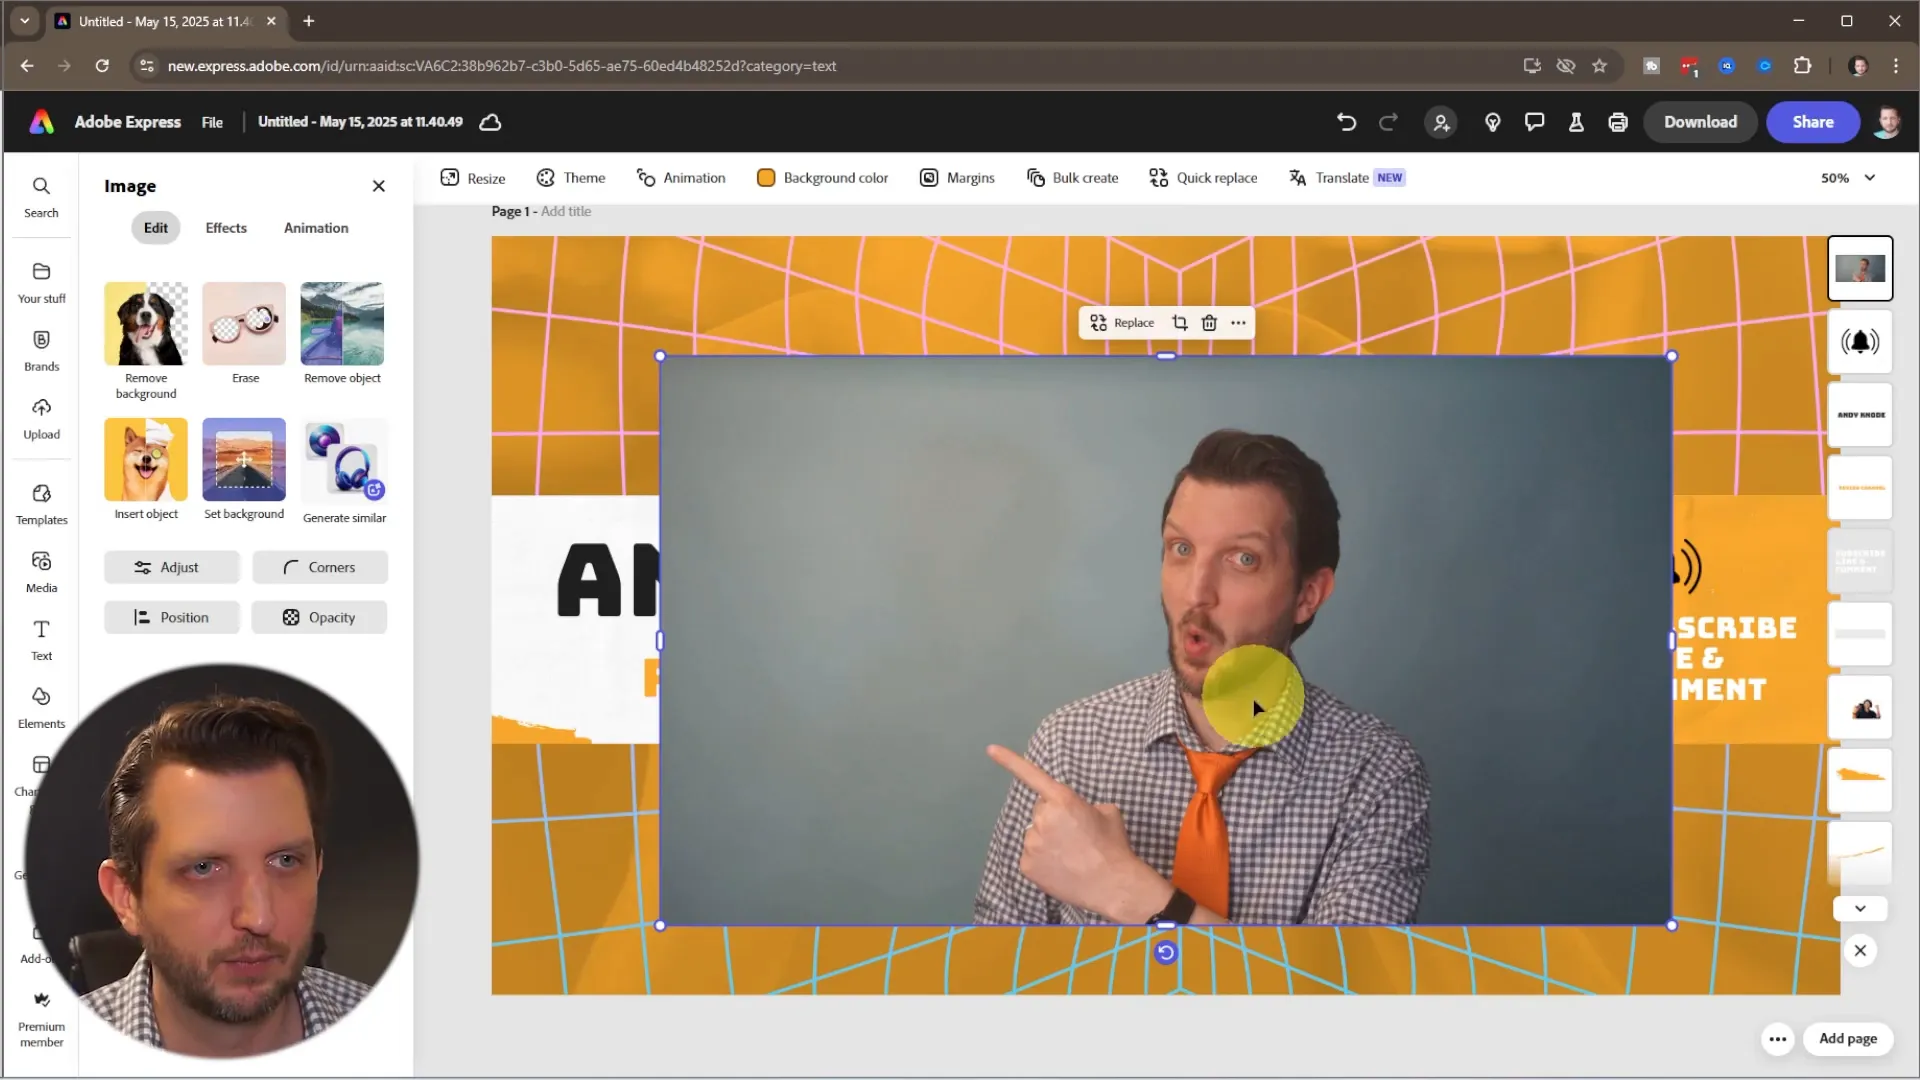
Adding Your Photo
Most templates come with a placeholder image that you’ll want to replace with your own photo. To do this, head over to the upload section on the sidebar and select the image from your computer. Adobe Express will automatically insert your photo into the template.
One powerful feature is the option to remove the background from your photo with just one click. This is handy if your photo has a busy or distracting background. Removing it helps your image blend seamlessly with the banner design.
After removing the background, resize and position your photo to fit perfectly within the designated space. Delete the old placeholder image to keep your banner clean and personalized.
Refining Your Banner’s Message and Design
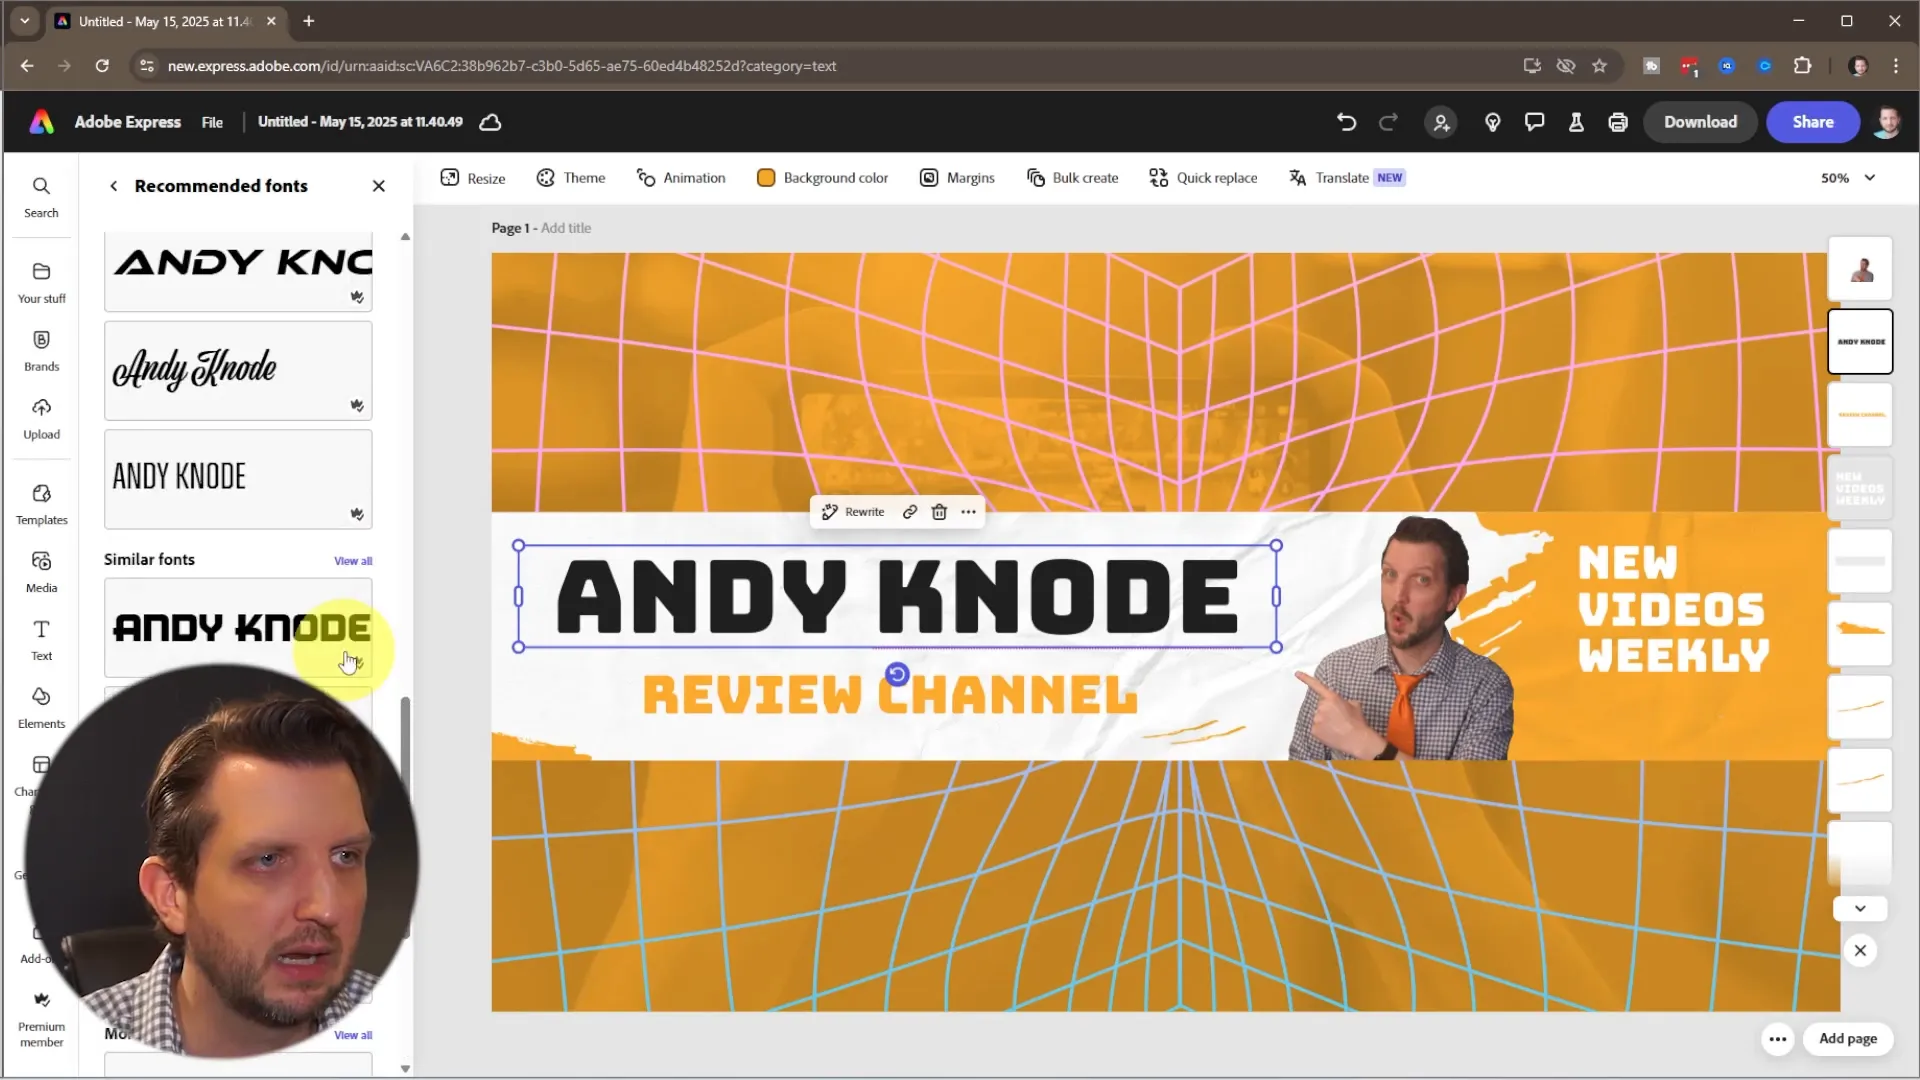
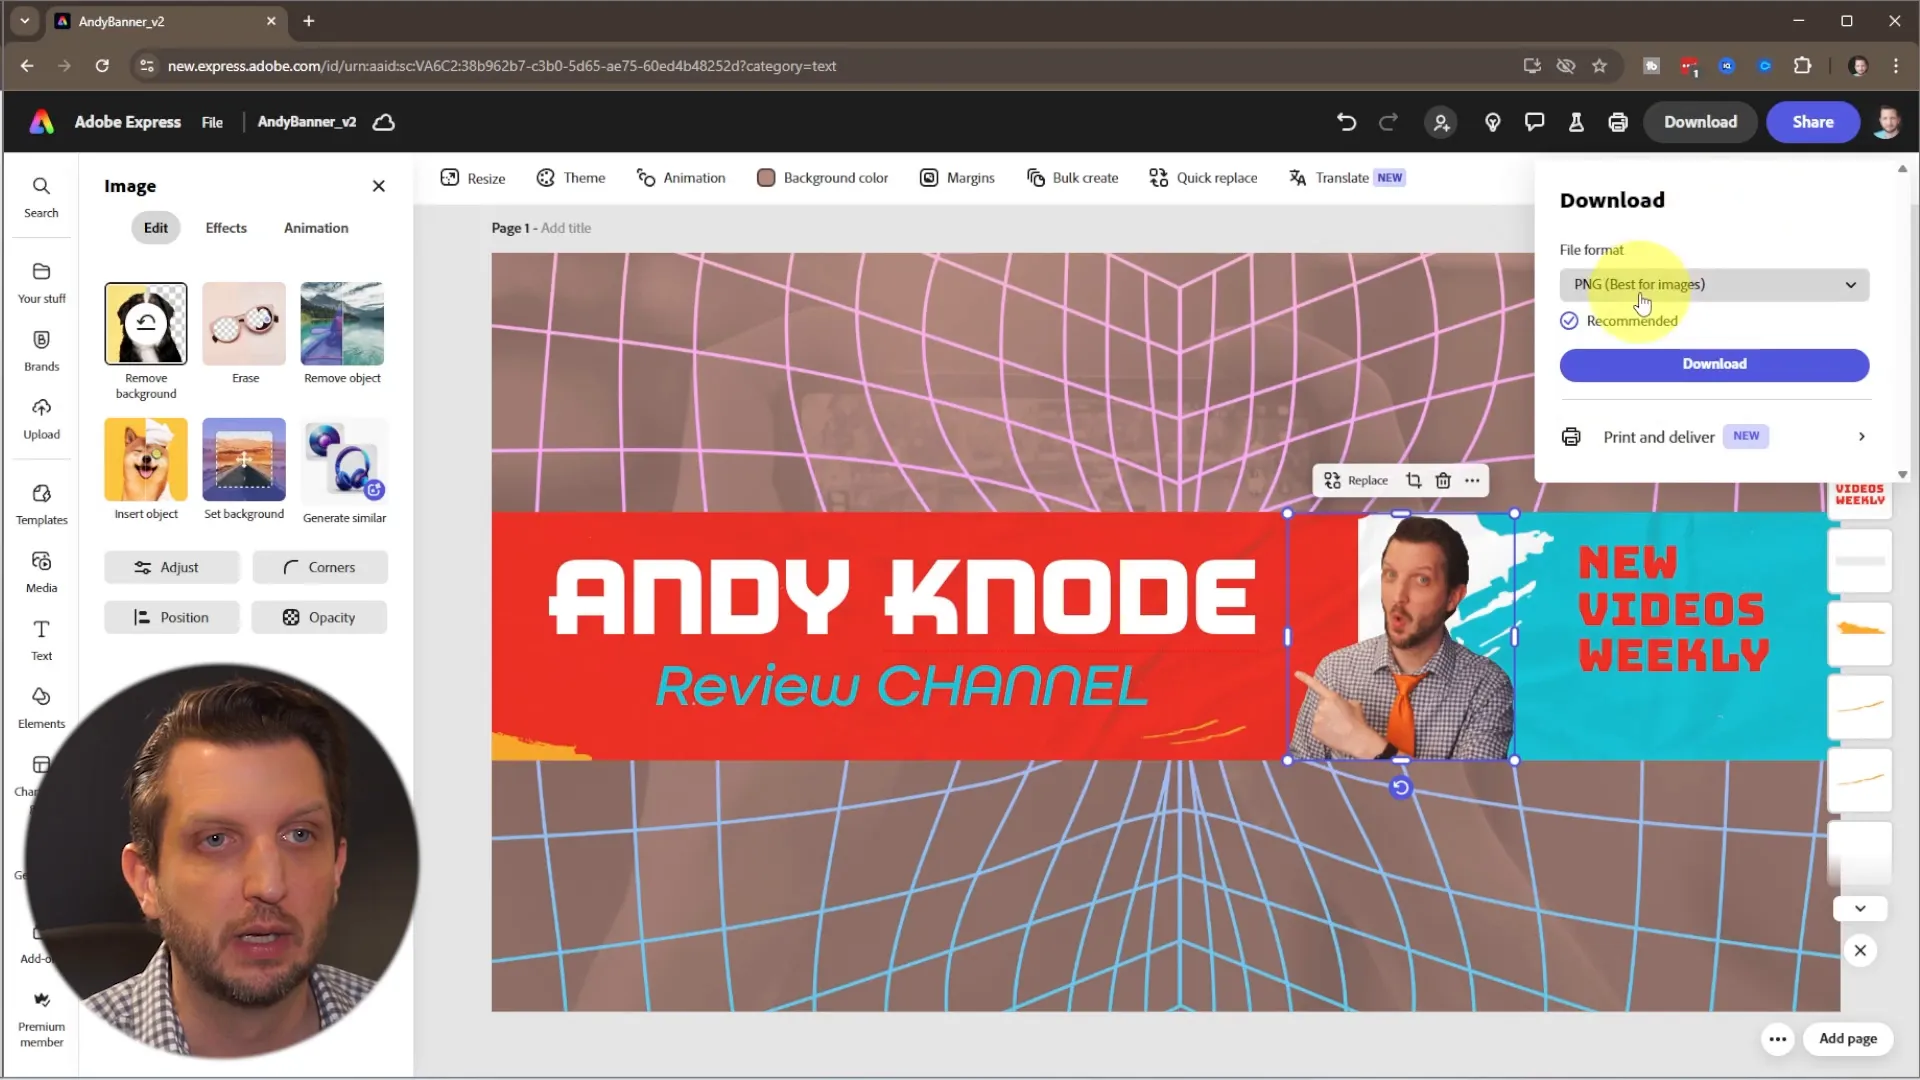
Instead of the typical “Subscribe, Like, Comment” text, I prefer to set clear expectations for my viewers. For example, I replace this section with something like “New Videos Weekly.” This helps viewers know what kind of content schedule to expect, which can encourage more consistent engagement.
If the template includes icons or elements you don’t want, like a bell icon for notifications, simply select and delete them to keep your banner clutter-free.
Adjusting Layout and Adding Social Media Links
Feel free to move elements around within the safe zone to better suit your style. I like to move my text slightly upwards to make room for social media links, which you can add later directly on YouTube. This helps centralize your branding and gives viewers multiple ways to connect with you.
Personalizing Fonts and Colors to Match Your Brand
Once all your elements are in place, it’s time to customize the fonts and colors to reflect your branding. Adobe Express offers recommended fonts and you can browse the full font library to find the perfect style. I usually pick a bold, clean font for my name to make it stand out, and a complementary font for the tagline.
Use the drag-and-drop guides to align your text perfectly. For instance, I align my tagline centrally beneath my channel name for a balanced, professional look.
Choosing a Color Theme
The next step is to select a color theme for your banner. Adobe Express provides preset themes that coordinate colors for you, making it simple to find a modern, cohesive palette. Try a few different themes to see what best fits your channel’s vibe.
If the preset colors don’t quite work, you can manually adjust individual colors. For example, I changed my name’s color to white to make it pop against the background. This flexibility lets you fine-tune your banner until it perfectly matches your brand identity.
Enhancing Your Photo with Image Adjustments
To make your photo stand out even more, use Adobe Express’s image adjustment tools. You can tweak brightness, contrast, highlights, shadows, and saturation until your photo looks vibrant and professional. These subtle enhancements can make a big difference in the overall impact of your banner.
Saving and Uploading Your Finished Banner
Once you’re happy with your design, save your project with a clear, descriptive name so you can find it easily later. When you’re ready, download your banner as a PNG or JPEG file. I recommend PNG for the best quality.
Your banner is already formatted to the exact dimensions YouTube requires, so when you upload it to your channel, you won’t need to make any additional adjustments. This saves you time and ensures your banner looks great everywhere.
Final Thoughts
Creating a custom YouTube channel banner might sound intimidating, but with Adobe Express, it’s a straightforward and enjoyable process. By leveraging ready-made templates, easy-to-use customization tools, and smart design features like background removal and color themes, you can create a banner that elevates your channel’s professionalism and attracts viewers.
Remember to keep your key information within the safe zone, personalize your text and photo, and align your colors and fonts with your brand. With these tips, your YouTube banner will not only look great but also communicate the essence of your channel effectively.
Get started today and watch how a well-designed banner can make a difference in your channel’s first impression!