
Think your Facebook account is private? You might want to double-check. With the increasing concerns about privacy on social media, it’s crucial to ensure that your personal information is well protected. In this guide, we will explore various settings on Facebook that can help you make your account private. Let’s dive in!
Understanding Facebook’s Privacy Settings
Facebook offers a range of privacy settings that can be customized to control who sees your profile details and posts. These settings can be broken down into several categories:
- Profile Details: Control who can see personal information such as your birthday, hometown, and relationship status.
- Friend Requests: Decide who can send you friend requests and how people can find you on Facebook.
- Posts: Manage who can view and interact with the posts you share.
- Stories: Control who can see your temporary stories.
- Followers: Decide who can follow you and see your public content.
- Blocking: Allows you to block specific users from interacting with you on Facebook.
Step 1: Accessing Your Privacy Settings
To adjust your Facebook privacy settings, follow these steps:
- Log into your Facebook account.
- Click on your profile picture in the top right corner.
- Select Settings & Privacy from the dropdown menu.
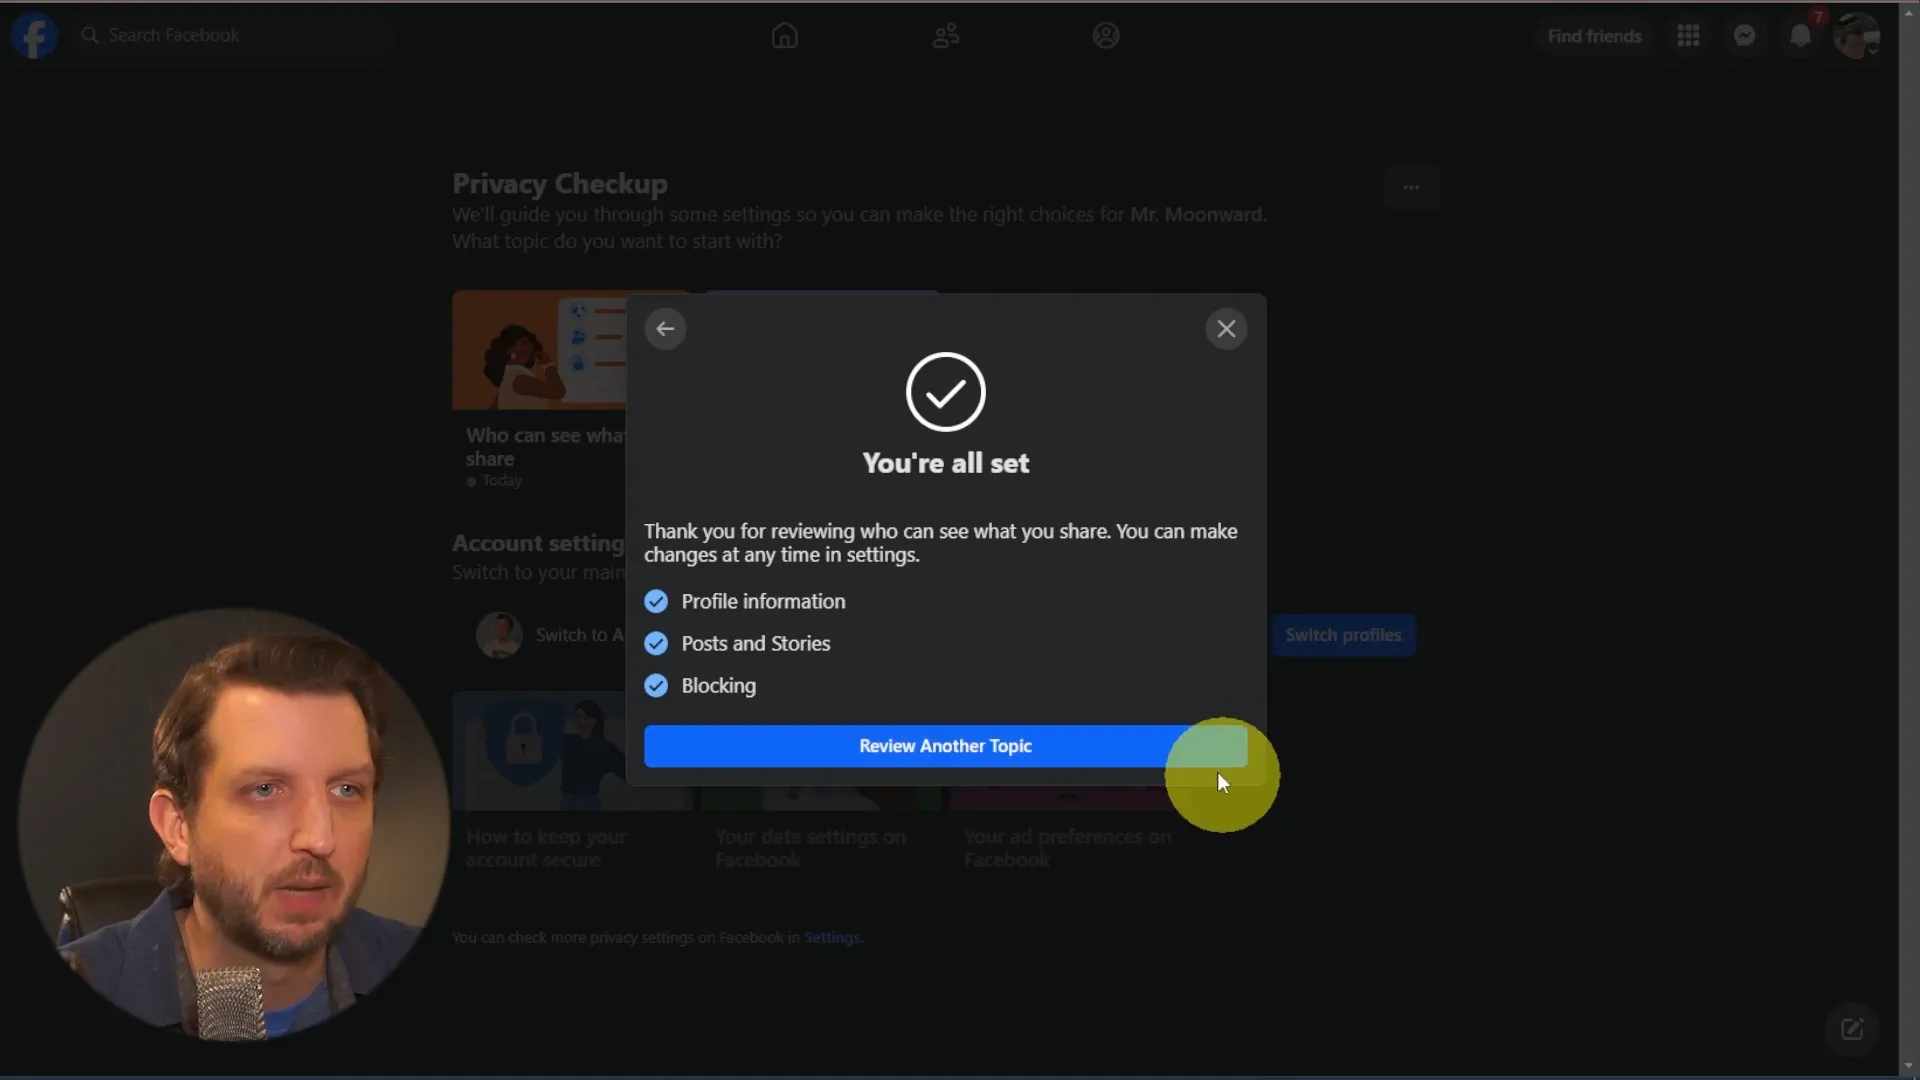
- Click on Privacy Checkup to start reviewing your settings.

Step 2: Adjusting Profile Visibility
Once you’re in the Privacy Checkup, you’ll find options to modify who can see your profile information. This includes:
Who Can See What You Share
Start by clicking on Who can see what you share. Here’s how to manage your profile details:
- Birthday: Currently set to “Only Me”? Change it to “Public” or “Friends” if you want birthday wishes.
- Address: Keep this private by selecting “Only Me” to protect your location.
- Friends List: Set to “Friends” to ensure only your connections can see your friends.

Default Audience for Posts
Your default audience is crucial. Ensure it’s set to “Friends” so your posts aren’t visible to the public. You can always change this for individual posts if necessary.

Step 3: Limiting Past Posts
To enhance your privacy further, consider limiting the visibility of past posts:
- Navigate to the option Limit Past Posts. This will change all your past public posts to “Friends” only.
Step 4: Managing Your Block List
If there are people you want to restrict access to, you can add them to your block list:
- Click on Block People and search for the names you wish to block.
Step 5: Who Can Find You on Facebook
Next, let’s review how people can find you on Facebook:
Friend Requests
Set the option for who can send you friend requests. You can choose between “Everyone” or “Friends of Friends”.
Phone Number and Email Visibility
If you’ve added your phone number or email, adjust who can see that information. Set it to “Only Me” for maximum privacy.
Search Engine Visibility
Turn off the option that allows search engines to link to your Facebook profile. This adds an extra layer of security against phishing scams.

Step 6: Reviewing Your Ad Preferences
Facebook uses your data for targeted advertising. To limit this, navigate to Your Ad Preferences and adjust the settings according to your comfort level.
Final Recommendations
After going through these settings, your Facebook profile should be much more private. Here are some tips to maintain your privacy:
- Regularly review your privacy settings to ensure they align with your preferences.
- Be cautious about the information you share in posts and comments.
- Consider using additional tools like VPNs for enhanced privacy.
Conclusion
Making Facebook private is about taking control of your information. By adjusting your privacy settings, you can significantly limit who sees your posts and personal details. Remember, you can always revisit these settings to fine-tune your privacy as needed. With these steps, you can enjoy Facebook while keeping your personal life safe and secure.