

If you’re looking to record high-quality podcasts or interviews, Riverside is the platform you need. Over the years, I’ve found it to be the most reliable tool for capturing audio and video without the pitfalls of other applications like Zoom or Microsoft Teams. In this guide, I’ll walk you through how to use Riverside step-by-step, ensuring you get the best possible recordings every time.
Why Choose Riverside?
The primary reason I prefer Riverside over other platforms is its unique ability to record locally on each participant’s computer. This means that even if someone has a poor Wi-Fi connection, the recording quality remains unaffected. It uploads the audio and video in real-time, ensuring that you capture the best quality possible without interruptions.
Comparing Riverside to Other Platforms
Unlike Zoom or Microsoft Teams, which rely on internet connectivity for recording, Riverside’s local recording feature results in native quality. This is crucial for professionals who need reliable and high-quality outputs. Plus, Riverside is user-friendly, making it accessible for anyone, regardless of technical expertise.
Getting Started with Riverside
To start using Riverside, you’ll first need to sign up for an account. Here’s a quick overview of the pricing plans available:
- Free Plan: 2 hours of multitrack recording.
- Basic Plan: 5 hours of recording for a monthly fee.
- Pro Plan: 15 hours of recording and advanced AI tools for transcriptions and show notes.
With these options, you can begin with the free plan and upgrade as your needs grow.
Creating Your First Studio
Once you’ve signed up and logged in, you can create your first studio. Here’s how:
- Click on the plus sign to create a new studio.
- Name your studio (e.g., “Riverside Tutorial”).
- Select whether you want to record audio only or both audio and video.
- Choose your transcription language, then press create.

Inviting Guests and Scheduling Sessions
After creating your studio, you can invite guests and schedule recording sessions:
- Click on the “Invite” option to send invitations via email.
- You can also schedule a session for a later time by selecting a date and time, and adding guests.
- Define the roles of each participant: host, guest, audience, or producer.

Recording Your Session
When it’s time to record, Riverside provides a simple interface:
- Participants enter the studio and see the same page.
- Each participant will enter their name and select their audio settings.
- It’s advisable to use headphones to minimize echo.

Managing Your Recording Settings
Before starting the recording, you can adjust various settings:
- Choose your microphone and speaker settings for optimal audio quality.
- Enable noise reduction if you’re in a noisy environment.
- Select the video quality—720p is generally sufficient.

During the Recording
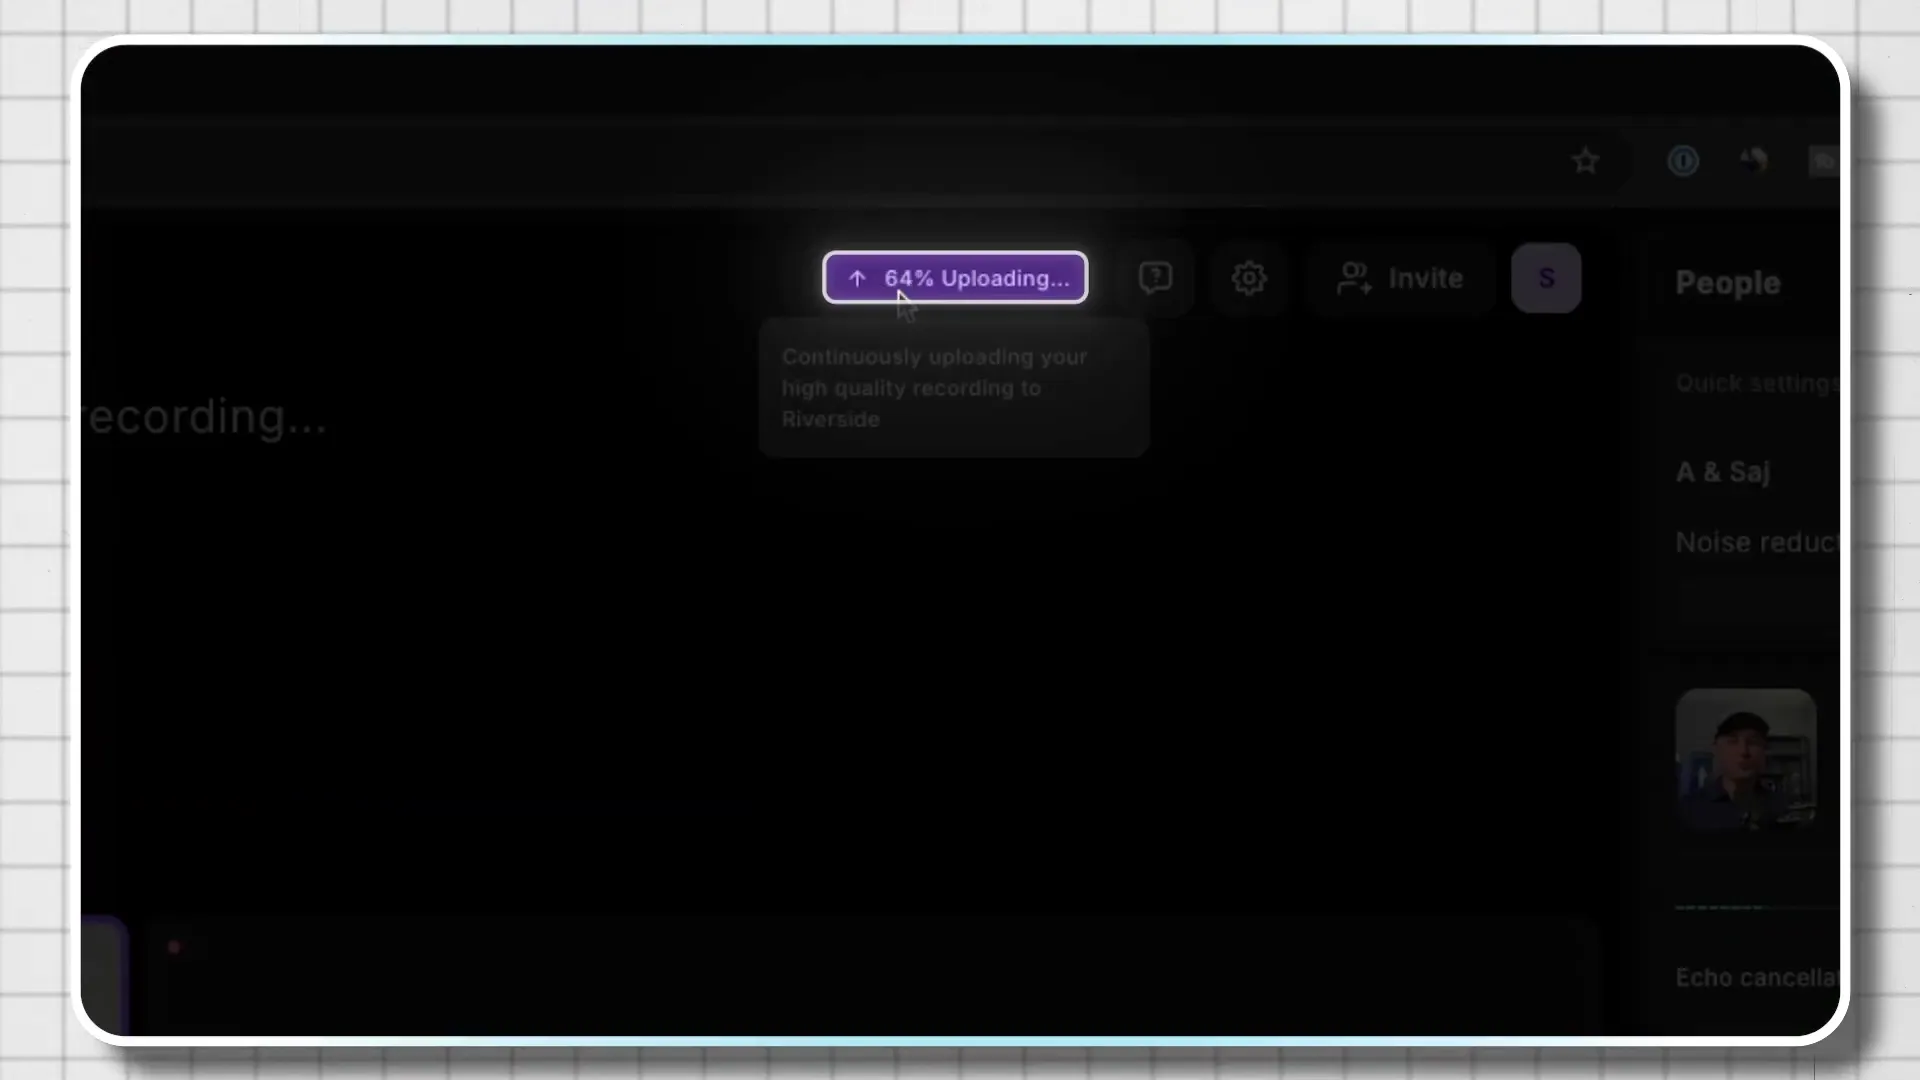
Once you hit record, Riverside will upload your session in real-time:
- Each participant’s audio and video will be recorded locally, ensuring high quality.
- You’ll see the upload progress during the session, which is reassuring.
- Make sure no one leaves the call until the upload is complete.
Editing Your Recording
After recording, Riverside provides an editing suite:
- You can edit using AI-generated transcriptions, making it easy to cut out sections.
- Export options allow you to download individual tracks or combined versions.
- Riverside supports various formats for your final output.

Exporting Your Final Product
When you’re satisfied with your edits, it’s time to export:
- Choose to export high-quality files.
- Select whether you want to remove the watermark (available in paid versions).
- Download the final product for distribution.

Final Thoughts on Using Riverside
Riverside is a powerful tool for anyone looking to create high-quality podcasts or interviews. Its unique features allow for seamless recording, editing, and exporting, making it a favorite among professionals. Whether you’re just starting or looking to upgrade your current setup, Riverside has everything you need.
For more details and to start your journey with Riverside, check out their [website](https://creators.riverside.fm/Howfinity). Happy recording!