
If you have a horizontal video that you want to post on TikTok, it can feel like a hassle to convert it into a vertical format without losing important parts of the frame. In this guide I walk you through the simple, free method I use with CapCut to resize any video for TikTok — whether you’re on iPhone or Android. This tutorial follows the same step-by-step process I demonstrate in my video on the Howfinity channel, and it covers everything from changing the aspect ratio to adding a background so your video looks polished on the platfor
Why resize for TikTok?
TikTok is optimized for vertical, full-screen viewing. If you upload a horizontal (landscape) clip directly, the app will either letterbox it with black bars at the top and bottom or crop the edges, which can hide important subjects or details. Reformatting the clip to the 9:16 aspect ratio ensures viewers see the framing you intended and helps your content look native on the platform.
Resizing also gives you creative control: you can choose to crop in for a tighter look, slide the frame left or right to recompose, or add a background behind the video so it fills a vertical screen without ugly black bars.
What you’ll need
- A phone (iPhone or Android)
- The free CapCut app (available in the App Store and Google Play)
- The video you want to resize saved to your camera roll
The steps below are exactly what I use every time. I’ll explain each action and why it matters, plus share a few optional tweaks to make your resized video look better on TikTok.
Step 1 — Install CapCut and start a new project
First, download CapCut from your phone’s app store. It’s free and works the same way on iOS and Android. Open CapCut, tap New Project, and grant the app access to your camera roll if prompted. This will let you pick the clip you want to resize.
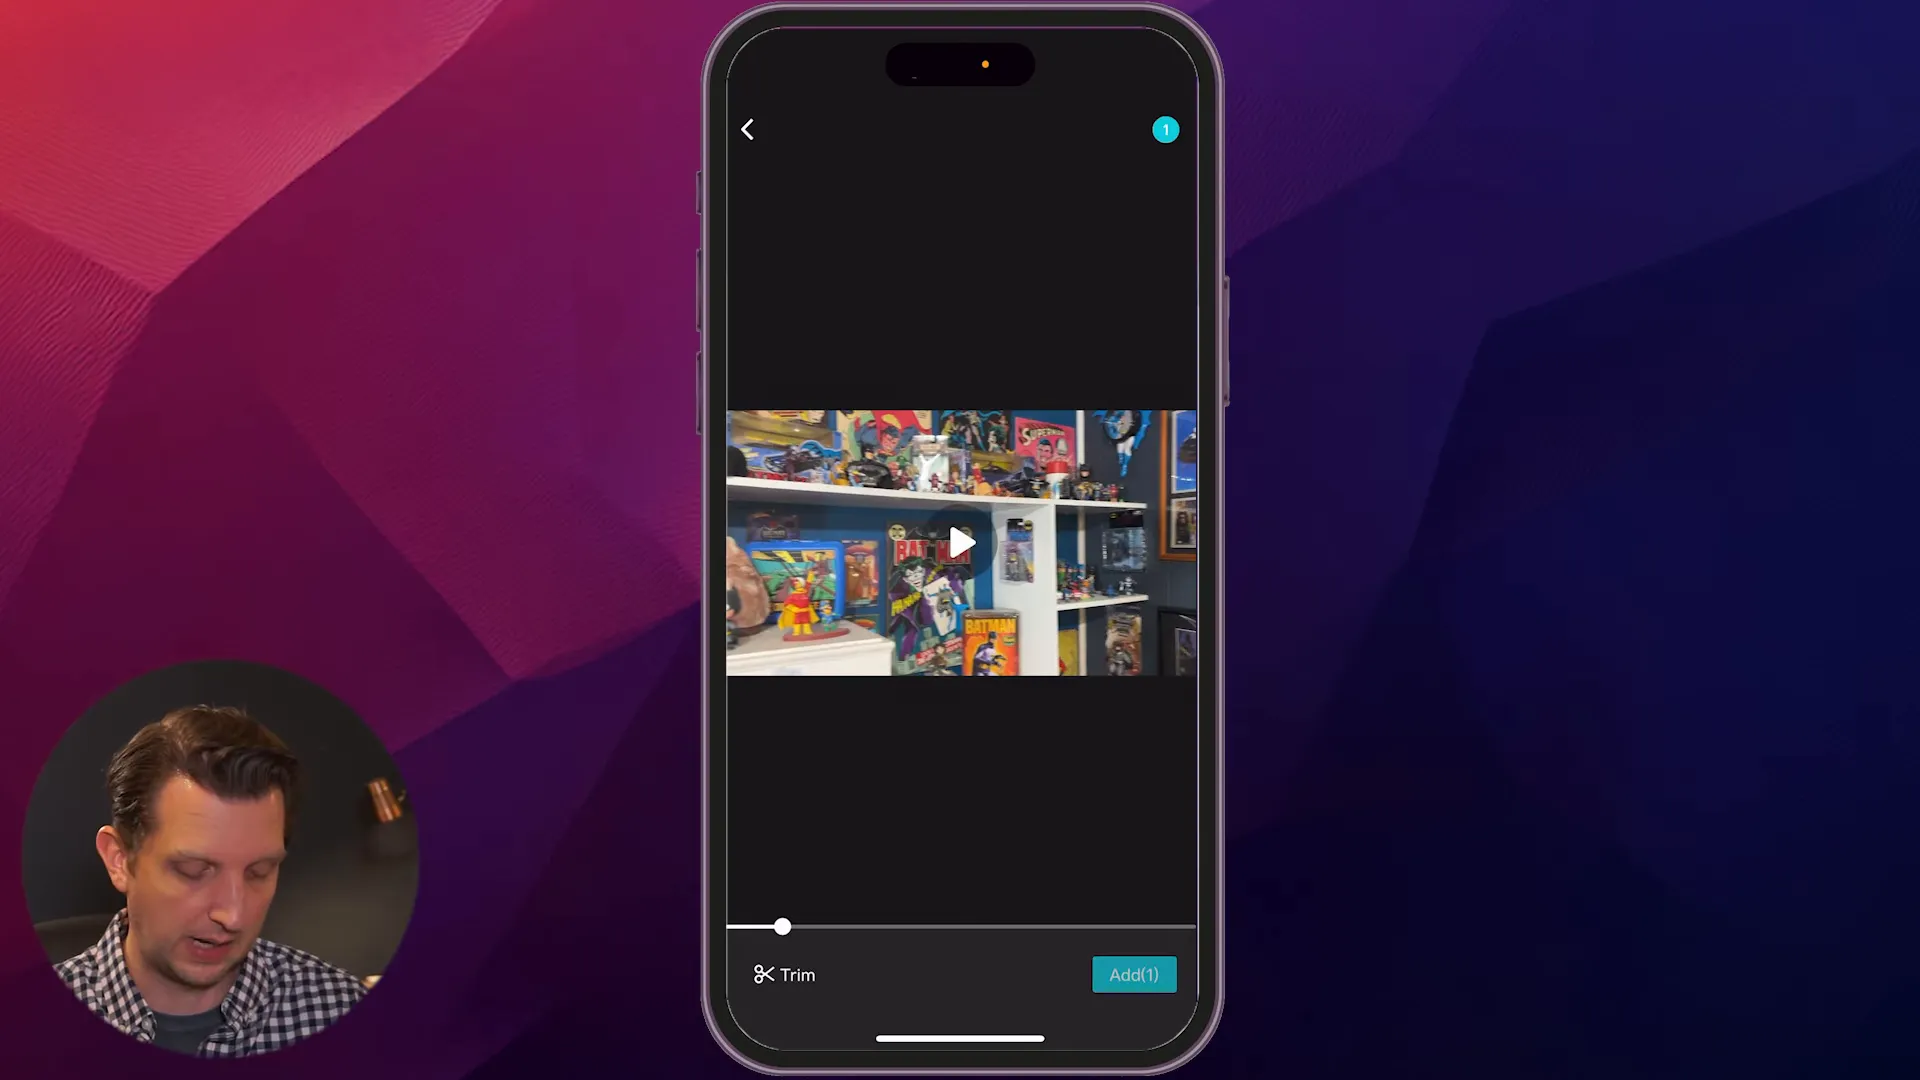
Once you tap New Project, select the horizontal video you want to turn vertical and add it to the timeline. CapCut will import the clip and show it in the editor.
Step 2 — Change the aspect ratio to 9:16
With your clip imported, the quickest way to make it TikTok-ready is to change the aspect ratio to 9:16 — the standard vertical format. Don’t tap the clip itself; instead, scroll the bottom toolbar until you see the Aspect Ratio option
Choose the 9:16 preset (it even has the TikTok logo next to it in CapCut). CapCut will automatically center your horizontal footage inside a vertical canvas, which may leave black bars above and below if the horizontal frame can’t fill the vertical space.
Step 3 — Reframe: zoom and slide to choose the best view
Now you can decide how much of the original horizontal frame you want to show. Tap the video on the canvas so a bounding box appears around it. Use pinch-to-zoom gestures to scale the clip up or down, and drag it left or right to reposition the subject inside the vertical frame.
If you zoom in all the way until the white lines touch the edges, your clip will fill the vertical frame without any bars. That’s perfect when the important action or subject is centered and can tolerate cropping at the top and bottom.
Alternatively, you can zoom out slightly to preserve more of the horizontal scene. Zooming out usually creates empty space (bars) above and below the clip — which is where the next step becomes useful.
Step 4 — Add a background so your video fills the vertical frame
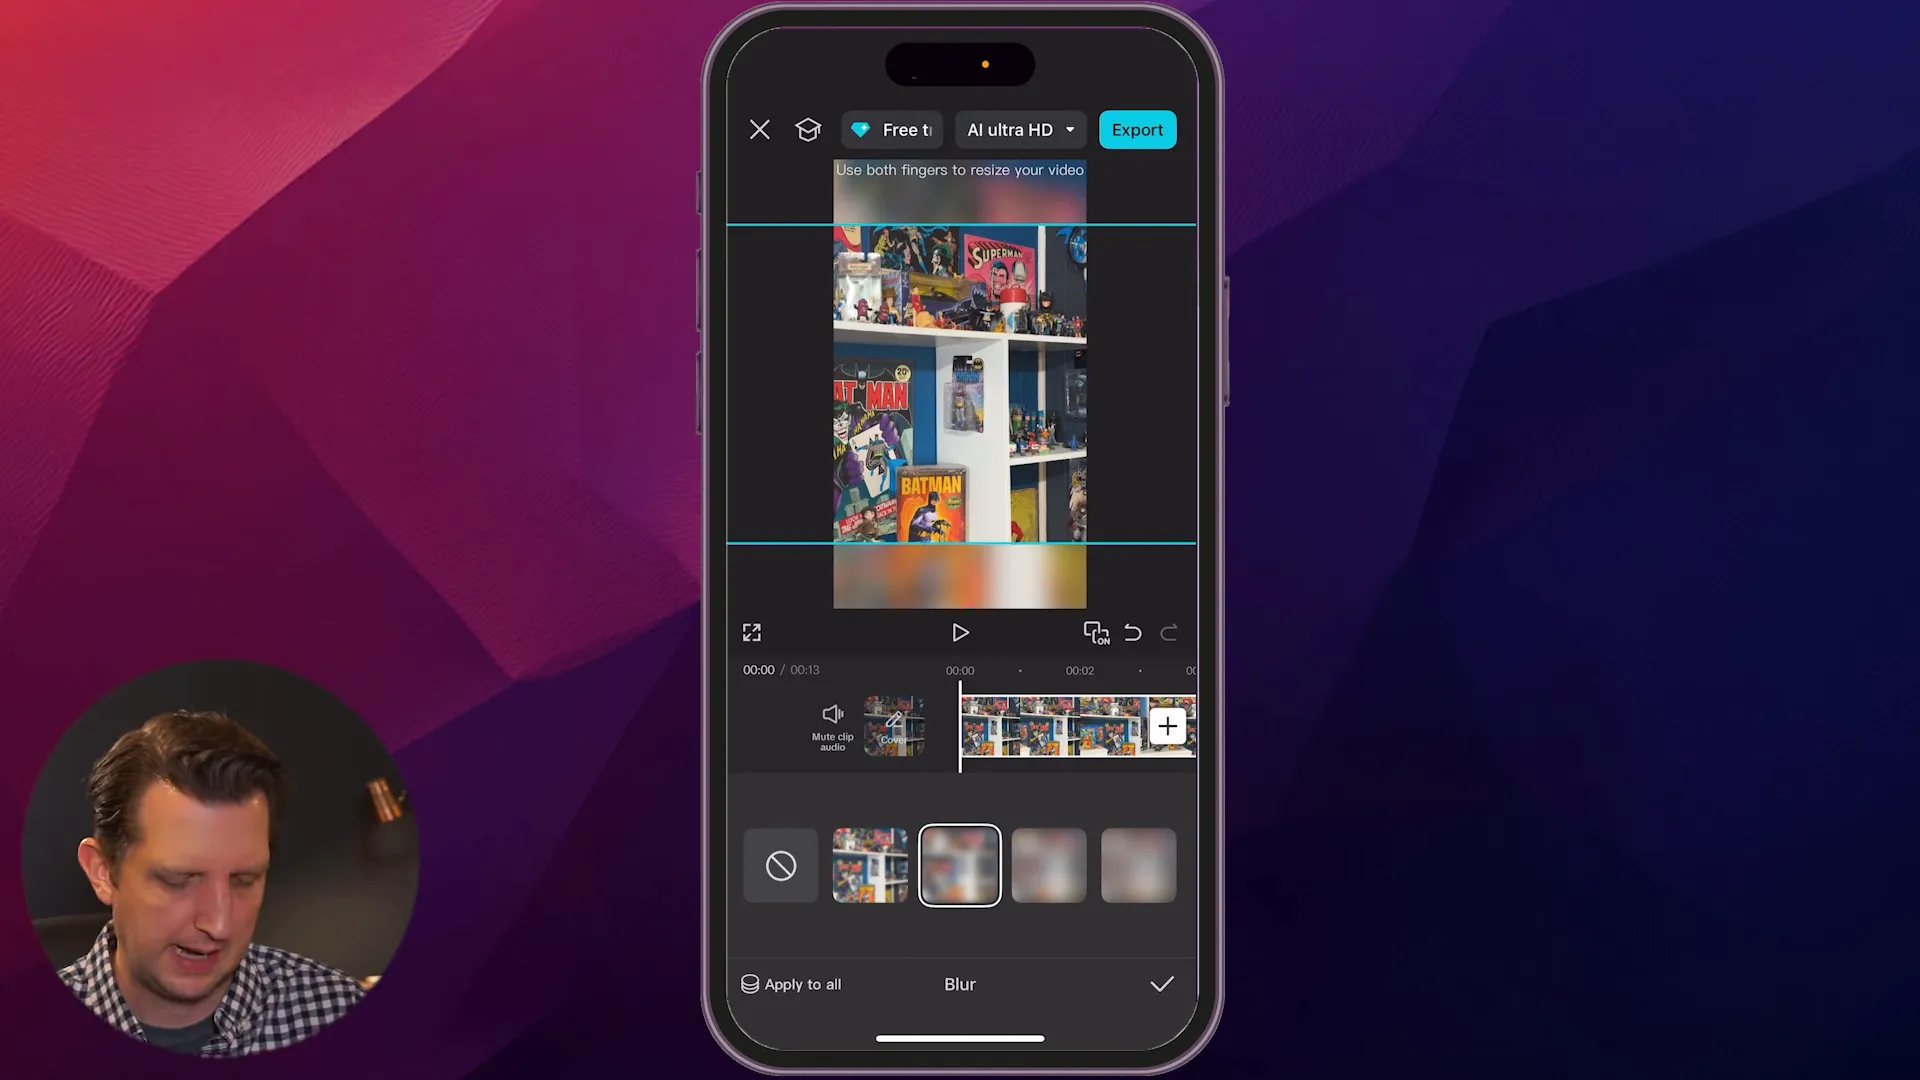
If you don’t want to crop in too much but still prefer to avoid plain black bars, CapCut lets you add a background behind the video. Tap anywhere outside the video to deselect it, then scroll the bottom toolbar to find Background.
CapCut gives you a few choices:
- Solid colors — quick and clean, works well with bold branding or captions
- Blur — uses the video itself blurred out as the backdrop for a neat, cohesive look
- Custom images — you can use a branded image or pattern as the background
I often choose the blur option because it uses the same footage as a backdrop, keeping the composition visually consistent while keeping the viewer focused on the main subject. CapCut lets you choose how much blur to apply — a moderate blur usually looks best (not too soft, not so strong it becomes distracting).
Step 5 — Final checks and export settings
Once you’ve framed the clip and set the background, scrub through the timeline to confirm nothing important gets cut off during the action. Watch the video a full time in the editor to verify motion and subject placement look right in the new vertical crop.
When you’re happy with how it looks, tap Export in the top-right corner. CapCut will render your video; depending on length and quality settings, it may take a moment. You can save the resized clip to your phone or, if you’ve linked your TikTok account to CapCut, post directly to TikTok from the app.
Quick recap — the simple workflow
- Download CapCut and open a New Project.
- Import your horizontal clip from the camera roll.
- Select Aspect Ratio → 9:16 (TikTok).
- Tap the clip, pinch to zoom, and drag to reframe the shot.
- Optionally deselect the clip, choose Background → Blur or Color to remove black bars.
- Export and save or post to TikTok.
Practical tips and best practices
- Keep the subject away from the edges: When you shoot future footage you intend for multi-platform use, try to keep key subjects near the center so they survive cropping when you convert to 9:16.
- Mind resolution: Higher-resolution horizontal videos (1080p or 4K) crop and scale more cleanly when zoomed in. Low-res clips can get soft when you zoom a lot.
- Use the blurred background for cohesion: It’s usually the fastest way to make a landscape clip feel native in a vertical format without distracting borders.
- Test your export quality: Export a short clip first to check how it looks on your phone and in TikTok before applying the same process to longer videos.
- Consider motion: If your subject moves across the frame, you may need to keyframe the position in CapCut so the important action stays within the vertical crop. For simple clips, manual re-framing is often enough.
Common mistakes to avoid
- Zooming in so much that you lose important context or the subject’s head or feet are cut off.
- Choosing too heavy a blur or a clashing background color that distracts from the main clip.
- Not checking the entire timeline — sometimes a reframe looks fine at the start but clips action later in the shot.
When to crop vs. when to use a background
Crop (zoom in) when the subject and action are centered and you can afford to lose some peripheral content. Use a background when you need to preserve the horizontal context — for example, wide shots, group scenes, or landscapes where details along the sides are important.
The blurred background is a great compromise: it fills the vertical canvas with a soft, contextually relevant backdrop without pulling attention away from the main subject.
Wrapping up
Converting horizontal videos into TikTok-ready vertical clips doesn’t have to be complicated. With CapCut you can change the aspect ratio to 9:16, reframe with pinch-and-drag gestures, and add a background (blur or color) to avoid black bars. Exporting and posting is quick, and the app gives you enough control to make the final result look intentional and native to TikTok.
If you prefer a visual walkthrough, check out my full demonstration on the Howfinity YouTube channel — the steps above match exactly what I show in the video. Try this workflow on a few clips and you’ll quickly develop a sense for how much to crop, which backgrounds look best, and how to keep your content looking great across platforms.
Happy editing — and see you in the next post!
Extra tips and troubleshooting
If you run into problems or want to refine your workflow, try these quick checks and tweaks before exporting:
- Export settings: For TikTok, export at 1080 x 1920 (9:16) and 30–60 fps depending on your source. A bitrate between 6–12 Mbps is a good balance of quality and file size.
- Check motion: Scrub the entire timeline after reframing to ensure moving subjects don’t get cropped out mid-shot. If they do, add simple position keyframes in CapCut to follow the action.
- Blur strength: For a blurred background, start with a moderate blur (10–20% in CapCut’s slider) and preview on your phone—too much blur can look unnatural on small screens.
- Preserve heads and hands: When zooming, leave extra headroom and bottom space to avoid cutting off heads, feet, or hands during movement.
- Test exports: Export a short 5–10 second segment first to verify sharpness and color before committing to the full video.
Filming tips for future clips
- Keep important subjects near the center of the frame if you plan to repurpose footage for vertical platforms.
- Shoot at higher resolutions (1080p or 4K) when possible — they scale and crop better without losing sharpness.
- Record with extra lead and tail time so you have room to reframe without chopping important actions.
If you’d like, you can paste this checklist into your phone’s notes app to follow when filming and editing. These small habits make converting landscape to vertical much faster and more consistent.