
Building a website can often feel like a daunting task, especially if you’re new to web design or coding. But what if I told you that you could make a Wix website from scratch in under 10 minutes? That’s exactly what I’m going to show you in this comprehensive guide. Using Wix’s powerful free tools and AI-driven features, you can create a fully functional, attractive website tailored to your needs quickly and easily.
Whether you’re looking to promote your YouTube channel, showcase your portfolio, or start a blog, Wix provides an intuitive platform that makes website creation accessible to everyone. In this article, I’ll walk you through the entire process—from setting up your account to customizing your site and finally publishing it live on the web.
Getting Started: Setting Up Your Wix Account
The first step to make a Wix website is to create your account. You can start by visiting wix.com. There’s a free version that lets you build and publish your site without spending a dime, which is perfect for beginners. However, Wix also offers paid plans that provide benefits like a custom domain name and removal of Wix advertisements.
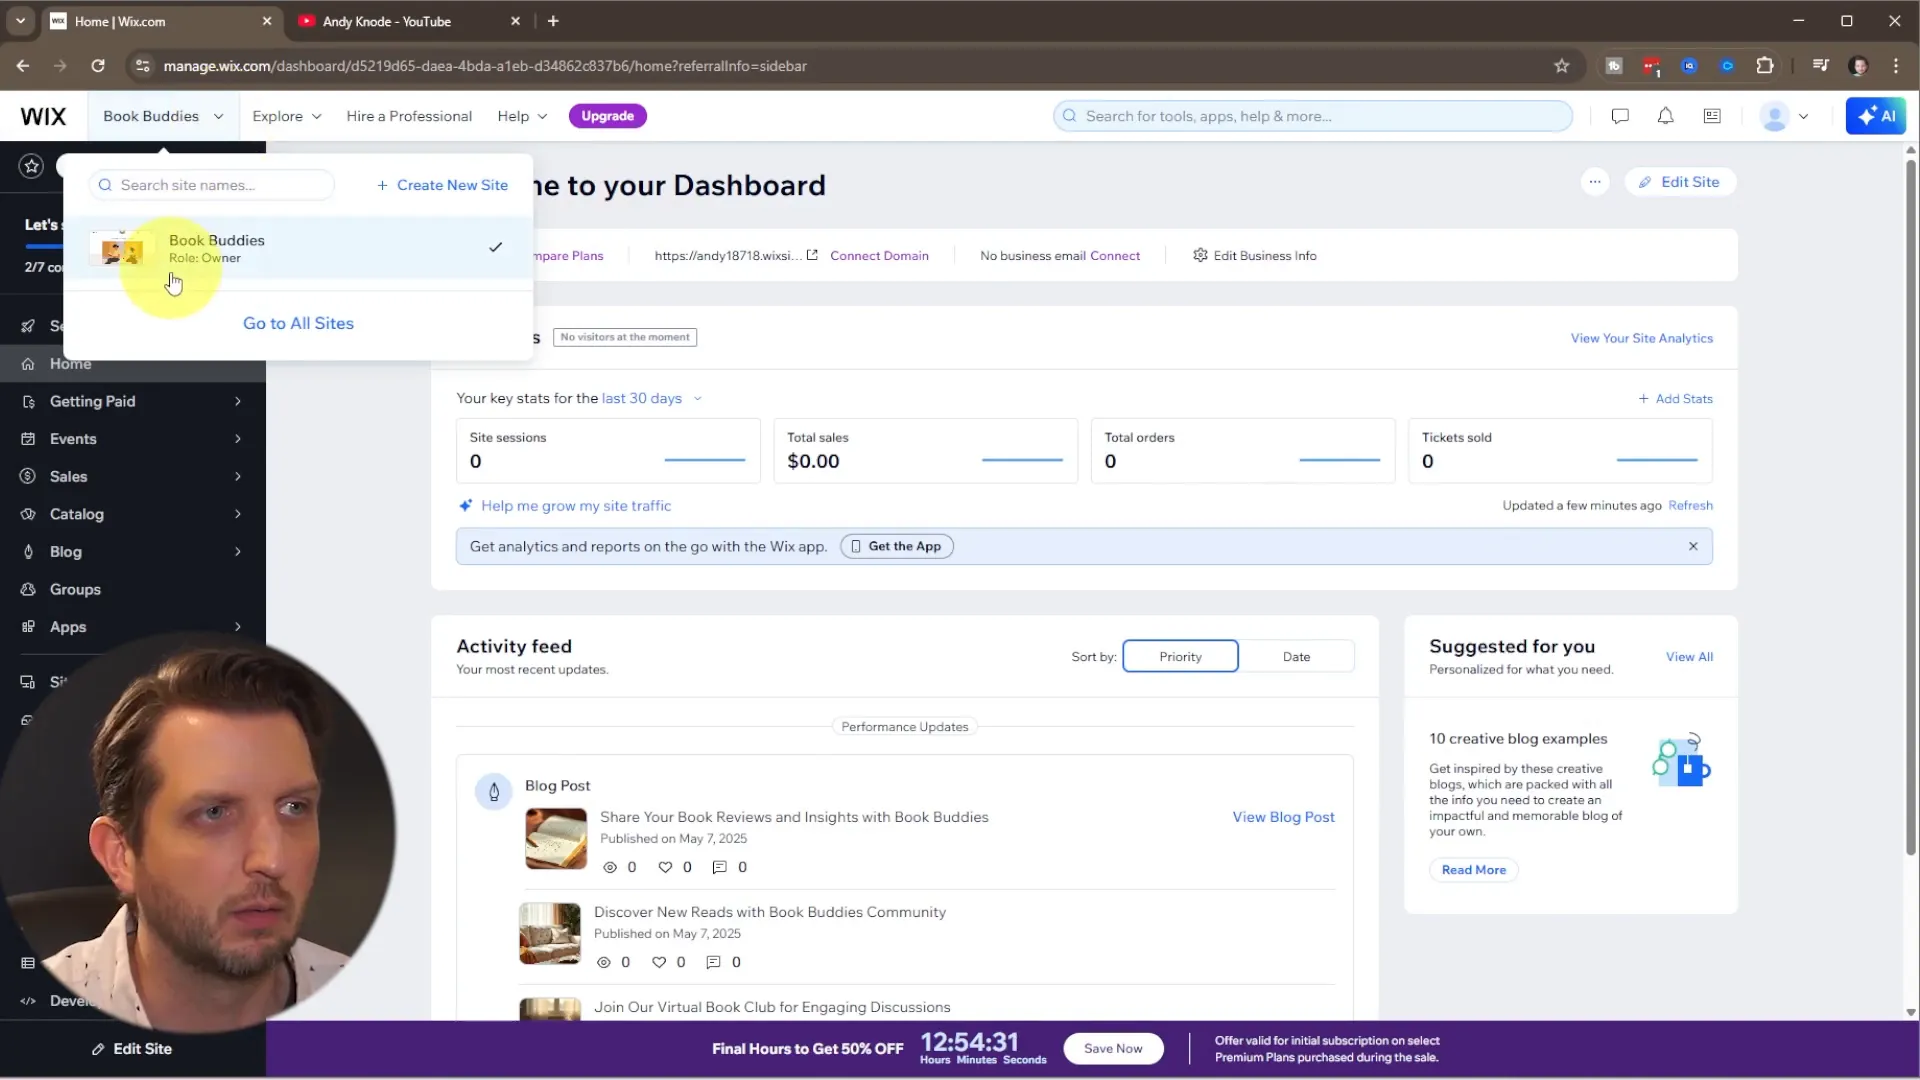
For now, the free version is perfect to get you going. Once you sign in, you’ll be greeted with a dashboard showing your existing websites if you have any. To begin a new project, just click on the “Create a New Site” button.
Using Wix’s AI Tools to Simplify Website Creation
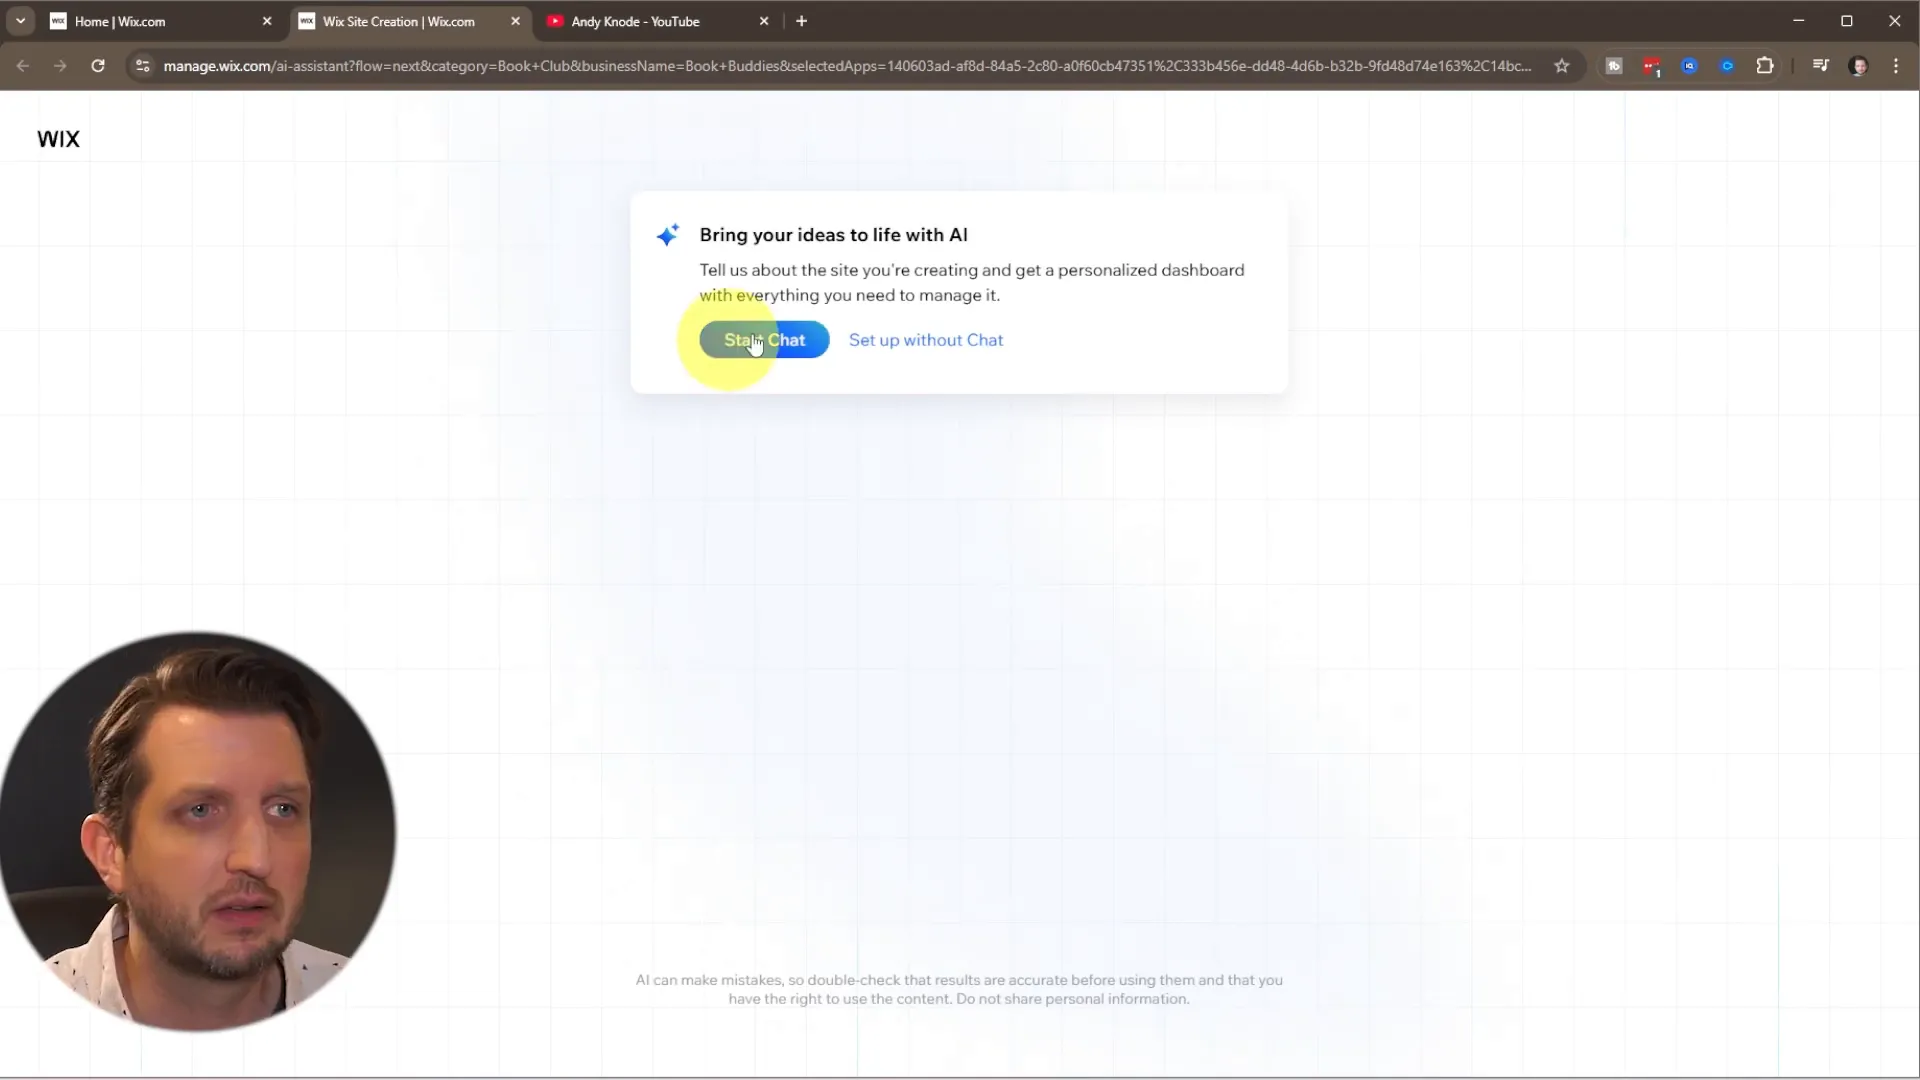
One of Wix’s standout features is its built-in AI assistant that helps you generate a customized website layout based on your specific needs. When you start creating your site, Wix will prompt you to either start a chat with the AI or skip it and design manually. Choosing the chat option lets the AI guide you by asking a few simple questions.
For example, if you are building a site to promote your YouTube channel, you can tell the AI assistant that your goal is to attract new viewers and gain more subscribers. You’ll be asked to provide details such as your channel name, your unique selling points, and what sets you apart from others in your niche. From this information, the AI generates a site profile and starts preparing a tailored dashboard and website structure.
This AI-driven setup saves you lots of time by automatically selecting the tools and layouts best suited for your site’s goals. For instance, if you mention that you review cartoons from the 90s and 2000s, the AI will prioritize related design elements and features to support that theme.
Designing Your Site: Templates vs. AI-Generated Layouts
Once your dashboard is ready, it’s time to design your site. Wix offers two main options for design:
- Pick your own template: You can browse through hundreds of pre-made templates and select one that fits your style.
- Generate a design with AI: Let Wix’s AI create a unique, customized template based on your earlier inputs.
For this guide, I recommend trying the AI-generated design option. It instantly creates an ideal template tailored for your website’s purpose, which you can then tweak to your liking.
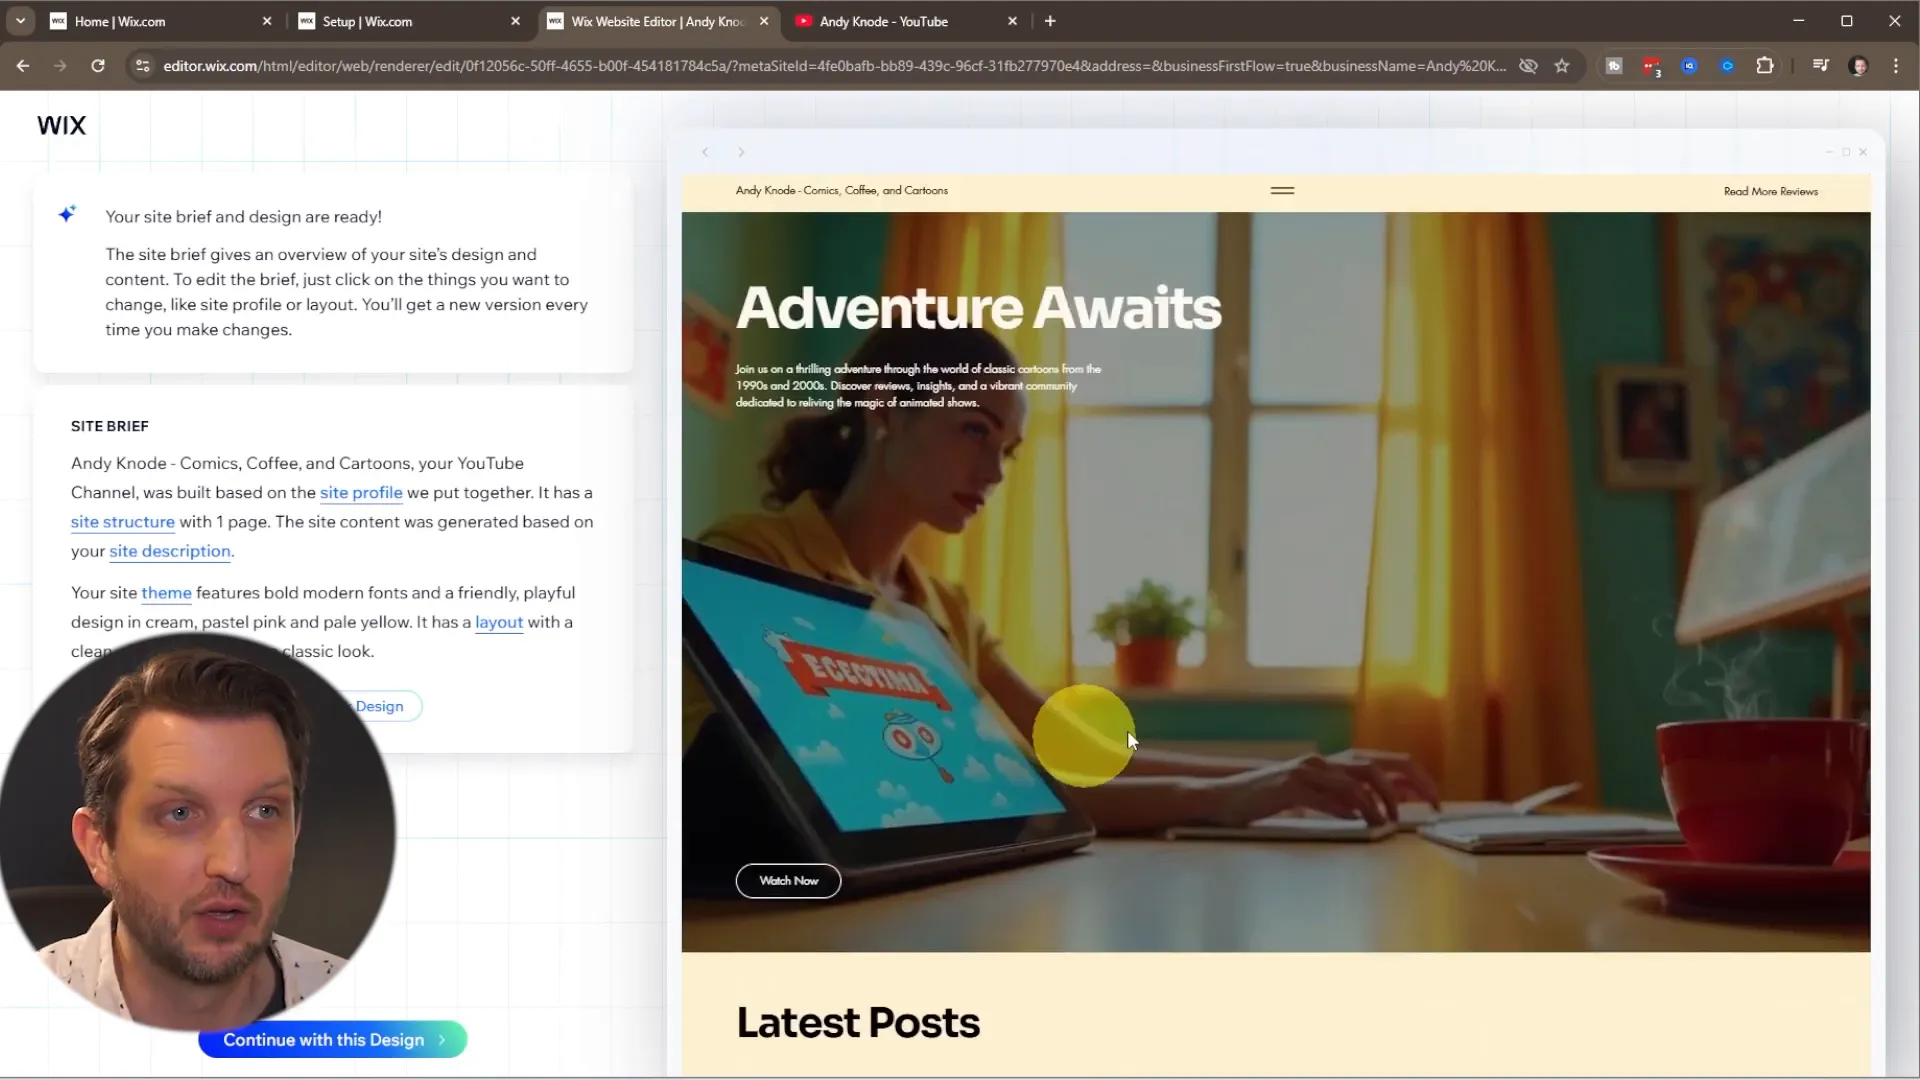
The AI-generated template is a great starting point—it’s already thoughtfully arranged and visually appealing. However, you can still fine-tune the design by adjusting colors, fonts, layouts, and images. If you don’t like the first version, you can regenerate the design or continue tweaking until it feels just right.
Customizing Your Website to Make It Your Own
Now comes the fun part: customizing your website. Wix’s editor interface makes it incredibly simple to personalize every element of your site.
Here’s a quick overview of the editor:
- Pages Navigation: At the top, you can switch between different pages like the homepage, blog, or any other pages you add.
- Mobile/Desktop View: Switch views to see how your site looks on desktops and mobile devices. This is crucial because mobile responsiveness is key to a good user experience.
- Elements Panel: On the left, you can add images, text boxes, buttons, lines, and more to your pages.
- Sections: Your pages are divided into sections that you can move around, add to, or delete as needed.
Editing Text and Images
Start by editing the homepage. You can click any text block to edit it directly and replace placeholder text with your own content. For example, change the welcome message or add a tagline that reflects your channel or brand.
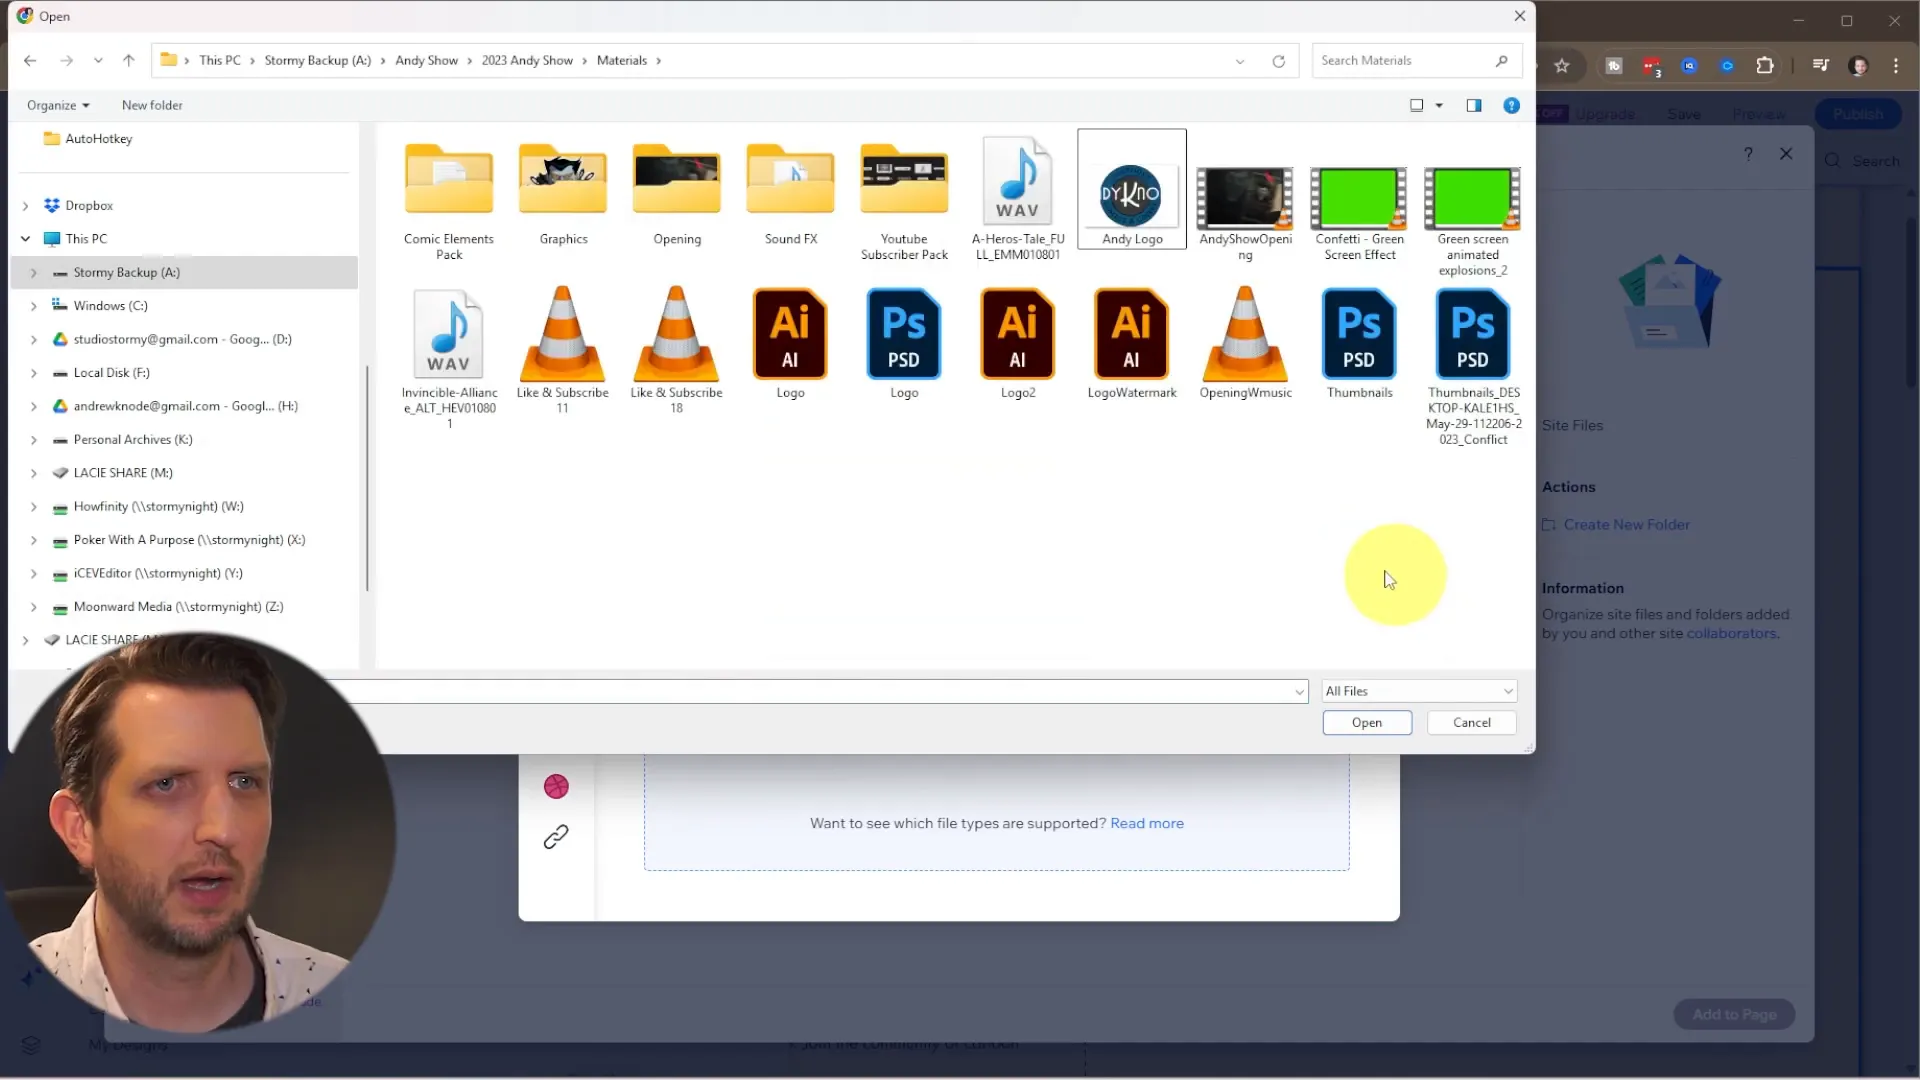
To replace images, go to the “Add Elements” menu, select “Image,” and upload your own pictures from your computer. This is a great way to personalize your site with your logo or other branding elements.
Adjusting Backgrounds and Colors
After adding your images and text, you might find that the background or color scheme doesn’t quite fit your style or makes text hard to read. Wix lets you easily change the background to a solid color, gradient, or even a new image.
For example, if your text isn’t visible enough, try switching to a darker background color to increase contrast and readability—especially important for mobile users.
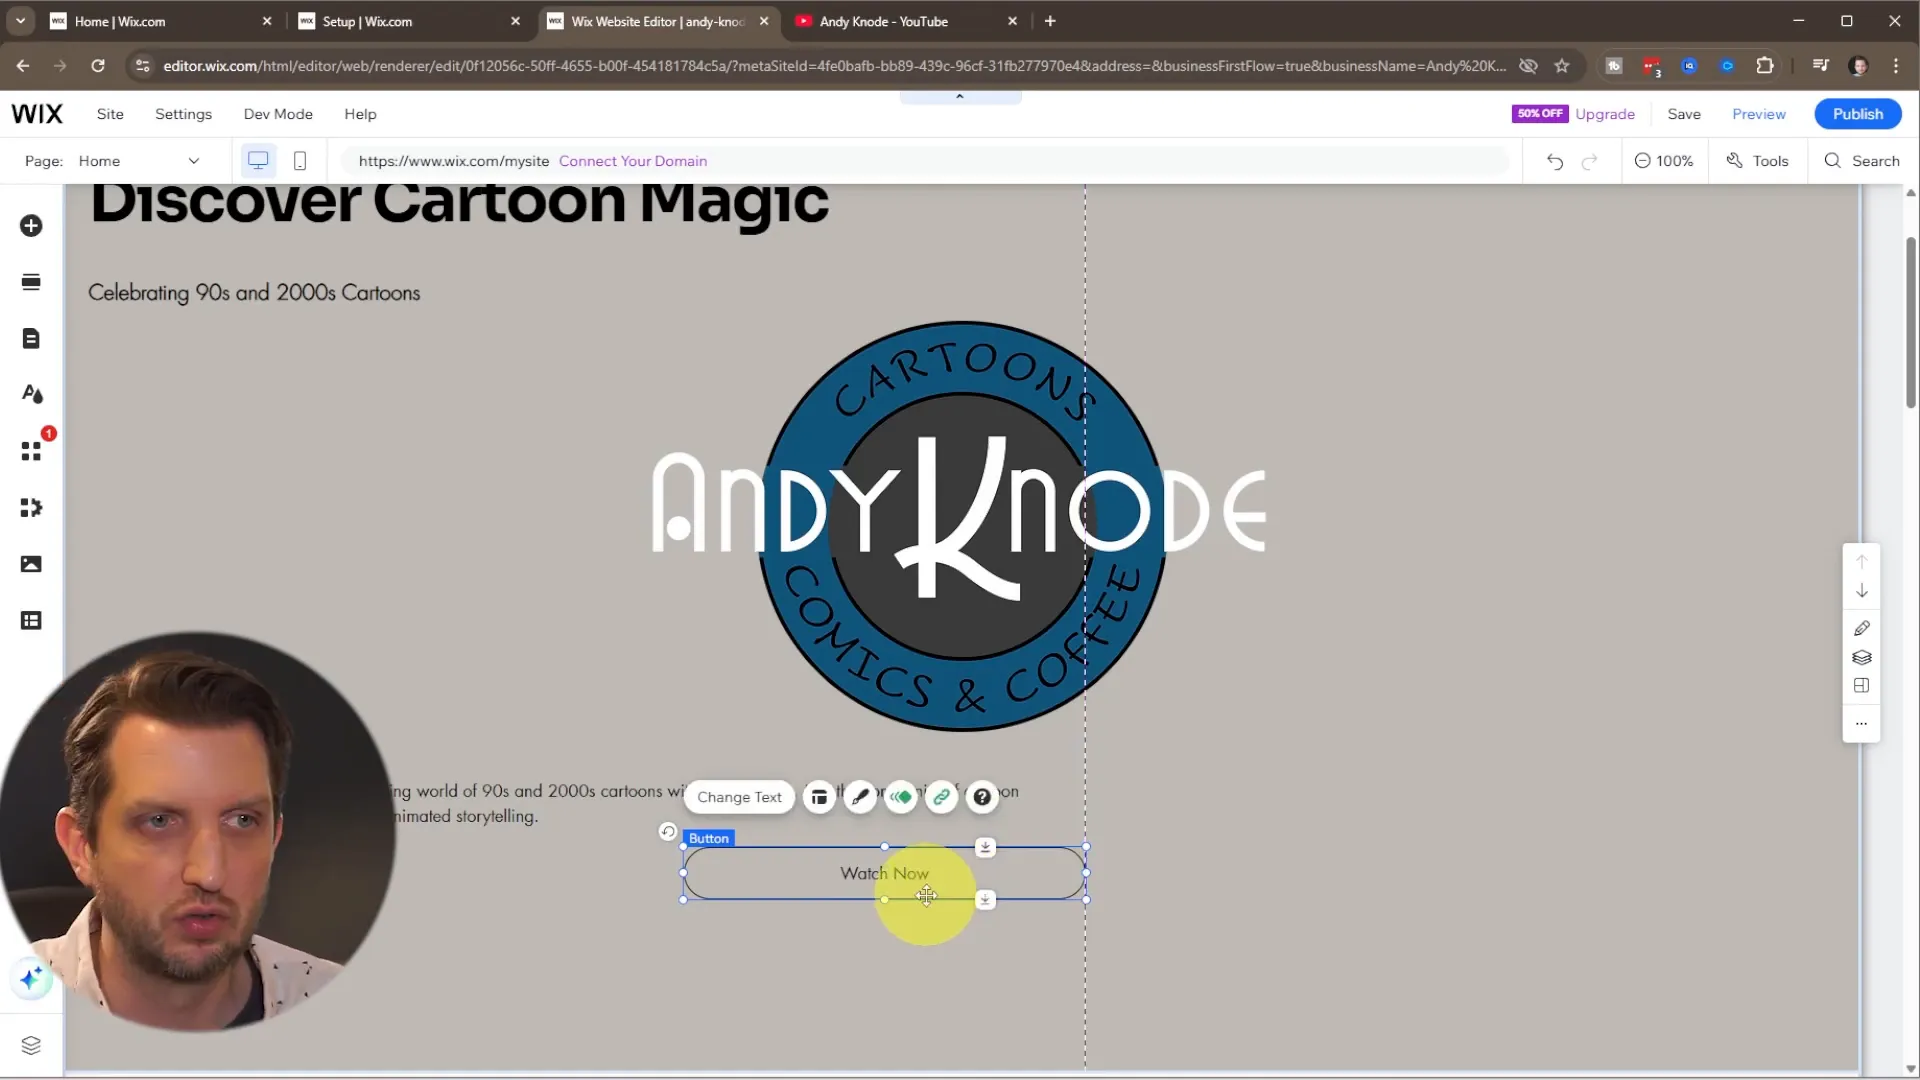
Linking Buttons to Your YouTube Channel
Since the goal is to drive traffic to your YouTube channel, make sure you have a clear call-to-action button that links directly to your channel. Click the button element, change its text to something like “Visit My YouTube Channel,” and then set the link to your channel’s URL.
This way, visitors can easily click through to your videos and subscribe. It’s a simple but powerful way to integrate your website with your existing content.
Embedding Videos and Managing Content Sections
To showcase your videos directly on your site, Wix allows you to embed YouTube playlists or individual videos. This keeps visitors engaged and lets them watch your content without leaving your site.
Use the video section to add your favorite playlist or featured videos. Simply copy the playlist link from YouTube, paste it into the Wix video manager, and choose whether to display individual videos or the entire feed.
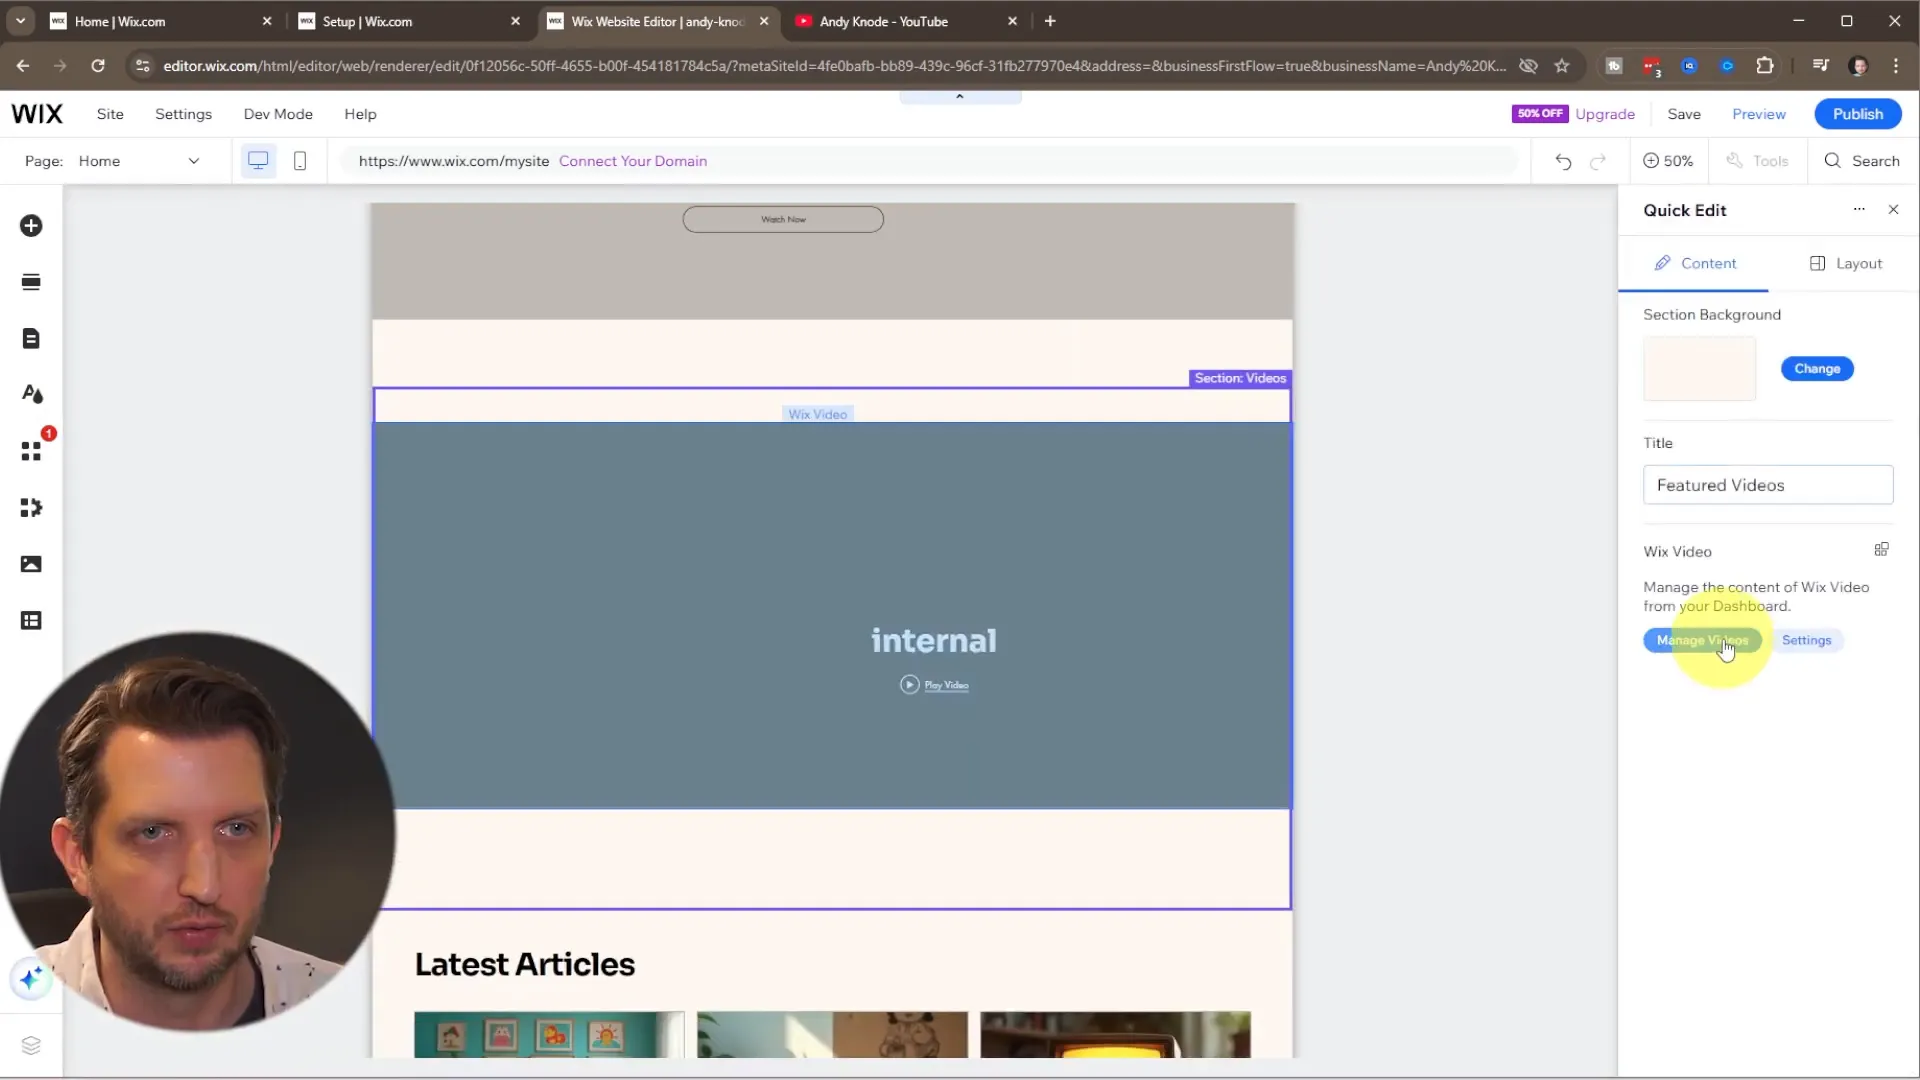
You can also rearrange content sections to prioritize what visitors see first. For instance, move the video section above the blog posts so that your videos get maximum attention.
Removing Unnecessary Sections
If the template includes sections that don’t apply to you, such as social media follow buttons for platforms you don’t use, you can easily delete them. Just click the section’s menu and select “Delete.” This keeps your site clean and focused on your main goals.
Previewing and Publishing Your Website
Before going live, always preview your site on both desktop and mobile views to ensure everything looks great and functions properly. Wix’s preview tool lets you check the layout, readability, and navigation without making the site public.
If you notice issues—like text blending into the background on mobile—you can quickly go back into the editor to make adjustments.
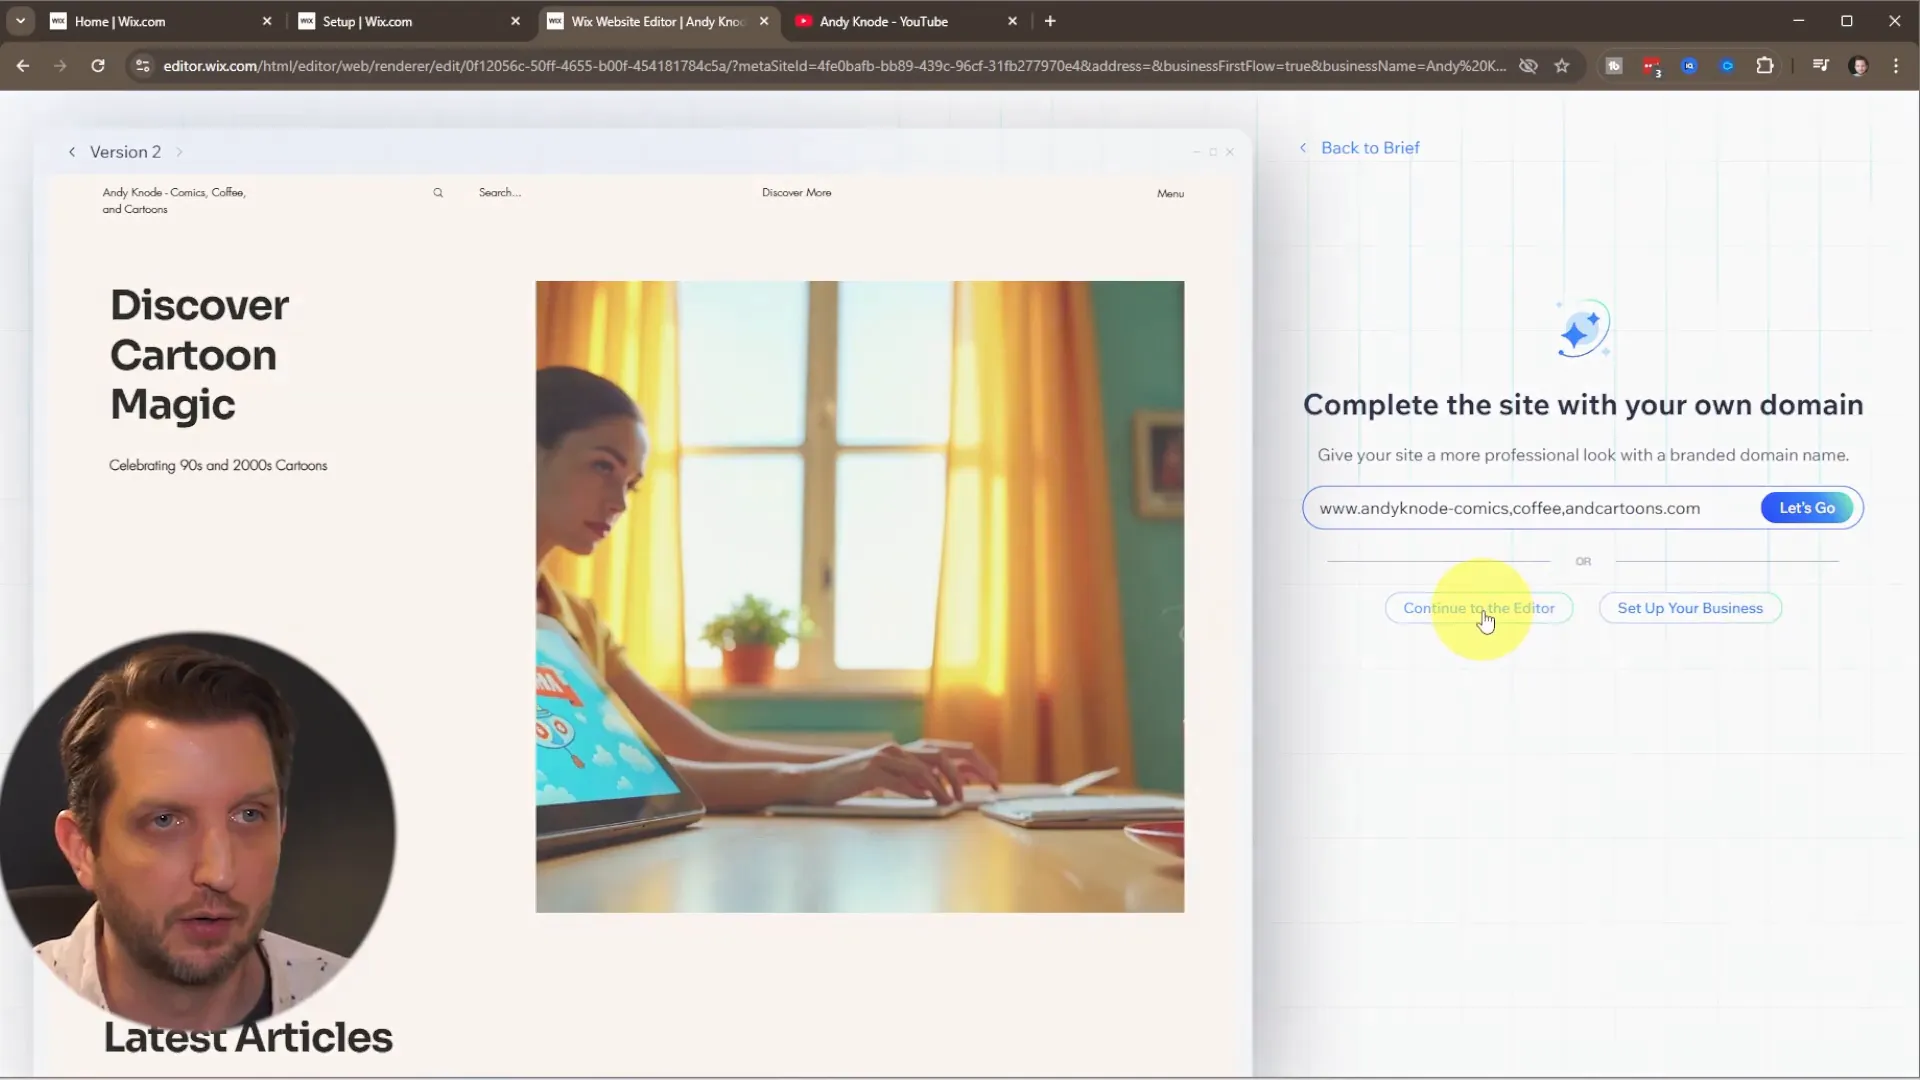
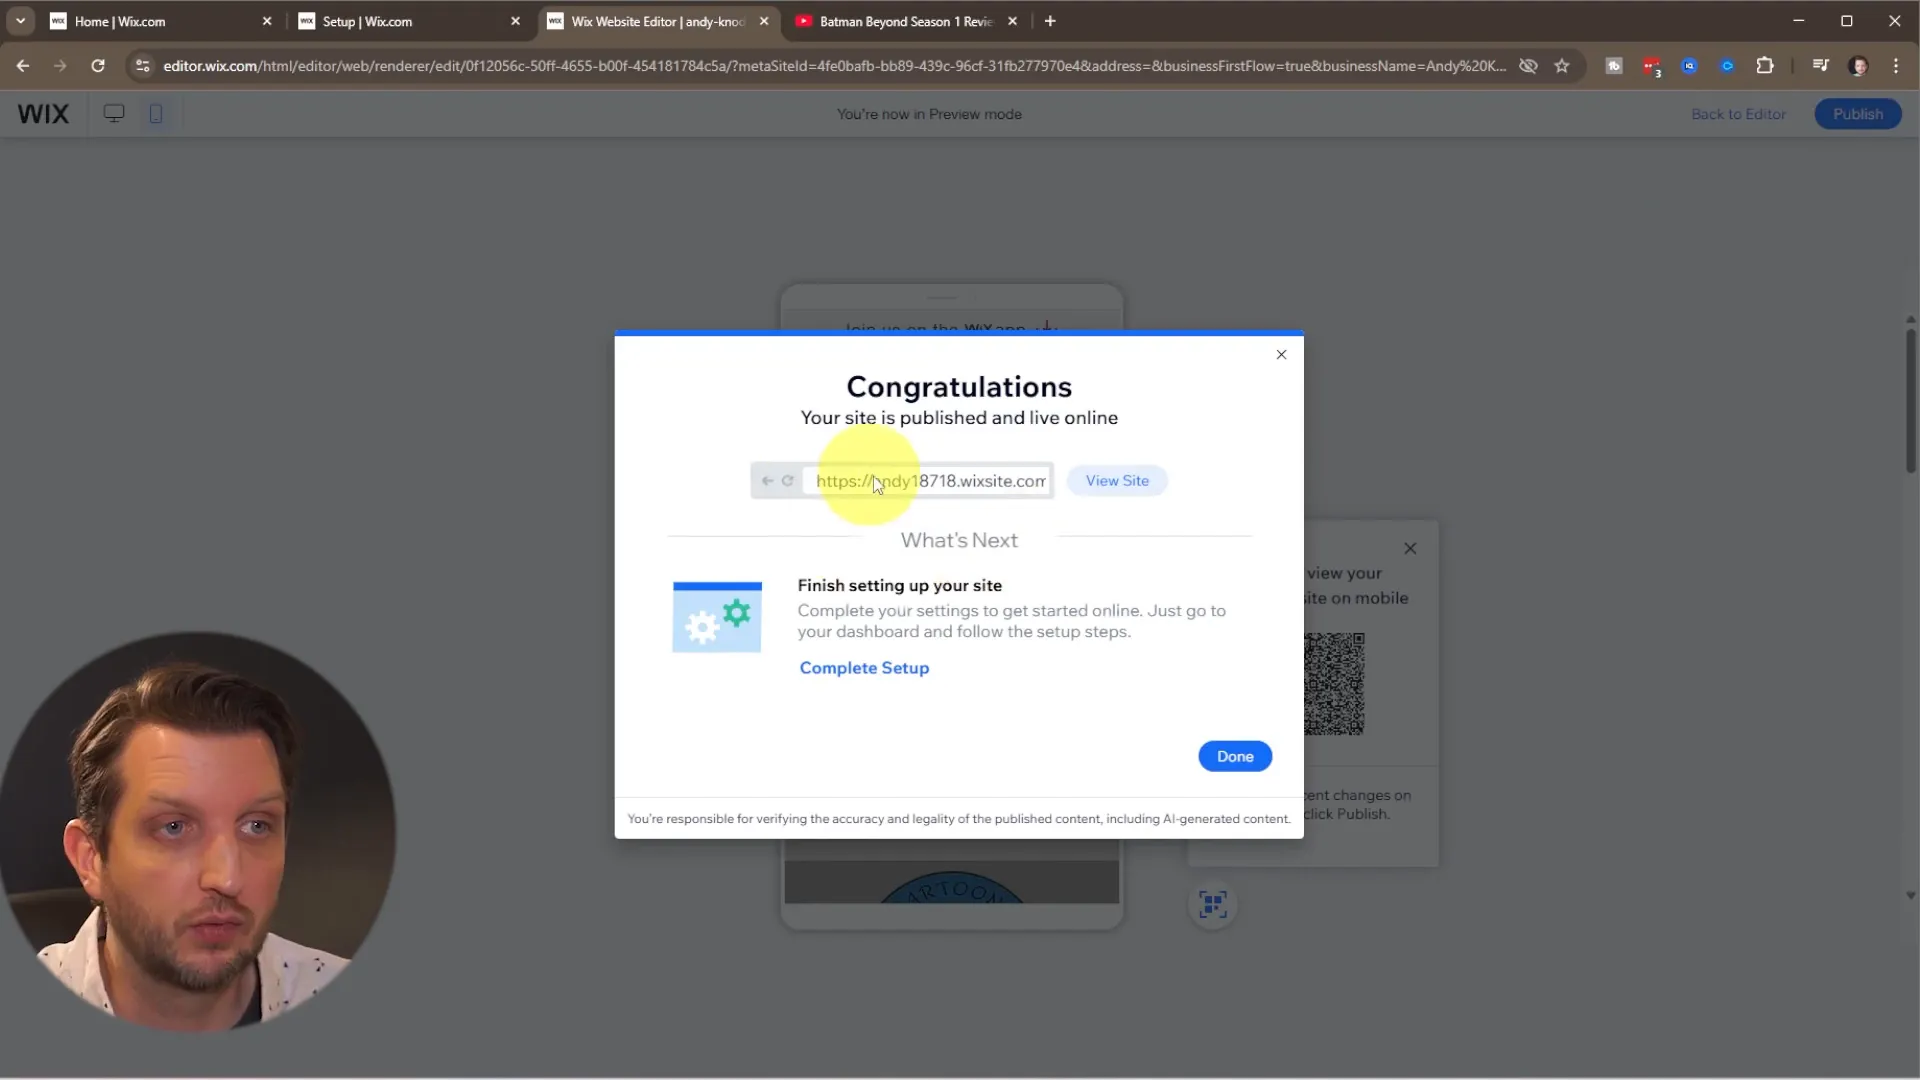
Once you’re happy with your design and content, hit the “Publish” button. Your site will go live with a free Wix domain, which tends to be a bit long and complex. If you want a cleaner, custom domain, you can upgrade to a paid plan anytime.
Final Thoughts: Build Your Site Quickly and Easily with Wix
Making a Wix website has never been easier thanks to their AI-powered tools and user-friendly editor. Whether you’re promoting a YouTube channel, starting a blog, or creating a portfolio, you can have a professional-looking website up and running in under 10 minutes.
To recap the key steps:
- Create your Wix account (free or paid).
- Use the AI assistant to generate a tailored site layout.
- Customize your pages by editing text, uploading images, and adjusting colors.
- Link buttons to your YouTube channel or other key destinations.
- Embed videos or playlists directly on your site.
- Preview your site on desktop and mobile to ensure responsiveness.
- Publish your site and share your new web presence with the world.
With Wix, you don’t need technical skills or design experience to create a website that looks great and works well. I hope this guide inspires you to build your own site quickly and efficiently. Ready to get started? Just try Wix for free and see how easy it is to make a Wix website today!