
In this guide I’ll walk you through exactly how I create a professional-looking YouTube thumbnail using Canva, all for free. Whether you’re starting a channel or just want a cleaner, more clickable thumbnail for your next upload, this step‑by‑step walkthrough will show you the same process I use: choosing a template, customizing text, swapping in your own photo, editing the background, previewing at small sizes, and exporting the finished file the right way.
Why thumbnails matter (and what makes a good one)
Before we jump into the mechanics, a quick reminder: thumbnails are small, but they’re often the first thing viewers see. A strong thumbnail should:
- Clearly communicate the video topic at a glance
- Use readable text and a focal point (usually a face or bold object)
- Have contrast so details remain visible when small
- Match your channel’s visual style so viewers instantly recognize your content
I focus on clean composition, bold readable words, and a clear photo of myself. Those three elements alone increase click‑through and keep thumbnails consistent across a channel.
Quick overview of the workflow
- Open Canva (free account works fine)
- Start from a YouTube thumbnail template
- Edit text and layout to match your title and brand
- Upload and place your photo (crop/adjust as needed)
- Replace or tweak the background with elements or images
- Adjust image settings (brightness, warmth, contrast)
- Preview at small sizes, then export as JPEG
Step 1 — Open Canva and pick a template
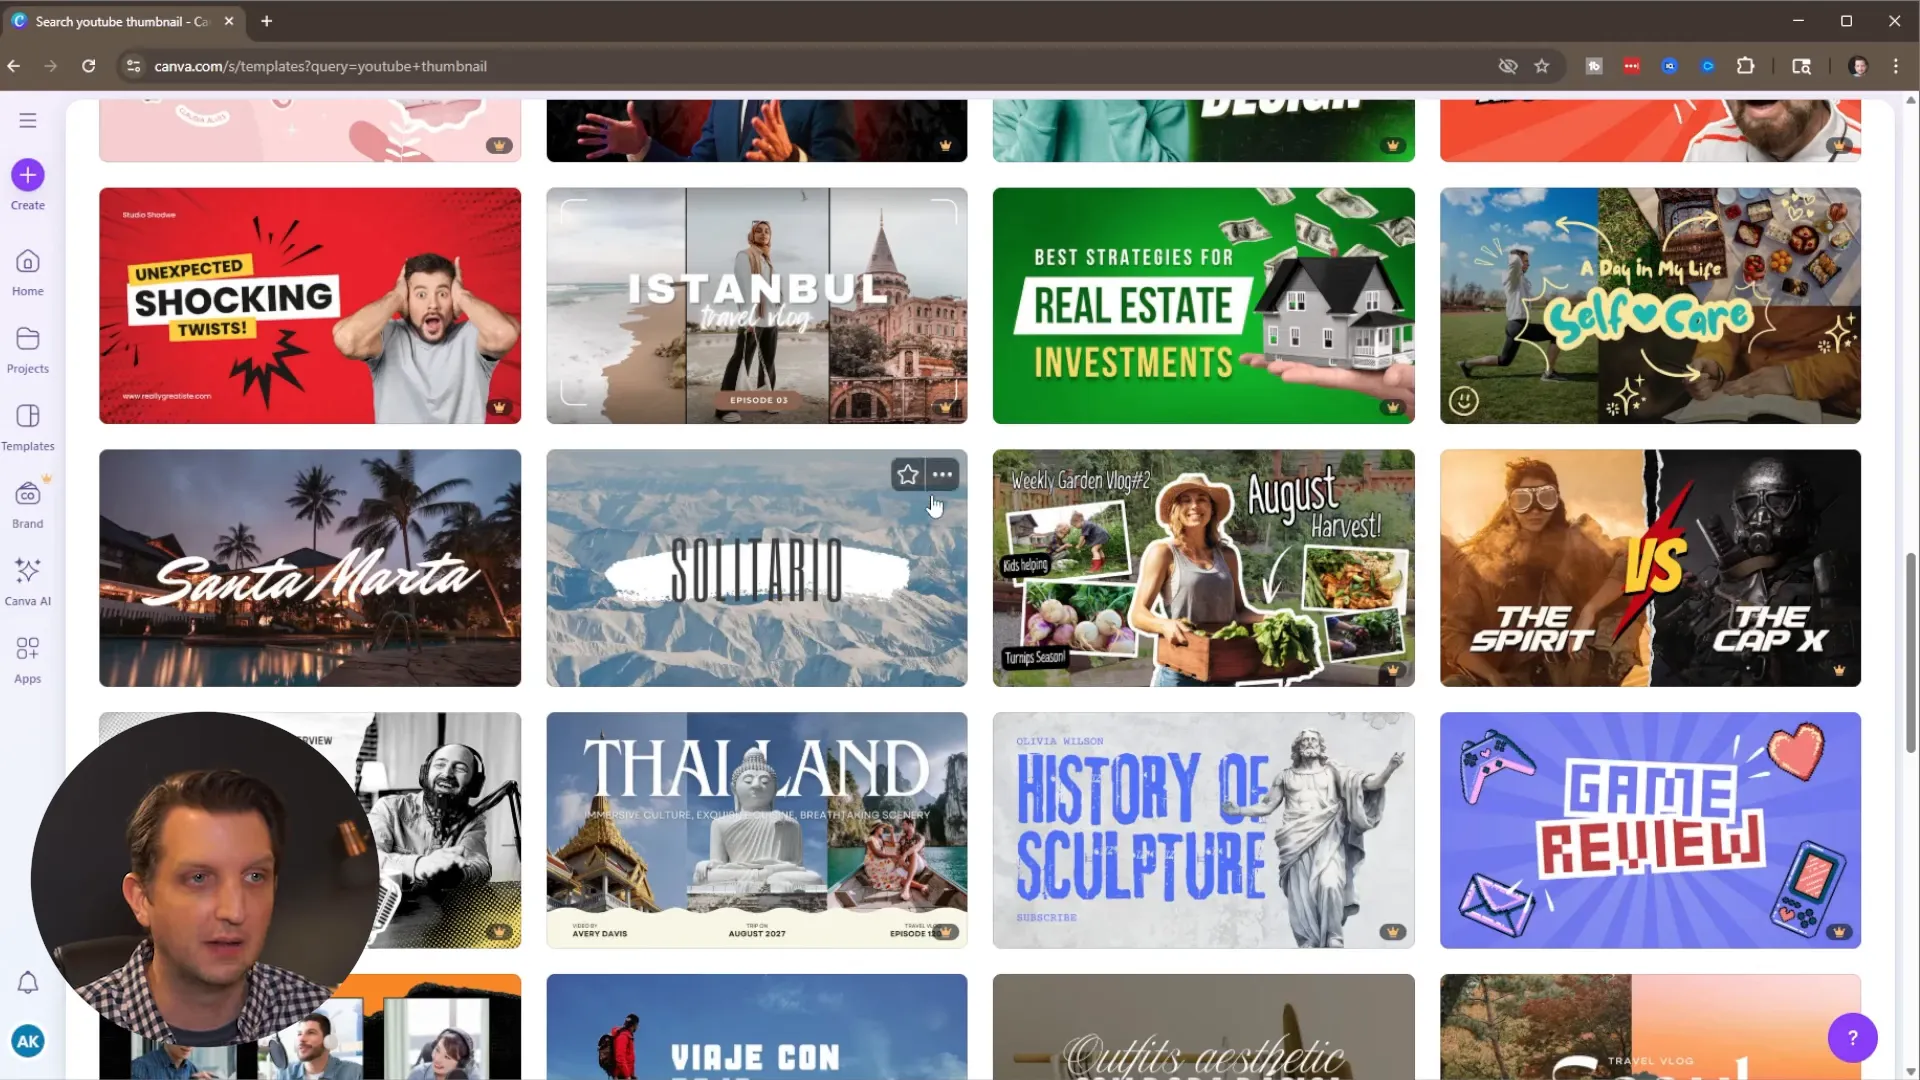
Head to canva.com and sign in. I use a free account — everything I cover here works with the free plan. In the top search bar, type “YouTube thumbnail” and hit enter. Canva will show dozens of pre‑made thumbnail templates sized correctly for YouTube.
Look for templates without a small crown icon in the corner — those are Pro (paid) elements. Clicking any template gives you a larger preview and shows similar templates you can try. Starting with a template speeds up layout decisions and ensures a good composition from the beginning.
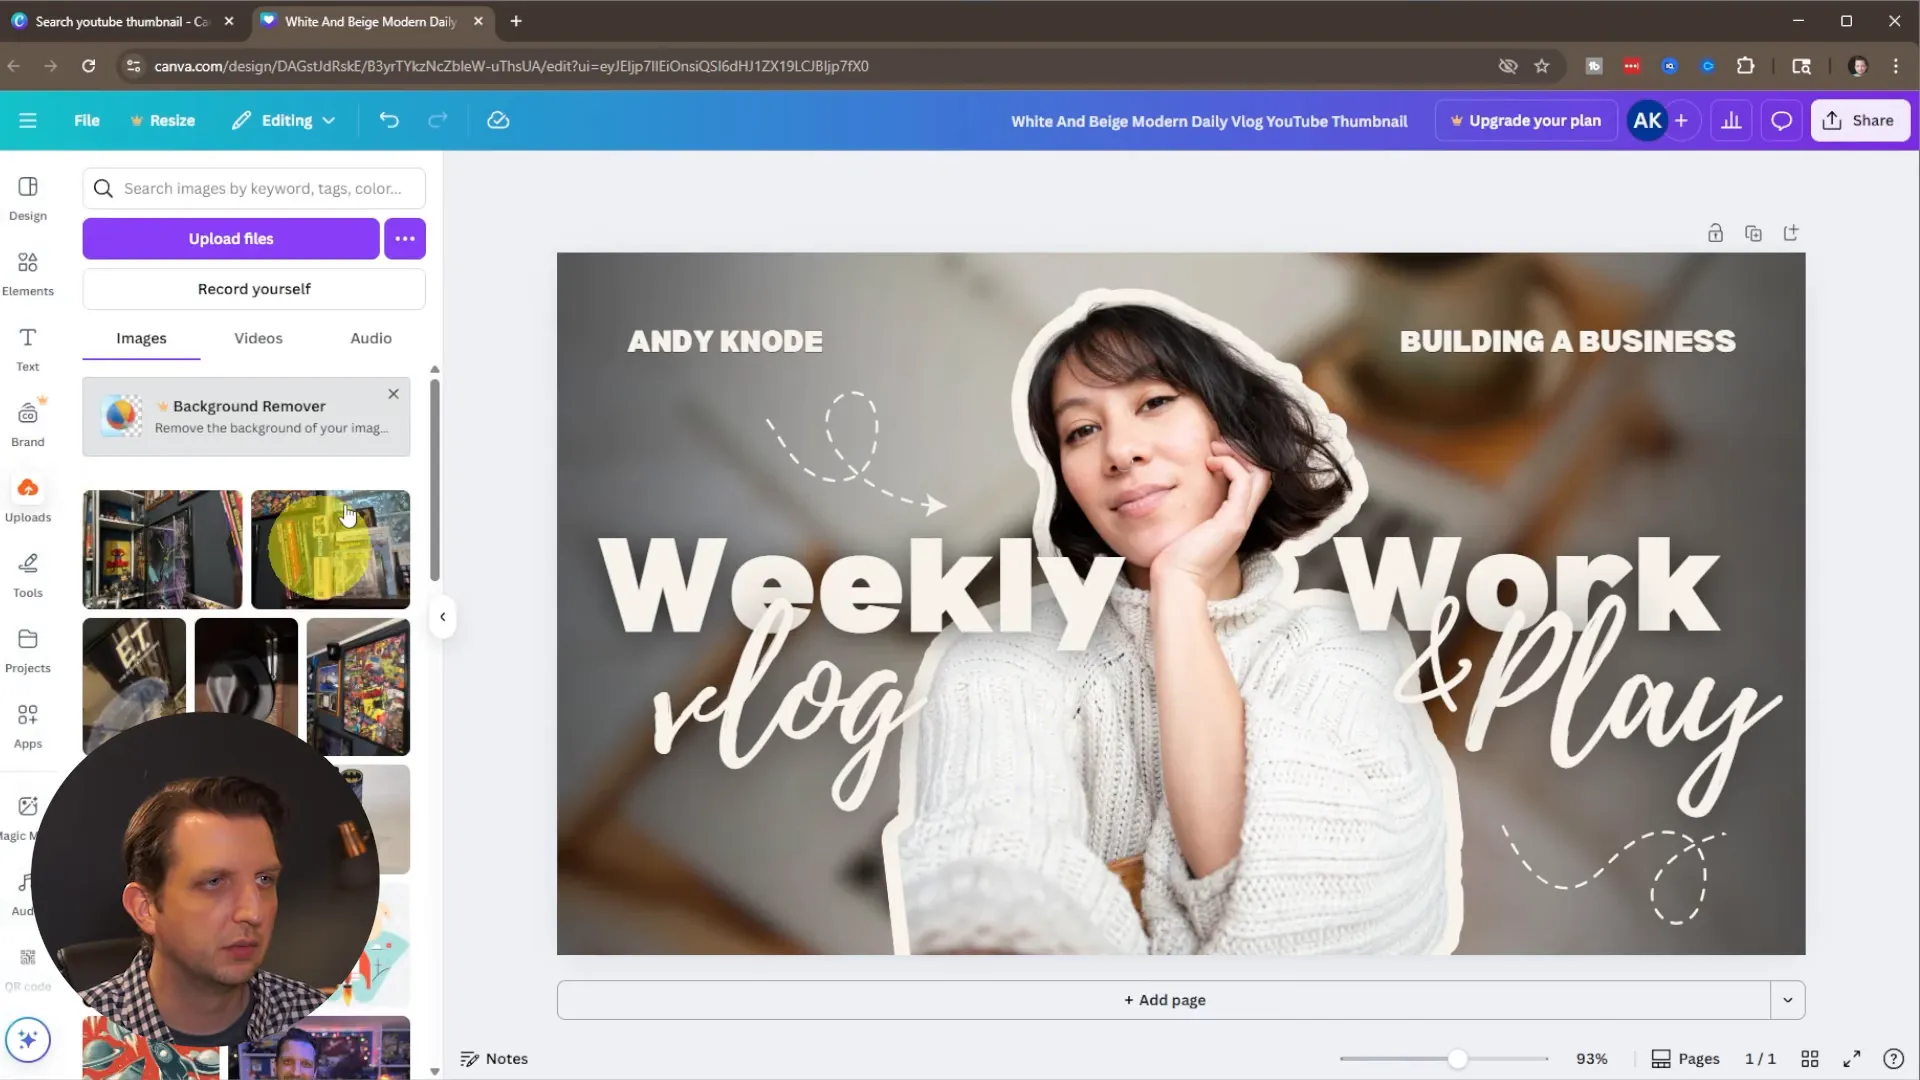
Step 2 — Customize text: titles, subtitles, and placement
Once a template loads, every element is editable. Double‑click text to change words, fonts, and size. I usually update:
- My channel name (so it’s visible on the thumbnail)
- The main headline (the short version of the video title)
- A small secondary line for context (e.g., “Weekly Vlog” or “How to”)
Keep text short and punchy. If a word pushes to a new line the layout can look off; simply grab the text box handles and resize it to keep lines balanced. You can also select multiple text boxes by holding Shift and resize them together so fonts remain consistent.
Step 3 — Upload and replace your photo
Click the Uploads tab and upload a photo of yourself (or the subject). Drag that image directly over the existing template photo to replace it. If you have Canva Pro you can use their background remover tool — but for the free account you can crop and position the image so the subject sits where you want it.
Tip: Use a photo where your face is clear and expressive. Thumbnails with close‑up faces tend to perform better because emotions show up even at small sizes.
Step 4 — Refine the photo and frame
Once your photo is in place you can:
- Crop or reposition it so the face is centered or aligned with other elements
- Use rounded corners if that matches your style (the template might already include them)
- Resize nearby text so nothing overlaps awkwardly
Canva shows alignment guides while you move objects — these are handy to make sure text and images line up visually. I often nudge background decoration (like a squiggly line or icon) so it points toward the subject or helps guide the viewer’s eye.
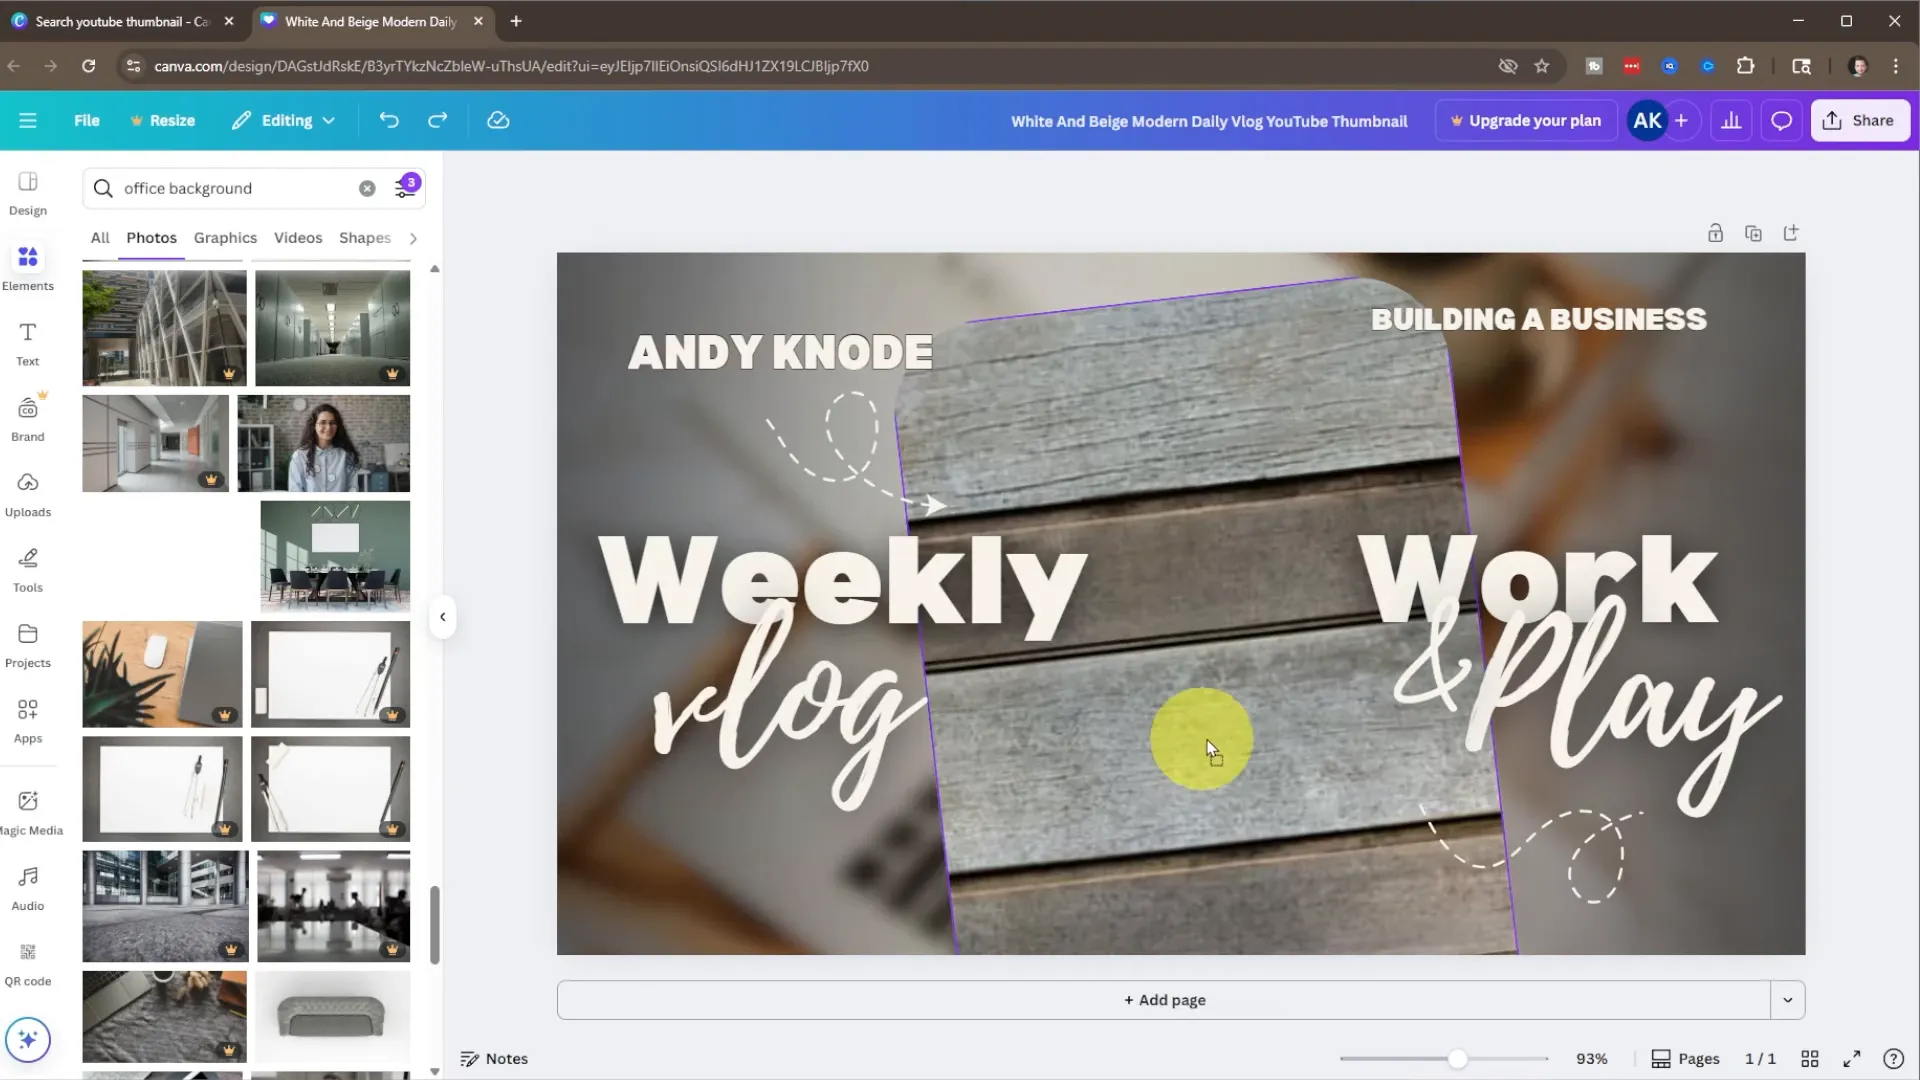
Step 5 — Swap or edit the background
If the template background doesn’t fit your vibe, go to Elements and search for “background,” “office background,” or whatever scene fits the video. Use the filter toggles at the top of the results to narrow by color, orientation, or type (static vs. video). Hover a background image over the canvas and it will replace the existing background.
I often pick a subtle background (plain wood, soft blur) so the foreground elements remain the focus. If you use a photo background, consider lowering saturation or adding a blur to reduce distraction.
Step 6 — Adjust image settings for cohesion
Click your photo and open Edit > Adjustments. Here you can fine‑tune:
- Brightness — make faces pop
- Contrast — increase to separate subject from background
- Warmth — add personality to the skin tone
- Shadows/Highlights — recover detail where needed
These sliders let you match the photo’s look to the rest of the thumbnail. A warmer photo next to a warm background feels cohesive; a softer contrast can help text remain legible over the image.
Step 7 — Preview at thumbnail size
Canva’s zoom slider is your friend. Thumbnails are usually seen very small in search results and suggested feeds, so zoom out and inspect how the design reads at a reduced size. If the headline becomes unreadable or small details disappear, simplify the layout: use fewer words, bigger fonts, and remove small decorative elements.
Step 8 — Export the right way
When you’re happy, click Share > Download. Change the file type from PNG to JPEG. Canva PNGs can be larger than necessary — JPEG saves space and uploads correctly to YouTube. Keep the dimensions as the default (1280 x 720) unless you know what you’re doing, and download the image to your Downloads folder.
Extra tips and best practices
- Use bold, high‑contrast text: Sans‑serif fonts with heavy weights read well at small sizes.
- Keep your message short: One or two words is sometimes all you need. Use a secondary line sparingly.
- Faces > full body: Close‑up faces convey emotion and get noticed. Crop tighter for better small‑size readability.
- Consistent branding: Use the same color palette, font, and logo placement across your thumbnails so viewers recognize your videos at a glance.
- Avoid overcrowding: Remove any element that doesn’t add clarity or clickable appeal.
- Test and iterate: If a video underperforms, tweak the thumbnail and monitor CTR. Small changes can make a big difference.
Common mistakes to avoid
- Using low‑resolution images — always use a high‑quality photo so it doesn’t blur when compressed.
- Relying on intricate details that disappear at small sizes.
- Using colors that blend — ensure text contrasts with the background.
- Exporting as a huge PNG — can be unnecessarily large; prefer JPEG for thumbnails.
Quick checklist before you upload
- Is the main text readable at a small size?
- Is the subject (face) clear and expressive?
- Is there enough contrast between text and background?
- Is the thumbnail consistent with your channel’s look?
- Did you export as JPEG at 1280 x 720?
Final thoughts
Creating a clickable, professional thumbnail in Canva is fast and effective, and you don’t need to pay for Canva Pro to get great results. Start with a template, swap in your own photo, adjust text and background, preview at small sizes, and download as JPEG. With consistent practice you’ll develop a style that helps your videos stand out and improves click‑through rates.
If you follow the steps above, you’ll be able to produce thumbnails that look polished and perform well — all from the free Canva account. Happy designing, and I’ll see you in the next tutorial.
Additional resources
Here are extra tips and tool suggestions you can use to improve your thumbnails and workflow:
- Free stock photo sites: Unsplash, Pexels, Pixabay
- Font pairing guides to keep typography consistent
- Color contrast checker to ensure text readability at small sizes
- Thumbnail A/B testing ideas: swap headline, crop tighter, or change background color
- Export workflow reminder: compress the JPEG if the file size is too large before uploading
You can add direct links to any of these resources when they become available.