

Changing the name of your Facebook page can be a straightforward process when you know exactly where to look and what steps to follow. Whether you’re rebranding, updating your business identity, or just want a fresh new name for your page, this guide will walk you through the entire process using the Facebook app on your iPhone. This easy-to-follow tutorial is inspired by Howfinity’s clear and practical approach to managing Facebook pages, making it accessible for anyone — no matter your technical experience.
Why Change Your Facebook Page Name?
Your Facebook page name is a critical part of your branding and online presence. It helps your followers recognize your page instantly and can impact how new visitors perceive your business or community. Sometimes, after starting a page, you might want to:
- Reflect a new brand or business name
- Correct spelling or grammar errors
- Make the name shorter or more memorable
- Align the page name with your website or other social media profiles
Whatever your reason, Facebook allows you to update your page name, but there are some important rules and limitations to keep in mind — which we’ll cover in detail below.
Step-by-Step: How to Change Your Facebook Page Name on iPhone
Using the Facebook app on your iPhone, changing your page name is a simple process that can be done in minutes. Here’s how to do it, step-by-step:
1. Open the Facebook App and Access Your Page
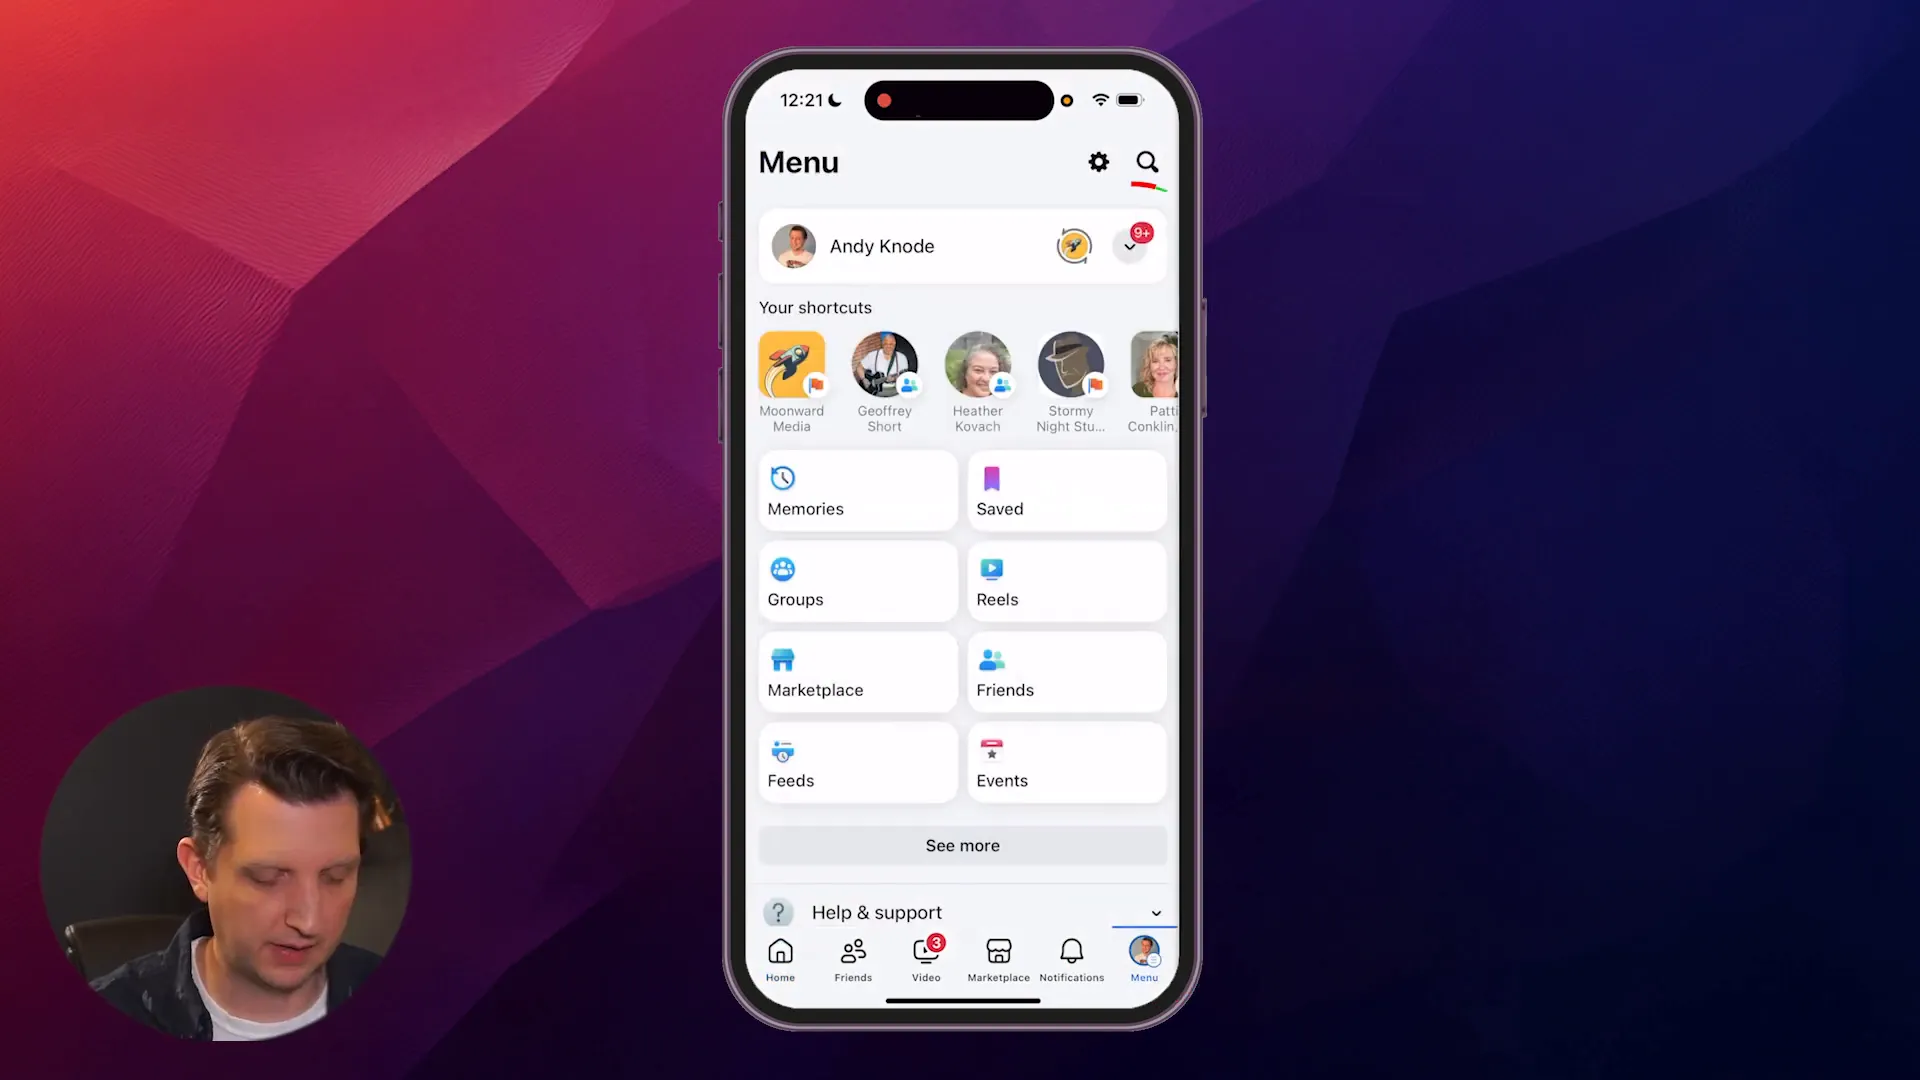
First, open your Facebook app on your iPhone. In the bottom right corner of the screen, you will see the Menu icon — tap on it.
At the top of the menu, you should see a list of pages you manage. Select the page whose name you want to change. For example, if your page is called “Entertainment Pics,” tap on it to switch to that page’s profile view.
2. Navigate to Page Settings
Once you are viewing your selected page, tap the Menu icon again in the bottom right corner. Scroll down until you find the Settings & Privacy option, and tap it. Then select Settings from the dropdown.
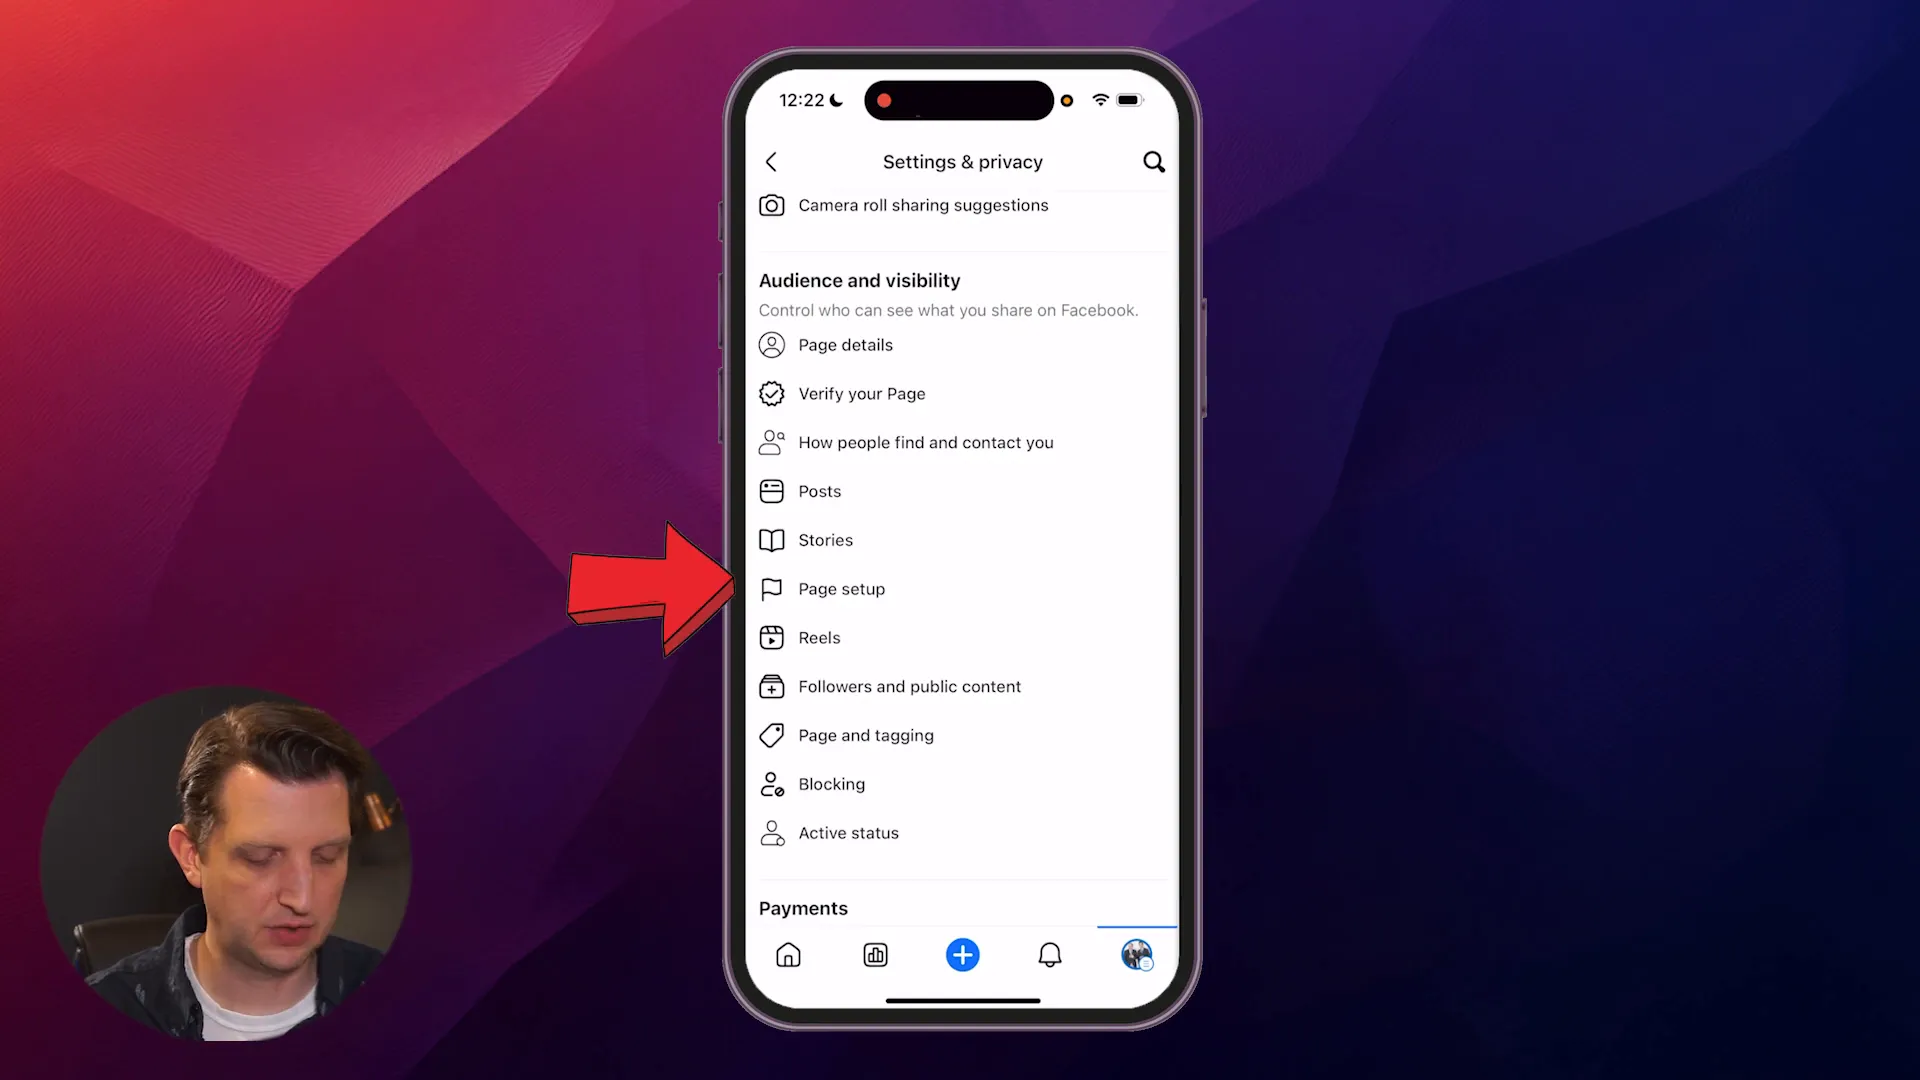
In the Settings menu, scroll down until you see the Page Setup section. Tap on Page Setup to continue.
3. Change Your Page Name
At the very top of the Page Setup screen, you will see your current page name displayed. Tap on the name field, and you’ll be able to enter a new name for your page.
For example, you might change “Entertainment Pics” to something shorter like “ePix.” Once you’ve typed your new desired name, tap Done.

4. Review Your Changes Before Submitting
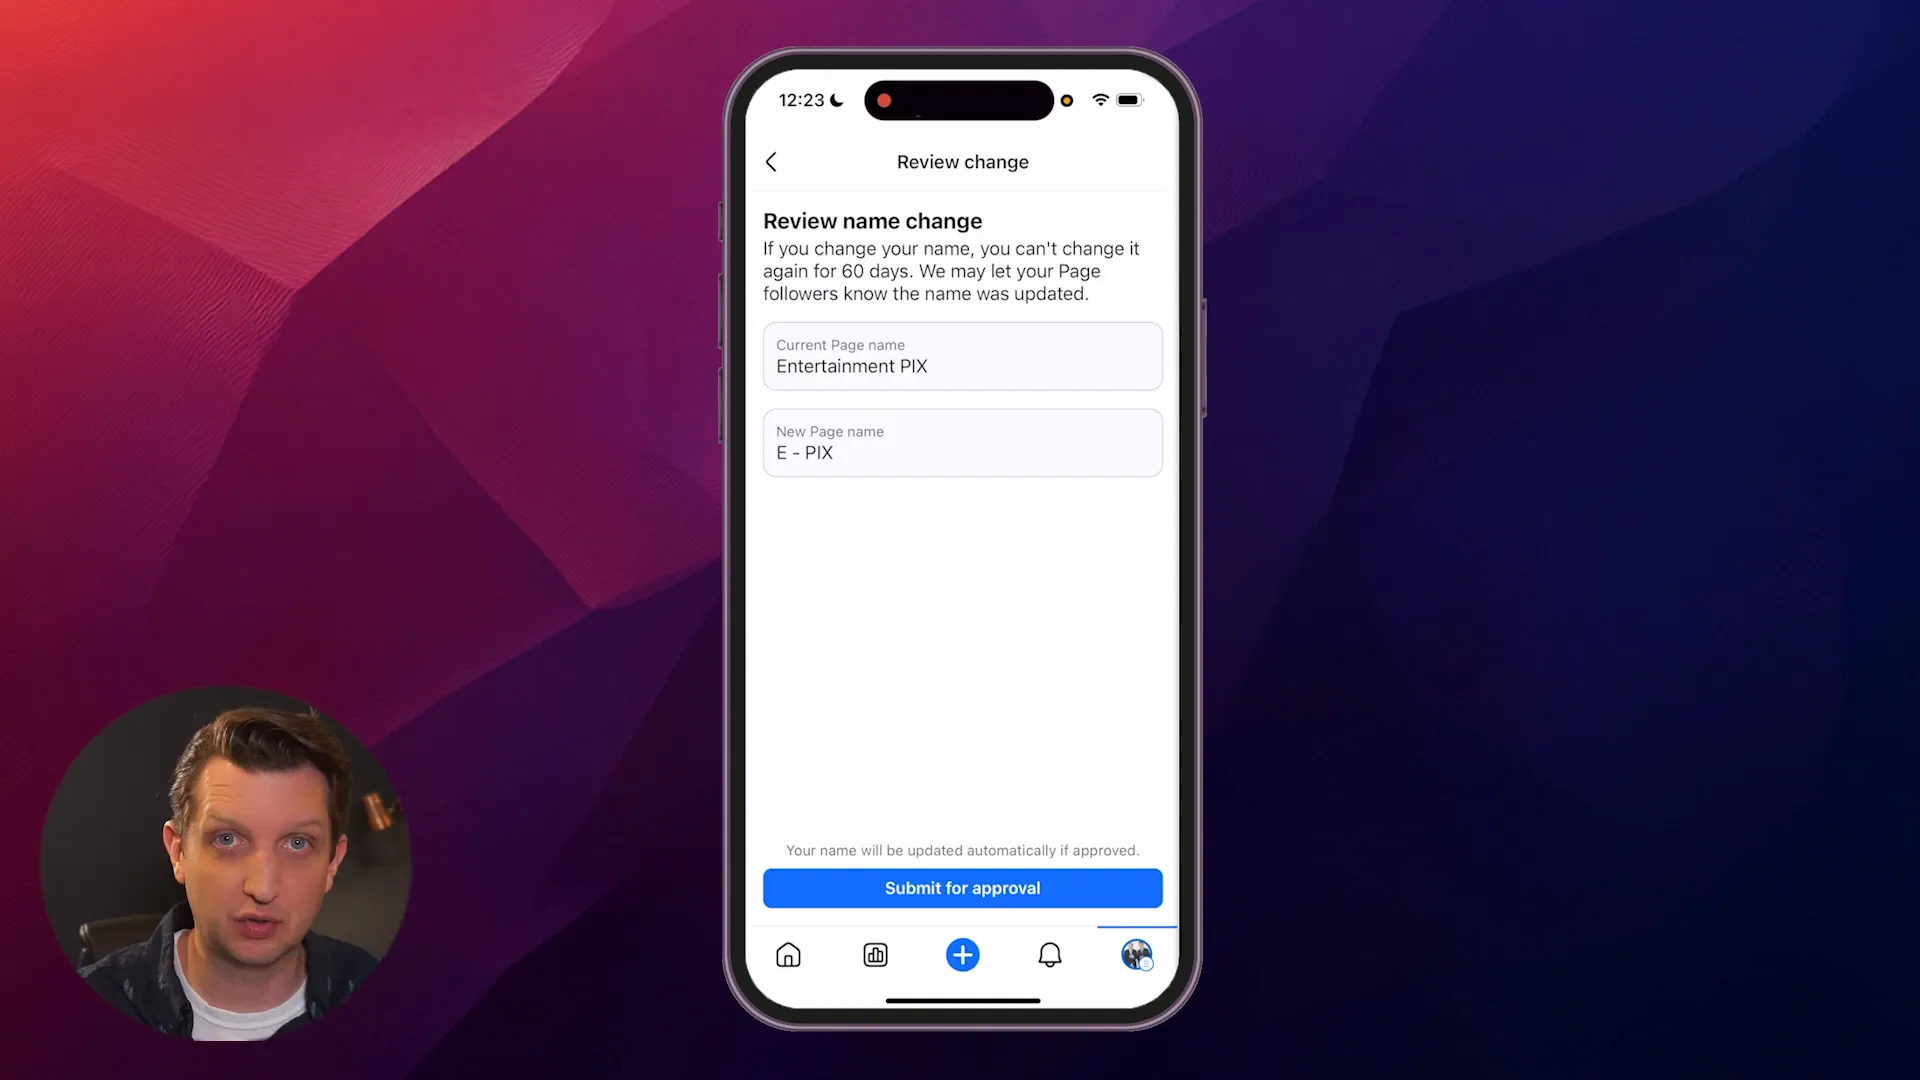
After entering the new name, tap on Review Changes. Facebook will display a comparison showing your current page name and the new name you want to use.
This is an important step because Facebook warns you that once you change your page name, you cannot change it again for 60 days. This restriction means you should double-check everything — spelling, capitalization, and overall accuracy — before submitting.
5. Understand Facebook’s Approval Process
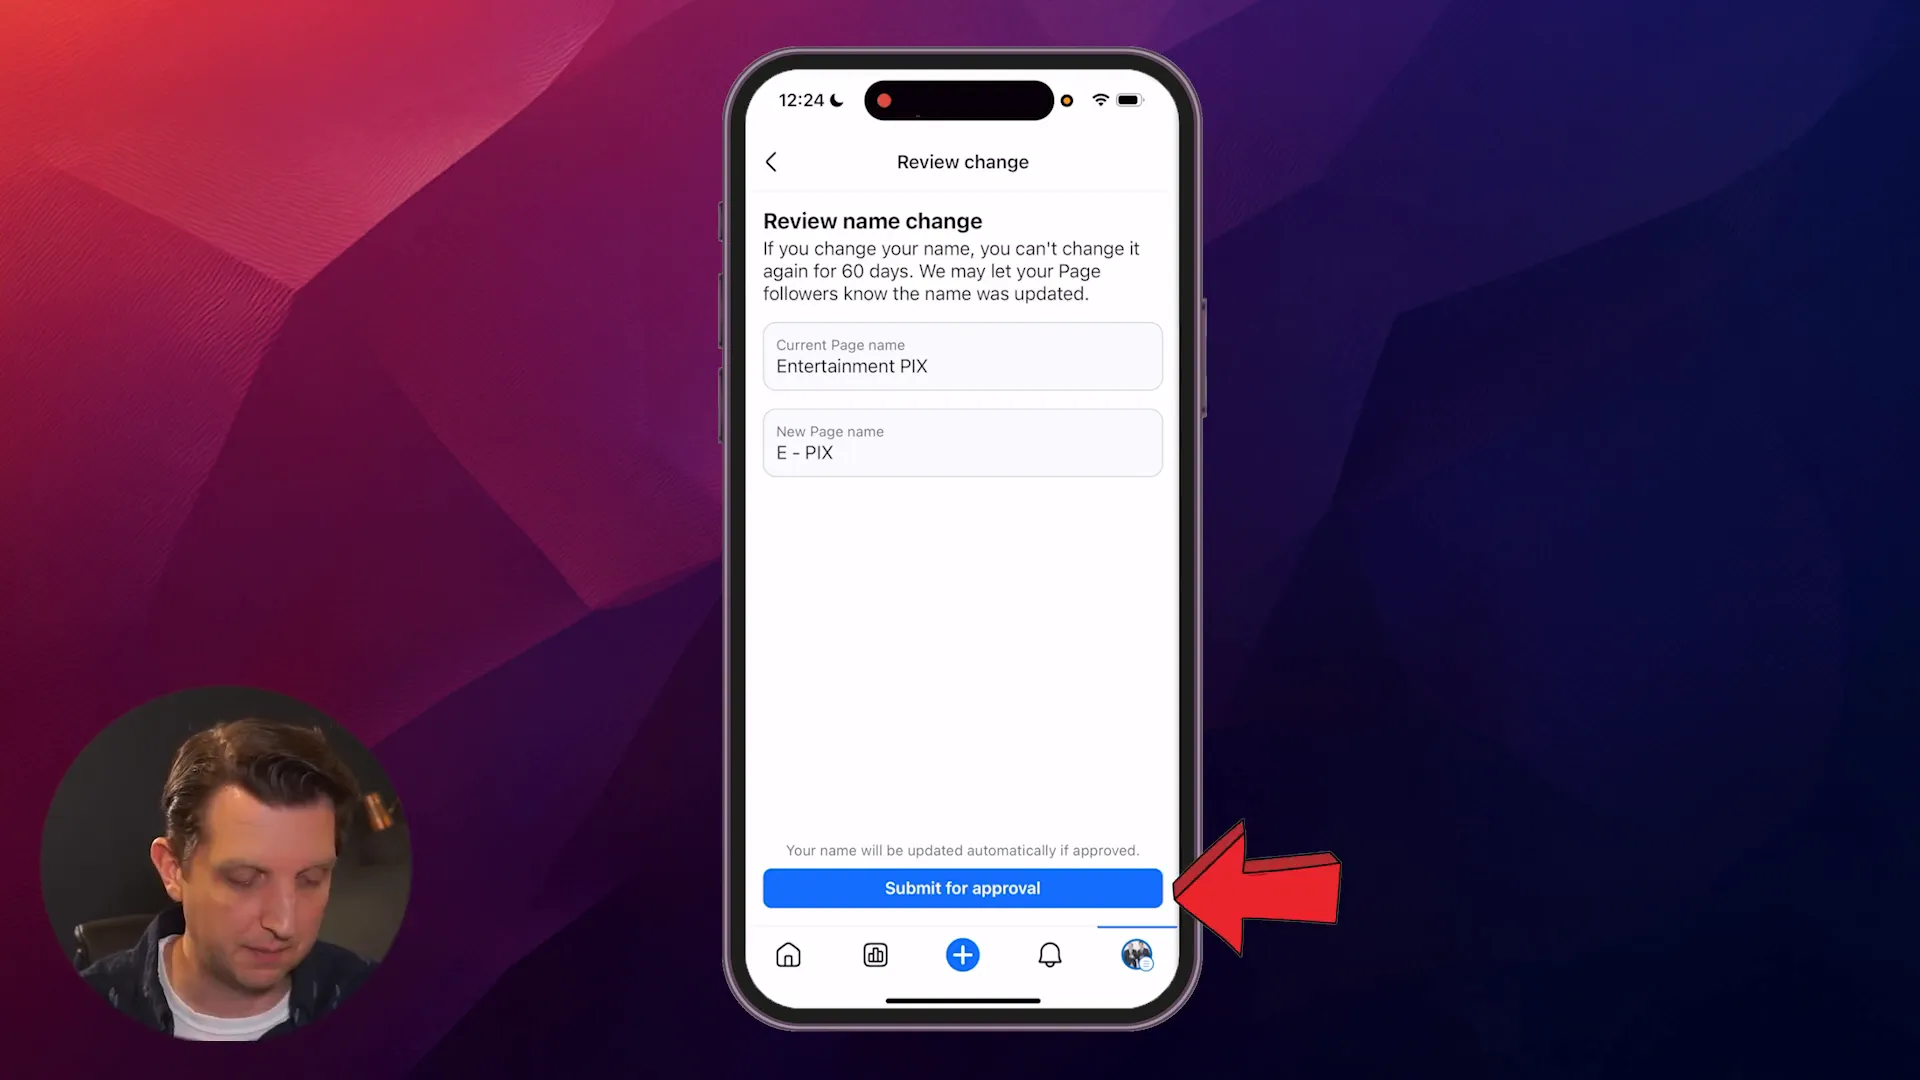
Once you’re confident with your new page name, click Submit for Approval. Facebook requires this step to ensure that your new page name complies with their guidelines and policies.
Facebook’s review process checks that your new name:
- Does not violate community standards
- Is not misleading or deceptive
- Does not infringe on trademarks or copyrights
- Is not offensive or inappropriate
Think of this as a safeguard to protect your page and its followers from confusion or misuse. The approval process usually doesn’t take long, but it’s essential to be patient and avoid submitting multiple requests within the 60-day window.
6. What Happens After Approval?
Once Facebook approves your new page name, it will update the name on your page. In some cases, Facebook may notify your followers or friends that your page’s name has changed, so they stay informed about your brand updates.
If for any reason you decide not to proceed with the name change, simply back out of the process before submitting, and your page name will remain unchanged.
Important Tips and Considerations When Changing Your Facebook Page Name
Changing your Facebook page name isn’t just about typing a new title. Here are some key points to keep in mind so your name change goes smoothly:
1. Be Clear and Consistent
Your page name should clearly represent your brand or community. Avoid vague or overly complicated names that might confuse your audience. Consistency across your social media profiles helps with recognition.
2. Follow Facebook’s Naming Guidelines
Facebook has specific rules about what names are allowed. For example, you cannot use:
- Terms or phrases that violate Facebook’s community standards
- Misleading or false information
- Profanity or inappropriate language
- Excessive punctuation or capitalization
Review these guidelines before submitting your new name to avoid rejection.
3. The 60-Day Rule
Remember that once you change your page name, you cannot change it again for 60 days. This rule encourages you to think carefully before making a change and prevents frequent or frivolous name changes.
4. Inform Your Followers
If your page has a large following, consider posting a status update or pinned post to notify your audience about the name change. This helps maintain trust and keeps your community engaged and informed.
Frequently Asked Questions About Changing Facebook Page Names
Can I change my Facebook page name on desktop?
Yes. While this guide focuses on the iPhone app, you can also change your page name using Facebook’s desktop site. The steps are similar: go to your page settings, find the page info section, and edit the name.
What if Facebook rejects my name change request?
If your request is rejected, Facebook usually provides a reason. You can revise your page name to comply with the guidelines and submit again after 60 days.
Will changing my page name affect my followers?
No, changing your page name does not affect your followers or page likes. However, it might notify your followers about the change depending on Facebook’s policies.
Can I change the page name multiple times?
No, Facebook restricts page name changes to once every 60 days, so choose your new name wisely.
Conclusion
Changing your Facebook page name is a simple but important task that can help you keep your brand identity fresh and relevant. By following the straightforward steps outlined above, you can update your page name using the Facebook app on your iPhone with confidence.
Remember to carefully review your new name before submitting it for approval, adhere to Facebook’s naming guidelines, and be mindful of the 60-day waiting period between changes. Taking these precautions will ensure a smooth transition and help maintain your page’s credibility and follower trust.
Whether you’re managing a business, community, or personal brand, keeping your Facebook page name current and accurate is a key part of your online strategy. Use this guide as your go-to resource whenever you need to update your page name and make the process quick and hassle-free.
Good luck with your page, and here’s to your continued success on Facebook!