
If you’ve been searching for a straightforward and efficient video editing solution, look no further than ClipChamp. This free video editor from Microsoft comes pre-installed on most Windows 11 computers, making it an accessible choice for anyone looking to create engaging content. In this article, we’ll dive into how to use ClipChamp effectively, highlighting its features and providing tips for creating professional-looking videos without the need for complex software.
Getting Started with ClipChamp
To begin, if you don’t already have ClipChamp on your computer, you can easily download it from the Microsoft Store. If you have a Microsoft account, the app is completely free, allowing you to explore its features without any financial commitment.
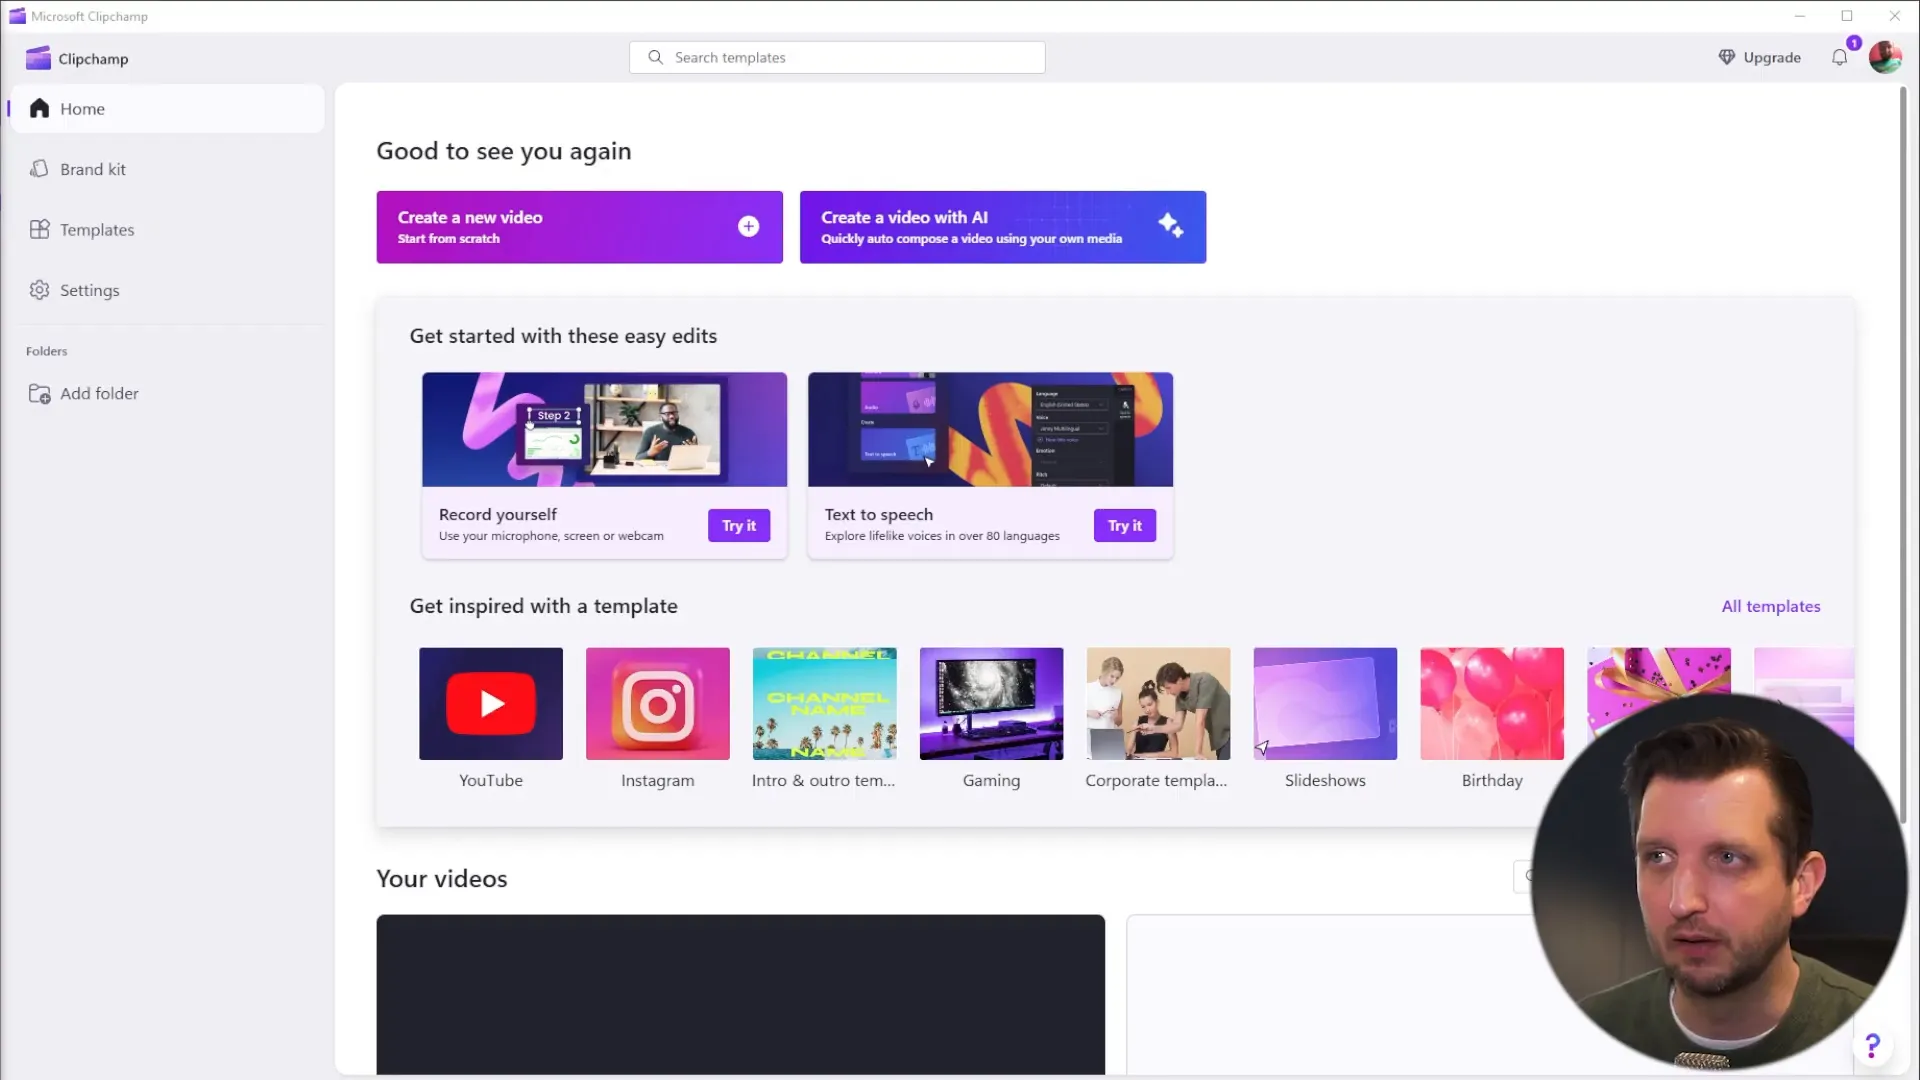
Once you have ClipChamp installed, open the app, and you’ll be greeted by a user-friendly interface. The first time you launch it, you may see some pop-ups guiding you through its features. Feel free to skip these for now; we’ll cover everything you need to know step-by-step.
Creating a New Project
To start editing, click on the “Create a New Video” button. You’ll have the option to choose between light and dark themes; I recommend selecting the one that matches your personal preference.
Once in the main editor, you’ll notice that you can change the aspect ratio of your video. This is crucial depending on where you plan to share your content. ClipChamp allows you to choose from various formats:
- Widescreen for traditional YouTube videos
- Vertical for TikTok or Instagram Reels
- Square for Instagram posts and Facebook
- Classic 4:3 for a TV-like view
For this guide, we’ll stick with the standard widescreen format.
Importing Media
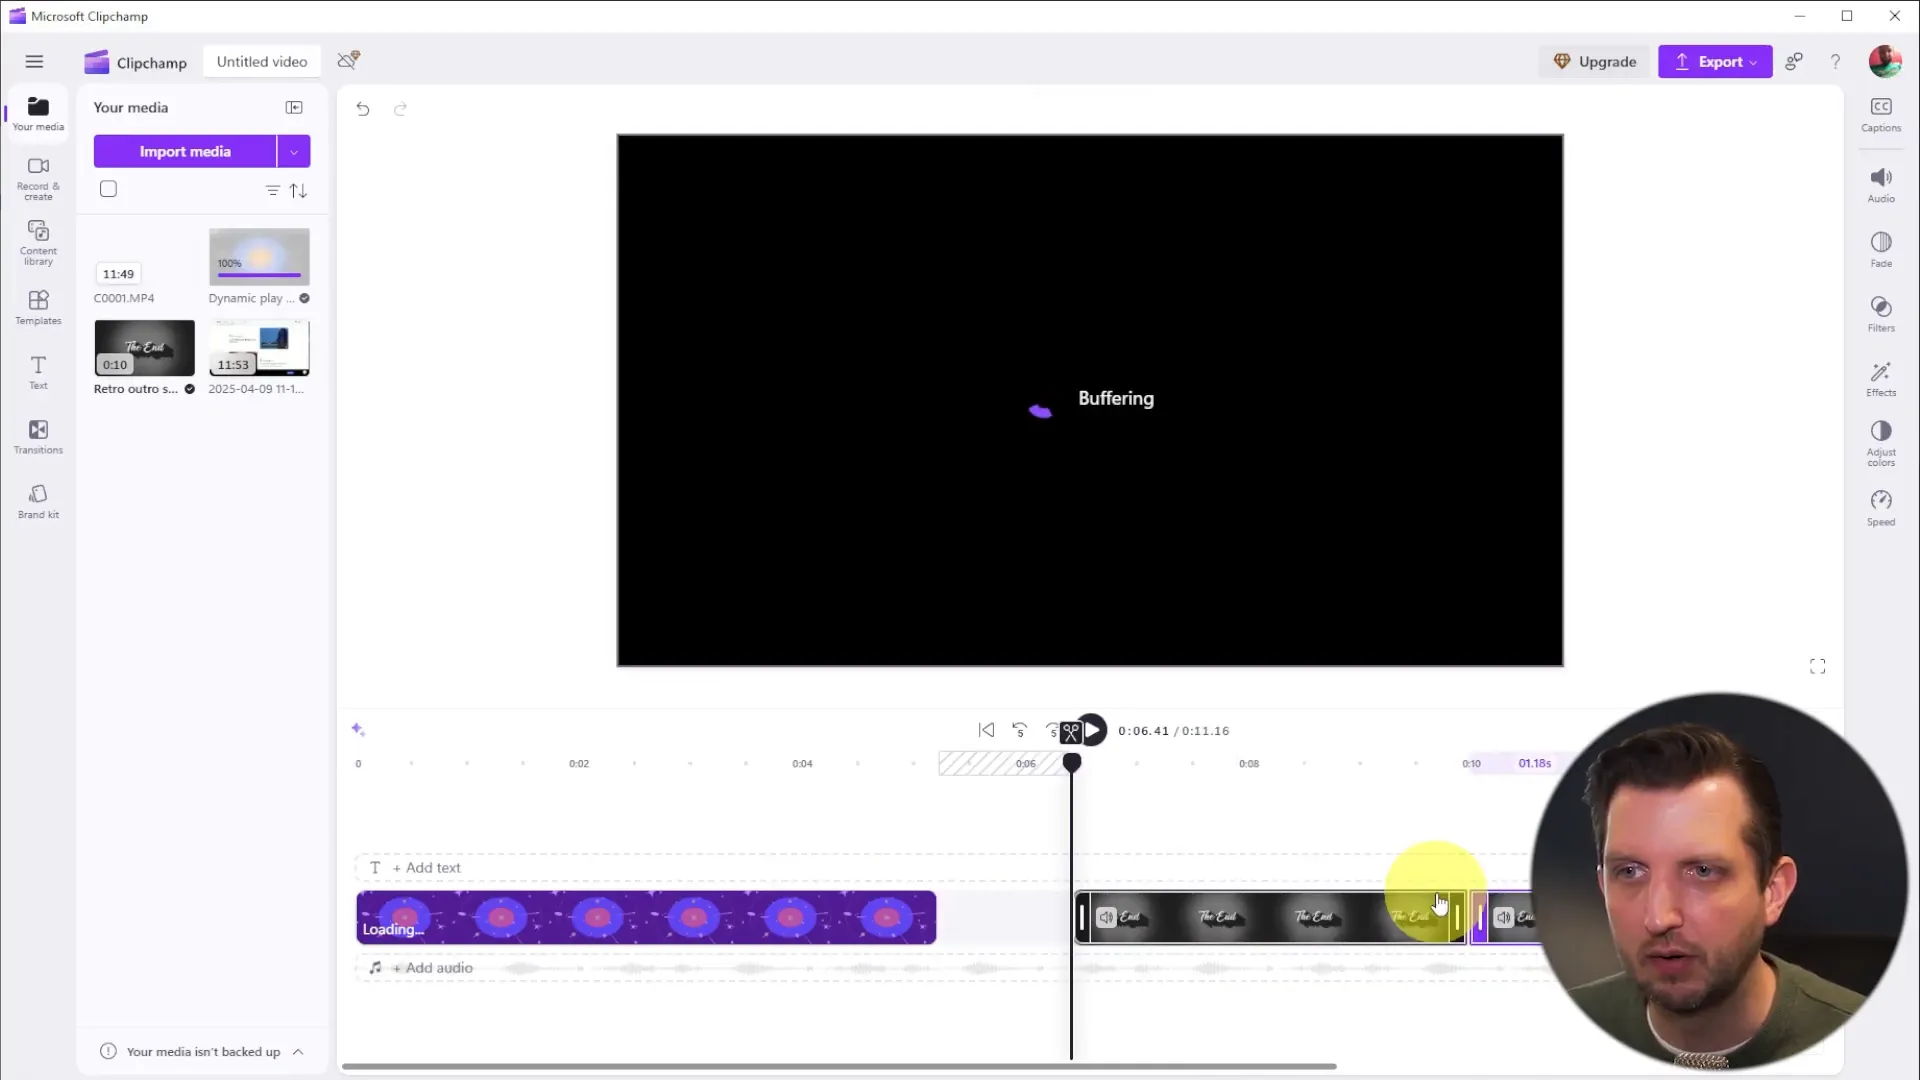
Now it’s time to import your media files. Click on the plus icon on the left side of the screen where it says “Import Media.” You can navigate to your desired files or simply drag and drop them into the app. Once you add your clips, you’ll see a progress bar indicating the import status.
While your video clips are loading, you can also explore other features. ClipChamp allows you to record videos directly through your webcam or even capture your screen. This is particularly useful for creating tutorials similar to this one.
Utilizing the Content Library
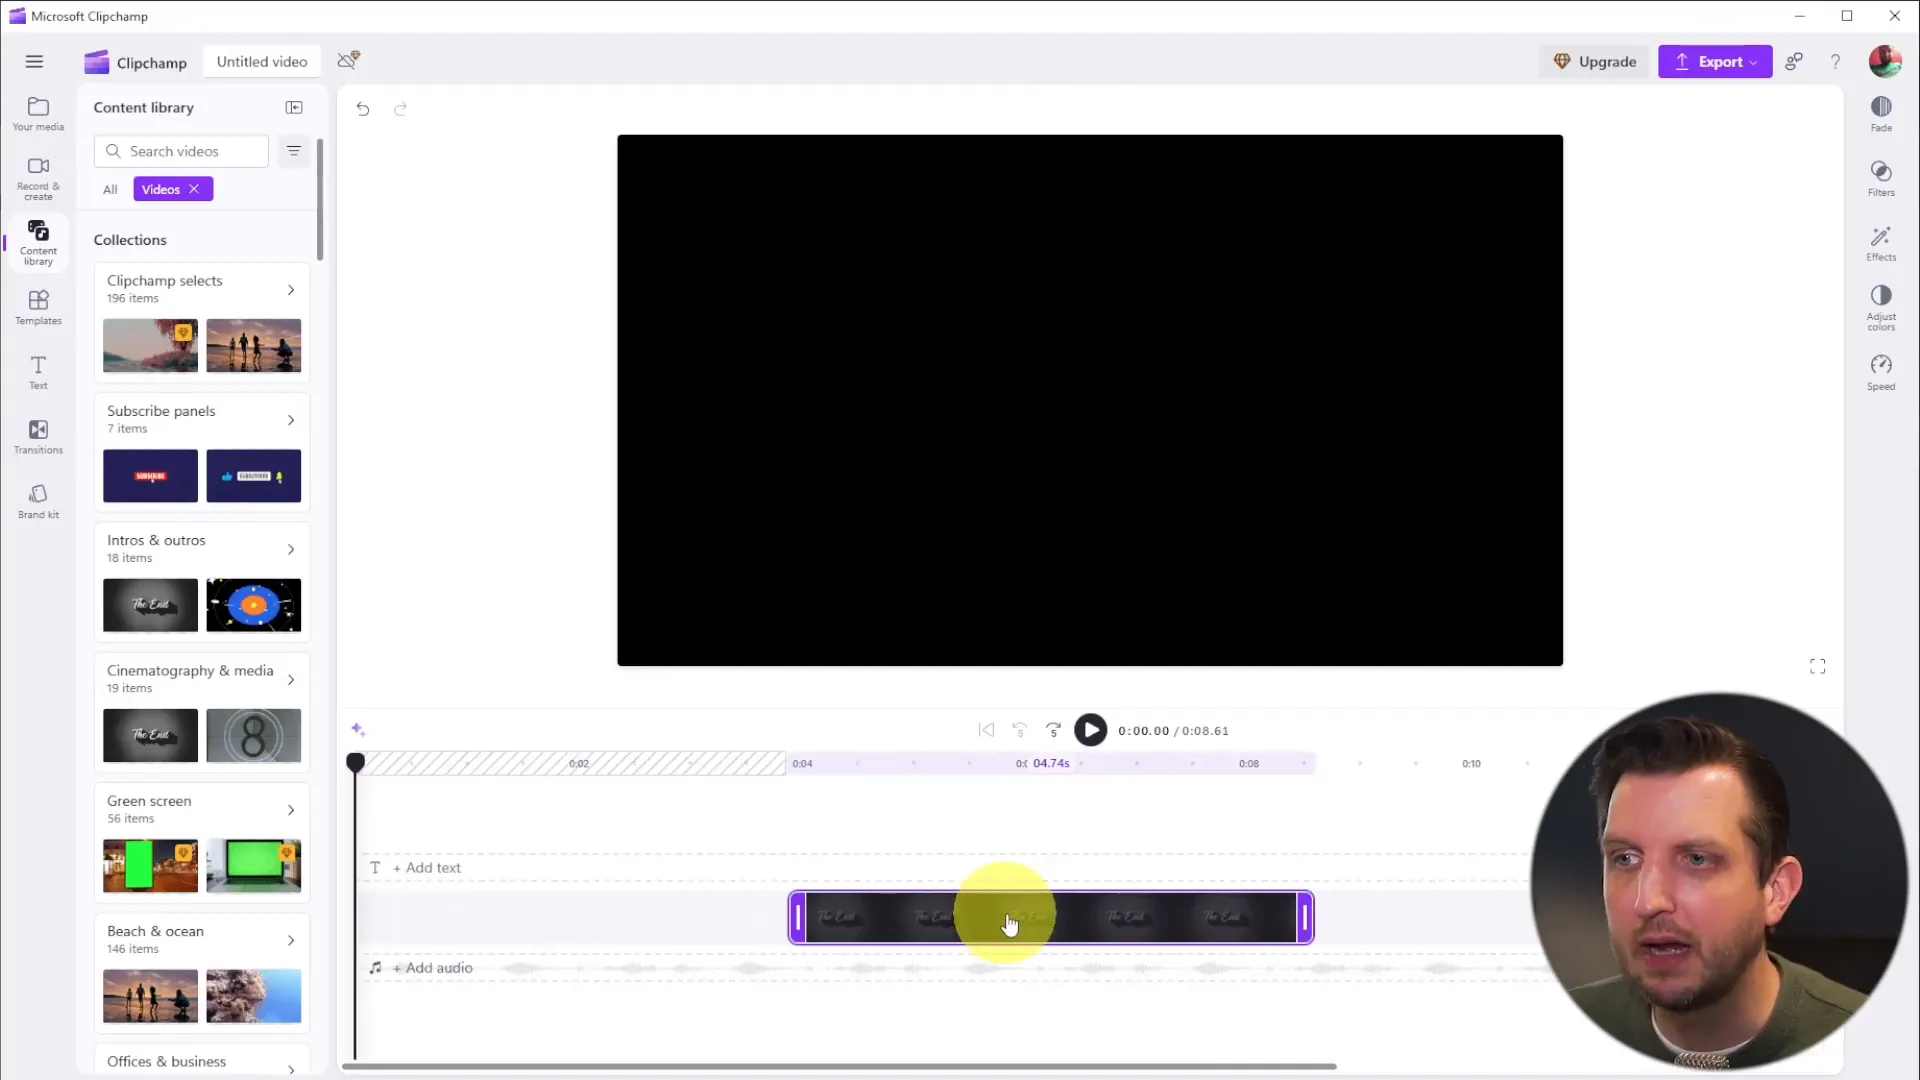
Another fantastic feature of ClipChamp is its content library, which provides access to a variety of backgrounds, images, and audio tracks. This is akin to tools like Canva, making it easy to enhance your videos with additional visual elements.
To add an element from the content library, simply click on it, and it will highlight, allowing you to drag it into your timeline. This is where you can arrange your clips, adjust their length, and even reverse their order.
Editing Your Clips
Once you have your clips in the timeline, you can start editing. ClipChamp offers various editing tools that allow you to:
- Add text overlays
- Incorporate audio tracks
- Split clips into multiple segments
To split a clip, simply click on the scissors icon. This will allow you to divide one clip into two, enabling you to rearrange or delete sections as needed.
Adding Audio and Text
To enhance your video, you can add music or sound effects. Navigate to the audio section of the content library, where you’ll find a variety of options. Drag your chosen audio track into the timeline, placing it below your video clips.
Adding text is just as simple. Click on the text option, and you can customize it by changing the font, color, and size. You can even adjust the duration for which the text appears on screen.
Recording a Voiceover
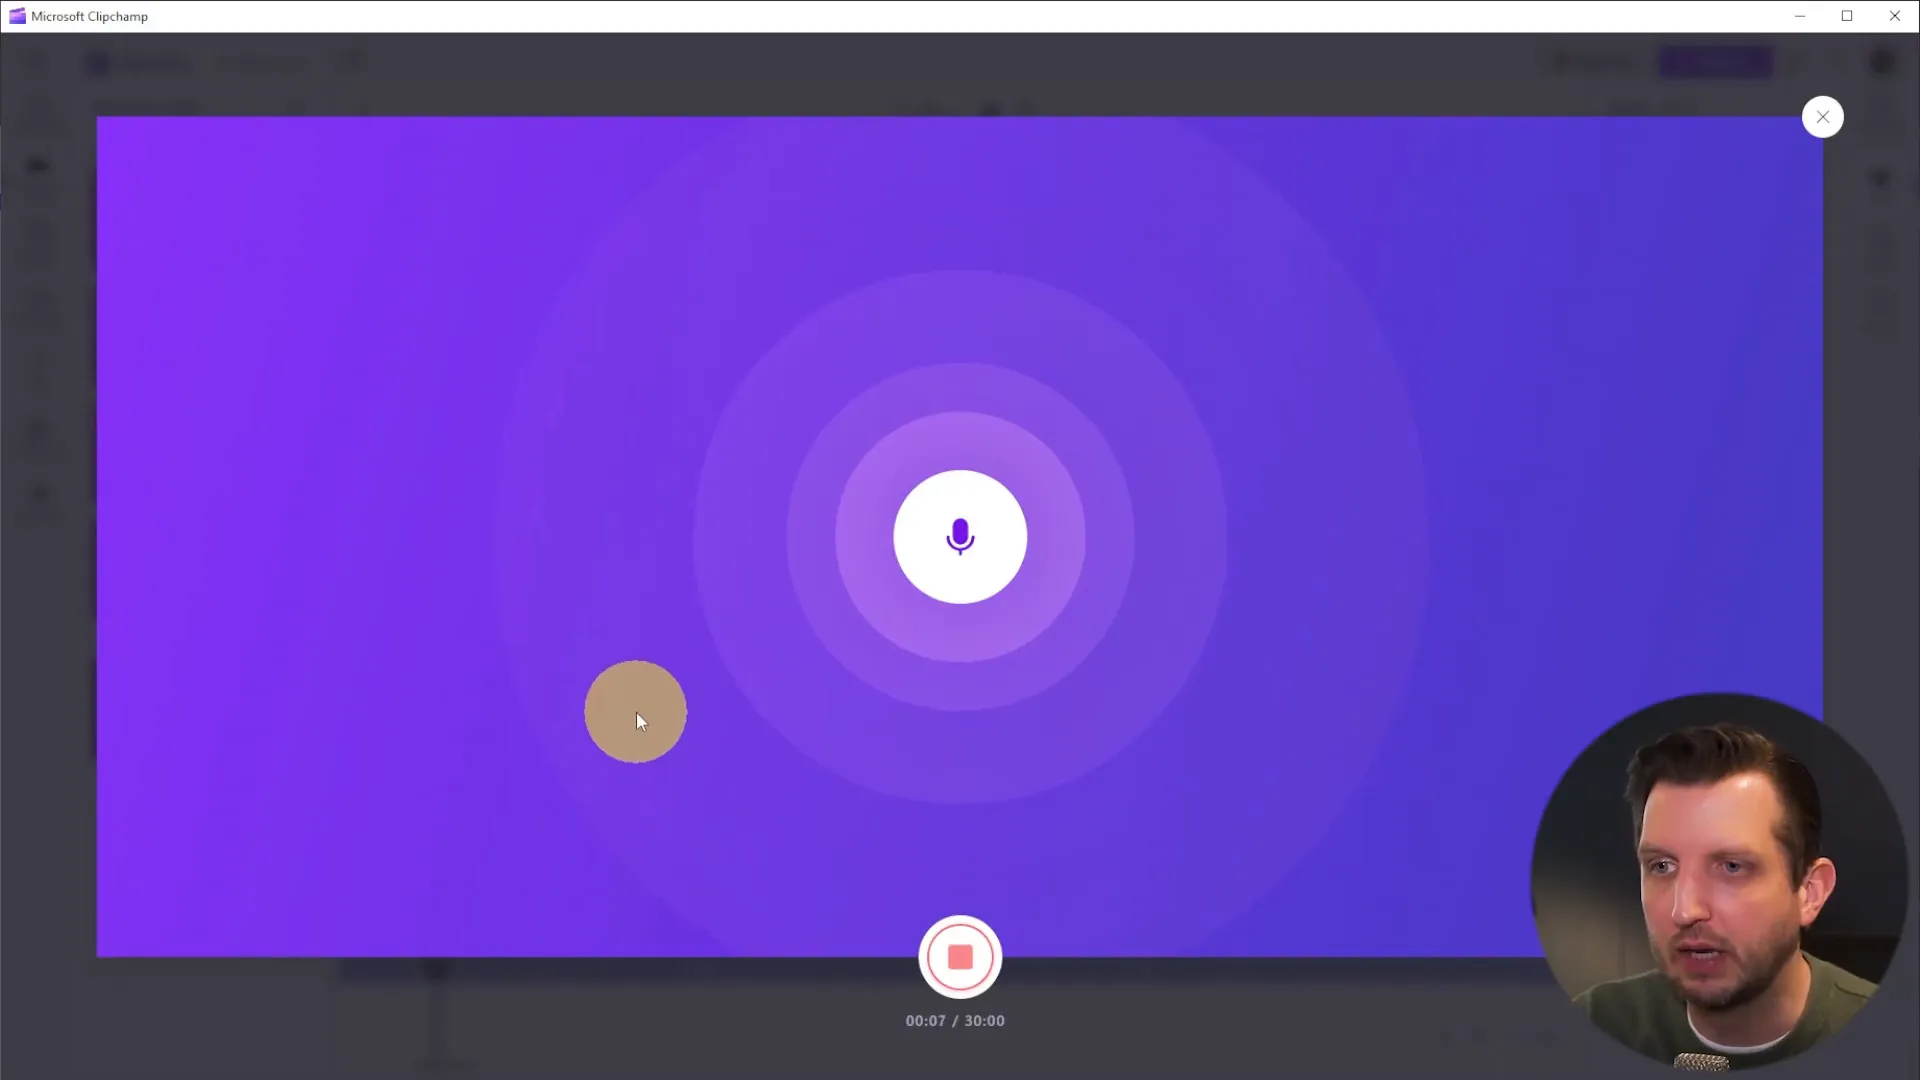
For those looking to add a personal touch, ClipChamp allows you to record voiceovers directly within the app. Click on the recording option, and you can easily narrate your video as it plays, enriching your content with your own voice.
Once recorded, the voiceover will appear in the timeline as a WAV file, allowing you to adjust its placement and volume as necessary.
Finalizing and Exporting Your Video
After you’ve added all your elements and made your adjustments, it’s time to export your video. Click on the “Export” button, and the app will automatically check for any visual gaps in your project, allowing you to correct them easily.
You can choose to export your video in 1080p quality and save it directly to your OneDrive, Google Drive, or even upload it straight to YouTube. This makes sharing your content straightforward and efficient.
Conclusion
ClipChamp is a powerful yet simple video editing tool that makes it easy for anyone to create stunning videos without needing advanced software. Whether you’re a beginner or an experienced editor, ClipChamp has features that can meet your needs. From importing media to adding audio and text, this app covers all the bases for effective video editing.
If you’re looking for a user-friendly editing experience that allows for quick and efficient video production, I highly recommend giving ClipChamp a try. With everything it has to offer, you’ll be able to produce high-quality videos in no time.
So, what are you waiting for? Jump into ClipChamp today and start creating your own amazing videos!
For more informative tips and tutorials, be sure to check out my channel, Howfinity. I hope you found this guide helpful, and I’ll see you in the next one!