
DaVinci Resolve is a powerful free editing app for Mac and PC, perfect for anyone looking to dive into video editing. In this comprehensive guide, I’ll walk you through a simple ten-step process to get you started with DaVinci Resolve, making your editing journey smooth and enjoyable.
Intro
Welcome to the world of video editing with DaVinci Resolve! This powerful tool is not just for professionals; it’s also perfect for beginners looking to explore their creative side. In this guide, we’ll walk you through the essential steps to start your editing journey. Whether you’re making a short video for social media or diving into a larger project, you’ll find everything you need to create stunning visuals.
Creating a Project
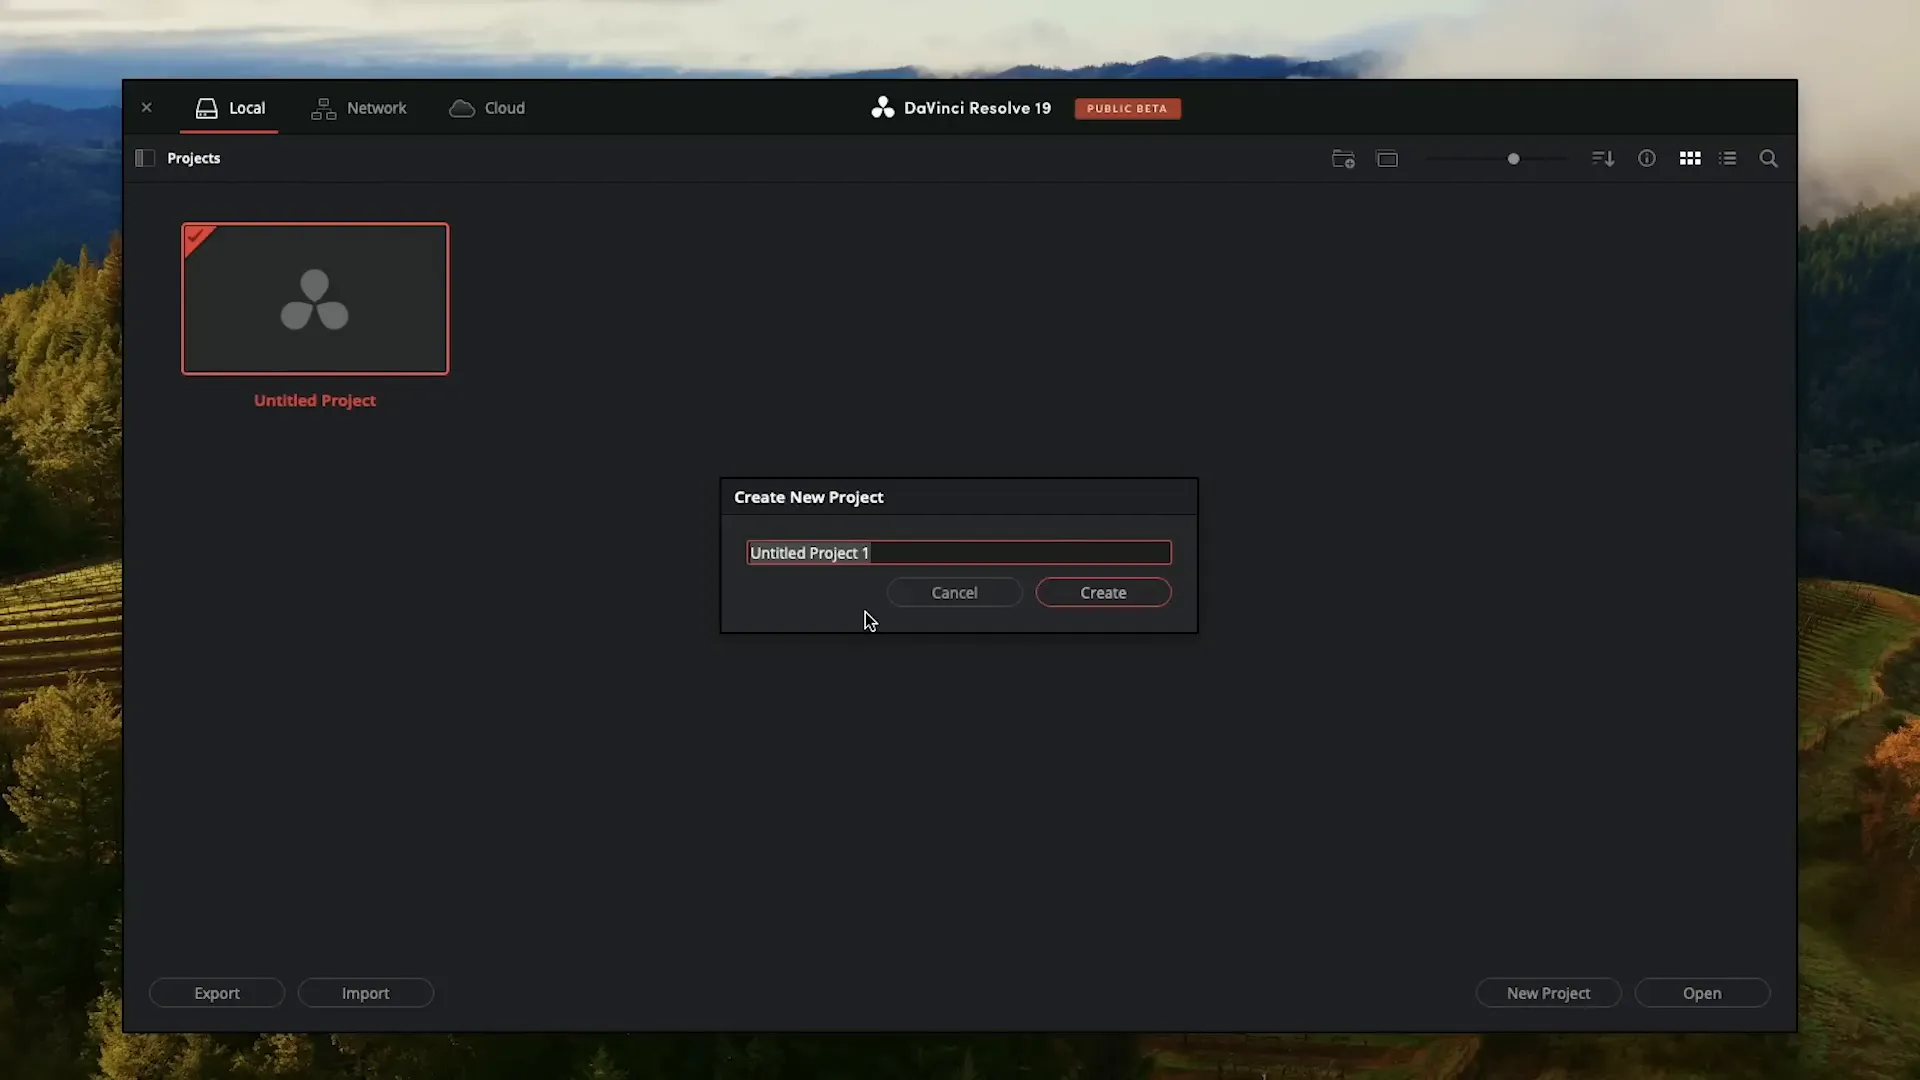
The first step in your editing adventure is creating a project. When you first launch DaVinci Resolve, you’ll see a clean interface with options for existing projects and a button for new projects.
Click on New Project, and a dialog box will pop up asking you to name your project. Choose a name that reflects your content, like DaVinci Resolve Tutorial, and hit Create. This will set the foundation for all your editing work.
Importing Media
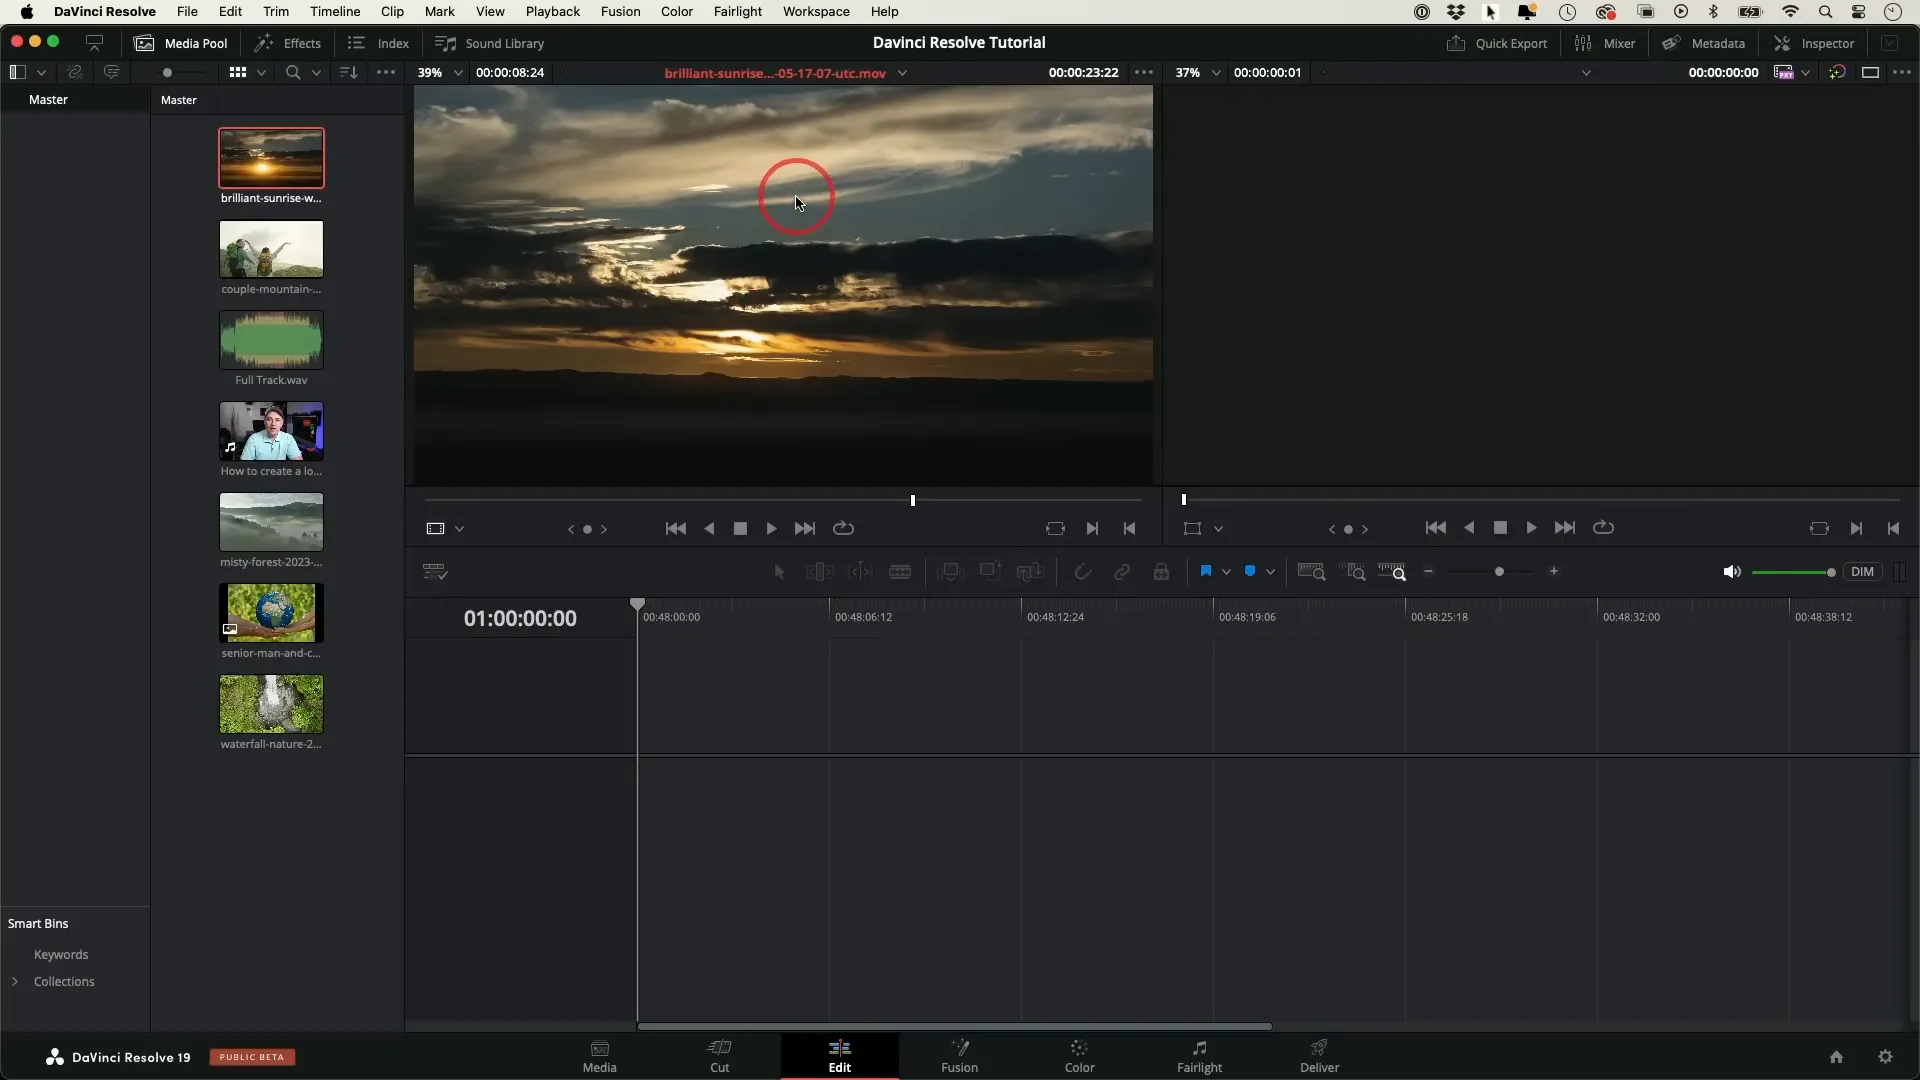
Once your project is set up, the next step is importing media. This is where the fun begins! You can either right-click in the media pool area or use the drag-and-drop method to bring in your video clips, audio files, and images.
It’s a good idea to organize your media in folders on your computer before importing. For instance, you might have a folder named Media containing all your video files, audio tracks, and images. Once you’ve selected your media, simply drag it into the media pool. You’ll see previews of your clips, which helps in identifying what you’ll be working with.

Basic Editing
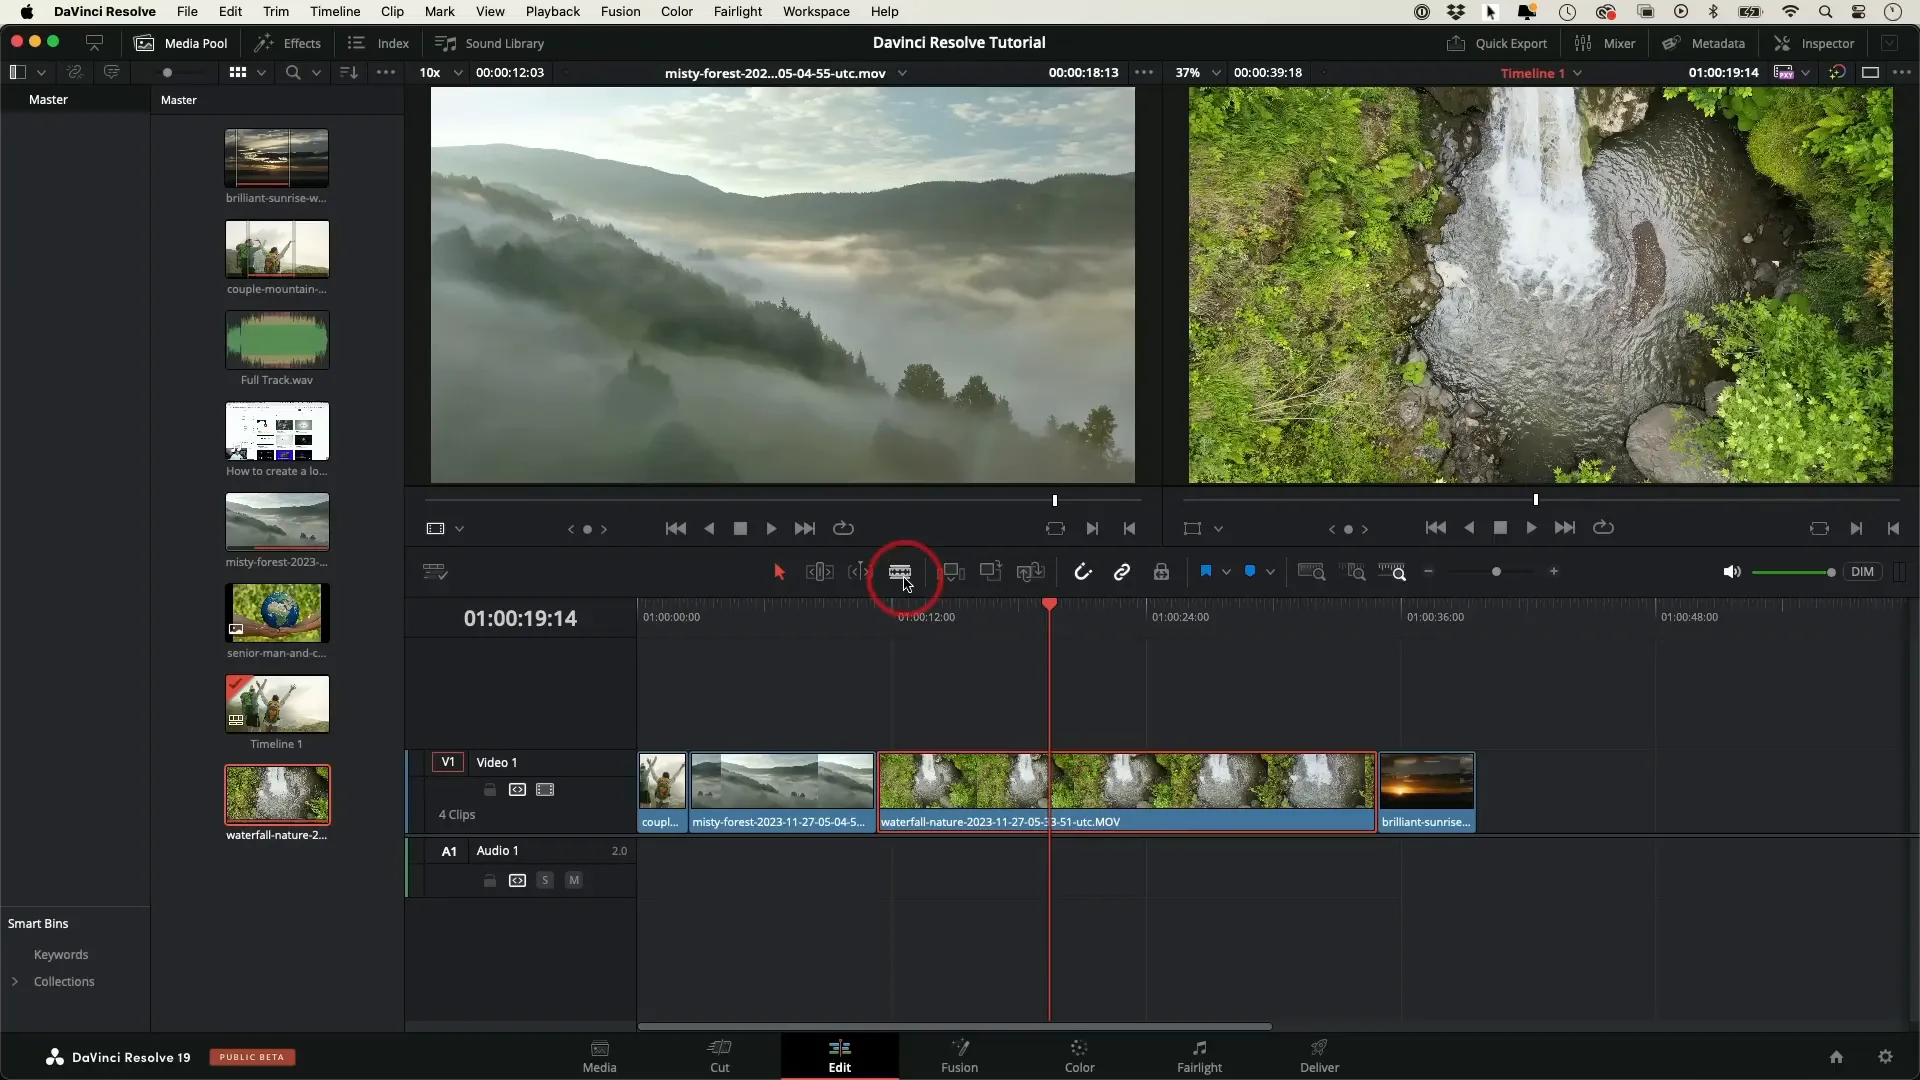
Now that your media is imported, it’s time to dive into basic editing. This is where you’ll start piecing together your story. Begin by double-clicking on a clip to load it into the preview window. This allows you to see the clip without adding it to your timeline yet.
Use the I key to set your in-point and the O key for your out-point. This will help you select just the portion of the clip you want to use. Once you’ve made your selection, simply drag it into the timeline below.
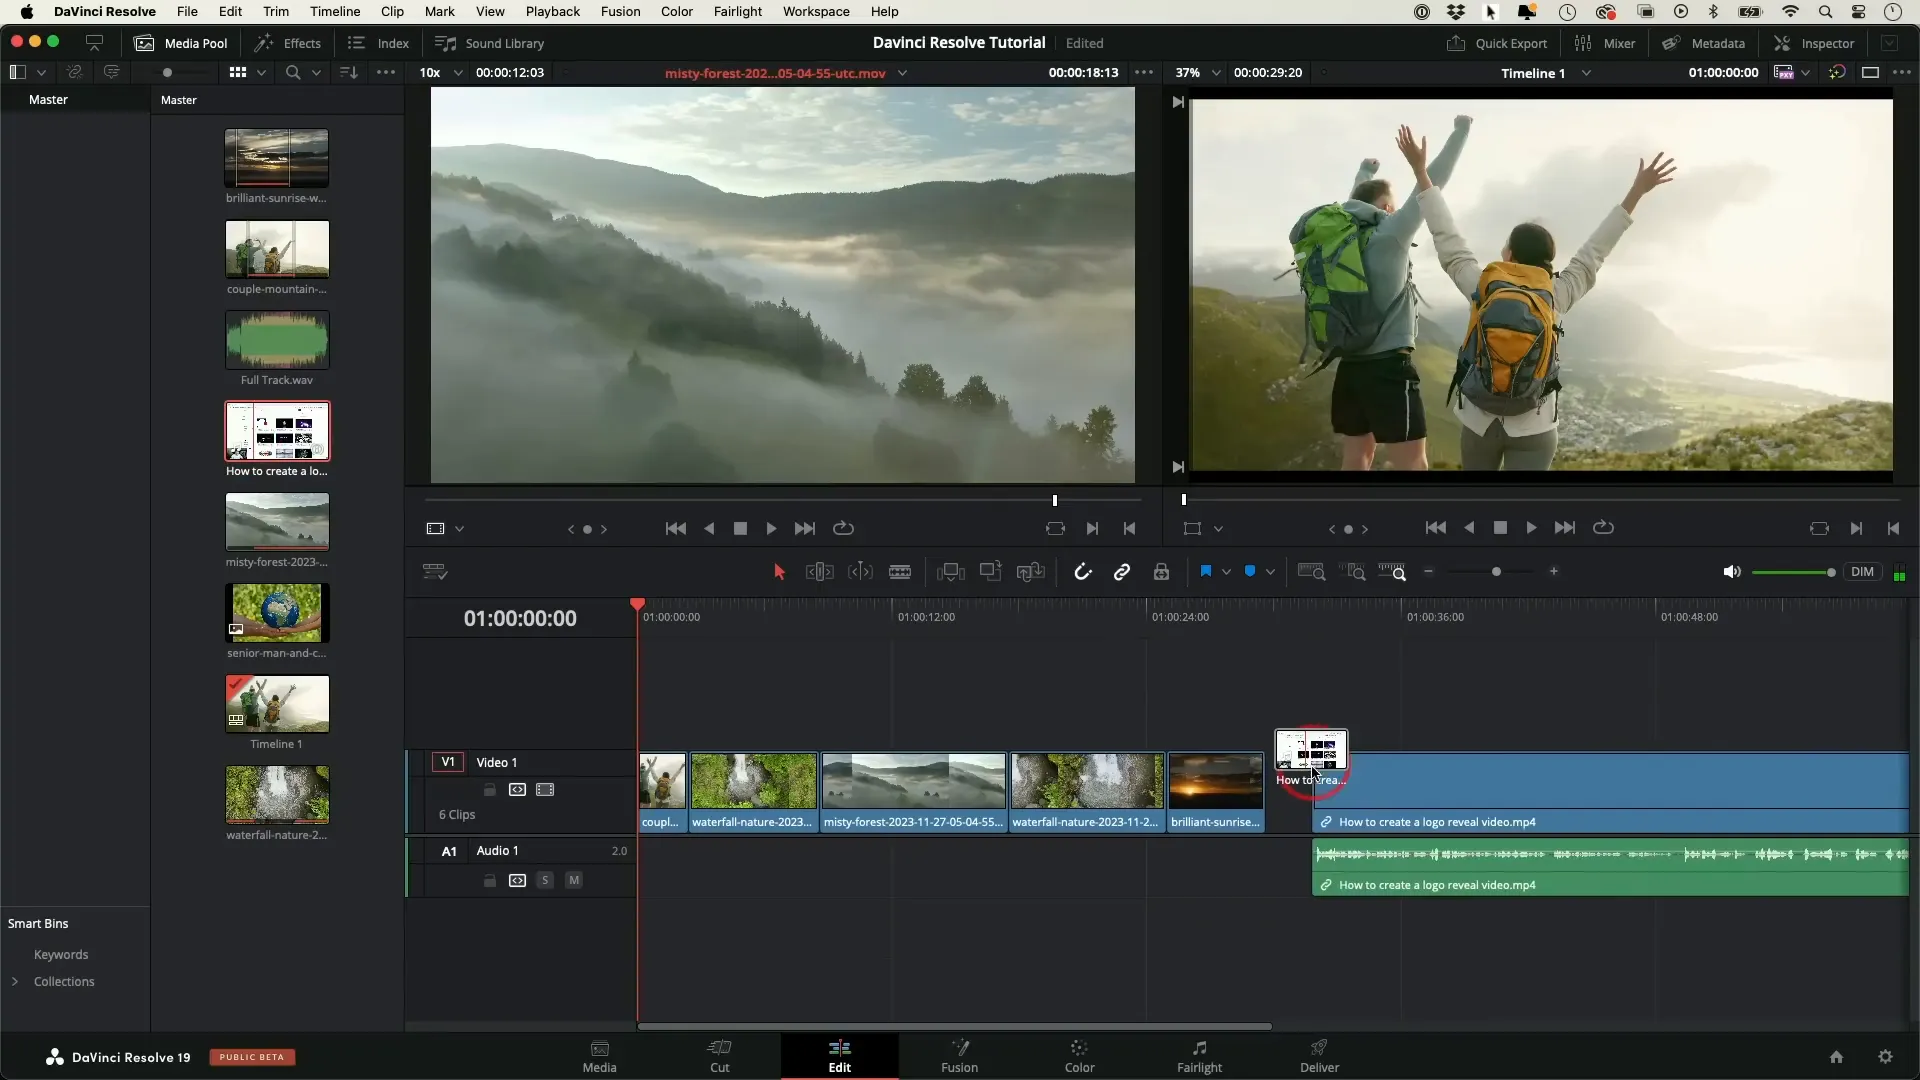
As you assemble your clips, you can rearrange them in the timeline to create a coherent flow. If you need to trim clips, simply grab the edges and adjust them to your liking. Don’t forget to check for gaps; these can create awkward pauses in your video. If you spot a gap, just click on it and press Delete to close it up.

For more advanced edits, you might want to cut clips in the middle. This is where the blade tool comes in handy. Select the blade tool, click where you want to make a cut, and then switch back to the arrow tool to delete or move sections as needed.
As you get comfortable with these basic editing functions, you’ll notice how DaVinci Resolve allows you to express your creativity. Whether you’re making a vlog, a tutorial, or a short film, mastering these basics will set you up for success!
Adding B-Roll
B-roll is an essential part of video storytelling. It typically involves supplementary footage that enhances the narrative. When you’re talking about a specific subject, overlaying relevant B-roll can make your video more engaging.
To add B-roll in DaVinci Resolve, first ensure your main video track is in place. Then, select your B-roll footage from the media pool. Drag it to a new video track above your main video. This way, the B-roll will play over your primary footage.
For instance, if you’re discussing a location, add clips of that location on a higher track. This not only keeps the audience engaged but also reinforces what you’re saying visually. Press the spacebar to preview your work; you’ll see how the B-roll complements your narration.
Feel free to layer multiple B-roll clips; just make sure they don’t overshadow your main audio. The goal is to enhance, not distract. This technique can significantly elevate the quality of your videos.
Transitions
Transitions are the bridges between clips. They help maintain the flow of your video and can add a professional touch. In DaVinci Resolve, adding transitions is straightforward.
Navigate to the effects panel, and you’ll find a category for video transitions. Here, you can choose from various options like fades, dissolves, and wipes. To apply a transition, simply drag it between two clips in your timeline.
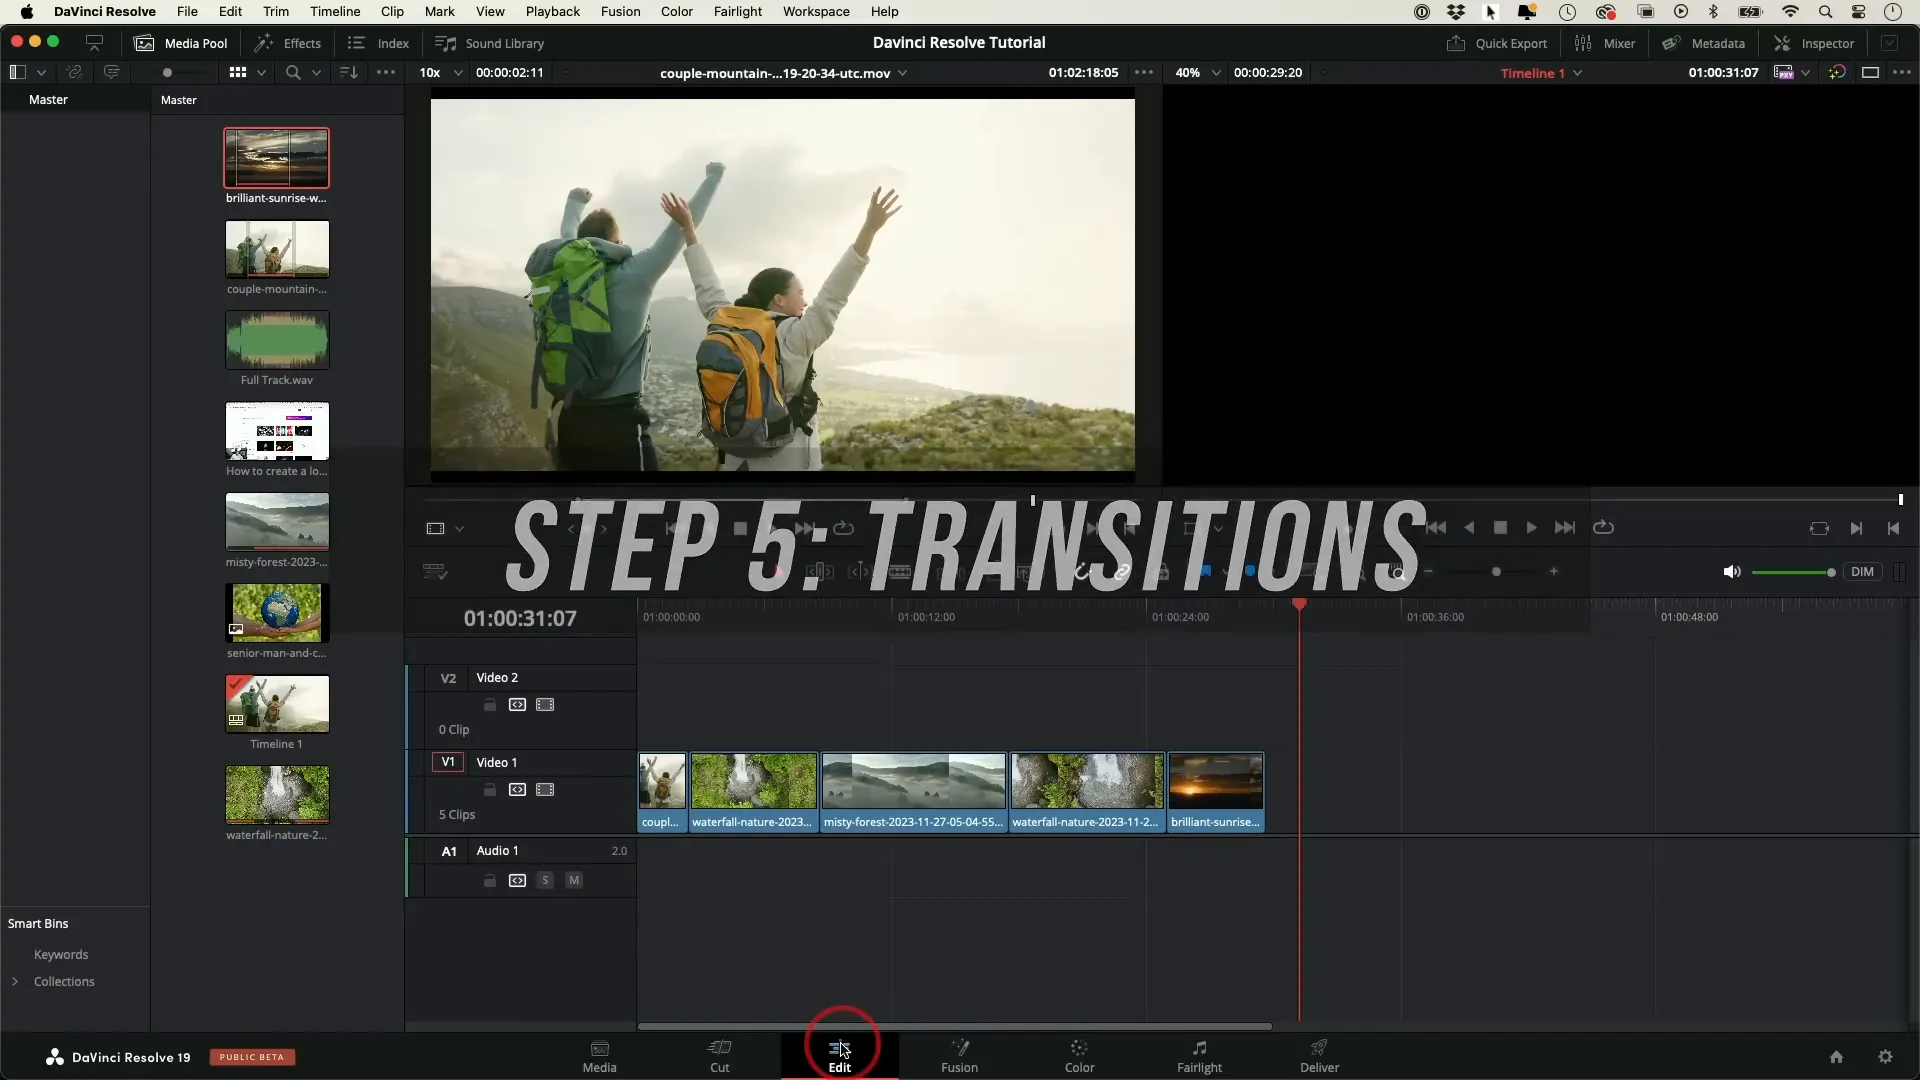
For example, a blur dissolve can soften the cut between two clips, making it feel more seamless. Hover over the transitions to preview how they look. While it’s tempting to use flashy transitions, subtlety often works best. Most professionals prefer simple fades or dissolves.
Remember, transitions should serve a purpose. They can indicate a change in time, location, or mood. Use them wisely to enhance your storytelling without overwhelming your audience.
Adding Text
Text can be a powerful tool in your videos, whether for titles, captions, or annotations. In DaVinci Resolve, adding text is easy. Navigate to the titles section in the effects panel, and you’ll find a variety of text options.
To insert text, drag a title from the panel to a new video track in your timeline. Double-click the text box in the preview window to edit the content. You can type in your desired text, such as “End” for a closing title.
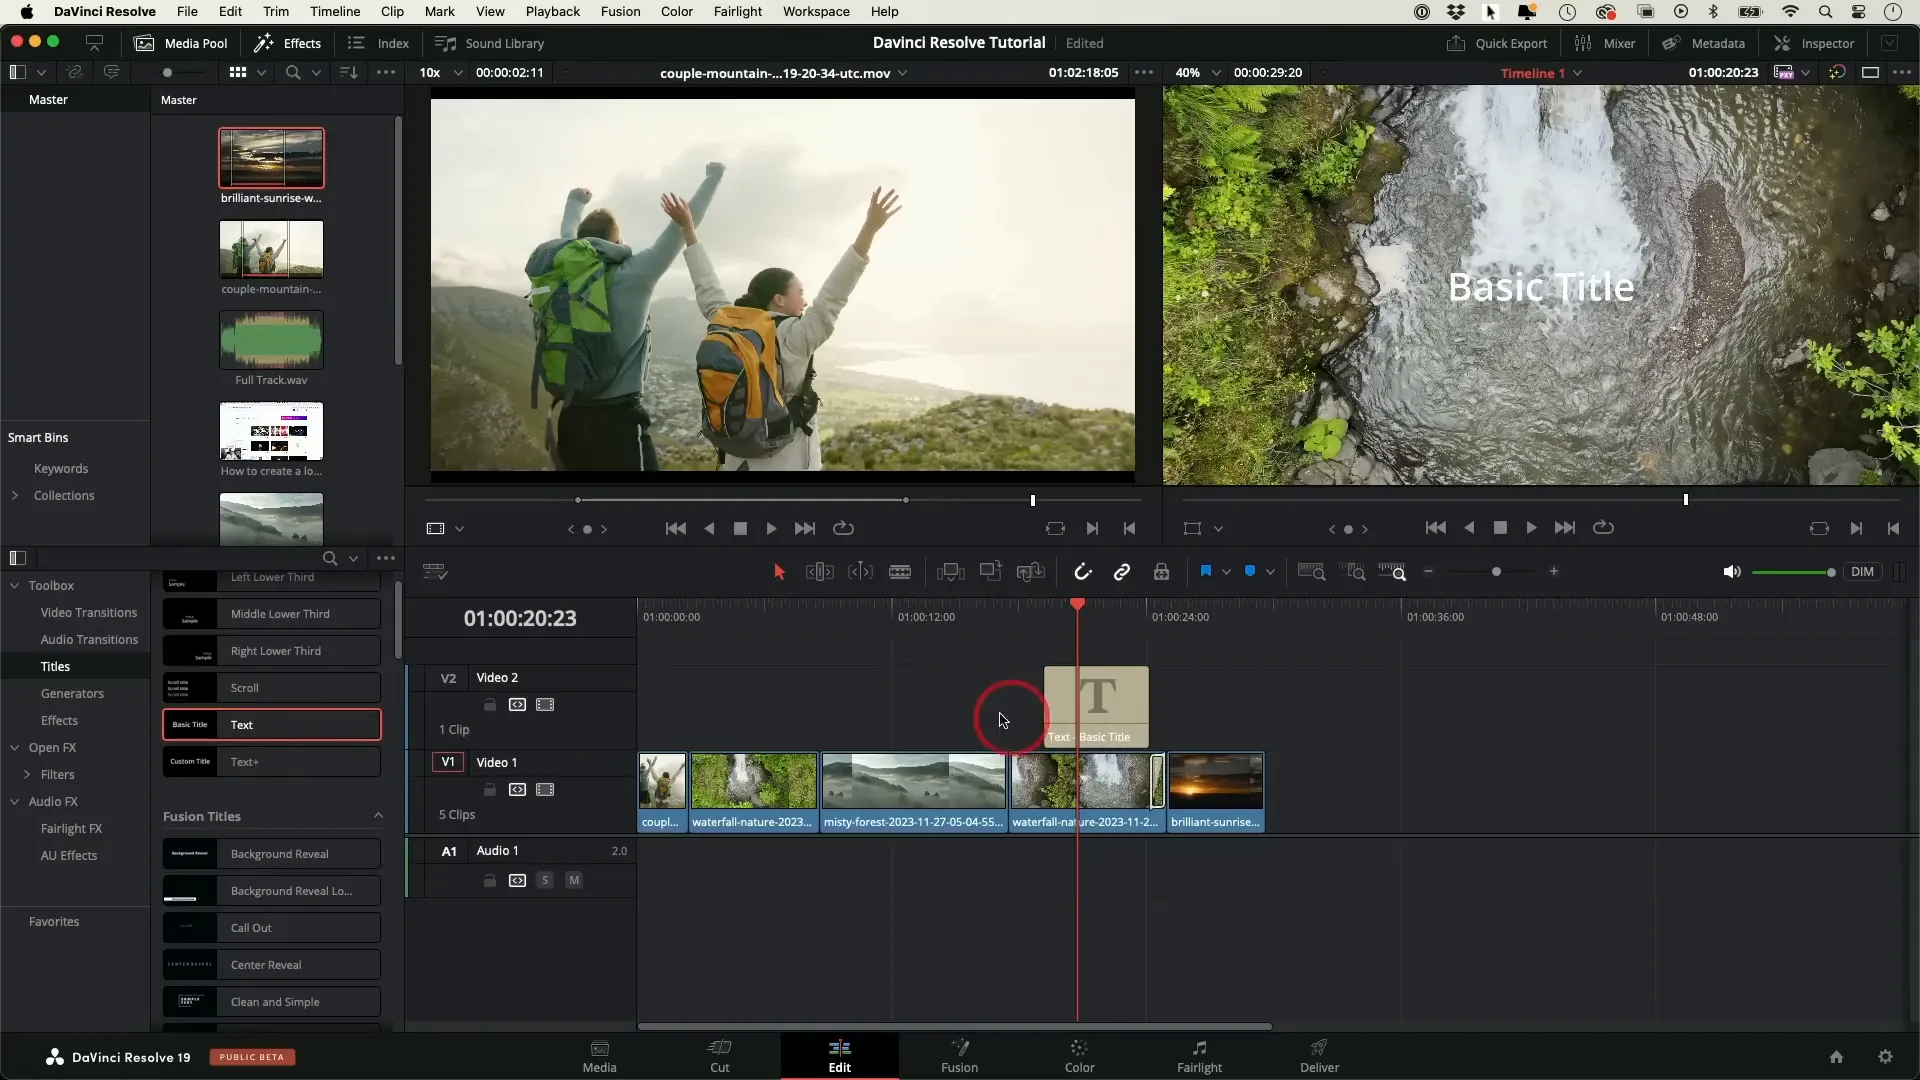
For more customization, open the inspector panel where you can adjust the font, size, color, and positioning of your text. Animated text options are available too, which can add flair to your project. Just be cautious not to overdo it; too much text can distract from your main content.
Text can also serve as a visual cue for your audience, helping them follow along with your narrative. Whether you’re creating a YouTube video or a corporate presentation, effective use of text can significantly enhance viewer engagement.
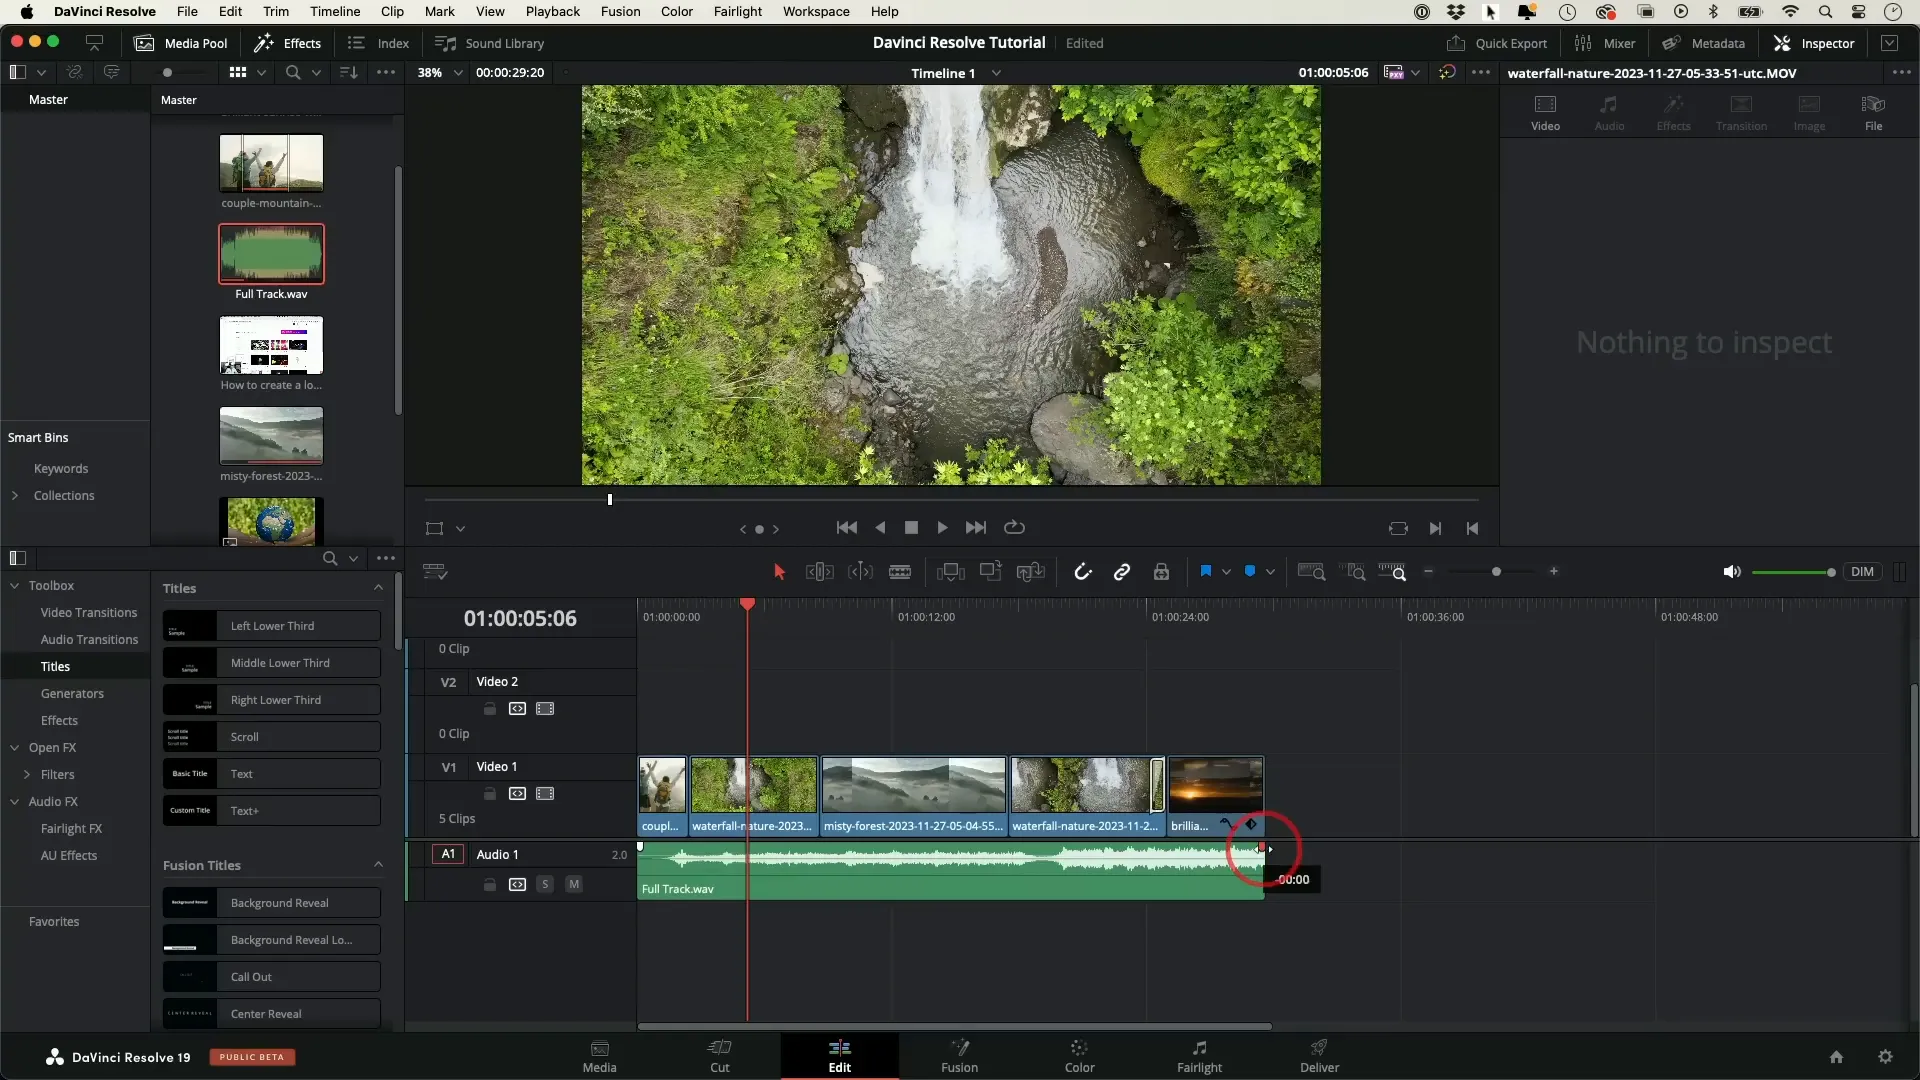
Working with Photos
Integrating photos into your video can provide context or illustrate points visually. In DaVinci Resolve, working with photos is similar to adding video clips. Simply drag your photo from the media pool to a new video track.
Once added, you may need to adjust the photo size to fit the screen. Select the photo, go to the inspector, and use the zoom controls to ensure it fills the frame without any unwanted borders.

Photos can also be used creatively, such as in a picture-in-picture format. You can resize and reposition the photo to create a layered effect. This technique is great for commentary videos or tutorials where you want to provide additional visual support.
Always preview your edits to ensure the photos align well with your narration. If a photo feels out of place, don’t hesitate to delete it or adjust its timing in the timeline. The goal is to create a cohesive story that resonates with your audience.
Adding Music
Music adds depth and emotion to your videos. In DaVinci Resolve, adding a music track is straightforward. Start by importing your audio file into the media pool, just like you did with your video clips.
Once imported, drag your music track to an audio track in the timeline. If your video contains dialogue, make sure to position the music track beneath the dialogue track. This way, the audio will mix seamlessly.

Sometimes, music can overpower your dialogue. To prevent this, select the music track, open the inspector, and adjust the volume. A level between negative thirty and negative twenty-five decibels typically works well for background music.
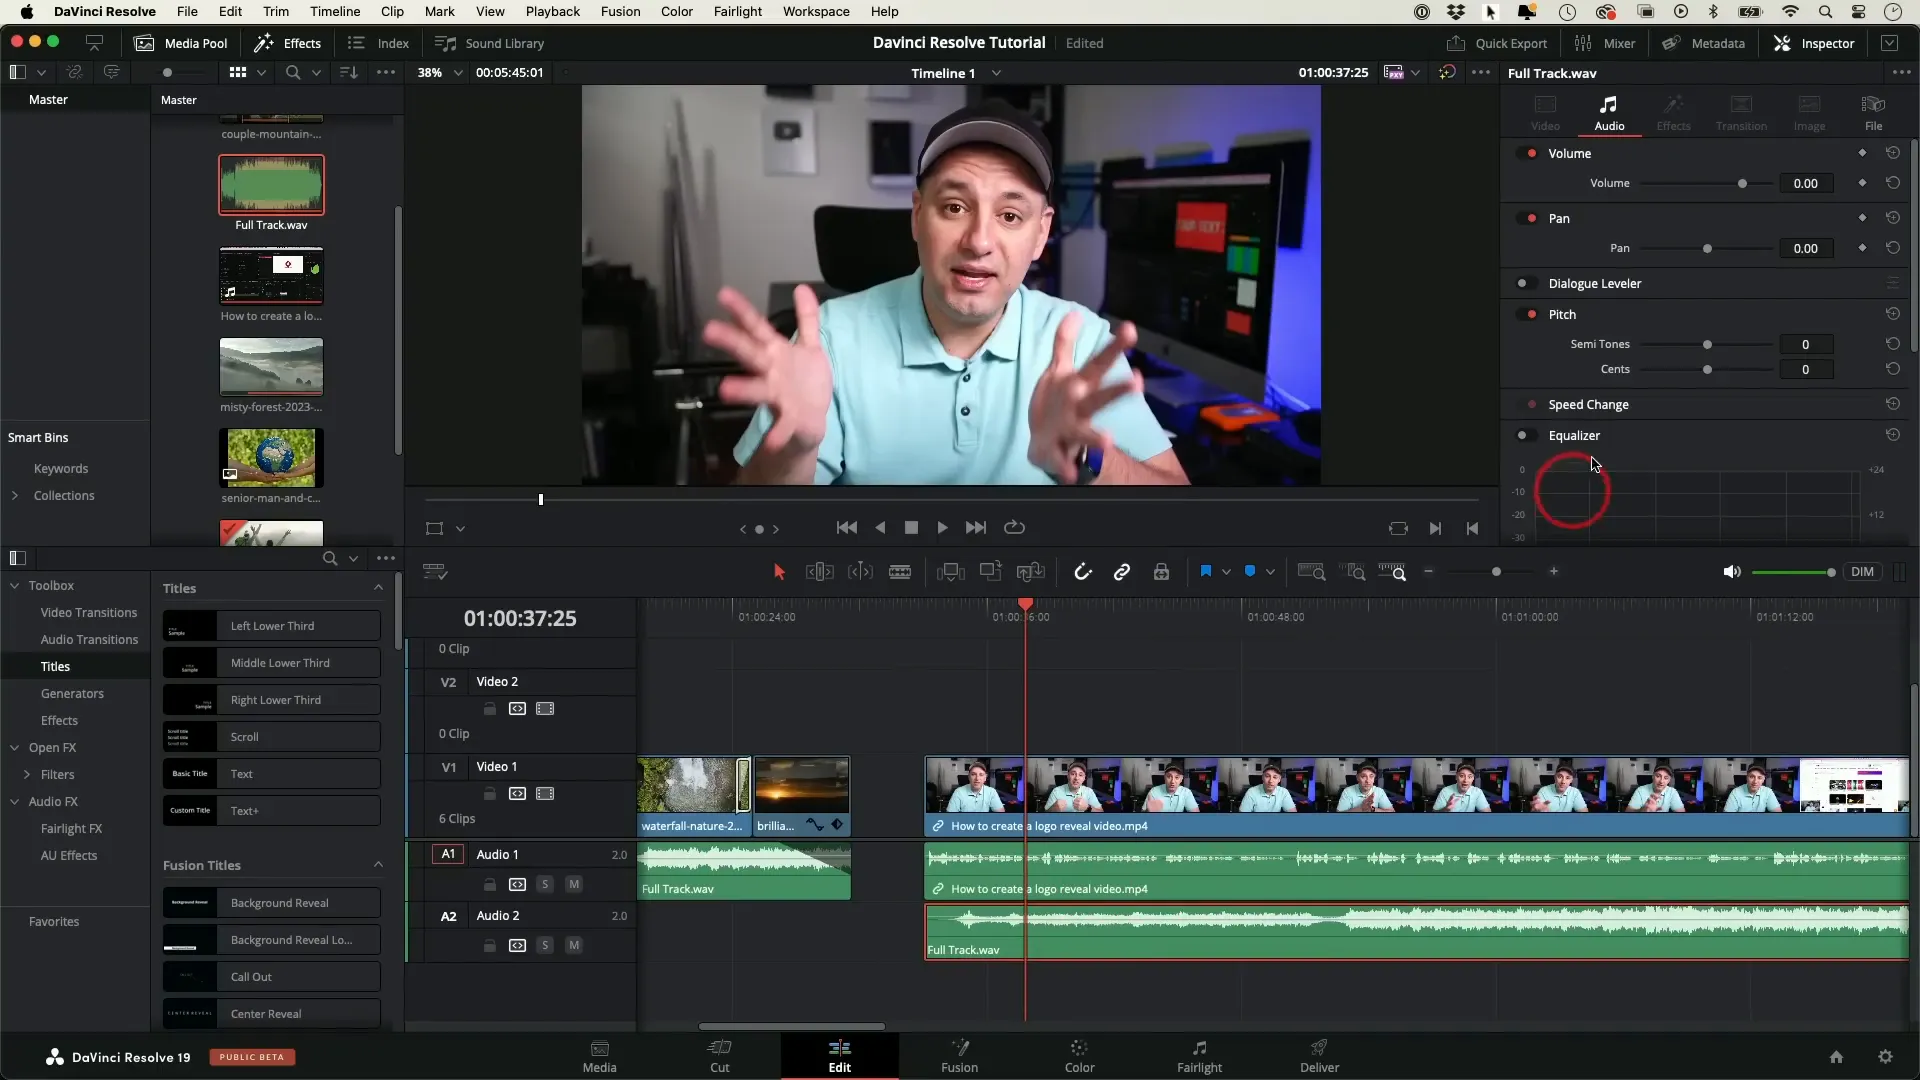
Additionally, you can create fades at the beginning and end of your music track. Grab the white marker at the end of the audio clip and drag it inward to create a fade-out effect. This smooth transition enhances the overall experience for your viewers.
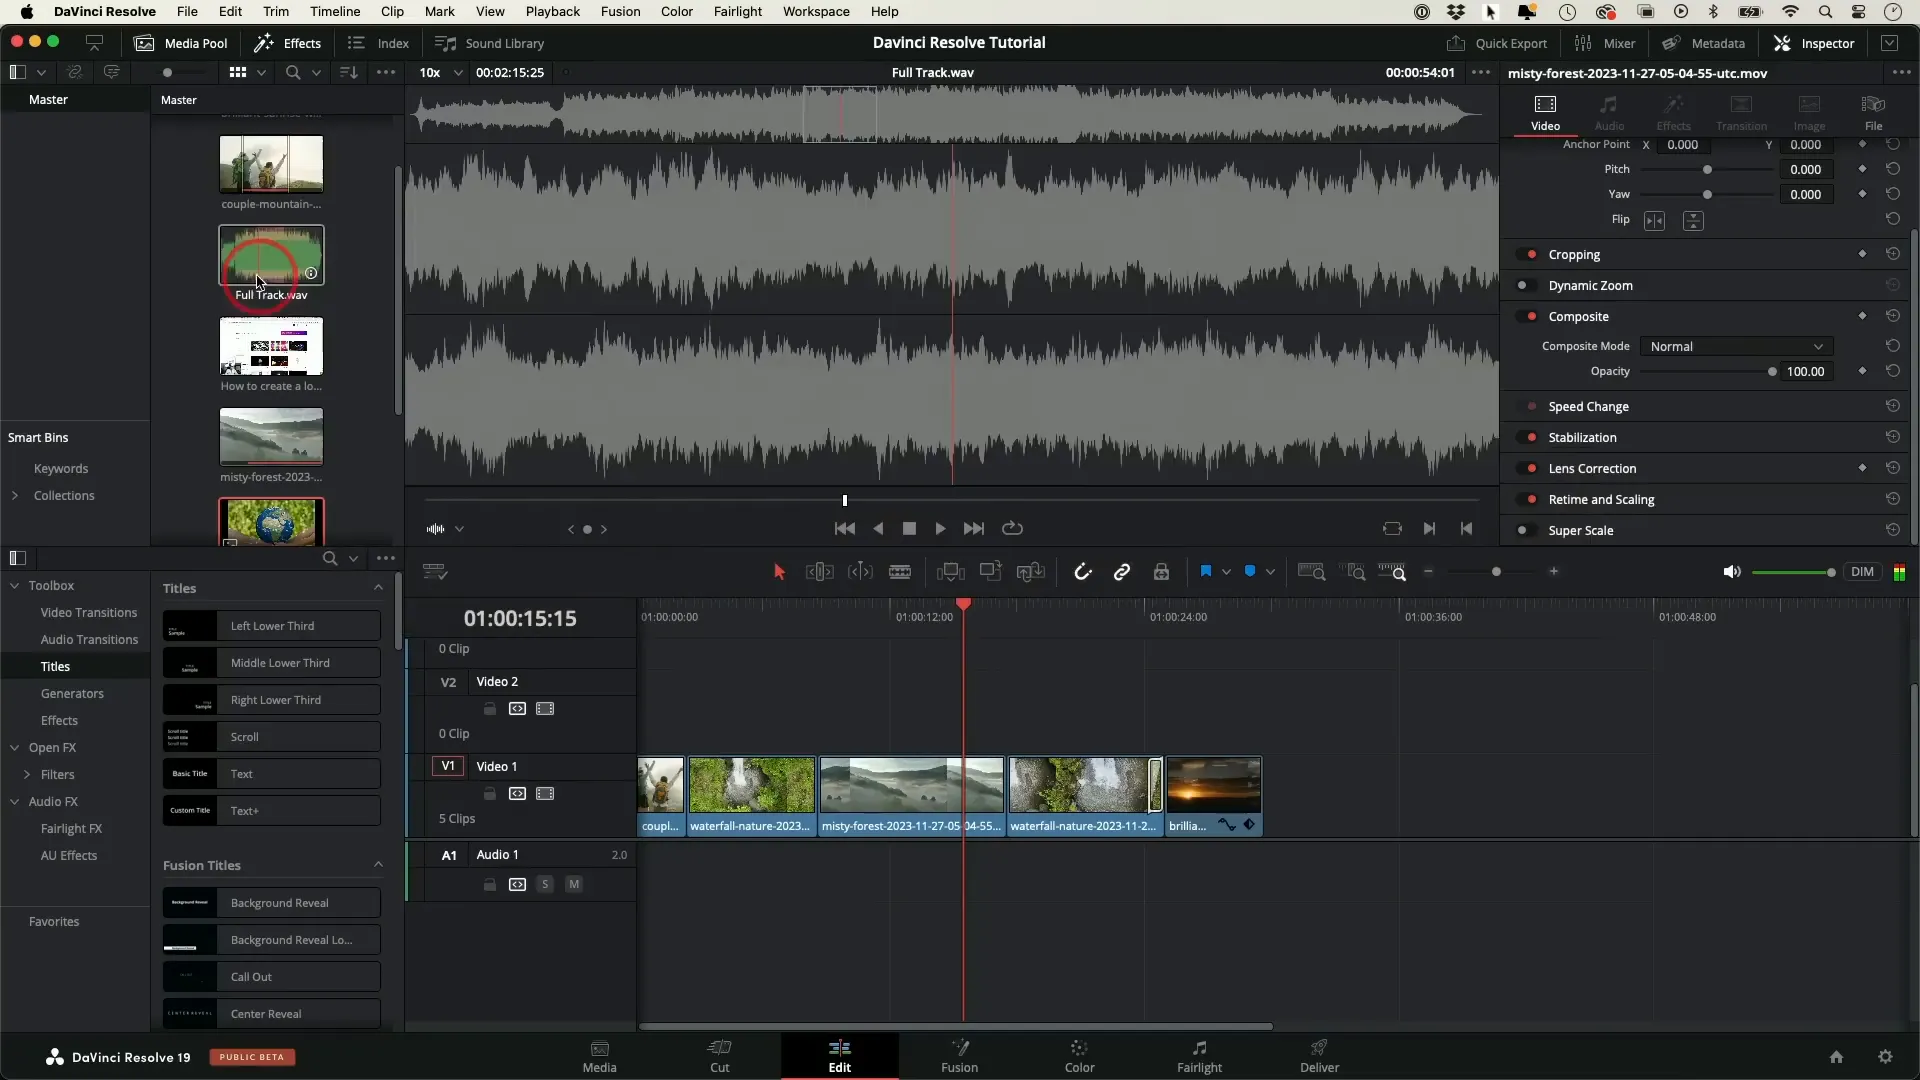
Colors and Filters
Color grading is a crucial step in video editing, allowing you to set the mood and enhance the visuals. DaVinci Resolve is renowned for its powerful color grading capabilities.
To start, navigate to the color tab. Here, you can apply LUTs (Lookup Tables) that will instantly change the look of your clips. Hover over different LUTs to preview the effect before applying it.
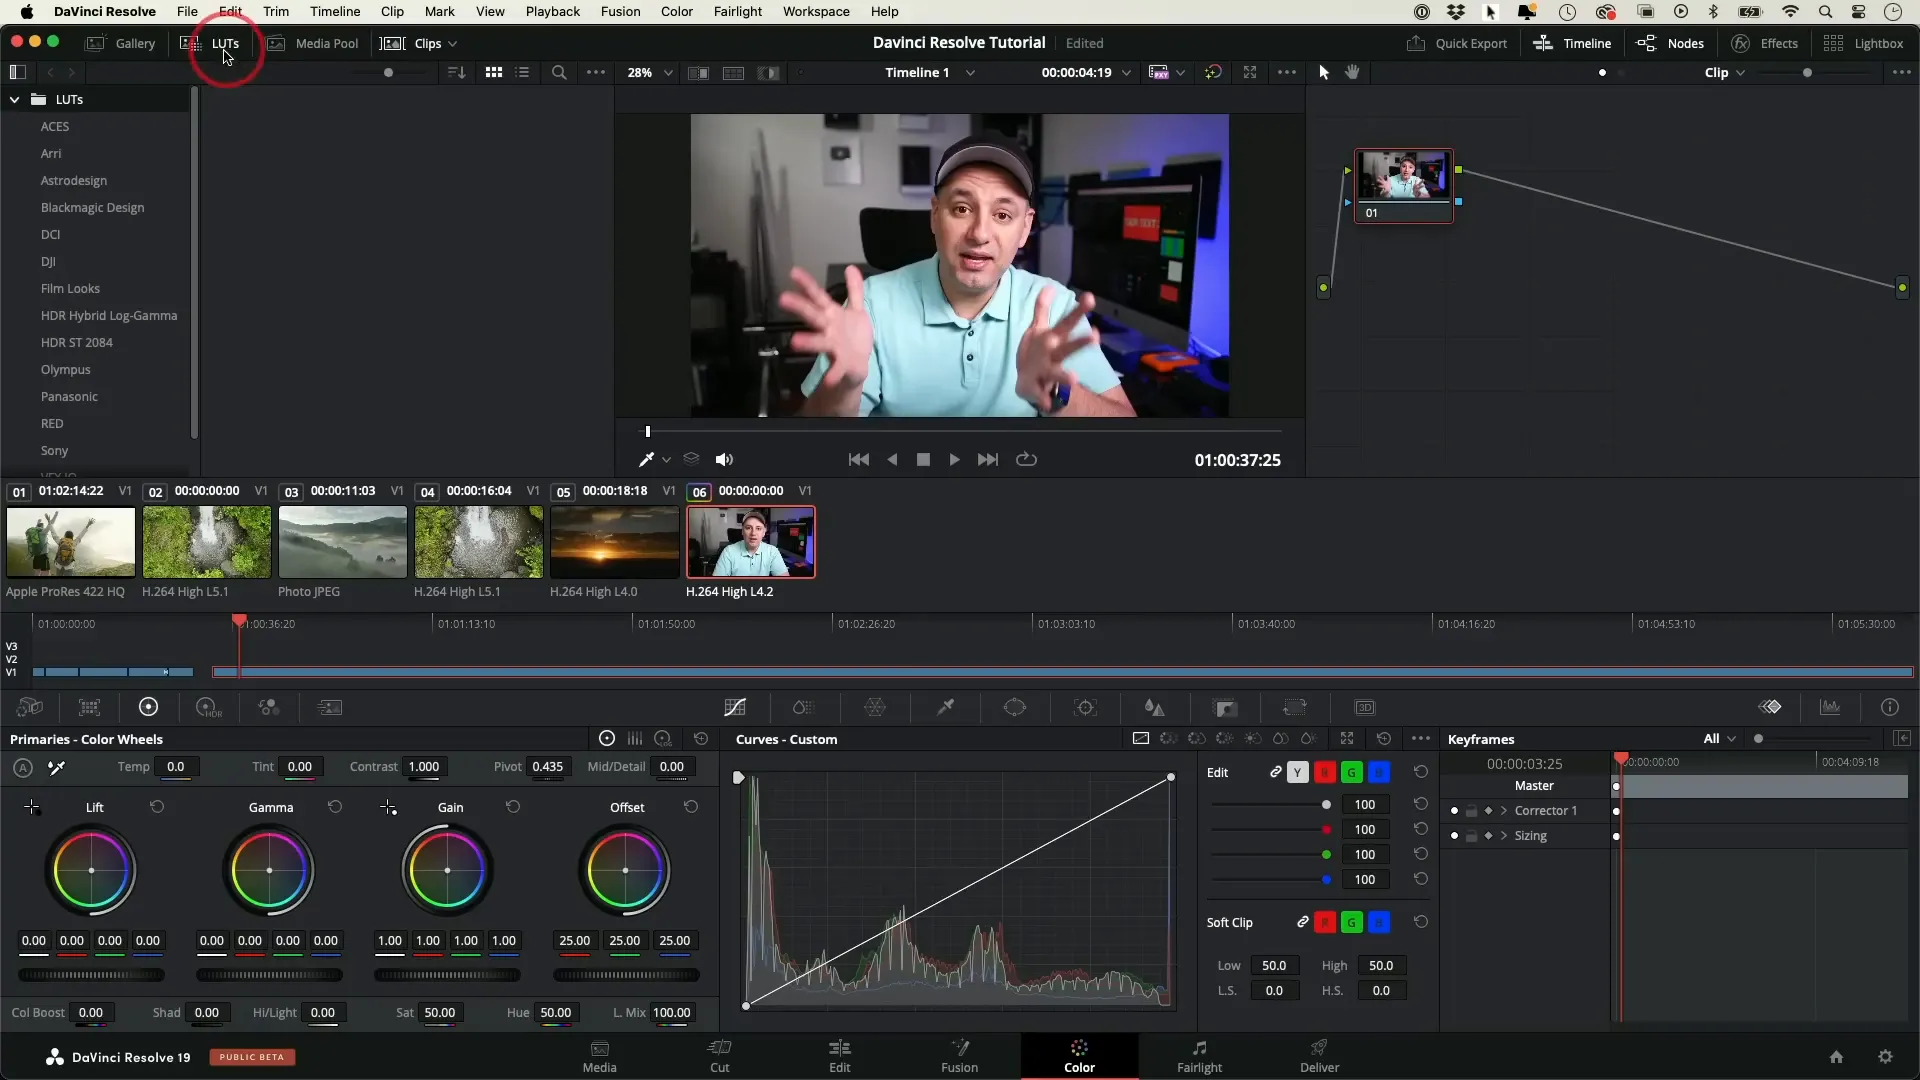
While LUTs provide a quick fix, you can also fine-tune colors using the various controls available. Adjust parameters like contrast, saturation, and brightness to achieve your desired look. Remember, subtle adjustments often yield the best results.
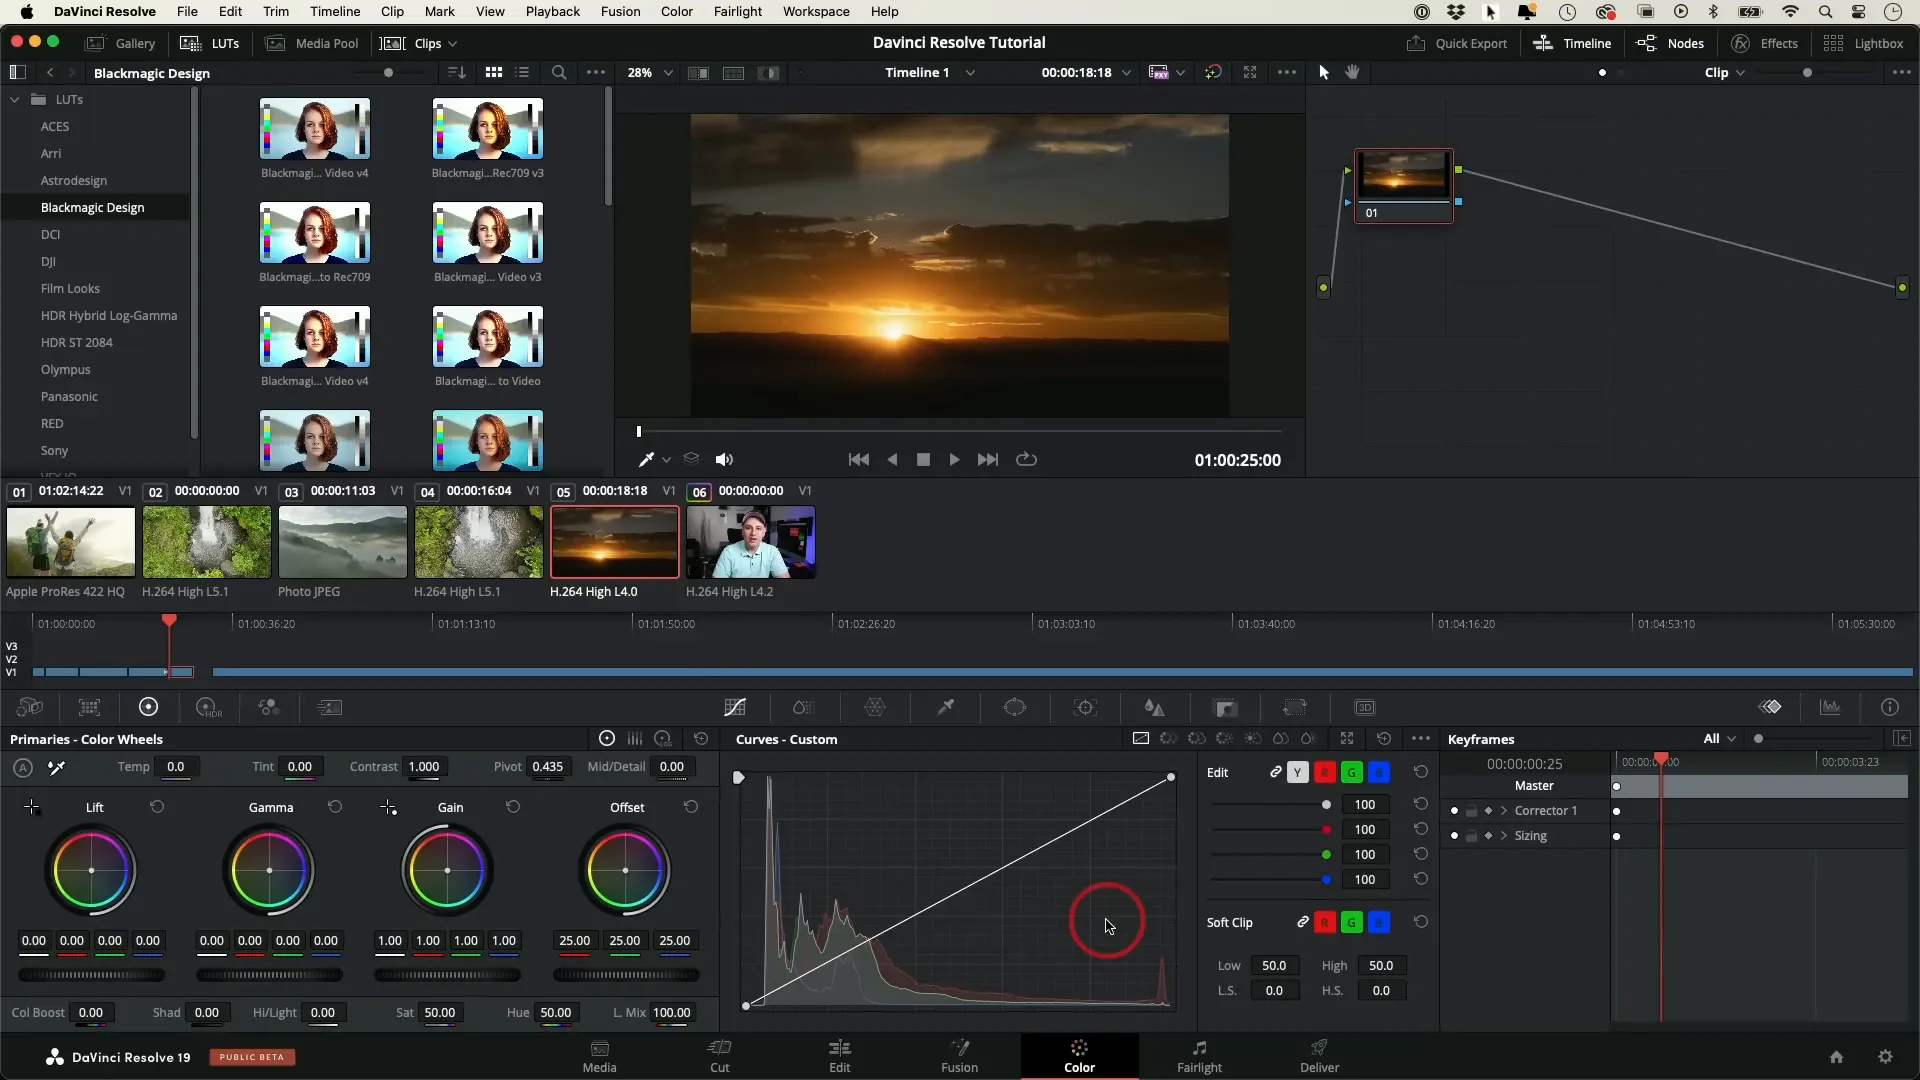
Don’t hesitate to experiment! DaVinci Resolve allows you to create unique looks that reflect your style. Just be mindful not to overdo it; maintaining a natural look is often preferred.
Deliver Tab
Once your editing is complete, it’s time to export your masterpiece. Head over to the deliver tab, where you’ll find options for exporting your video.
Start by selecting the H.264 codec, which is ideal for platforms like YouTube. Name your project and choose the destination folder where you want the file to be saved.

Be sure to set the format to MP4, as this is the most compatible format for online sharing. Check that the resolution and frame rate match your project settings.
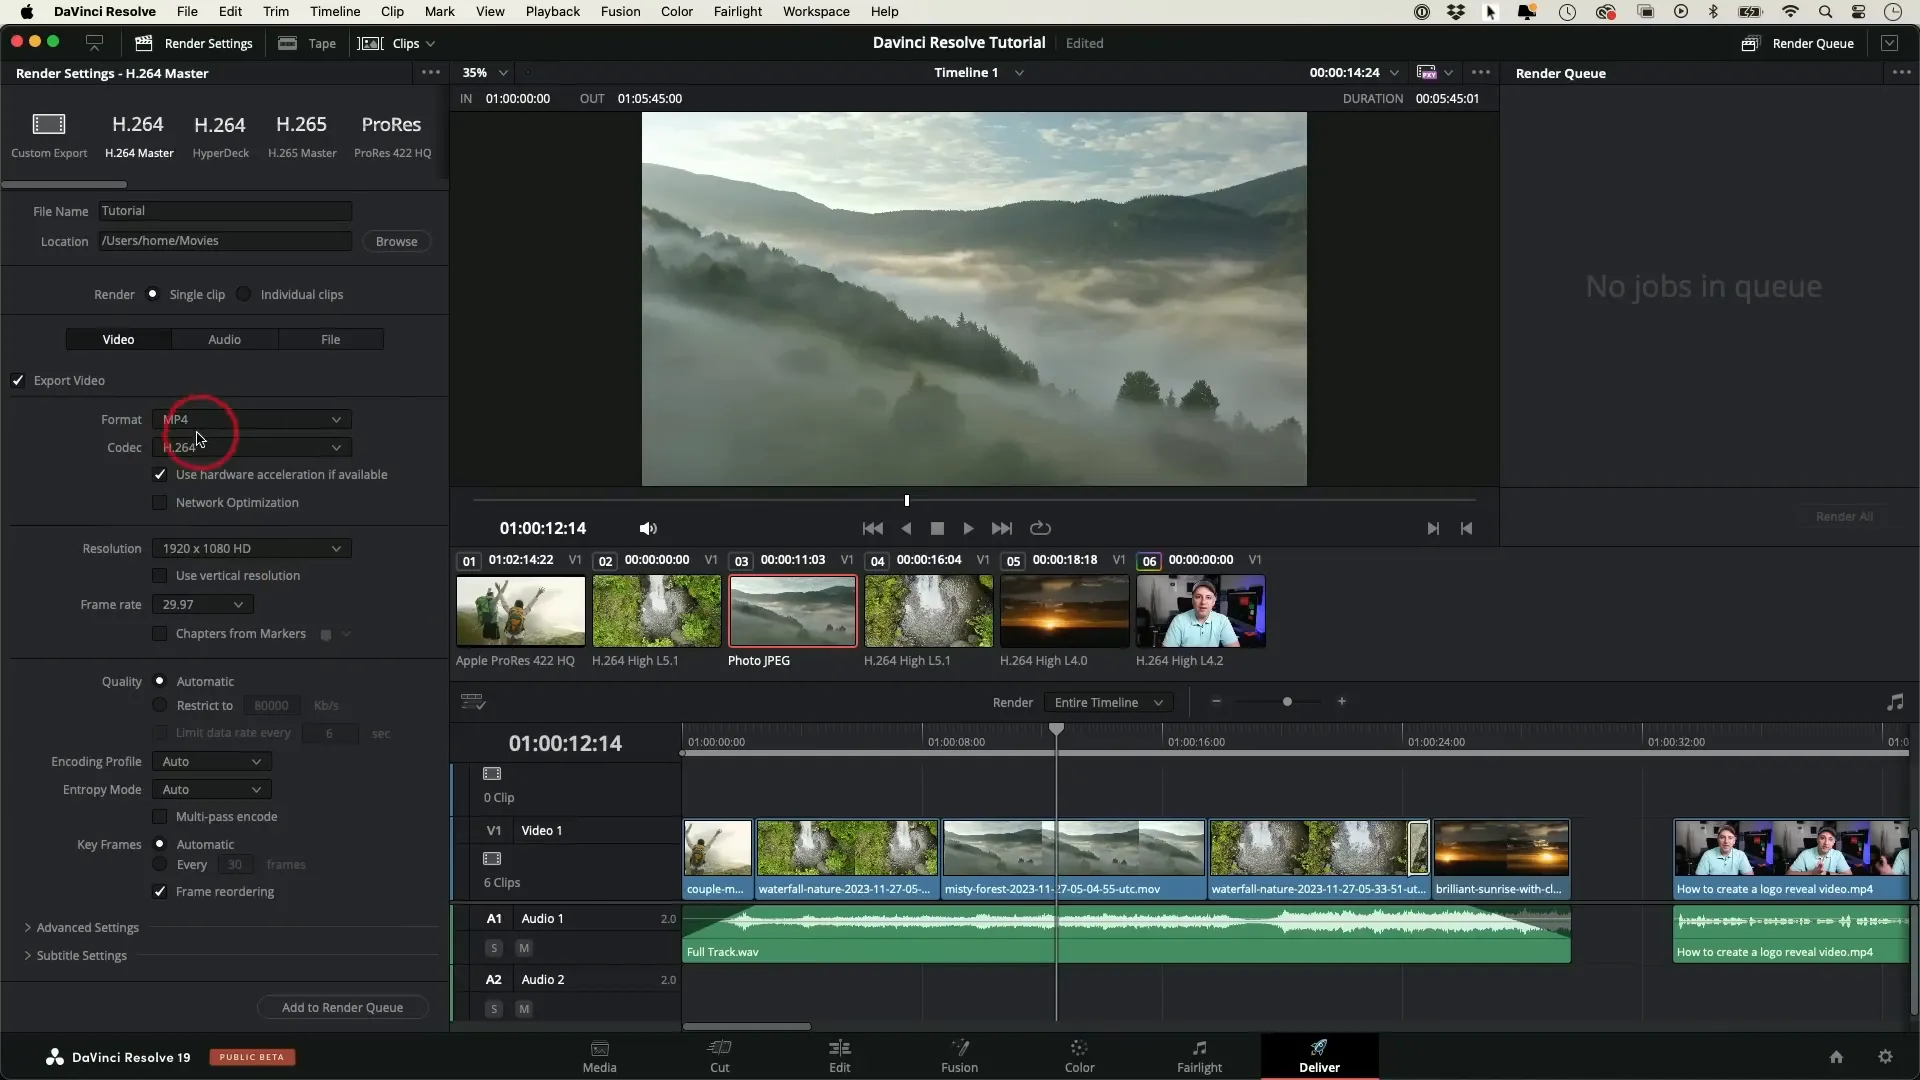
After adjusting these settings, click “Add to Render Queue.” This prepares your project for export. Once it appears in the render queue, hit “Render All” to start the exporting process.
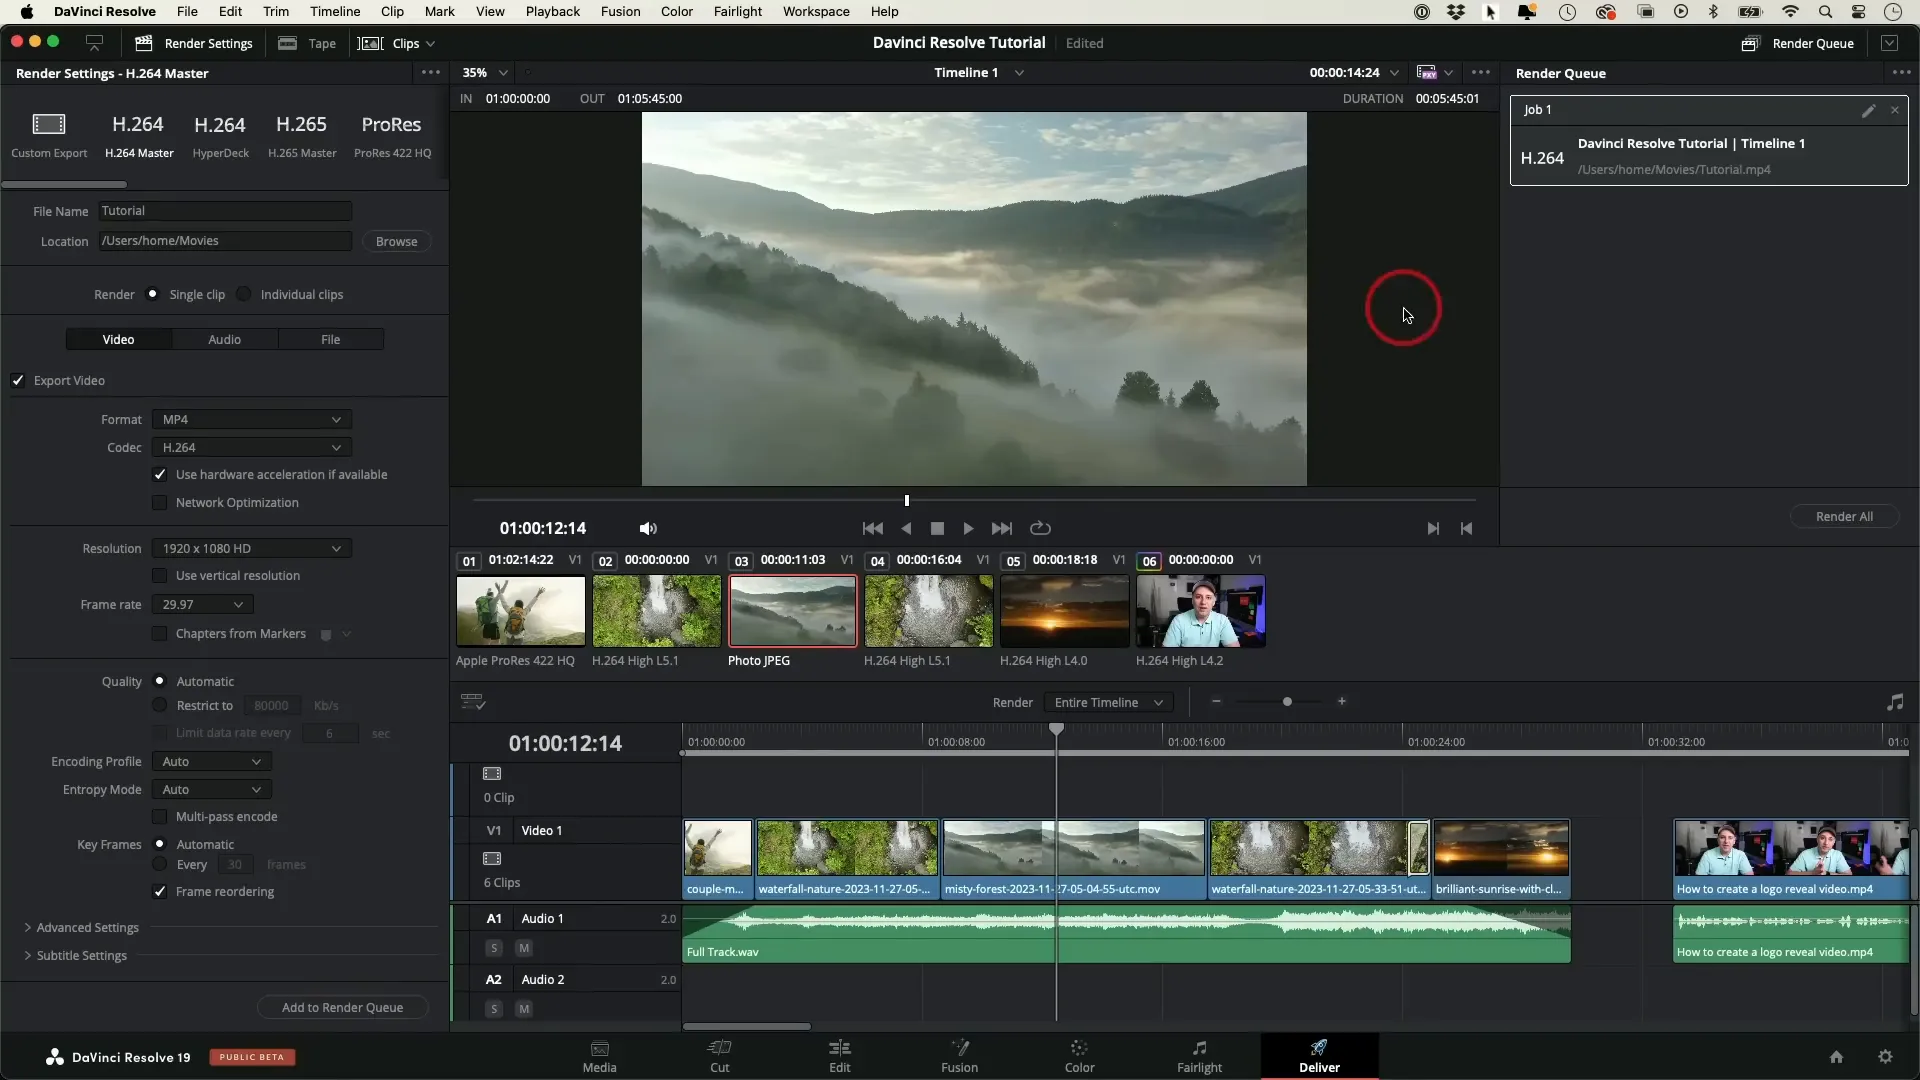
Patience is key during rendering, especially for longer projects. Once complete, you’ll find your video in the specified folder, ready for uploading or sharing!
Conclusion
Congratulations! You’ve navigated the essential features of DaVinci Resolve, from importing media to exporting your final project. With practice, you’ll become more comfortable with the interface and discover new ways to enhance your videos.
Whether you’re creating content for social media or crafting a short film, DaVinci Resolve provides the tools to bring your vision to life. Keep experimenting with music, color grading, and transitions to refine your unique style.
Remember, the journey of learning video editing is ongoing. Stay curious and keep exploring the capabilities of DaVinci Resolve. Happy editing!