
iMovie is your go-to app for diving into video editing, and the best part? It’s free and comes pre-installed on every Mac. Whether you’re on a brand new MacBook or an older model, iMovie is ready to help you create stunning videos. You can also use iMovie on your iPhone and iPad, but today, we’re focusing on the Mac version. This guide will walk you through a simple ten-step process to help you start your first project. Let’s get started!
Step 1: Installing iMovie
First things first, open the App Store on your Mac. Search for iMovie and check if there’s an update available. If you’ve accidentally deleted it, you can easily reinstall it from the App Store.

Step 2: Creating a New Project
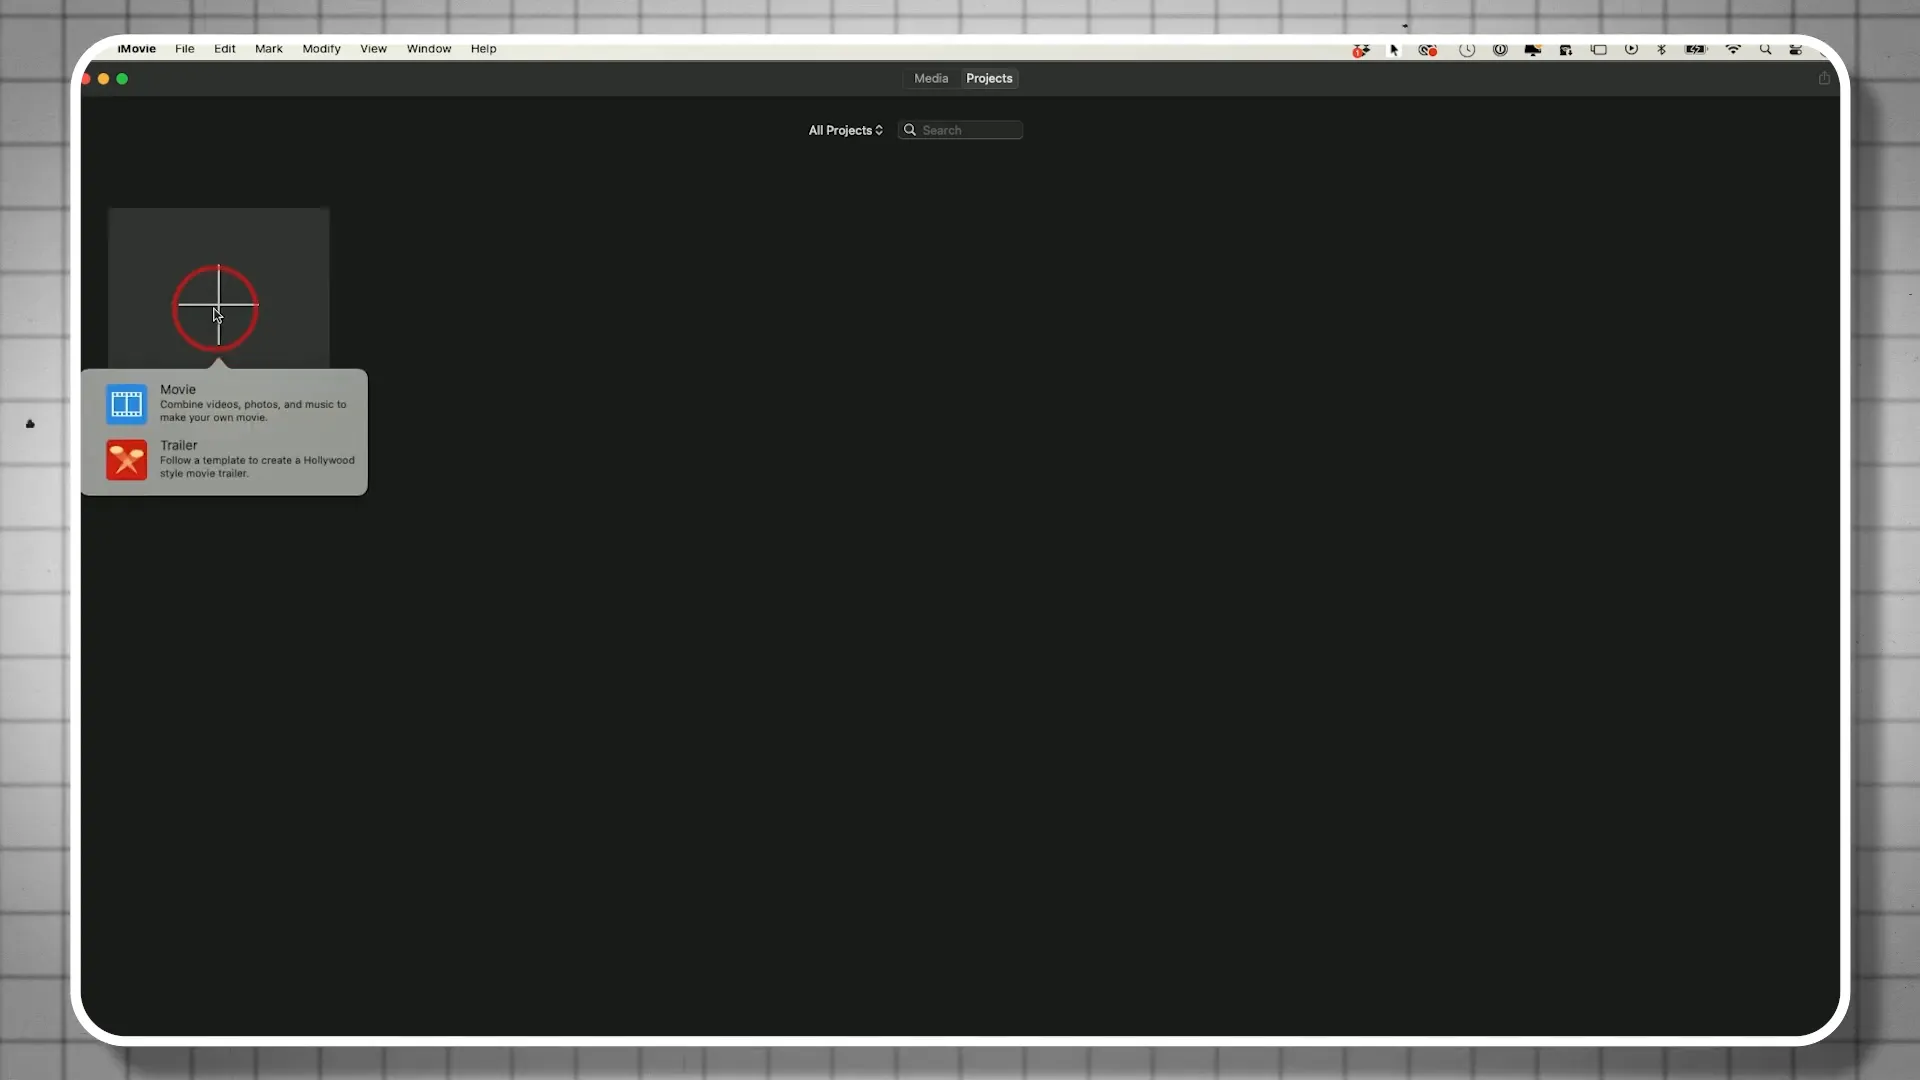
Once you have iMovie open, click the plus sign to create a new project. You’ll see two options: Trailer and Movie. For this tutorial, select Movie to start your editing journey.
Step 3: Naming Your Project
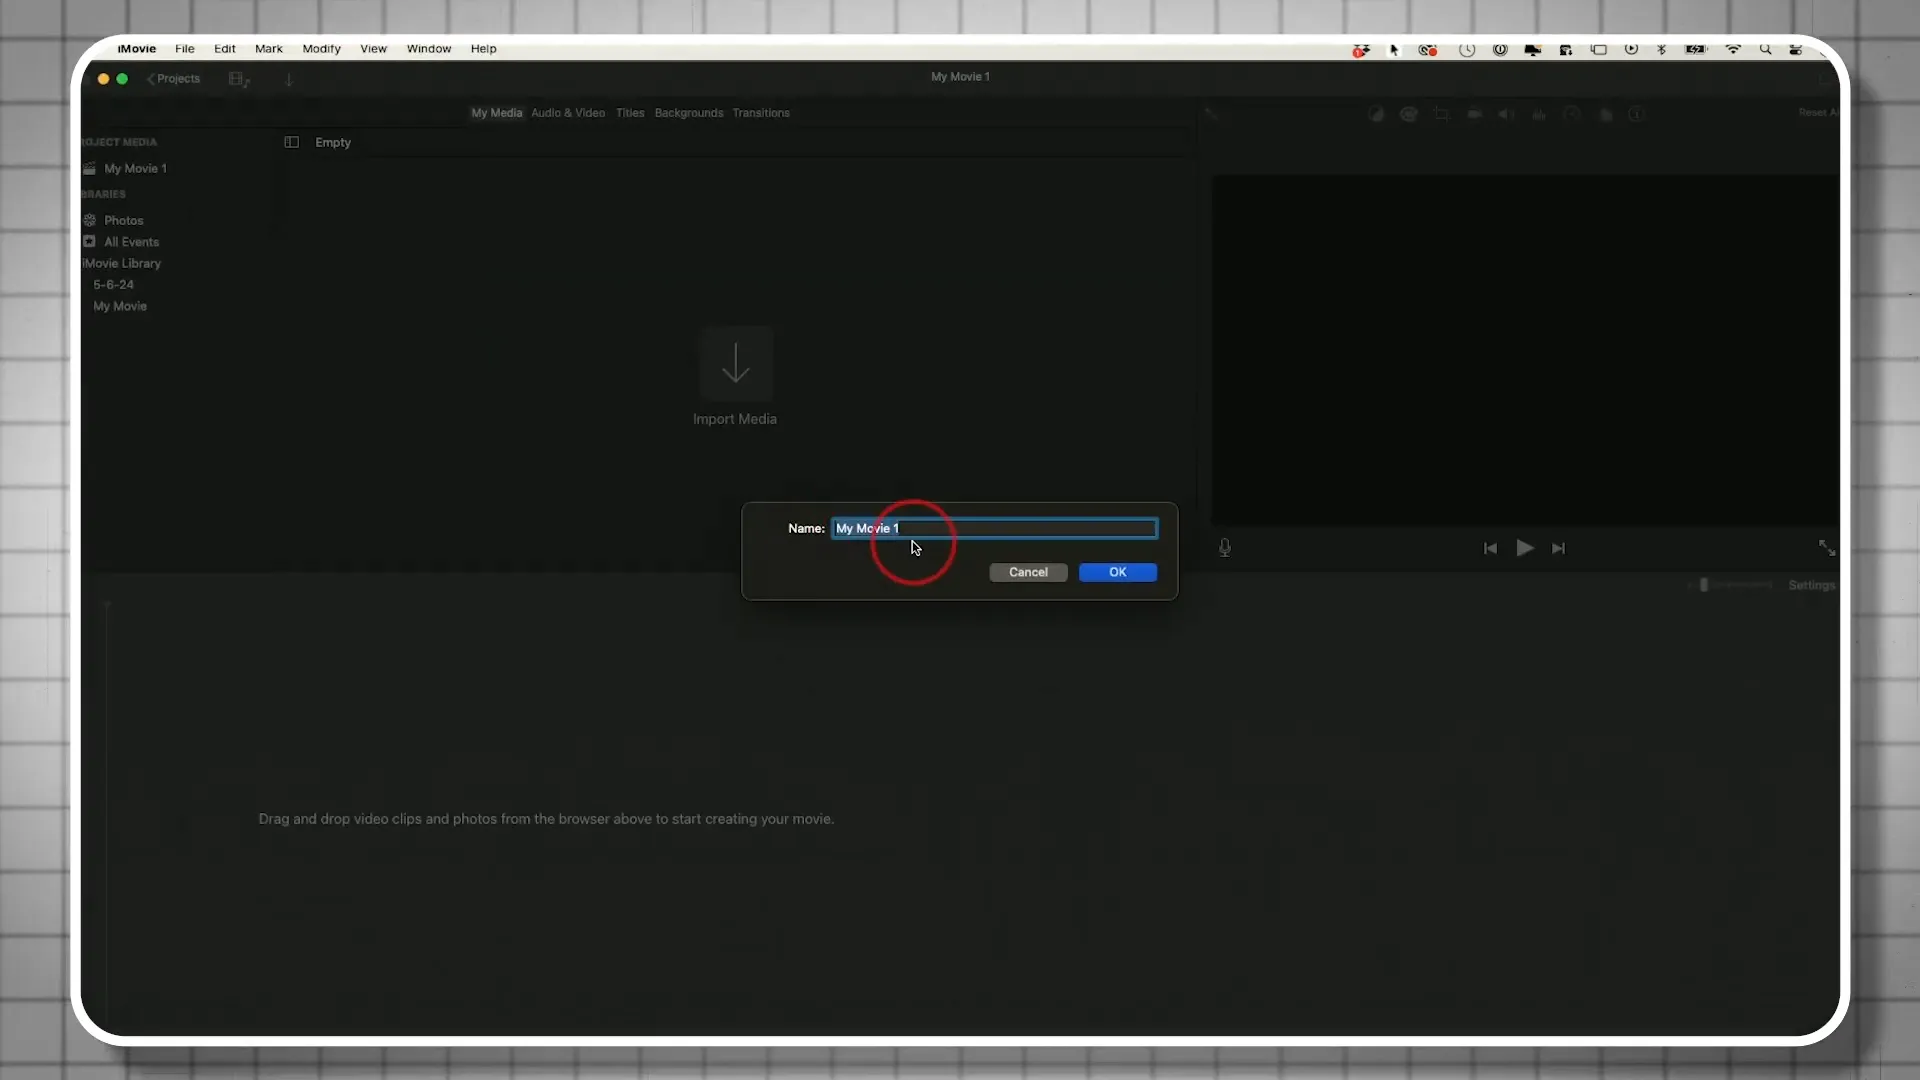
After choosing to create a movie, you’ll need to name your project. This will help keep things organized. You can simply click on the project icon to rename it. Let’s call it “iMovie Tutorial.”
Step 4: Importing Media
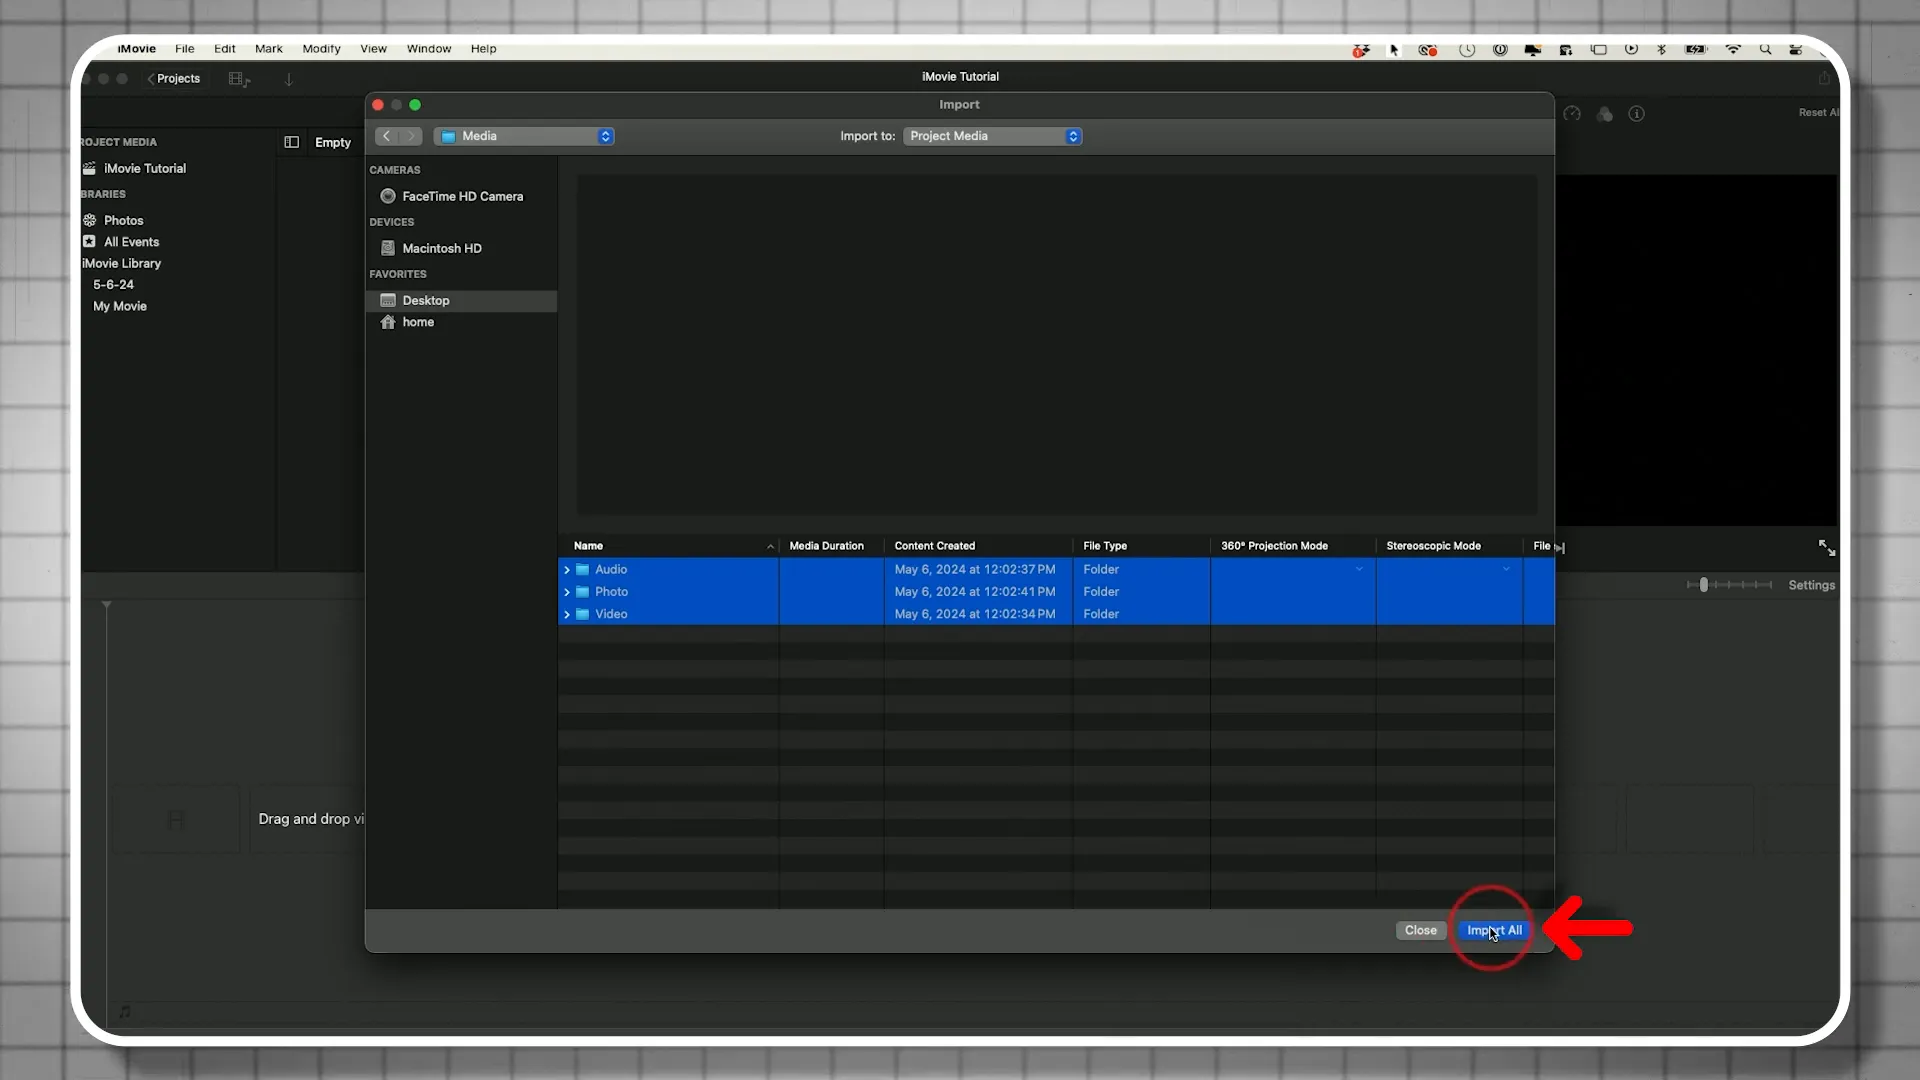
Now it’s time to import your media. Click on Import Media to bring in your videos, photos, and audio files. Organizing your media into folders on your computer can make this process smoother. I recommend keeping your files organized by creating separate folders for videos, photos, and audio.
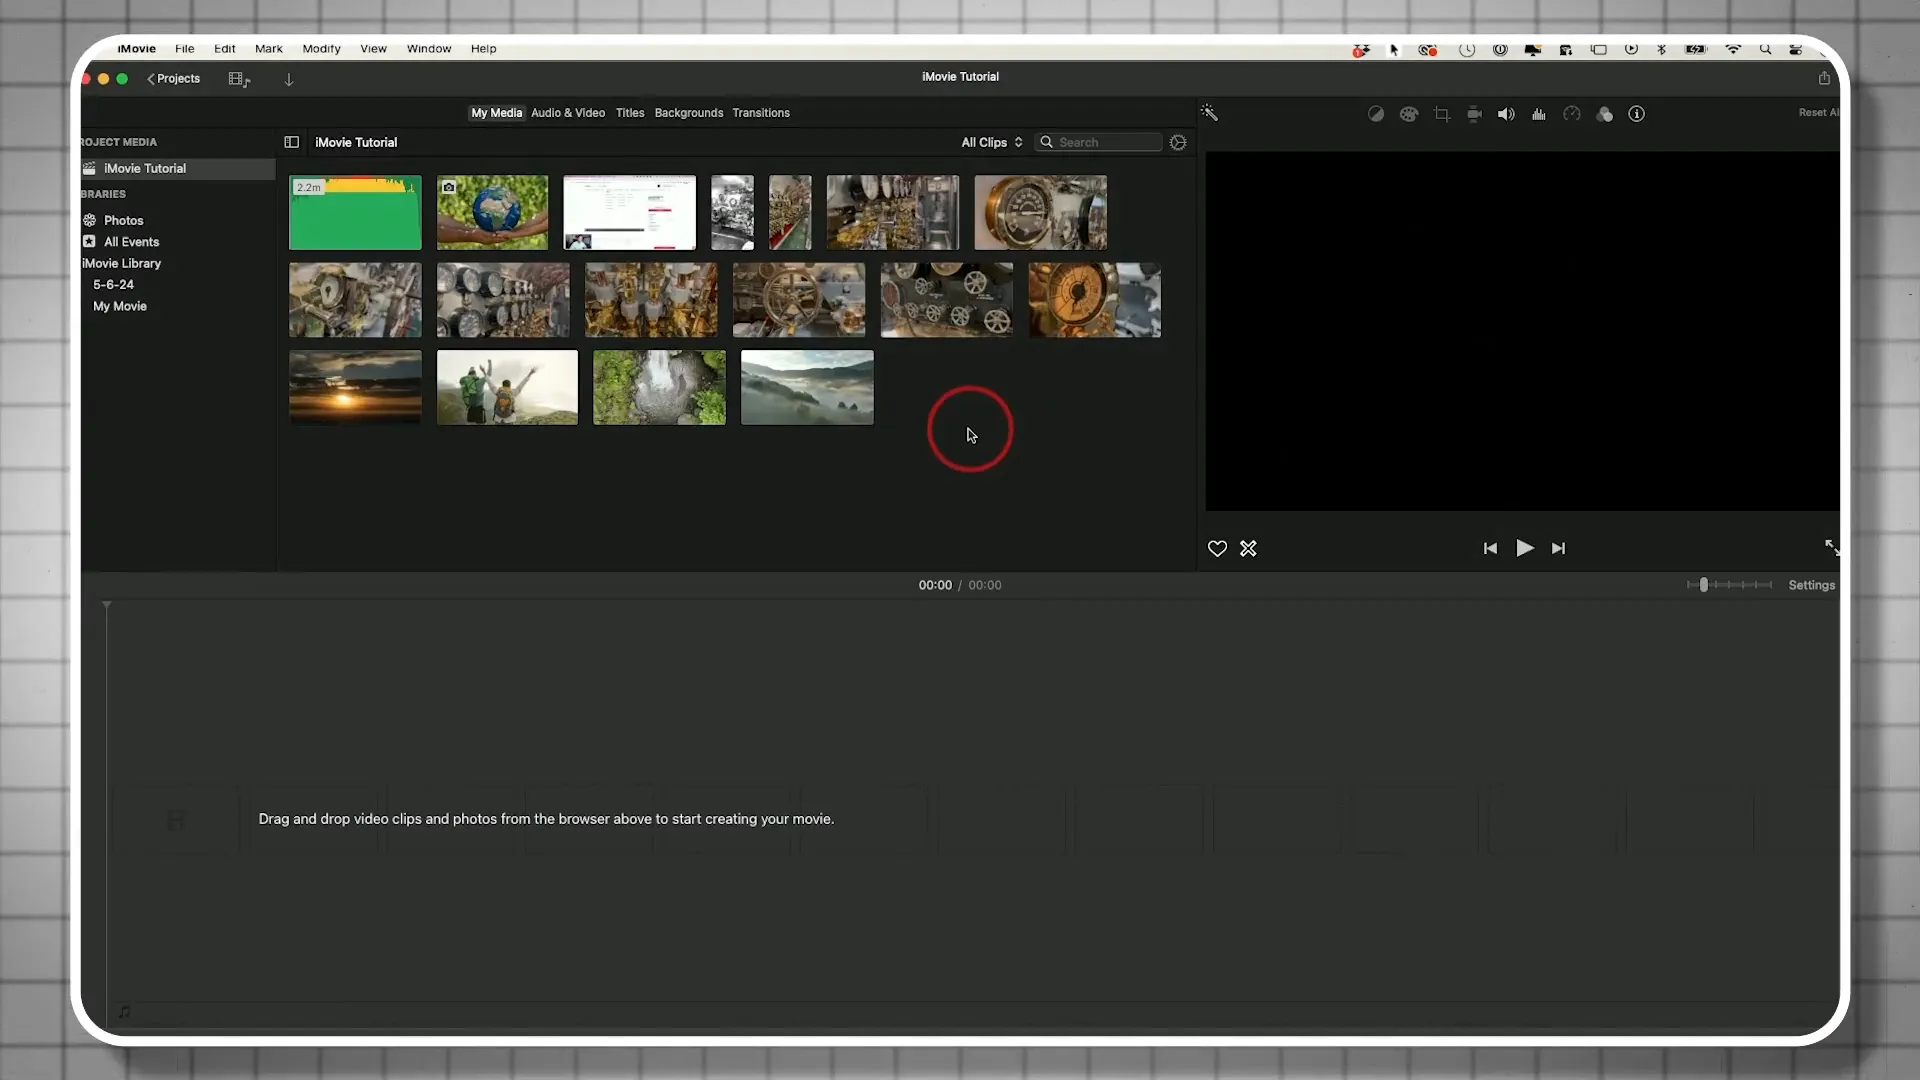
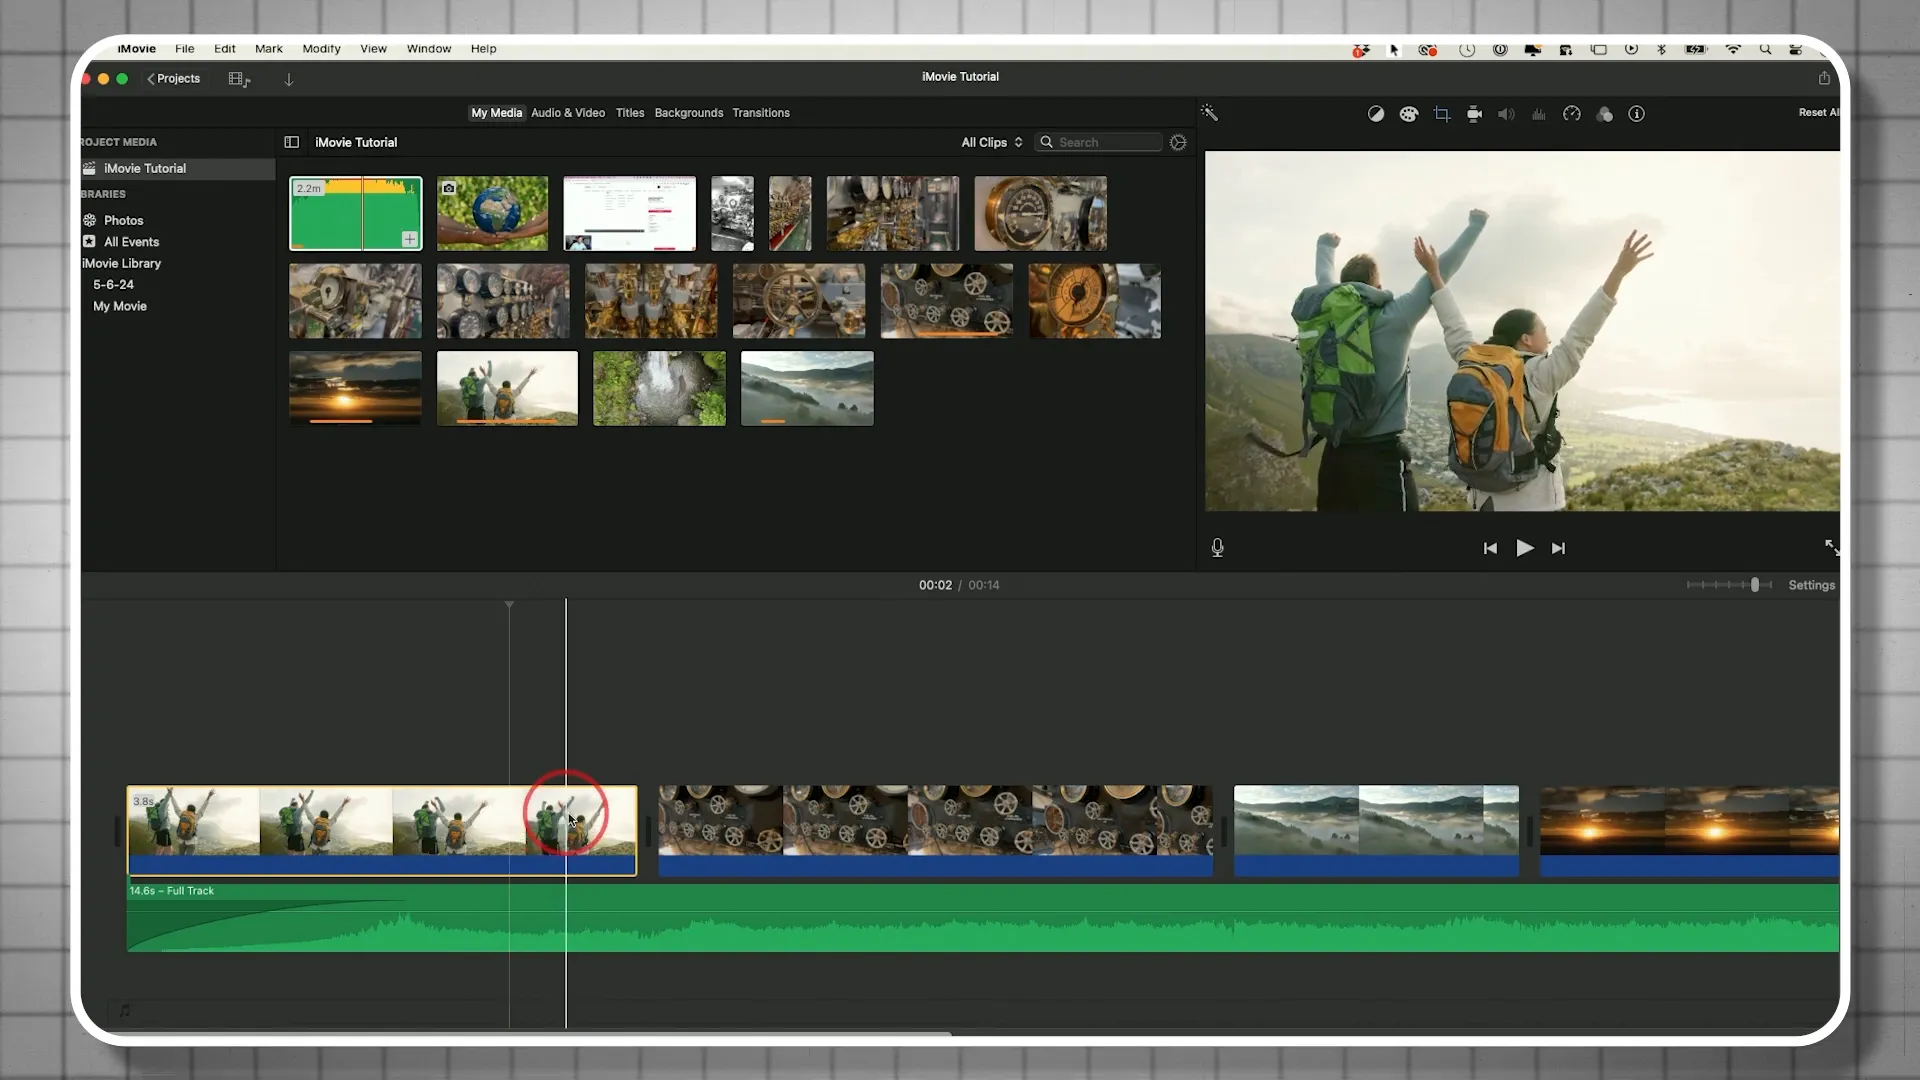
Step 5: Understanding the Interface
Familiarize yourself with the iMovie interface. On the left, you’ll see your media panel, on the right is the preview window, and at the bottom is the timeline where all the editing magic happens.
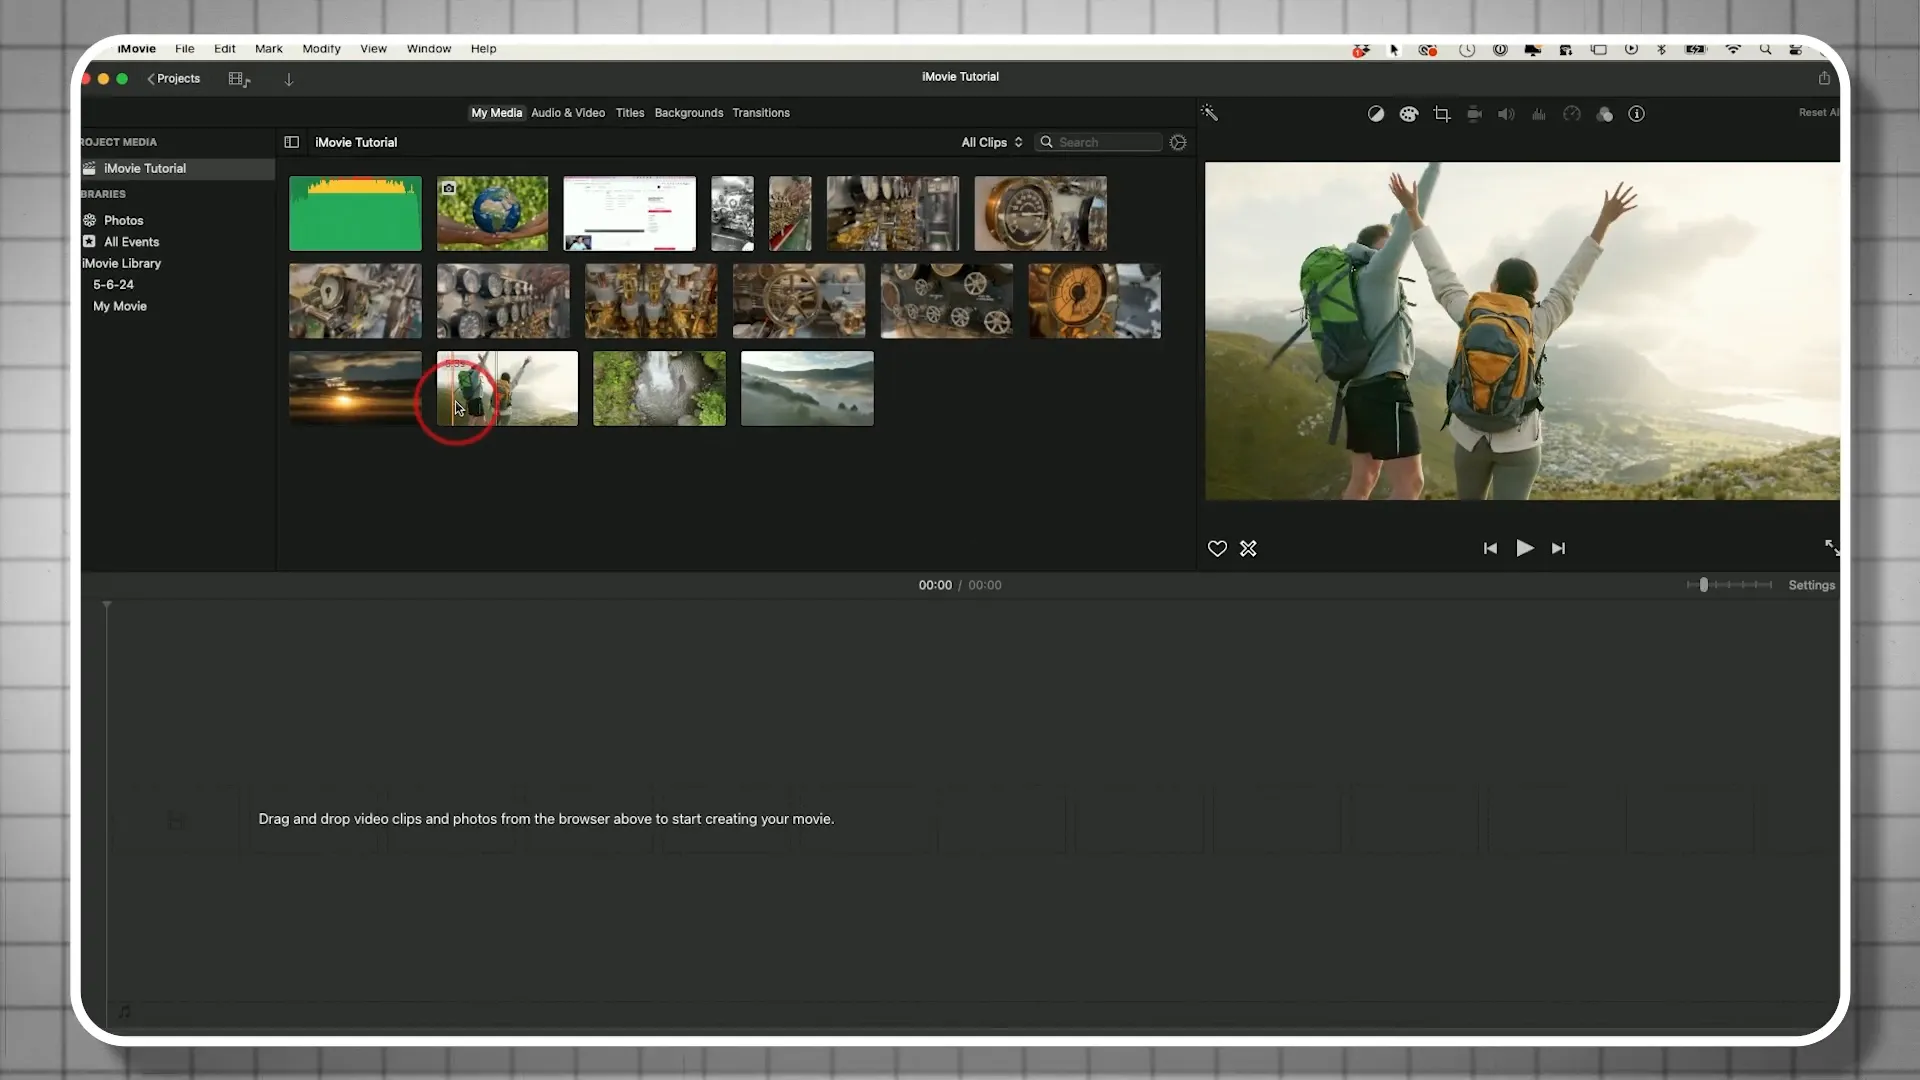
Step 6: Basic Editing Techniques
To start editing, drag your video clips into the timeline. Hover over a clip to see a preview and use the I and O keys to set in and out points. Press E to drop the selected clip into your timeline. This technique will speed up your editing process significantly!
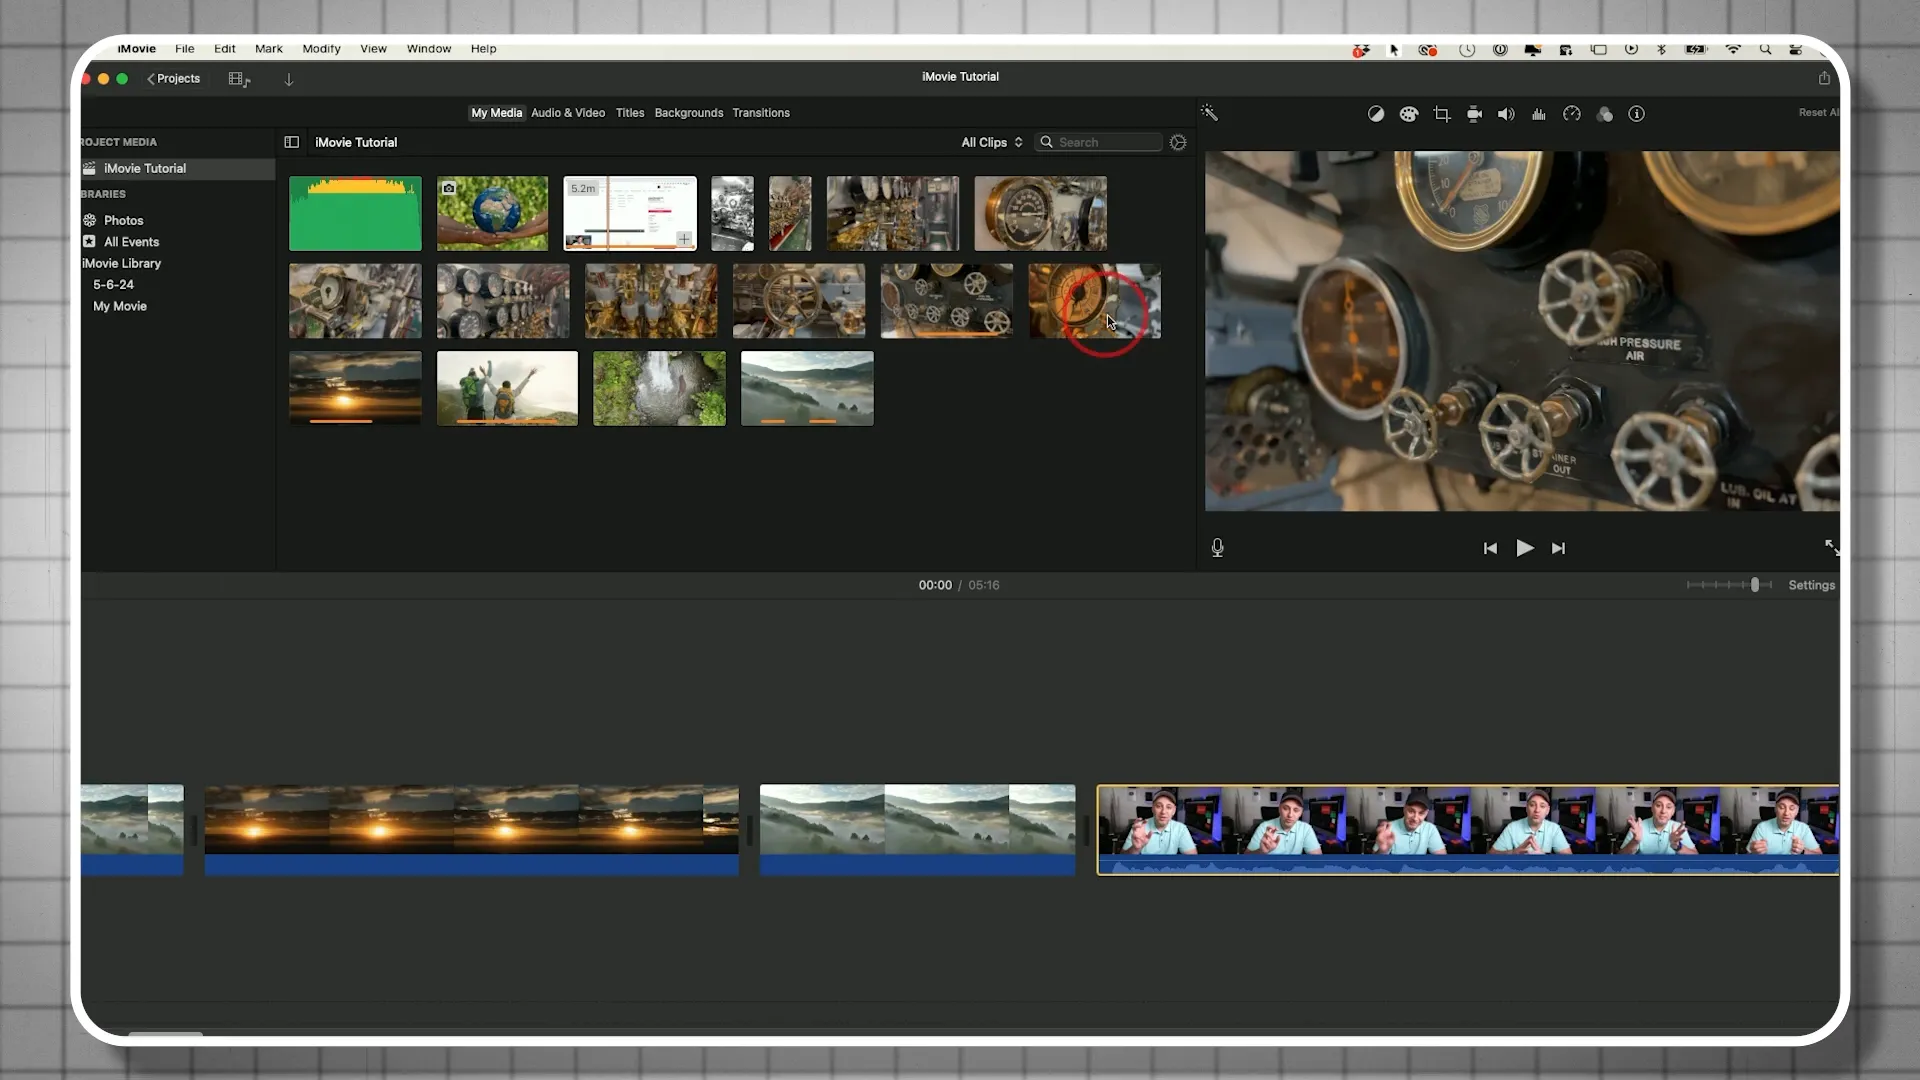
Step 7: Working with B-Roll
B-roll is additional footage that enhances your primary video. To add B-roll, simply drag it onto a higher track in the timeline. This allows you to overlay it while maintaining the audio from your main clip.
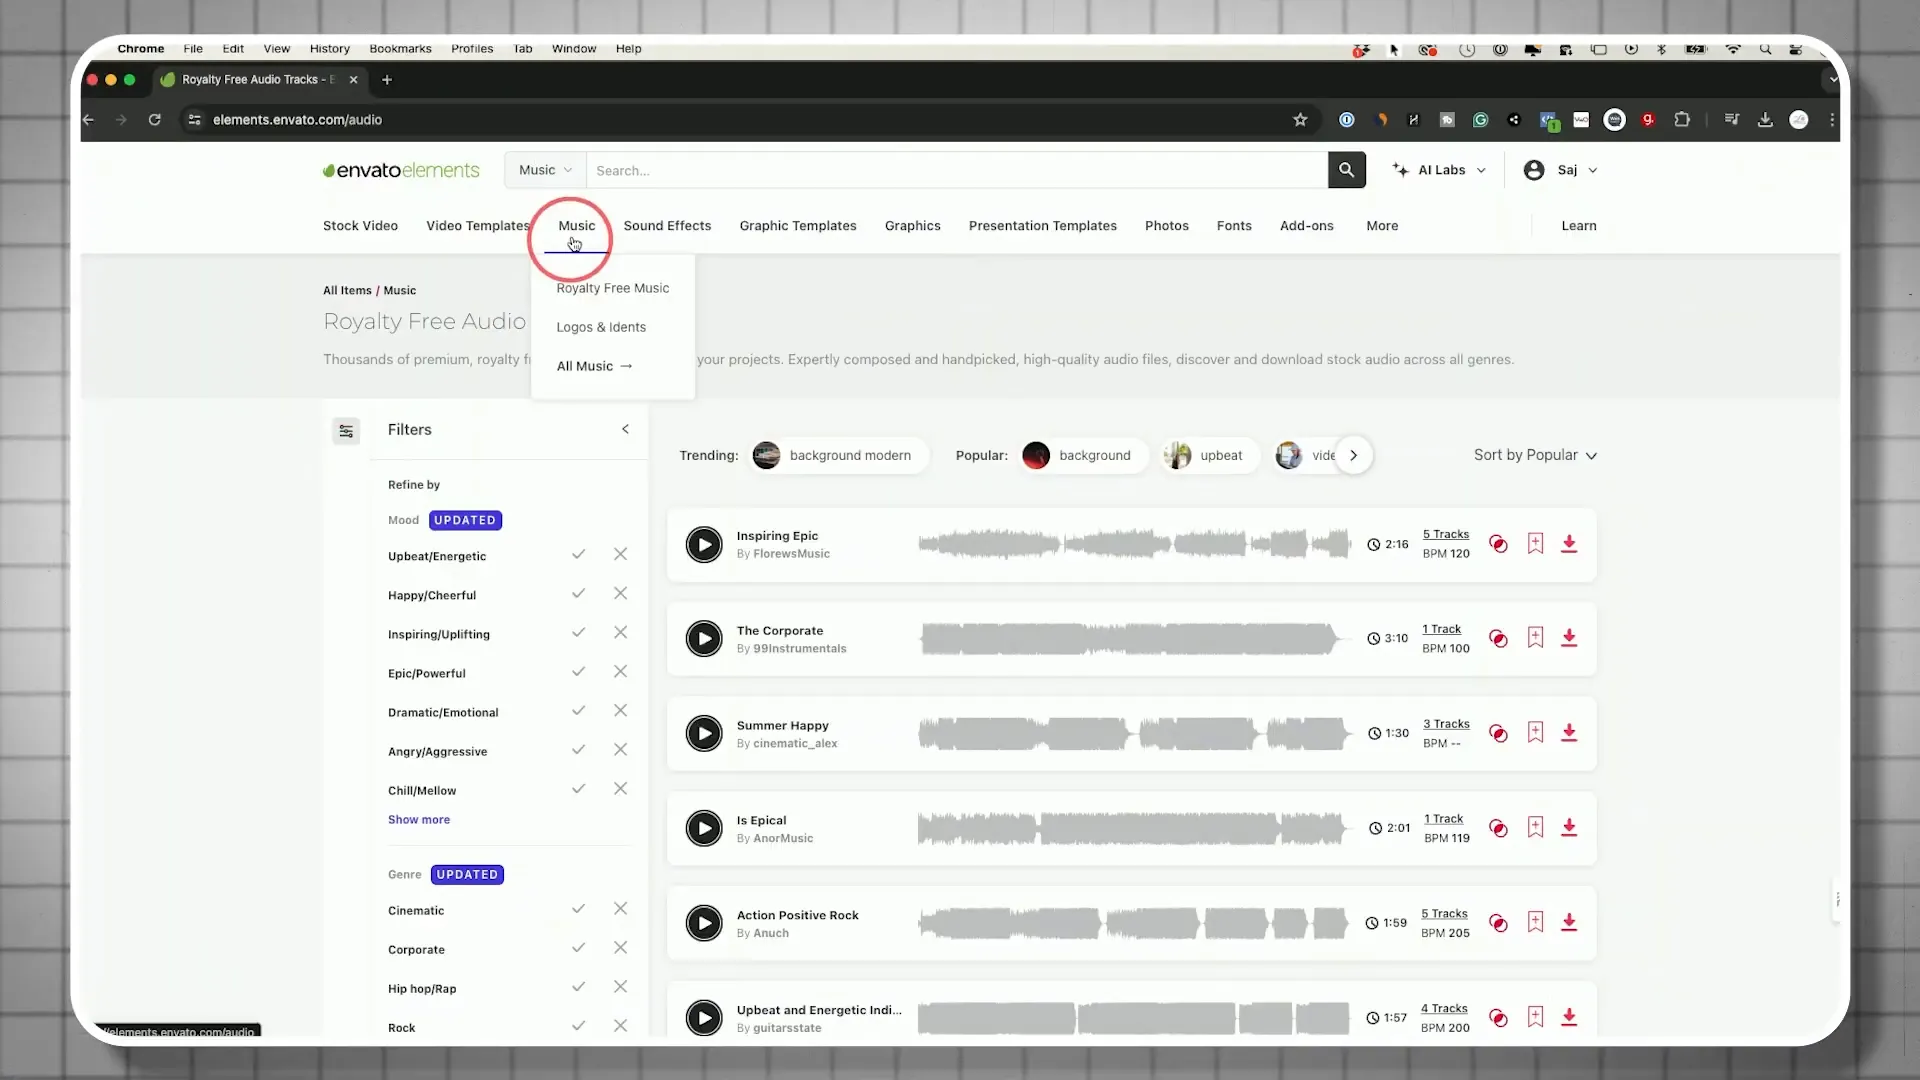
Step 8: Adding Music
Music can elevate your video. Use royalty-free music to avoid copyright issues. You can lower the audio levels if someone is speaking over the music. Simply select the audio track and adjust the volume accordingly.
Step 9: Incorporating Transitions
Transitions smooth the shift from one clip to another. You can find various transitions in the transitions panel. Drag and drop them between your clips to enhance your video flow.
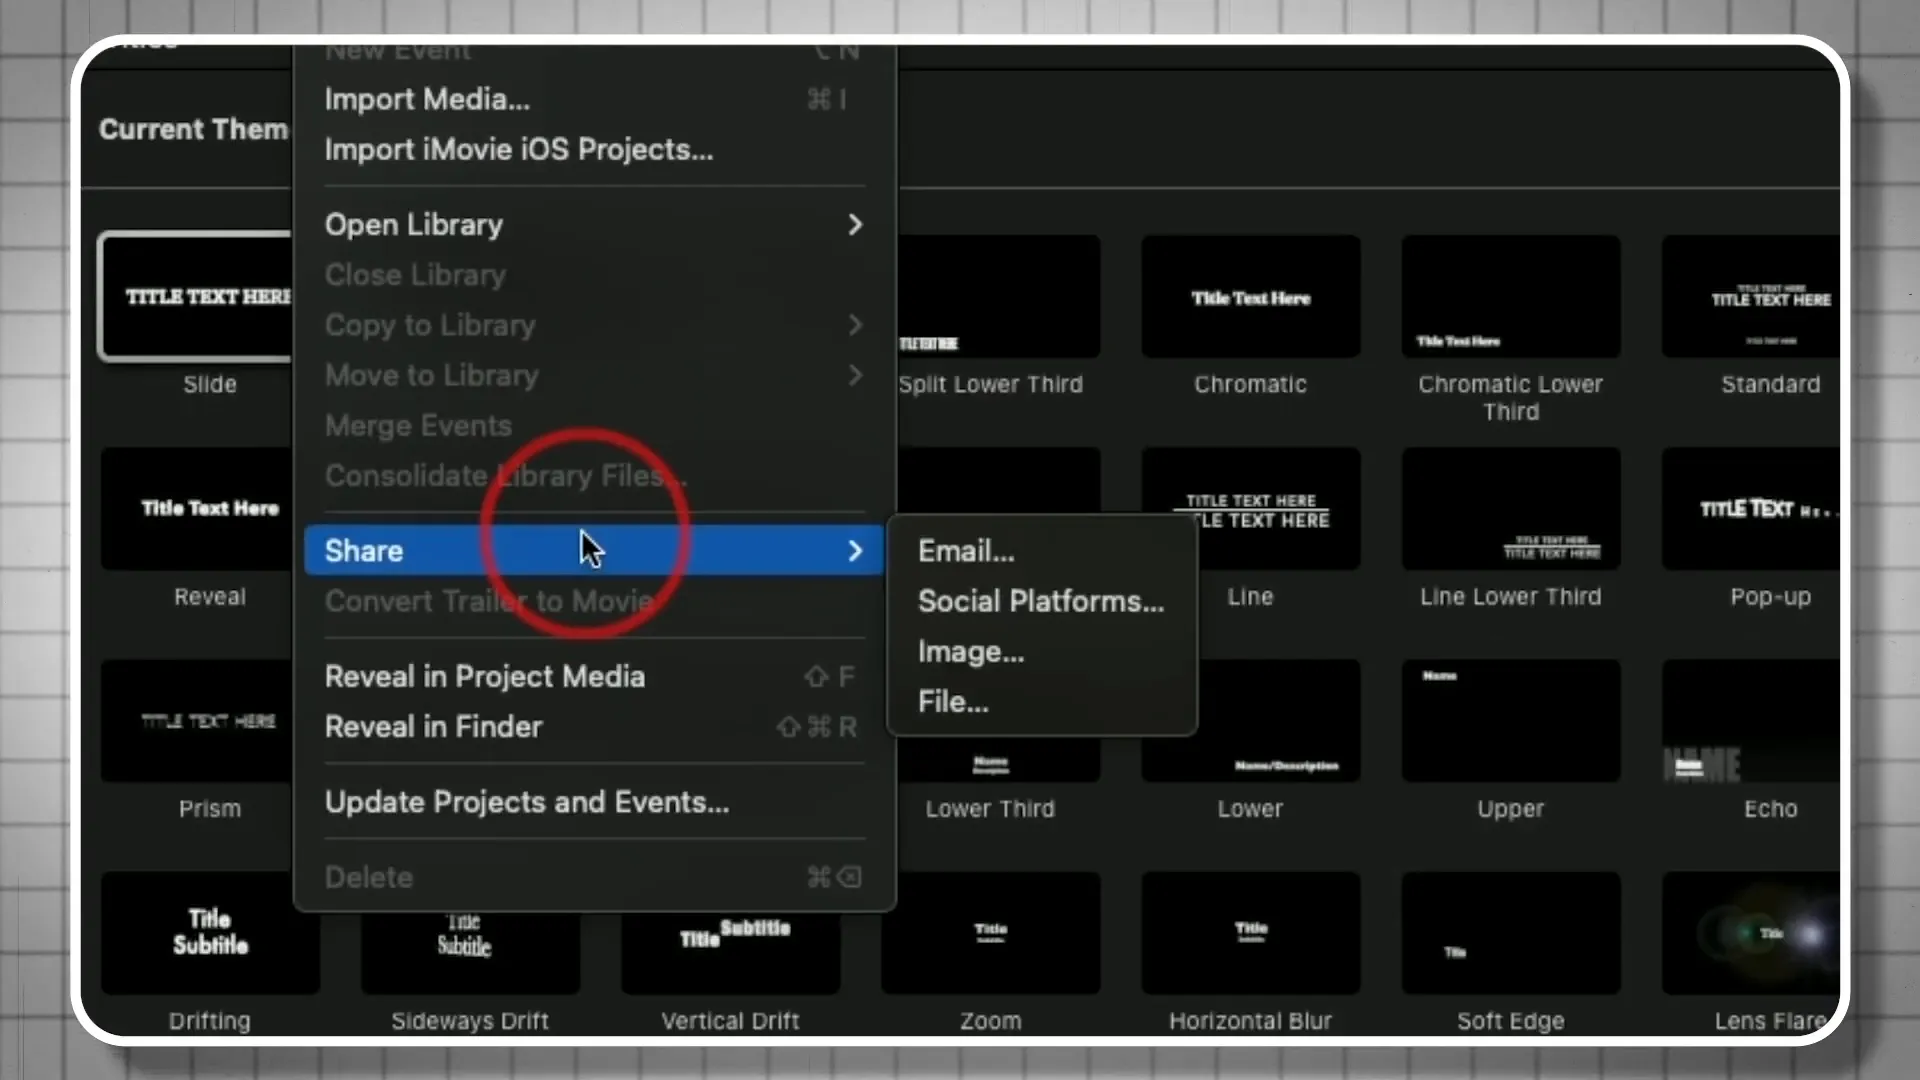
Step 10: Exporting Your Finished Project
Once your project is complete, it’s time to export it. Go to File and select Share. Choose File to save your video. Adjust the resolution and quality settings as needed, and then hit Next to save it to your desired location.
Conclusion
And there you have it! You’ve just completed your first video project using iMovie. If you want to dive deeper and explore advanced techniques, I have a comprehensive iMovie course available. Happy editing, and I can’t wait to see what you create!