
OBS Studio is the go-to free tool for broadcasting live. It is open source, regularly updated, and powerful enough for everything from casual streams to polished productions. The steps below walk through installing OBS, configuring it for YouTube, building scenes and sources, setting up audio, and going live with confidence.
1. Download and install OBS Studio
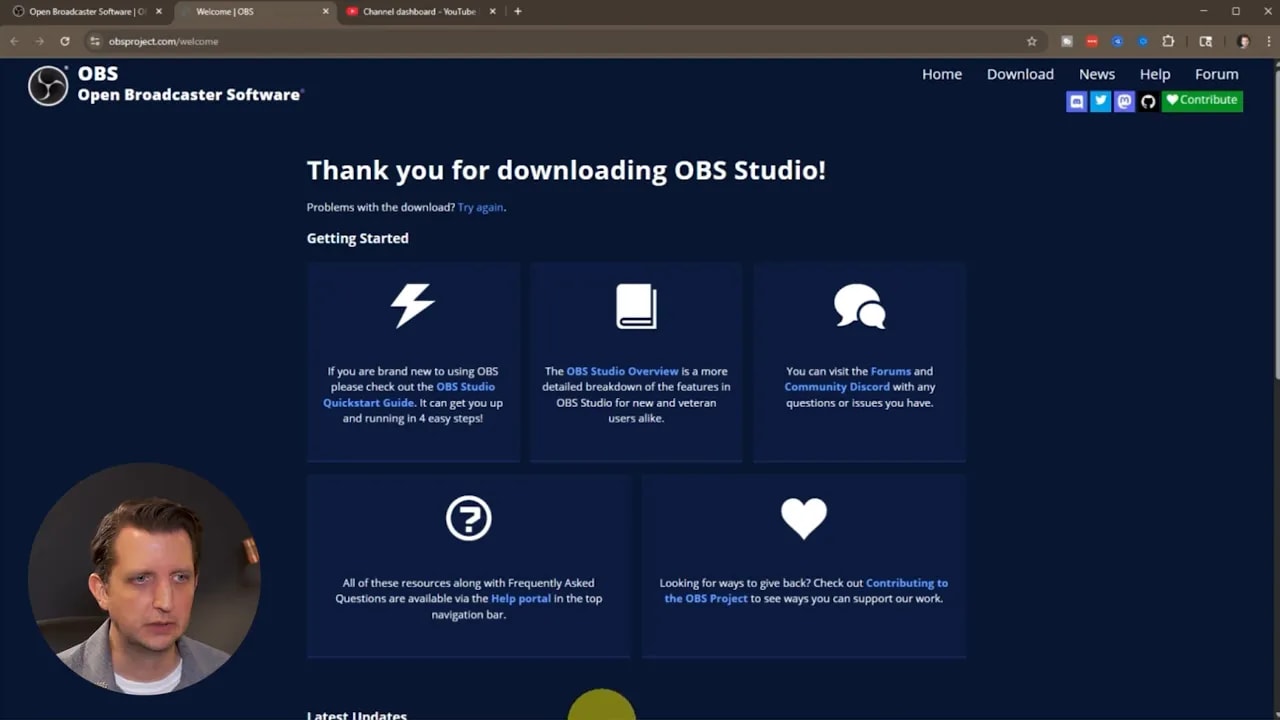
Go to obsproject.com and choose the version that matches your operating system: Windows, Mac, or Linux. Installation is straightforward. Once installed, open OBS Studio and you will see the main interface with a monitor preview at the top and controls along the bottom.
“This is completely free.”
2. Run the Auto Configuration Wizard
OBS includes an Auto Configuration Wizard that saves time and makes sure basic settings are optimized. From the Tools menu, choose Auto Configuration Wizard and follow the prompts.
- Select your base canvas (typically 1920 x 1080 for full HD).
- Choose your frame rate. If your hardware and bandwidth allow it, prefer 60 FPS; otherwise 30 FPS is fine.
- Pick the streaming service (YouTube, Twitch, Facebook, etc.).
- Either sign in to your account for an easy connection or paste a streaming key from the platform.
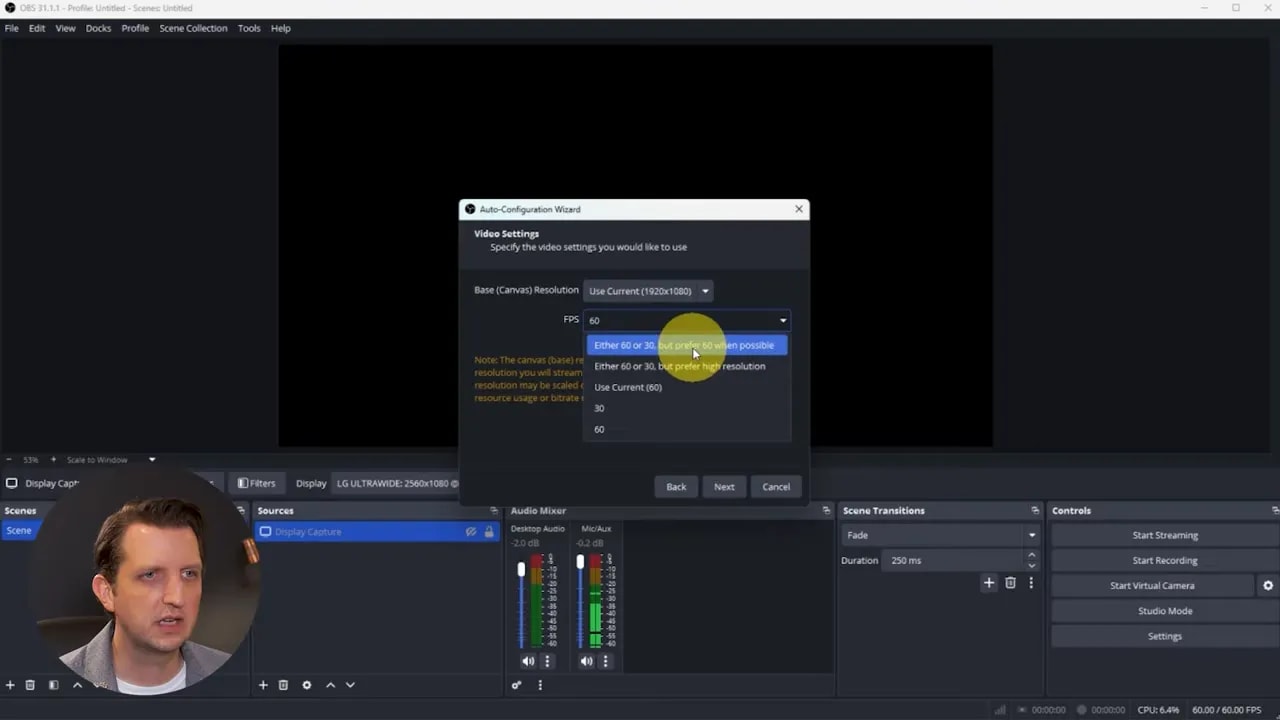
The wizard runs tests and suggests settings. Review the results and click Apply to accept them. This step takes care of many common issues so you can focus on scene-building.
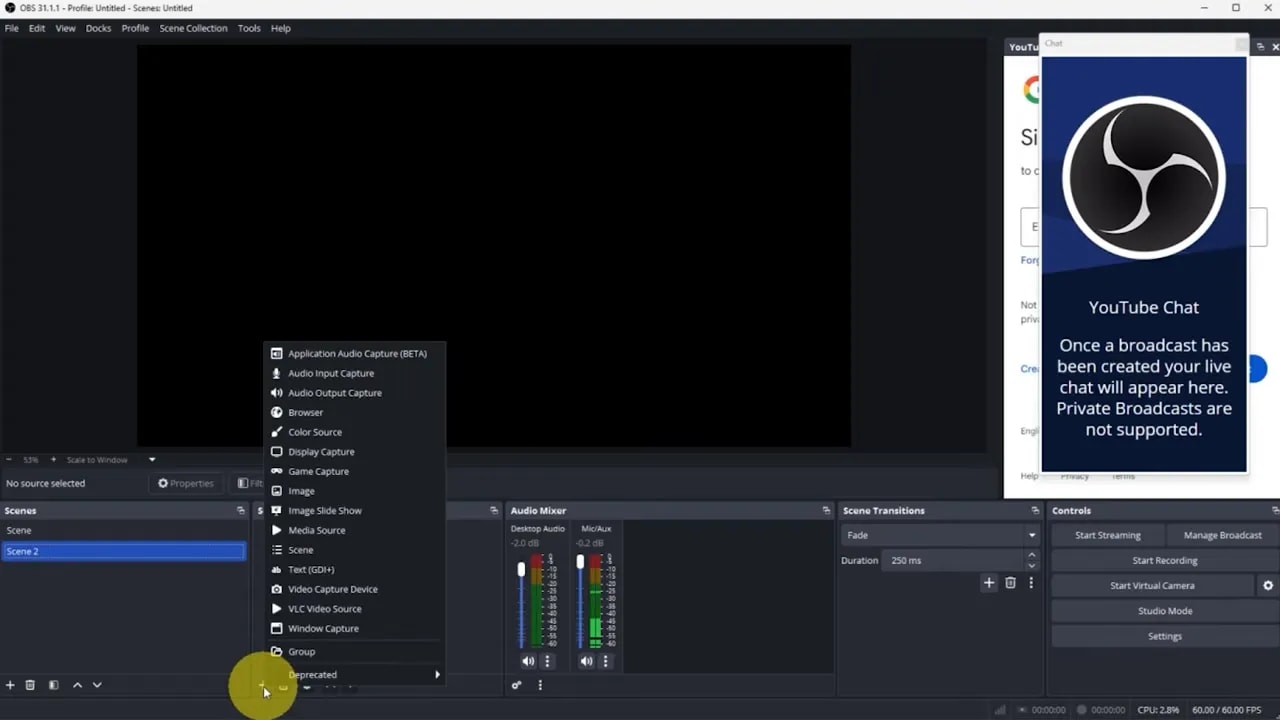
3. Understand Scenes and Sources
Think of a scene as a layout or camera angle. Each scene is composed of sources — the individual elements that appear on screen. Typical scenes include an intro screen, a main gameplay or camera scene, a donation or information screen, and a break screen.
Use scenes to switch between different looks during a stream. Within each scene, sources are stacked in layers, so you can control which items sit on top and which sit behind.
Adding a webcam
To add a camera:
- Click the plus icon in Sources and choose Video Capture Device.
- Select your webcam from the device list (for example, a Logi Capture device).
- Adjust resolution and framing as needed, then click OK.
- Drag and resize the webcam view in the preview. Hold the Alt key while dragging a corner to crop the edges.
Adding a screen or game
To share a screen or game, add a Display Capture source. If you have two monitors, keep OBS on one screen and put the game or content on the other — this makes it easy to capture only the content monitor.
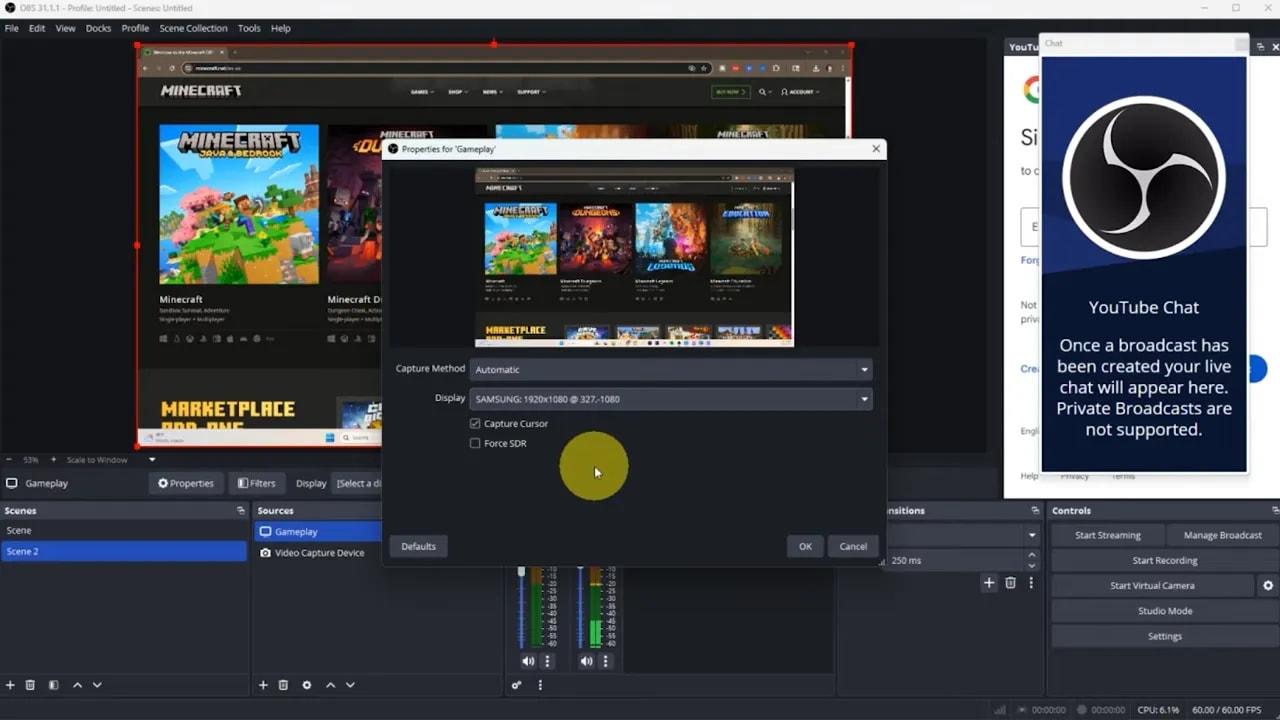
After adding Display Capture, select the correct monitor and resize or reposition it in your scene. Use source ordering to place the webcam on top of the gameplay or content if desired.
4. Add text, images, and branding
Text layers, logos, and graphics help make streams look professional and communicate important information like social handles or donation links.
- Add a text source for names, show titles, or calls to action. Choose your font and color.
- Insert image sources for logos or overlays.
- If an image appears too large, right click it in Sources, choose Transform, then Fit to screen.
Keep a few core scenes organized and clearly named, for example: Main, Logo, and Blank. A blank or default screen is handy to cut to if you need a moment off-camera.
5. Configure audio
The audio mixer appears next to your sources. Proper audio setup keeps speech clear and game or media sound balanced.
Go to File > Settings > Audio and choose your input and output devices. Typical settings include:
- Mic/Auxiliary for your microphone input.
- Desktop Audio for game sound, music, and system audio.
After assigning devices, adjust volume sliders in the mixer. Mute or lower desktop audio when you need to focus attention on voice. OBS lets you manage levels on the fly so you can react to audio changes during the broadcast.
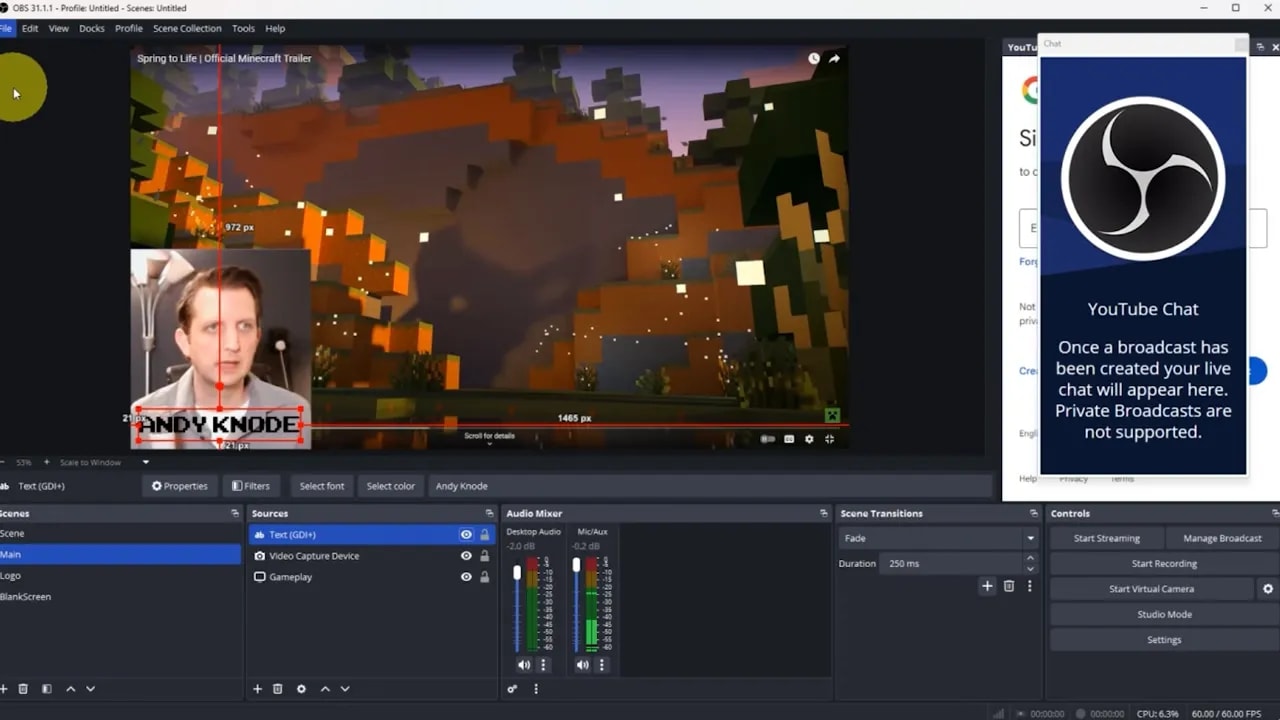
6. Arrange chat and layout
Customize the OBS layout by dragging panels like the chat window, mixer, and preview into positions that work for you. These workspace adjustments are only for your local view; they do not affect the stream layout unless you add chat as a browser source into a scene.
Make the layout functional: keep the preview prominent, mixer visible, and chat accessible so you can interact with the audience while streaming.
7. Connect to YouTube (or your platform) and go live
Sign in to your YouTube account (or enter a streaming key). On the platform, create a new live stream or schedule one for later. Copy the broadcast info if needed, then in OBS use Manage Broadcast and choose Existing Broadcast to link OBS to that event.
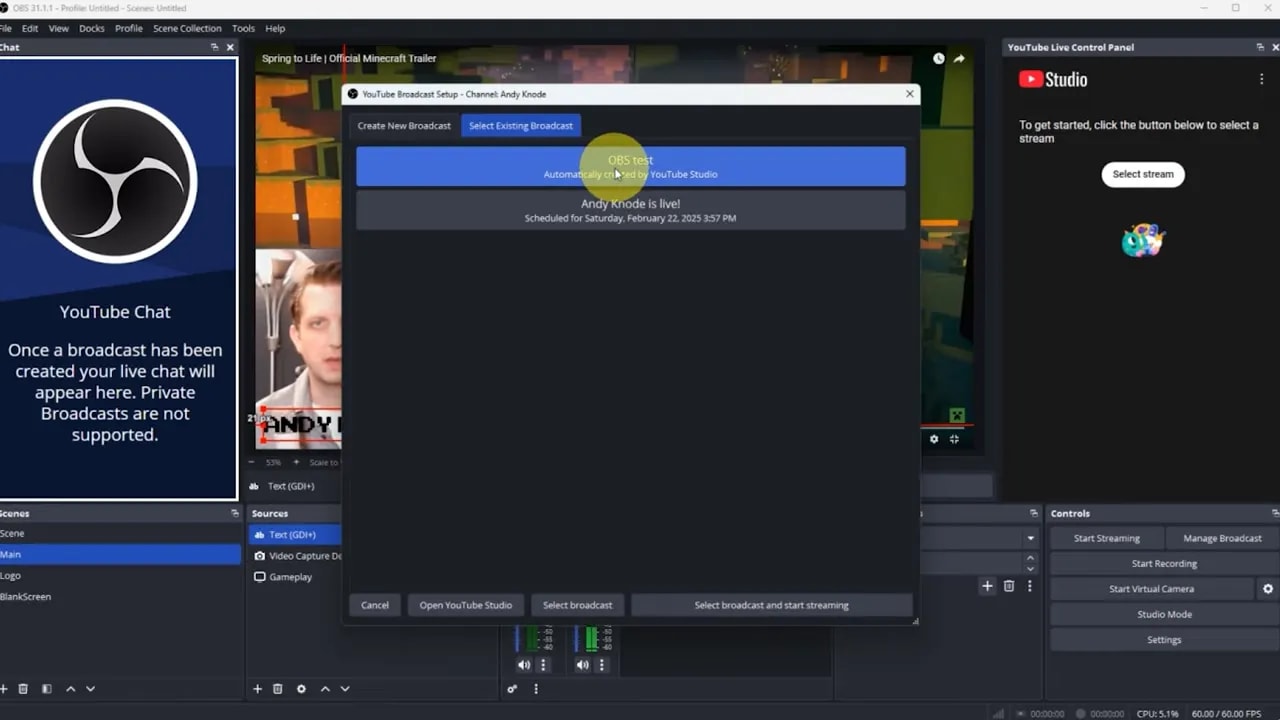
When everything is ready, click Start Streaming. OBS will send exactly what is visible in the active scene to the connected platform. Switch scenes during the stream to change what viewers see.
8. Useful tips and limitations
- One platform at a time: OBS natively streams to a single service unless you use a third-party multistreaming solution.
- Expect delay: There is always latency between what is seen in OBS and what appears to viewers. This can range from a few seconds to a minute depending on internet speed, encoding settings, and the platform.
- Test first: Run a private test stream to check audio levels, scene transitions, and overlays before going public.
- Keep backups: Save scene collections and profile settings so you can restore or duplicate setups on another machine.
9. Quick checklist before you hit Start Streaming
- Canvas set to 1920 x 1080 and frame rate chosen.
- Auto Configuration Wizard applied.
- Scenes and sources added and ordered correctly.
- Audio devices assigned and levels checked.
- Chat and layout adjusted for monitoring.
- Platform connected or streaming key pasted.
OBS provides a flexible foundation for streaming everything from gameplay and tutorials to live podcasts. With a handful of well-organized scenes, clean audio, and a reliable connection, broadcasts will look and sound far more professional. Because OBS is free and community driven, it is a low-cost way to level up your live productions and iterate as your needs grow.
Now you have a streamlined workflow: install OBS, use the Auto Configuration Wizard, build scenes with sources, tune audio, connect to your platform, and start streaming. Practice will make these steps fast and intuitive so you can focus on engaging content.