Let’s dive into Photoshop and figure out how to use Photoshop to get the most out of it! Whether you’re a total beginner or just need a quick refresher, this guide has got you covered. We’ll go step by step, from importing your first image to creating designs that pop—everything you need to level up your skills.
Get the latest version of Photoshop here with my Adobe affiliate link: https://bit.ly/PhotoshopHowfinityYT
Introduction to Photoshop
Photoshop is a tool, for editing images that is commonly used by both professionals and hobbyists alike for its flexibility, in photo manipulation and graphic design capabilities This segment will introduce you to the fundamentals of using Photoshop and help you explore its range of functions.
Here is a complete tutorial on how to get Adobe Photoshop.
Getting Started with Photoshop
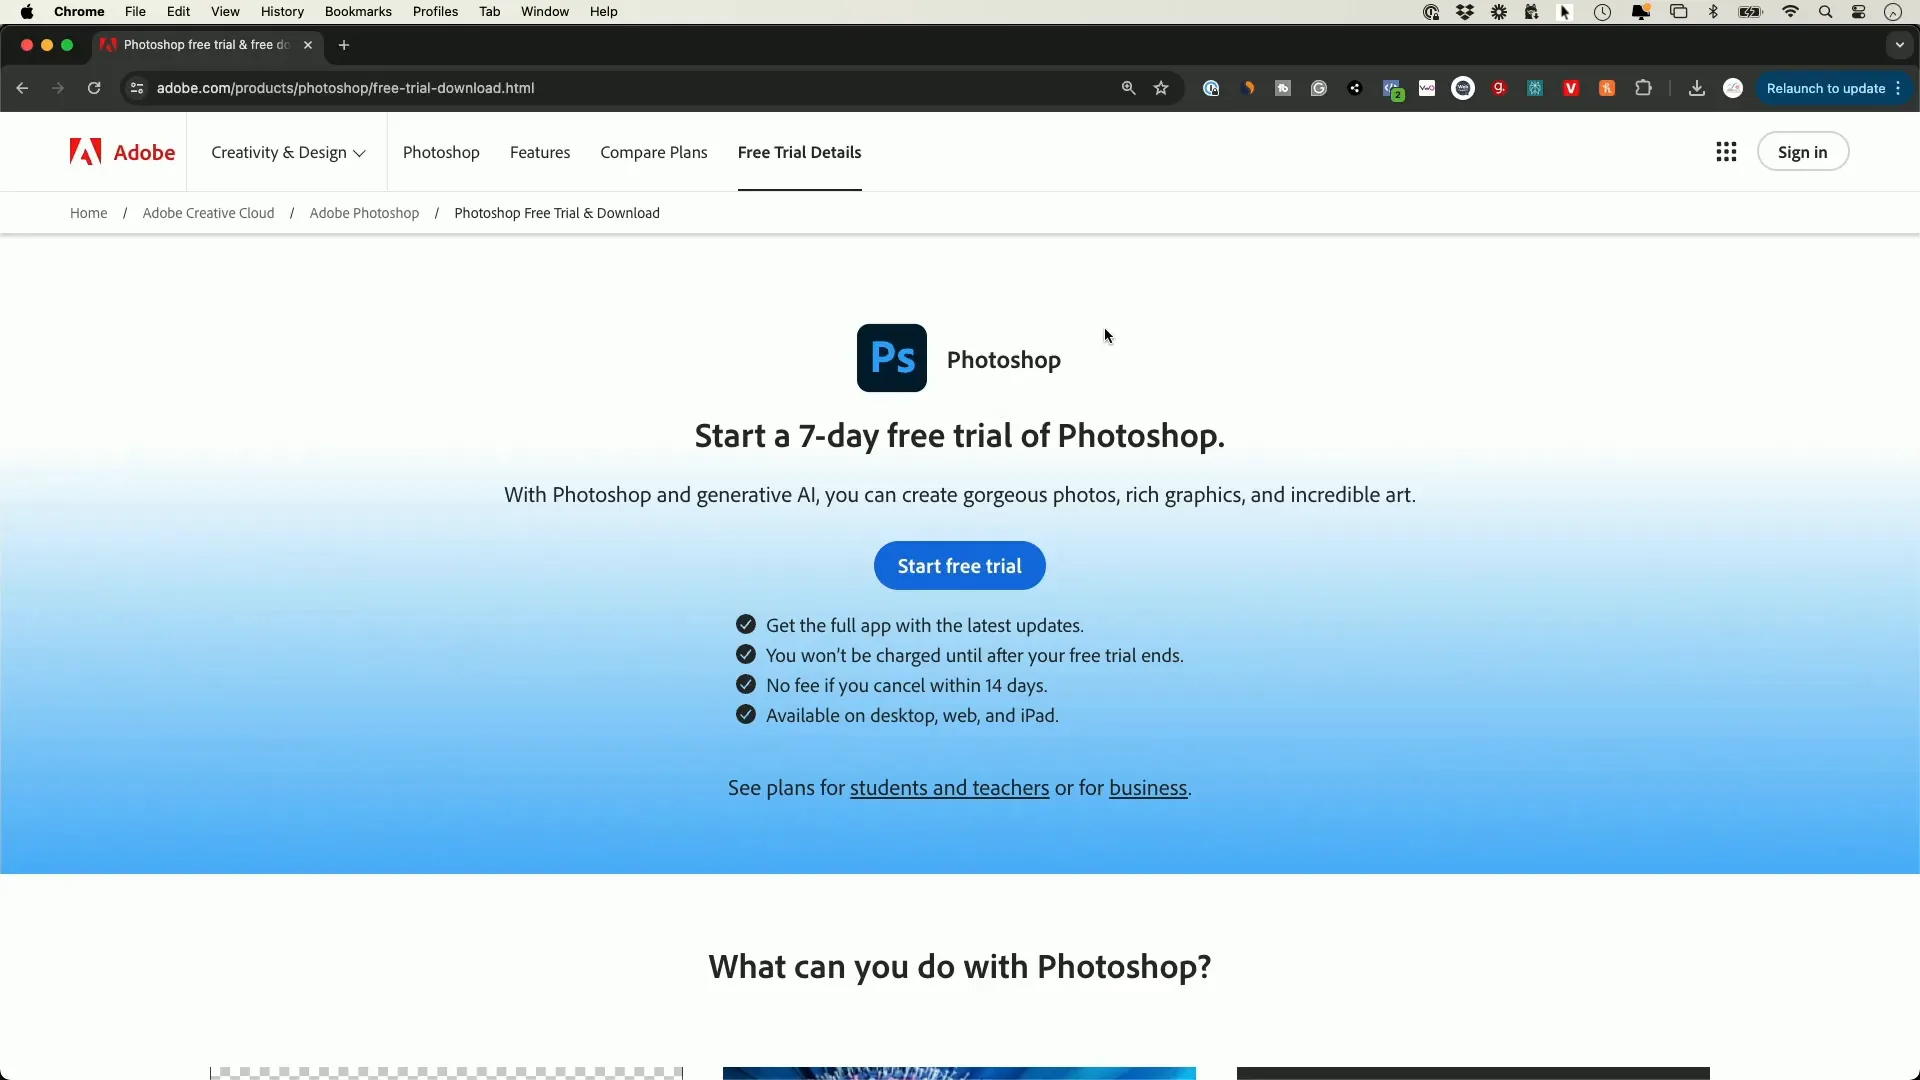
Before you dive into using Photoshop software for your projects make sure you’ve got the up, to date version installed on your computer system. Adobe provides a subscription service that grants you access to all the updates and functionalities.. To get started you can test it out with a trial that can be found on the Adobe website..

How to Use Photoshop
Opening an Image
After installing Photoshop on your computer and launching the application for the time you will be greeted with the homepage interface. Here you have the option to begin a project or access and work, on an existing image. If your task involves image editing just click on the ‘Open’ button. Choose the photo that you want to modify.
Understanding the Photoshop Interface
When you start using Photoshop and look at the interface layout closely you’ll see a few important sections to pay attention to.. The main part is where your image shows up and on the side you’ll find all the tools, for editing.. If theres a tool thats not visible you can make the toolbar bigger by clicking on the arrow, beside it..
To the side is where you’ll locate the layers panel – a tool, for organizing your edits, in Photoshops layering system that allows stacking elements to create intricate designs.

Basic Photo Editing Techniques
In Photoshop working with photos includes using methods, like tweaking brightness and contrast settings from the ‘Image’ menu to fix pictures that are either too dark or too bright.
A different crucial change to consider is color adjustment. This means adjusting vibrancy and saturation to make the colors in the image pop vividly.

Adjusting Color and Vibrance
To tweak the color and liveliness of your images; 1) Go to the ‘Image” tab. 2) Click on “Adjustments”. 3) Choose “Color Vibrance”. By adjusting the vibrance setting here you can enhance colors without impacting the saturation levels a tool, for enhancing portrait shots.
Be mindful that using the tool excessively can result in skin tones appearing unnatural; therefore use it with care and moderation. You can also make use of auto adjustments as they offer a solution, for any color problems you may encounter.

Using the Spot Healing Brush
The Spot Healing Brush is quite handy, for enhancing photos as it helps in getting rid of any flaws or imperfections present, in the image by selecting the tool from the toolbar and adjusting the brush size before fixing the area with a simple click.
This smart tool smoothly merges the pixels to enhance your images swiftly. Effectively allows you to fine tune details, like strength and spacing for precise editing control.

Additional Tools for Editing
In addition, to the Spot Healing Brush in Photoshop are editing tools available for use.The Dodge Tool can brightens parts of an image and the Burn Tool darkens areas.These tools prove useful, in tuning highlights and shadows within your photos.
To make the most out of these tools in photo editing try adjusting the brush sizes and hardness levels to achieve the desired outcome. Improving your skills with these tools will greatly elevate your editing finesse.

Cutting Out Subjects from Backgrounds
Advancements, in AI technology have made it simpler than ever to remove subjects from backgrounds with tools like the Move Tool and the ‘Select Subject’ feature, in Photoshop that can smartly recognize and choose the focus of your image.
After you choose the option to proceed with the process of selection of the image subject, in a photo editing tool of your choice to create a mask that eliminates the background around it and results in a defined outline of the subject remaining visible can be helpful for tasks such as blending images or isolating specific elements, for design purposes.

Saving Your Projects
After completing your editing tasks it’s crucial to remember to save your work by utilizing the ‘Save As’ function to keep your project intact, in a PSD file format without losing any layers and modifications made on the project canvas on when needed for sharing purposes online either through a JPEG format, for general use cases and PNG format if higher quality is desired.

Creating Designs in Photoshop
Using Photoshop goes beyond photo editing—it’s a design tool well! You have the power to craft visuals, like graphics and social media posts from scratch on a canvas sheet with dimensions tailored to your specific project needs (, for a custom YouTube thumbnail).
To enhance the appeal of your designs incorporate text well as shapes and colors into your project using the text tool to add text and explore the different shape tools to elevate your project even more.

Adding Text and Background Colors
To insert text into your design layout design program; pick the Text Tool. Tap, on your workspace area to open up a text box where you want to place the text content in your project appealing manner that aligns with the overall aesthetic of your design work. You have the freedom to tailor the font style choice and size dimensions as play around with different colors that complement the overall look of your creative output project. Moreover you have an option to enhance your design by incorporating a backdrop by adding a layer and utilizing a shape tool to fill it with a color of your preference.

Final Touches and Exporting Your Design
After finishing your design work take some time to review it thoroughly. Enhance elements, with layer styles such as drop shadows or strokes to make them stand out. Once you’re happy, with the result export your design using the ‘Export As option by choosing JPEG for use or PNG for images that need transparency.

Cutting Out Subjects from Backgrounds
Thanks, to the progress in AI technology nowadays it’s much simpler than before to remove subjects, from backgrounds in images by using the Move Tool and the ‘Select Subject’ function which smartly recognizes the focus of your picture.
After choosing your subject of interest and selecting it carefully you can proceed to craft a mask that effectively eliminates the background from the image. This technique proves to be highly beneficial, for generating visuals or isolating subjects, in design endeavors.
Saving Your Work
It’s important to remember to save your work, in Photoshop so you don’t risk losing any of your edits.Make sure to utilize the ‘Save As” feature to save your project as a PSD file.This way all your layers and adjustments are preserved making it easy for you to pick up where you last edited without missing any details.
Before you share or post your image online make sure to export it in the format. For photos JPEG is usually the way to go while PNG is great, for images that need transparency. Be sure to select the format that fits your needs best before saving it.

Creating a New Project
When beginning a project, in Photoshop you should click on ‘New File’ on the page. Select the dimensions based on your project type; for example, for creating a YouTube thumbnail it’s best to go with 1920 x 1080 pixels.
Make sure to adjust the resolution to 72 DPI, for web purposes and choose a background color that suits your design or keep it transparent as needed for your design preferences and requirements.

Adding Text and Shapes
To insert text into your design layout; pick the Text Tool on the toolbar. Tap, on the canvas where you want the text to show up; then adjust the style and size as well, as color to match your design scheme.
You can also include shapes by clicking on the Shape Tool option in the toolbar menu, above your canvas area.Choose a shape of your liking. Adjust the fill color before drawing it onto your canvas.This function enriches your design options. Enables you to create layouts with ease.
Exporting Your Project
Once you’ve completed your design work and are ready to save it as a file to use elsewhere or share with others; Navigate to the ‘File’ menu, in your software tool. Click on ‘Export.’ Then choose the option ‘Export As. Select JPEG for images or PNG, for images that need transparency settings.
Adjust the quality slider based on your requirements; a setting of 6 is commonly suitable, for web usage as it effectively balances quality and file size considerations.Once you are content, with the adjustments made to your files quality level and have given it a name this is when you can select a save location for it.

Advanced AI Features in Photoshop
Photoshop now offers AI functionalities that boost your editing skills significantly! A standout feature is the Generative Fill option that lets you design elements using prompts – for instance; you can choose a region and prompt Photoshop to craft an object such, as a boat and seamlessly incorporate it into your project.
This tool doesn’t just introduce elements; it also fine tunes the environment to match them by incorporating shadows and reflections for an unified final image outcome.Try out these options to enhance your projects significantly.

Conclusion and Further Learning
To sum up my points; Becoming skilled, in Photoshop takes practice. Delving into its array of functions is key here! Whether you’re editing images or experimenting with the AI features, within Photoshop can truly elevate your endeavors.
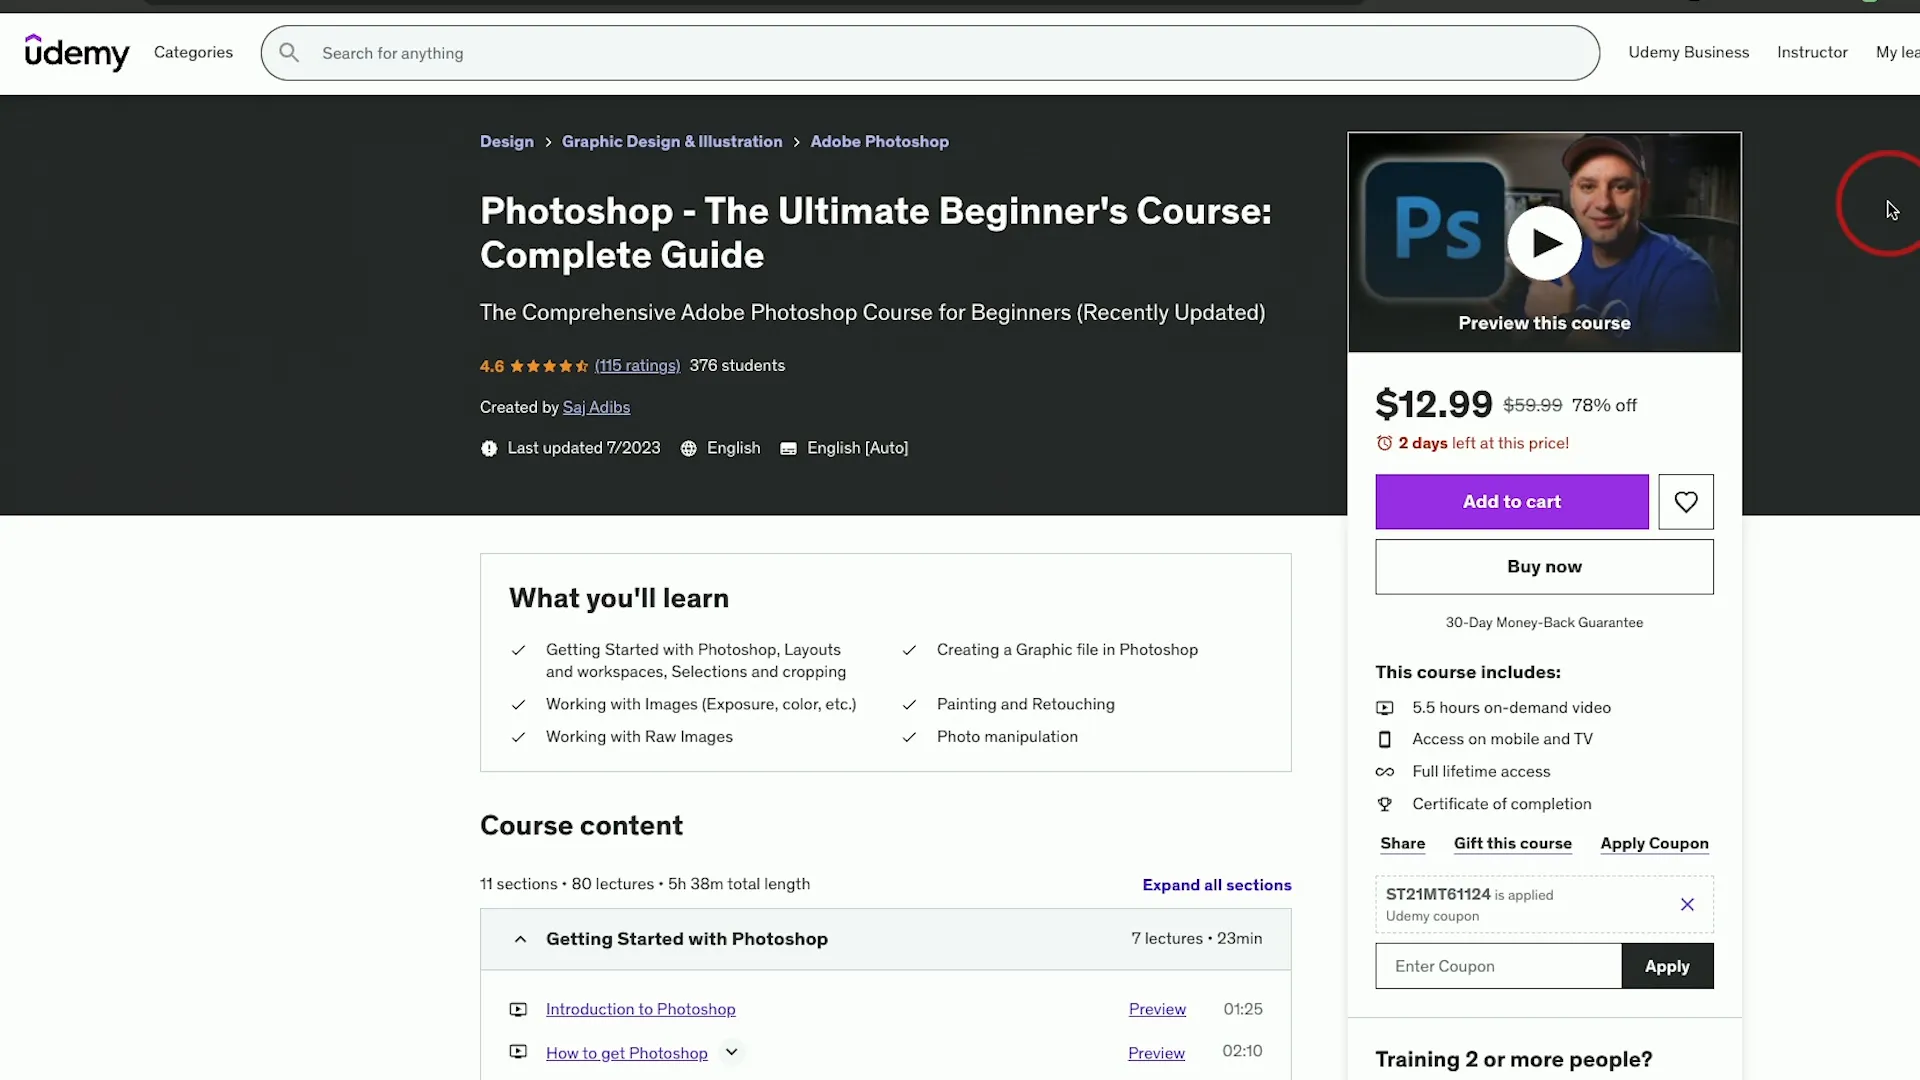
If you’re eager to expand your expertise in the field of editing software skills and techniques ranging from basic, to levels are covered in extensive courses available to help you grow your proficiency continuously.

