
If you’ve ever wanted to make a video in PowerPoint, you’re in the right place. Whether you want to share your presentation as a simple slideshow video or create a dynamic recording with your voice and webcam embedded, this guide will walk you through it all. I’ll show you two easy methods to turn your PowerPoint slides into a shareable video file, no extra tools needed.
Let’s dive in and explore how to make a video in PowerPoint, step by step, so you can create engaging content that’s easy to send, upload, or present.
Method 1: Export Your Slides as a Simple Video
This is the quickest way to make a video out of your PowerPoint slides. Instead of sending your presentation file or a bunch of PDFs, you can create a video file that plays your slides like a movie. This is perfect if you don’t need narration or recorded timings and just want to share your slides in a simple video format.
Step-by-Step Export Process
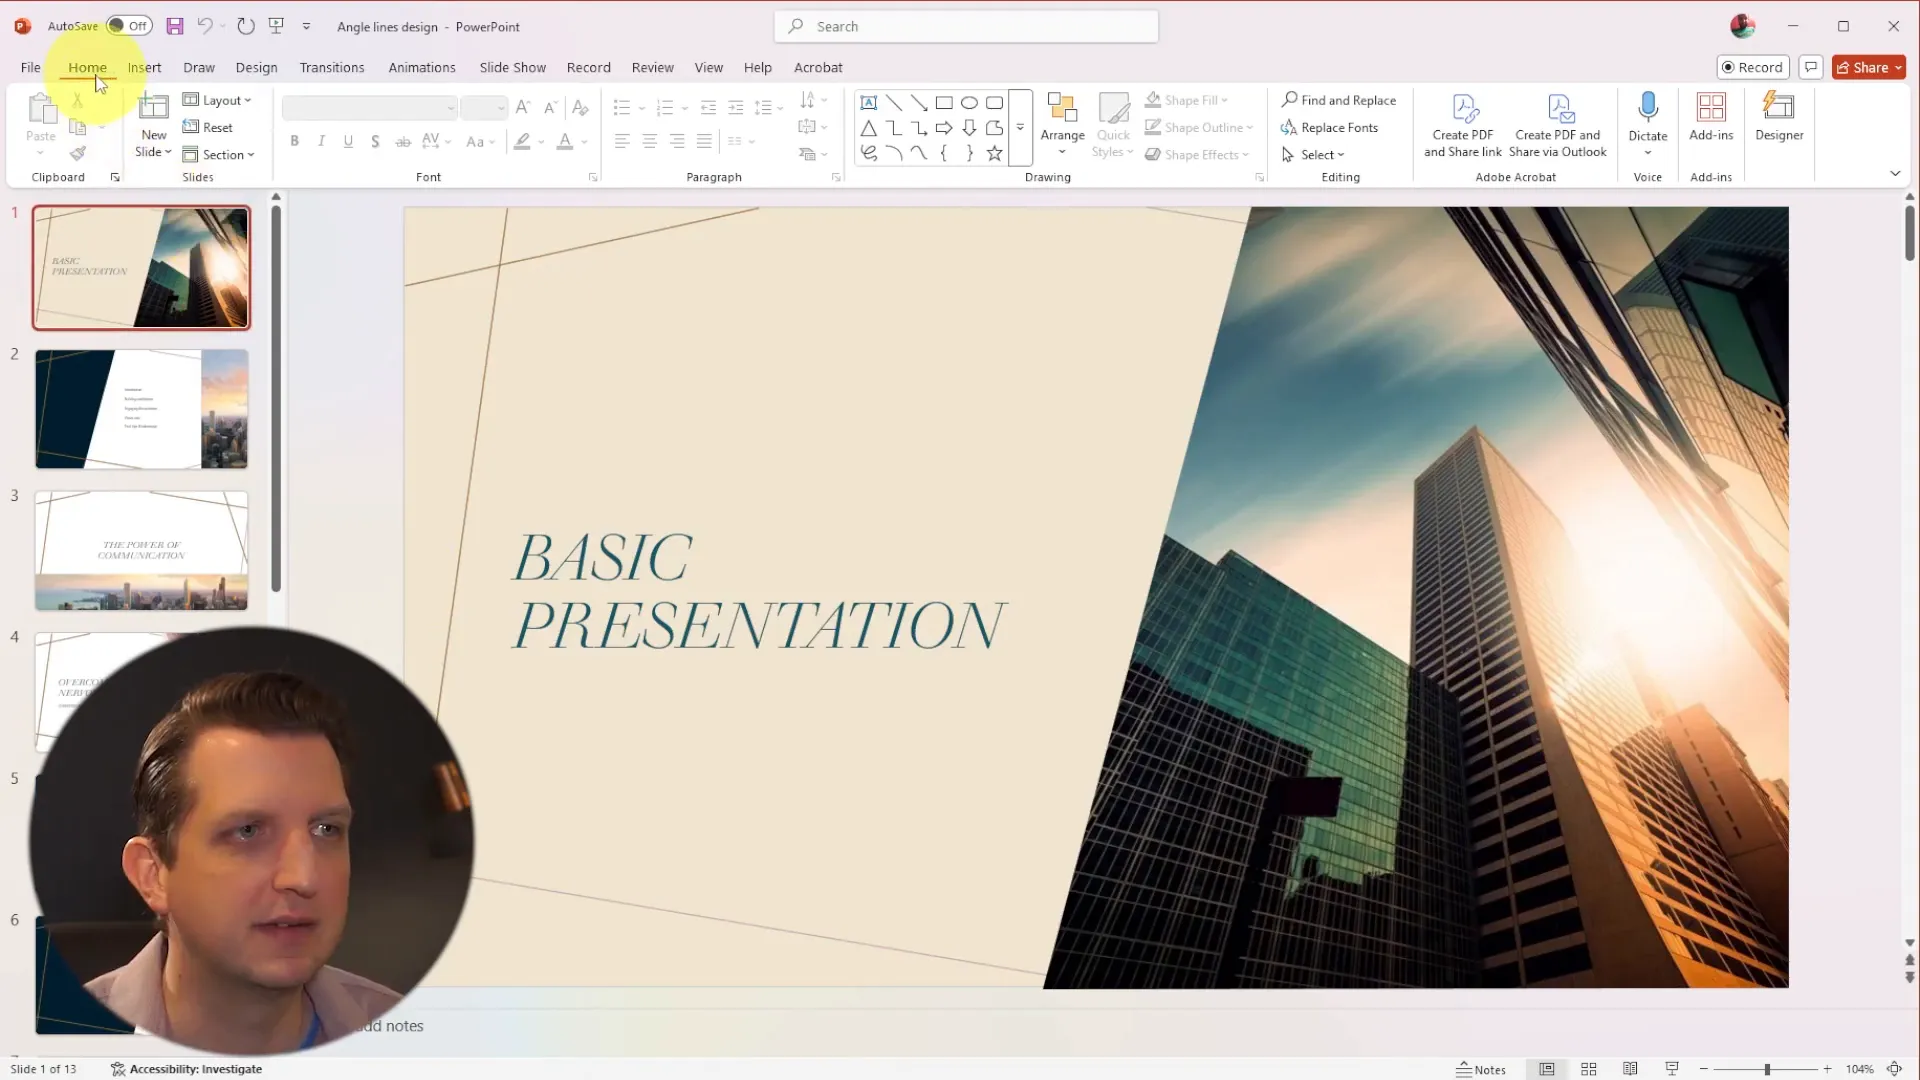
- Open your PowerPoint presentation.
- Go to the Export tab at the top of the screen.
- Select Export to Video.
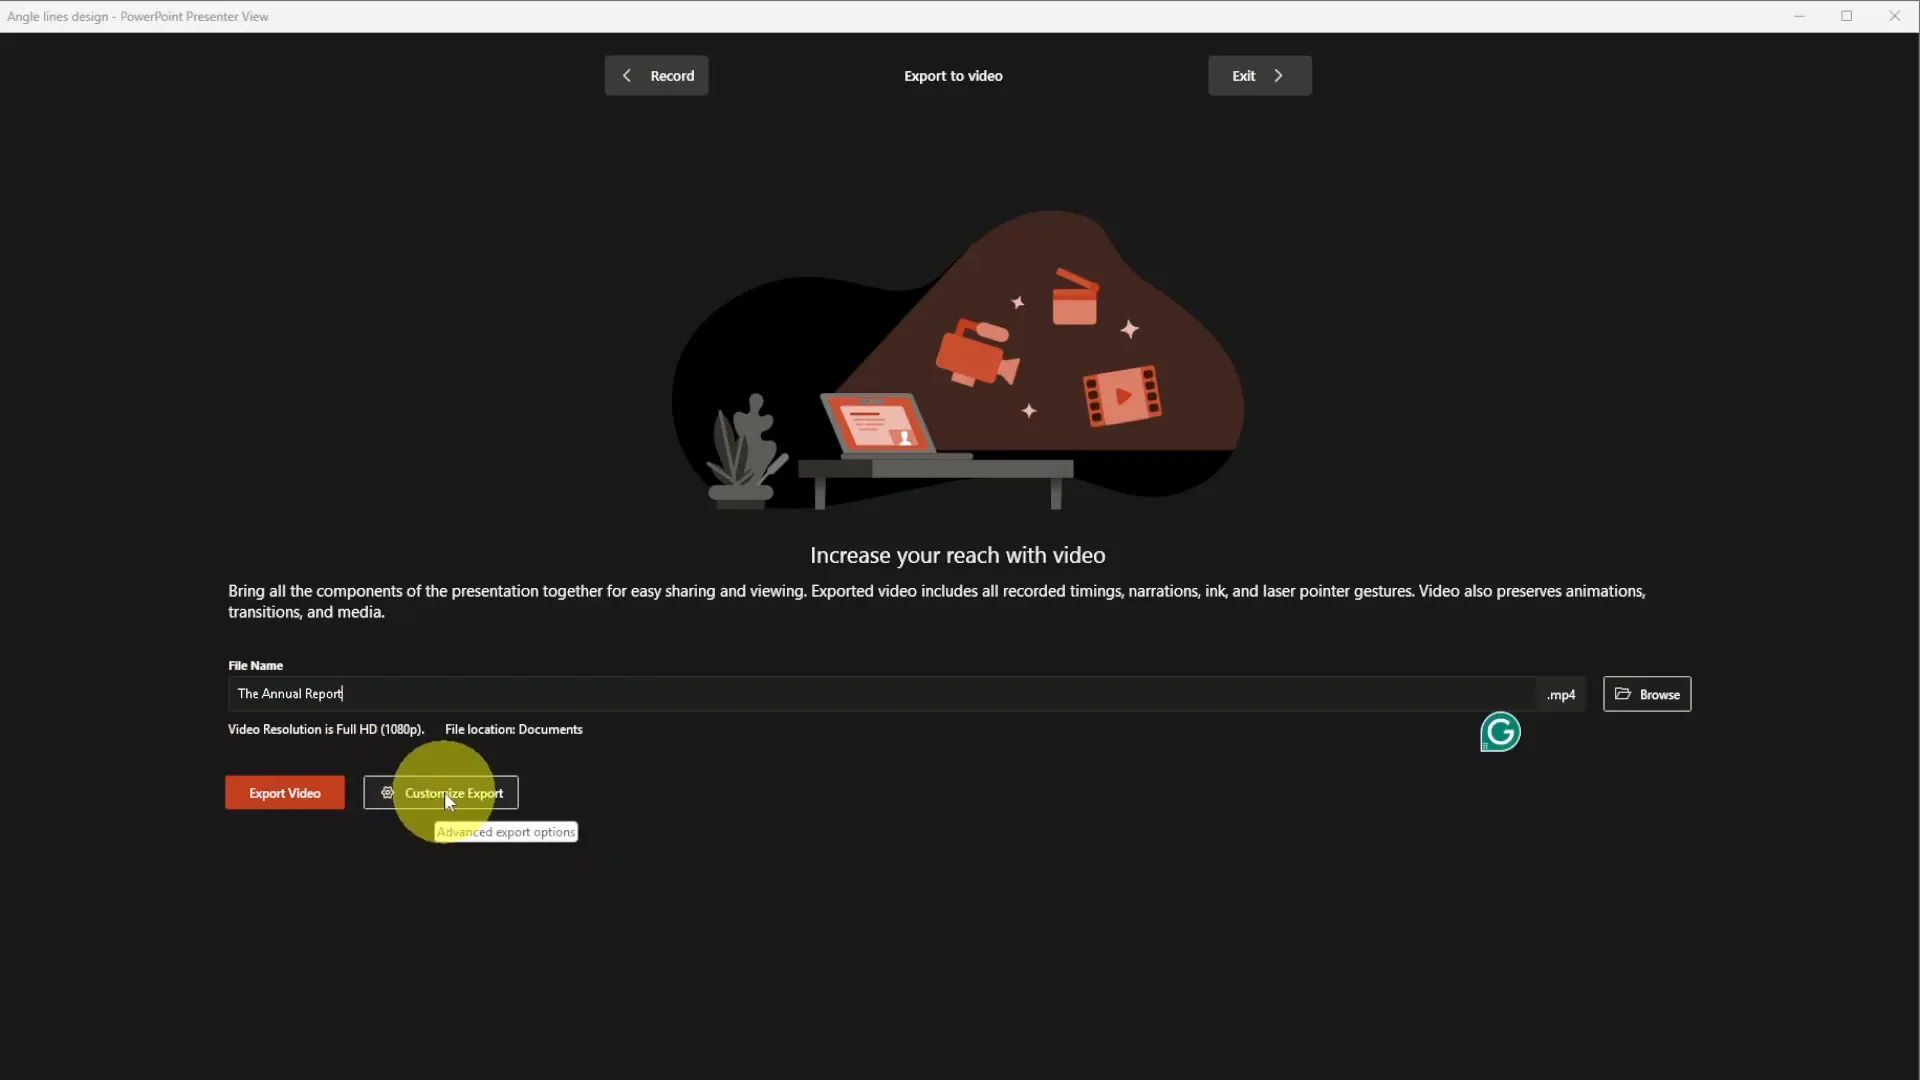
- Give your video a name (for example, “Annual Report”).
- Click on Customize Export to adjust settings if needed.
- You can change the resolution here. For most cases, 1080p full HD works great.
- Choose whether to use recorded timings and narration. If you haven’t recorded any, just select Don’t Use Recorded Timings and Narration.
- Set how long each slide will be displayed (the default is 5 seconds, which works well for most presentations).
- Click Create Video and select where to save your file.
- Wait for PowerPoint to render the video. The time will vary depending on the number of slides and animations.
- Once complete, click View and Share Video to preview your video.
Now you have a simple video file of your slides that anyone can watch without needing PowerPoint. You can easily upload this video to YouTube, Facebook, or send it directly to colleagues or clients.
Method 2: Record Your Presentation with Video and Audio
If you want to add a personal touch by recording yourself presenting the slides with your voice and camera, this method is for you. PowerPoint allows you to record slide-by-slide or from the beginning, capturing your narration, webcam video, and even annotations like highlights or drawings.
How to Record Your Presentation
- Open your presentation and go to the Record tab.
- Choose to record From Beginning or Slide by Slide.
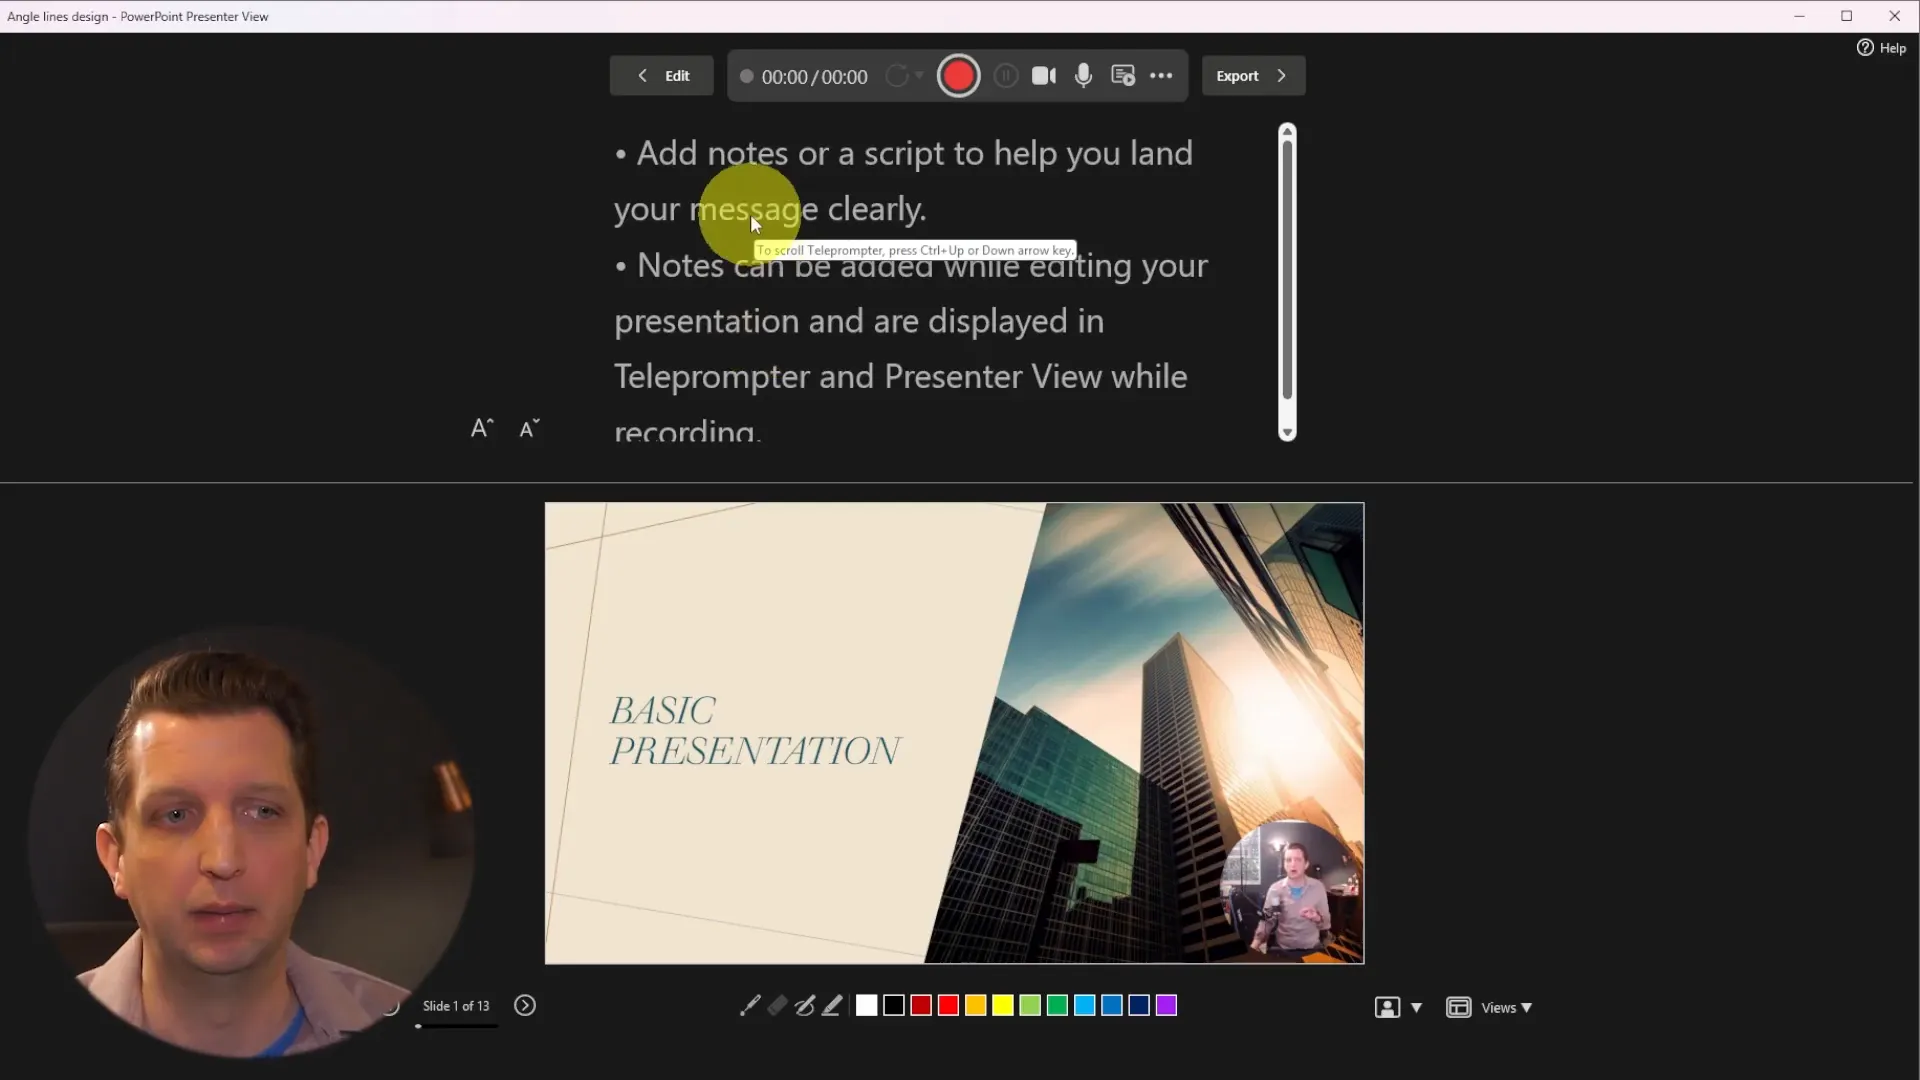
- A recording window will appear showing your slides, any notes you’ve added, and a small webcam preview.
- You can adjust your camera and microphone settings from the top menu.
- Use the highlighter tool to mark up slides during your recording—choose colors and circle or underline important points.
- When you’re ready, click the big red Record button.
- Present your slides as you normally would, speaking directly to the camera and advancing slides with the arrow keys.
- Hit the square Stop button when finished.
PowerPoint saves your video and audio recordings for each slide separately, so you can review and retake any slide without redoing the entire presentation.
Retaking and Editing Recordings
If you don’t like how a particular slide’s recording turned out, simply select that slide and click Retake Recording. Record again until you’re happy with the result. This flexibility makes it easy to polish your presentation without starting over.
Exporting Your Recorded Presentation as a Video
- After recording, go back to the Export to Video menu.
- Choose Use Recorded Timings and Narrations to include your audio and video.
- Set the resolution (typically 1080p) and click Create Video.
- Save the video file and wait for PowerPoint to process it. This may take longer due to embedded video and audio.
- Preview your final video to ensure everything looks and sounds great.
You now have a single video file with your slides, narration, and webcam video embedded and ready to share anywhere.
Additional Tips for Making a Video in PowerPoint
- Use Notes for Guidance: Adding speaker notes before recording helps keep your presentation smooth and organized.
- Experiment with Annotations: Highlighting or circling key points during recording enhances viewer engagement.
- Adjust Camera and Microphone Settings: Make sure your webcam and microphone are set up properly to capture clear video and audio.
- Save Your Presentation: Keep a copy of your PowerPoint with embedded recordings if you want to edit or reuse it later.
Frequently Asked Questions (FAQ)
Can I add my voice without recording video?
Yes, you can record just your narration without enabling the webcam. PowerPoint allows you to record audio only while advancing through your slides.
What video formats does PowerPoint export to?
PowerPoint exports videos in MP4 format, which is widely supported on most devices and platforms.
Can I edit the video after exporting?
PowerPoint itself does not offer video editing tools post-export. For advanced editing, use dedicated video editing software.
How long does it take to export the video?
Export time depends on the number of slides, animations, and whether you include audio/video. Simple slide-only videos export faster than those with embedded recordings.
Is it possible to share the video directly from PowerPoint?
After exporting, you can upload the video to platforms like YouTube, Facebook, or send it via email or cloud storage services.
Making a video in PowerPoint is easier than you might think. Whether you want a straightforward slide show or a fully narrated and recorded presentation, PowerPoint provides the tools to create professional-quality videos without extra software. Give these methods a try, and transform your presentations into engaging videos that reach your audience wherever they are!