
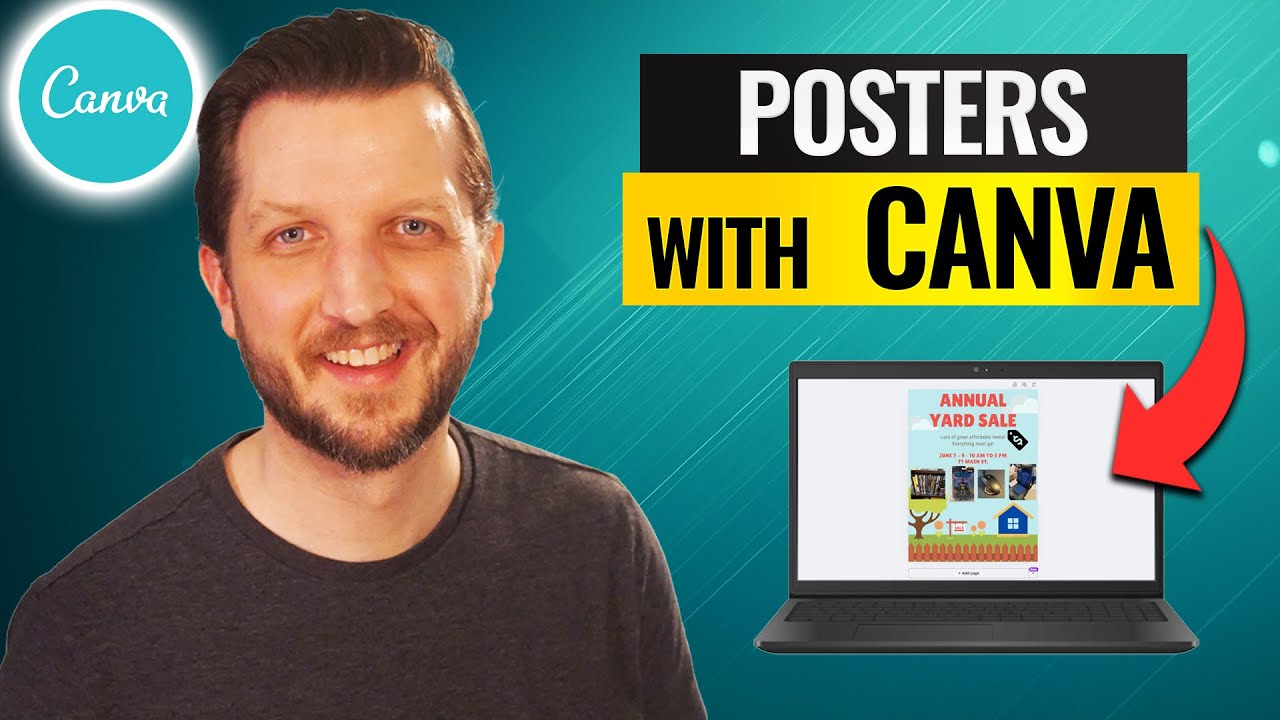
If you want to make a professional-looking poster in Canva quickly and for free, this guide walks you through the exact steps I use to design a clear, attractive poster. I demo this process in a video by Howfinity, and below I break down each step, add practical tips, and show screenshots from the walkthrough so you can follow along and create your own poster in Canva with confidence.
What you’ll learn
- How to start a new poster in Canva using only free elements
- How to search and pick a template that fits your event
- How to edit text, colors, and layout for clarity and visual balance
- How to upload and place photos of your items
- How to add and edit graphic elements (price tags, icons)
- How to download your poster at print-ready quality
Whether you need a flyer, a lawn sign, or a printable sheet, the same core steps apply when you build a poster in Canva. Below I walk through the entire process, from signing in to downloading your final PNG for printing.
Why use a template (and why I prefer templates)
Templates are time-savers. When you build a poster in Canva, starting from a template gives you a layout, font pairing, and color block structure right away. You can either begin from scratch if you like complete control, or customize an existing template so you only change the bits that matter: the message, the images, and the colors.
Step 1 — Sign in or create a free Canva account
Go to canva.com and sign in. If you don’t already have an account, create one — the free account is enough for everything I show here. Canva also offers a Pro version, but this tutorial focuses on using free elements only so you can complete a poster in Canva without a paid subscription.
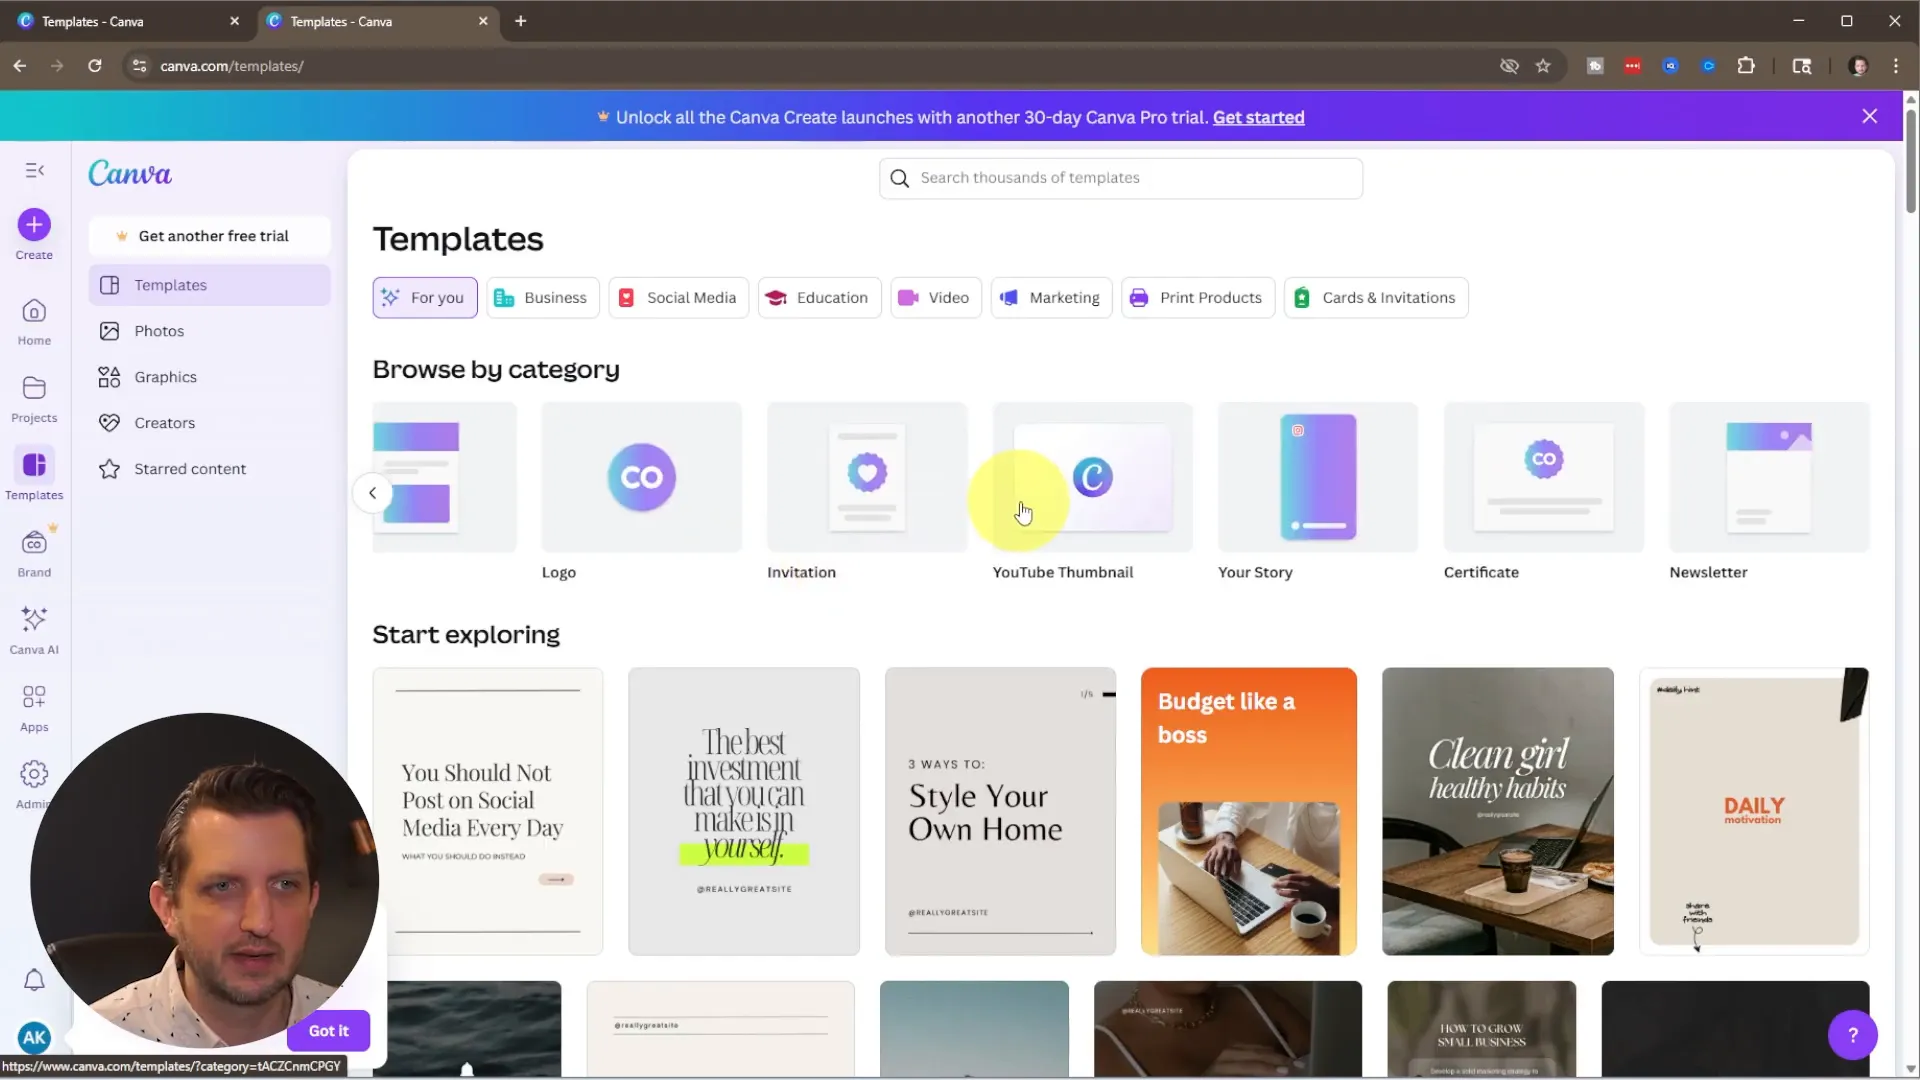
Step 2 — Find the poster template that fits your event
From the sidebar click Templates, then search for “posters” or a specific event like “yard sale.” When you browse templates, watch for the little crown icon in the corner — that marks Pro templates that require a paid account. For a free poster in Canva, choose templates without that crown.
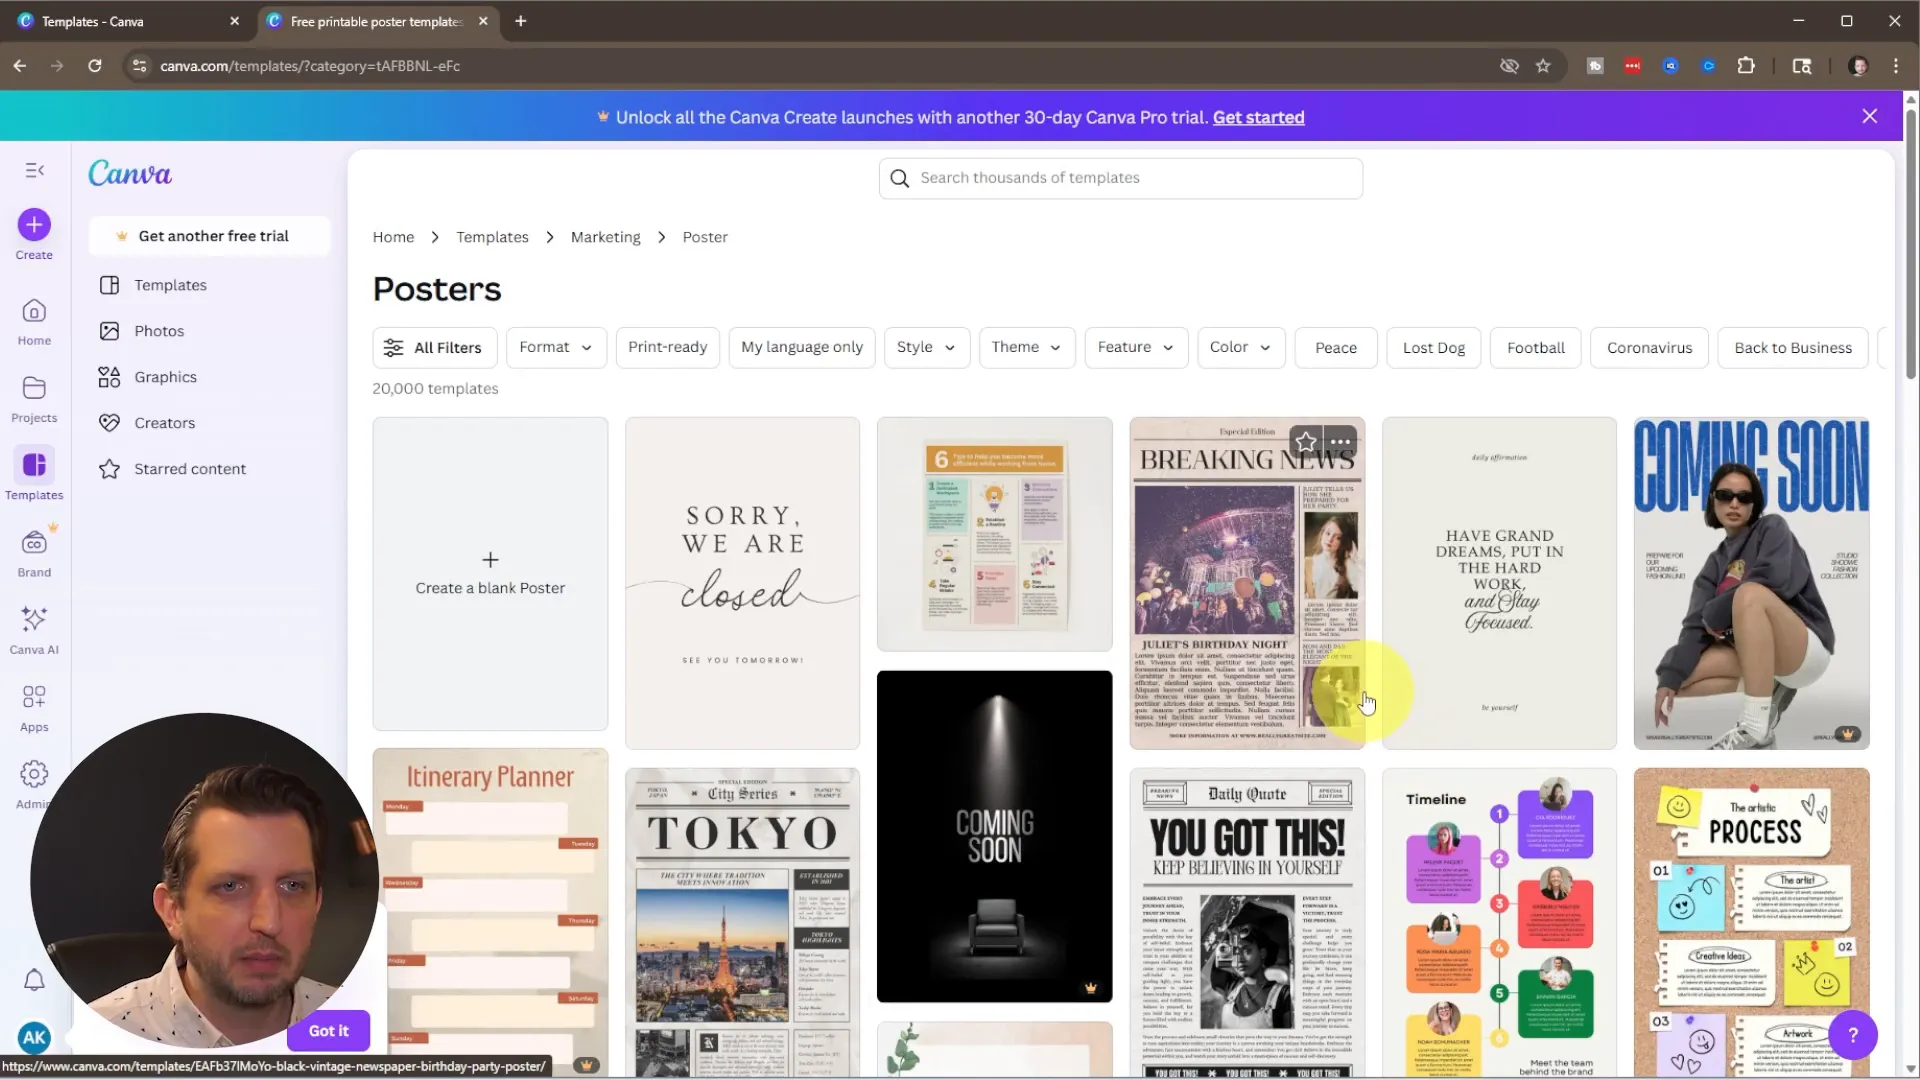
I searched for “yard sale” and picked a friendly layout that included a house graphic and space for photos and event details. Click Customize this template to open the editor. You can also click “Create a blank poster” if you want to design every element yourself.
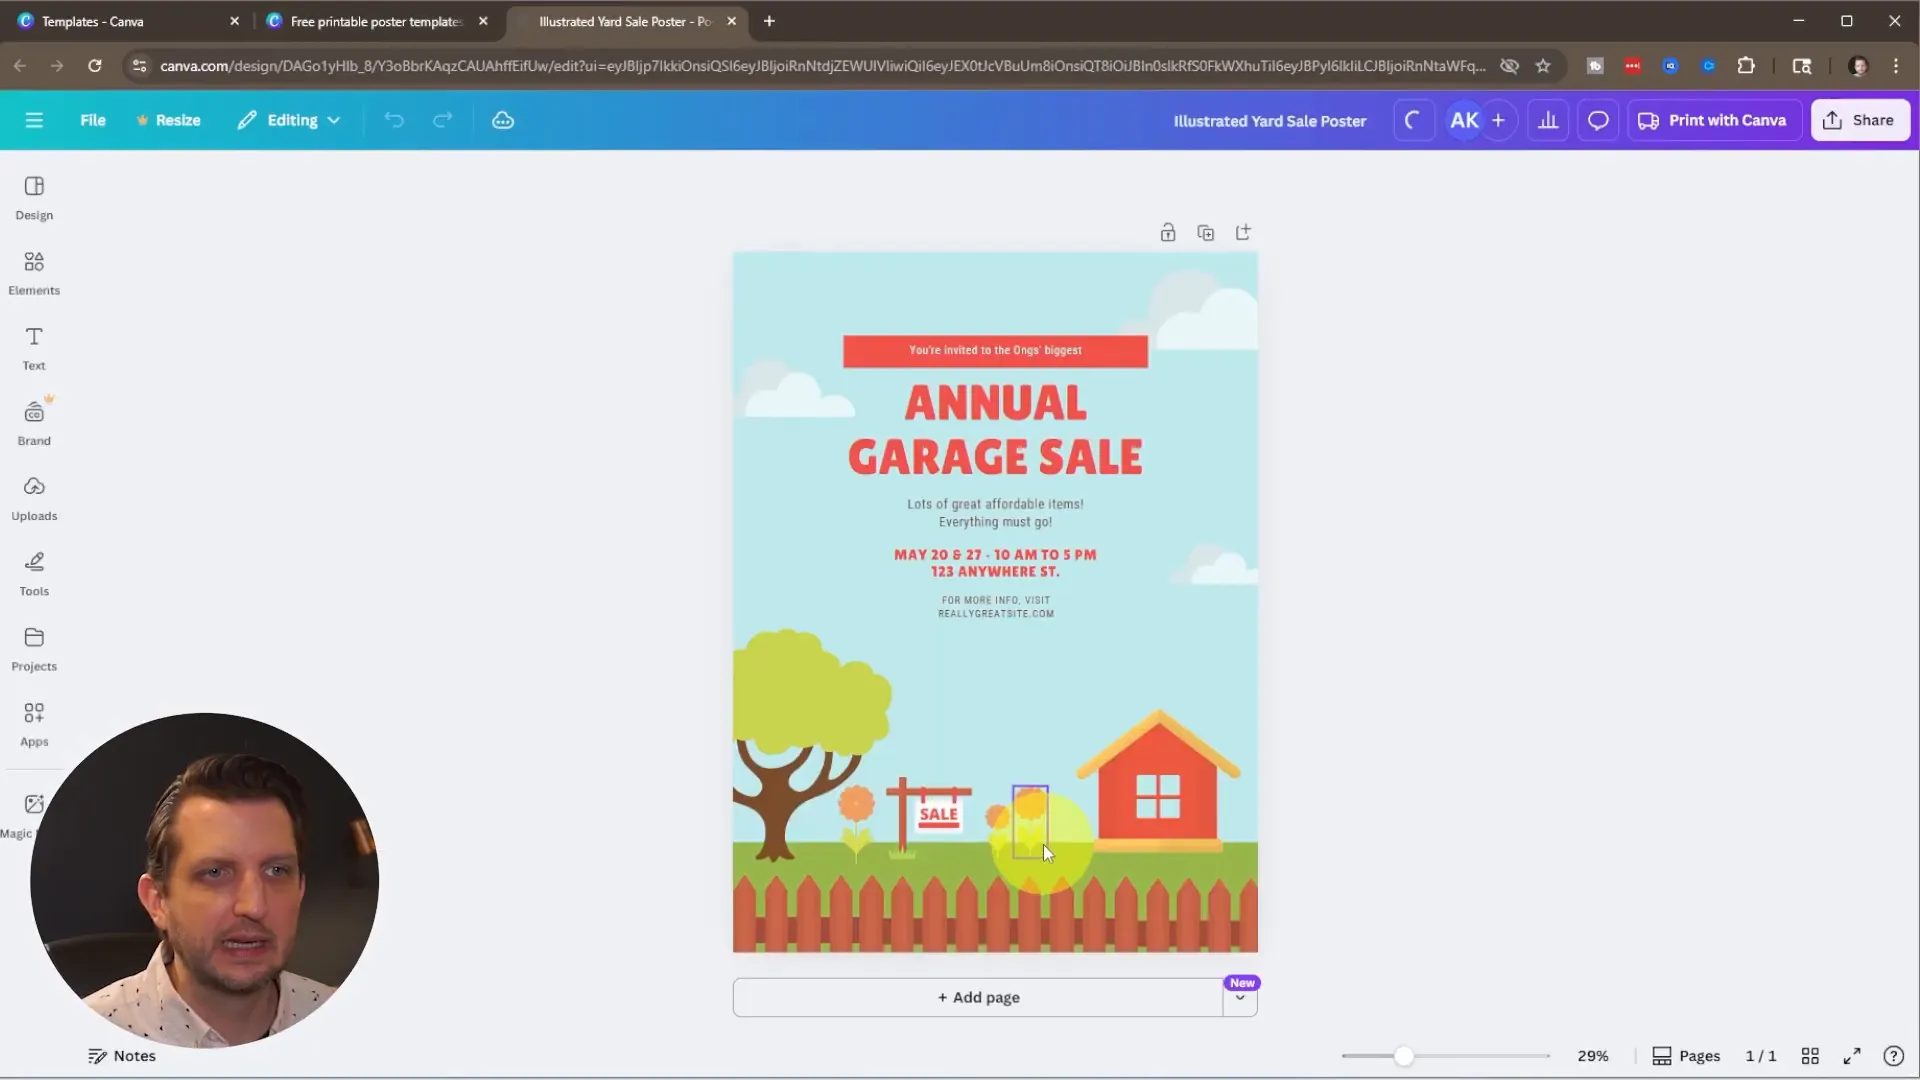
Step 3 — Edit the main text: title, date, time, address
Double-click any text box to edit it. For this poster in Canva I replaced “Garage Sale” with “Yard Sale” and updated the date and time to June 7–9, 10 AM–5 PM. Keep these key pieces of information large and easy to read at a distance:
- Event title — make this the largest text
- Date and time — clear and unambiguous
- Address — ensure legibility (consider bold or slightly larger font)
- Optional contact/more info — keep it small, or remove if unnecessary
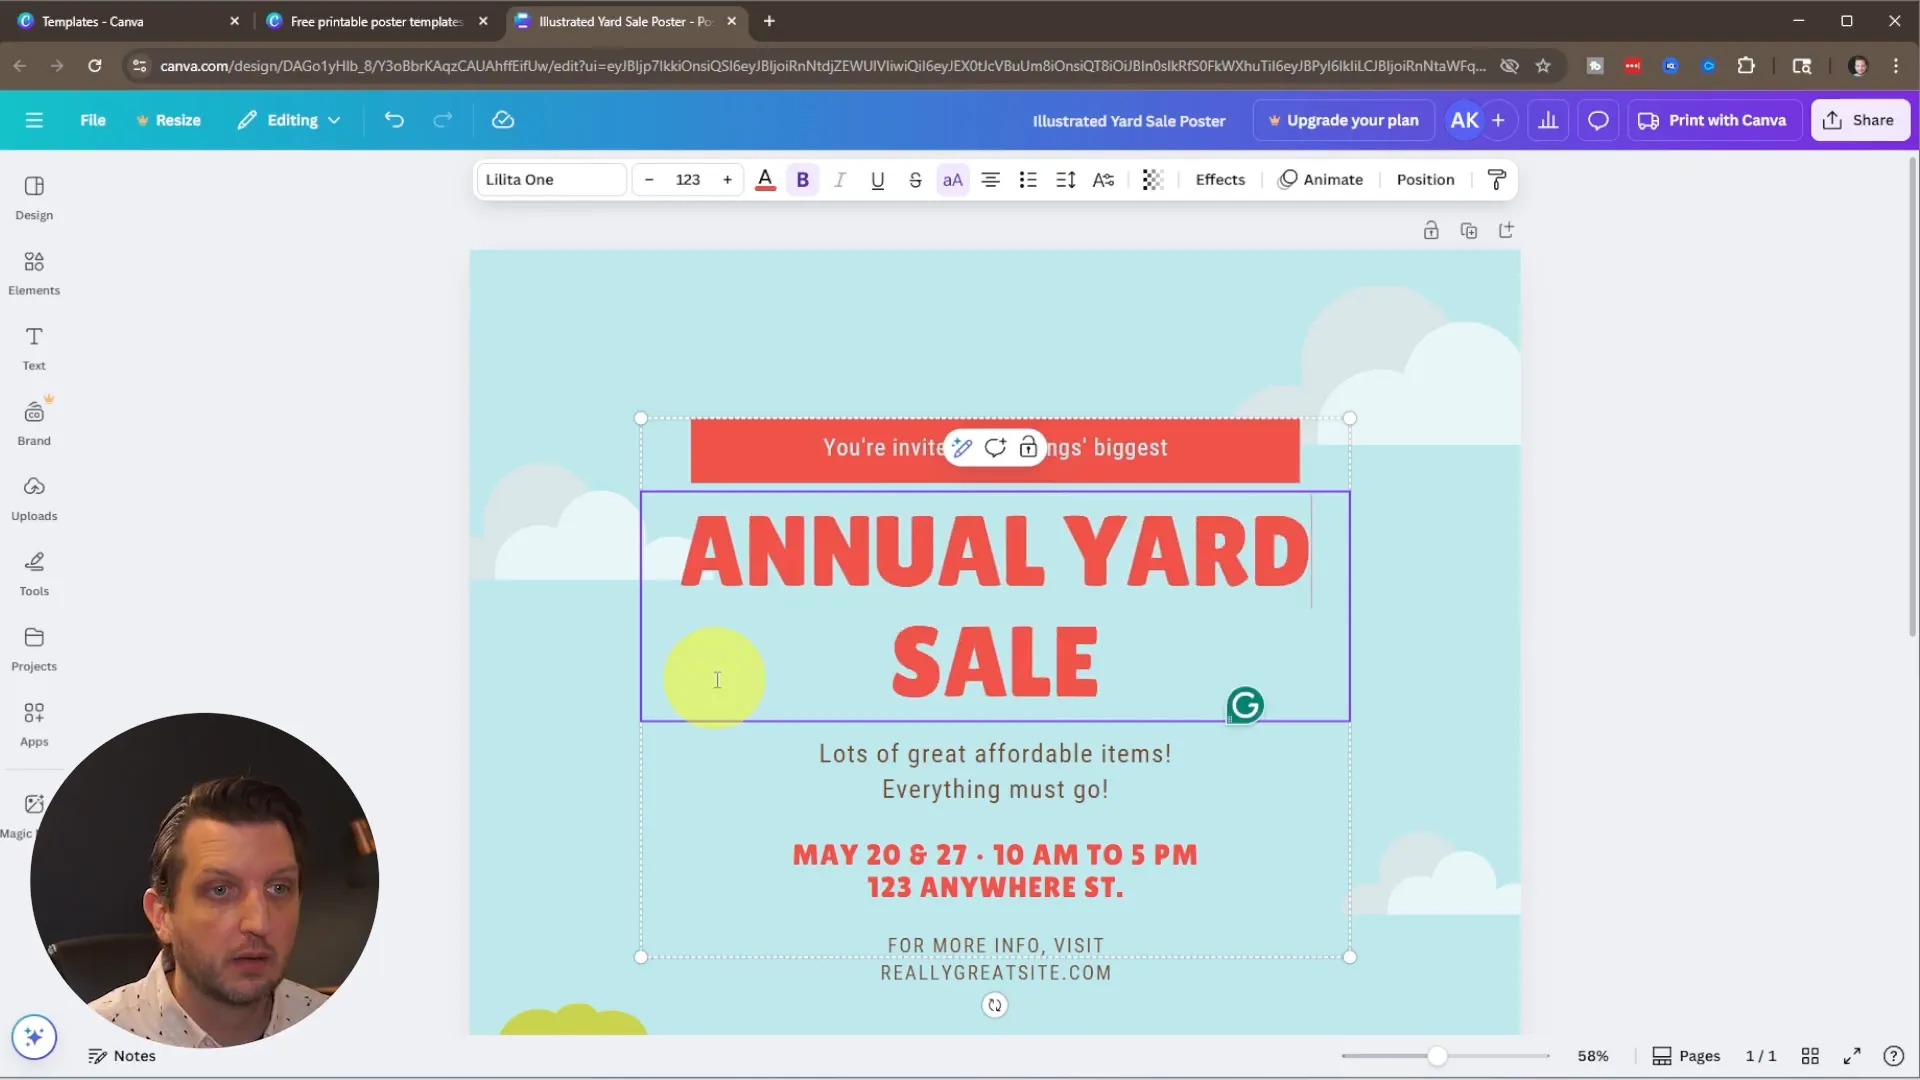
If text boxes are grouped, ungroup them or edit the group directly. After removing unnecessary text elements, I enlarged the main text block by dragging the corner handles so it occupies more of the poster and becomes easier to read from a distance.
Step 4 — Adjust colors and graphics for accuracy
Templates come with built-in graphics that you can edit. In my example, the template showed a house that was light colored, but my house is dark blue, so I changed the house color to match reality. Select any graphic element (house, fence, grass) and use the color controls to update it. This small detail improves trust and helps people find your house at the sale.
Tip: Changing color is a great way to personalize a poster in Canva quickly. Also consider contrast (dark text on a light background or vice versa) so your poster reads well from across the street.
Step 5 — Upload photos of items (optional but effective)
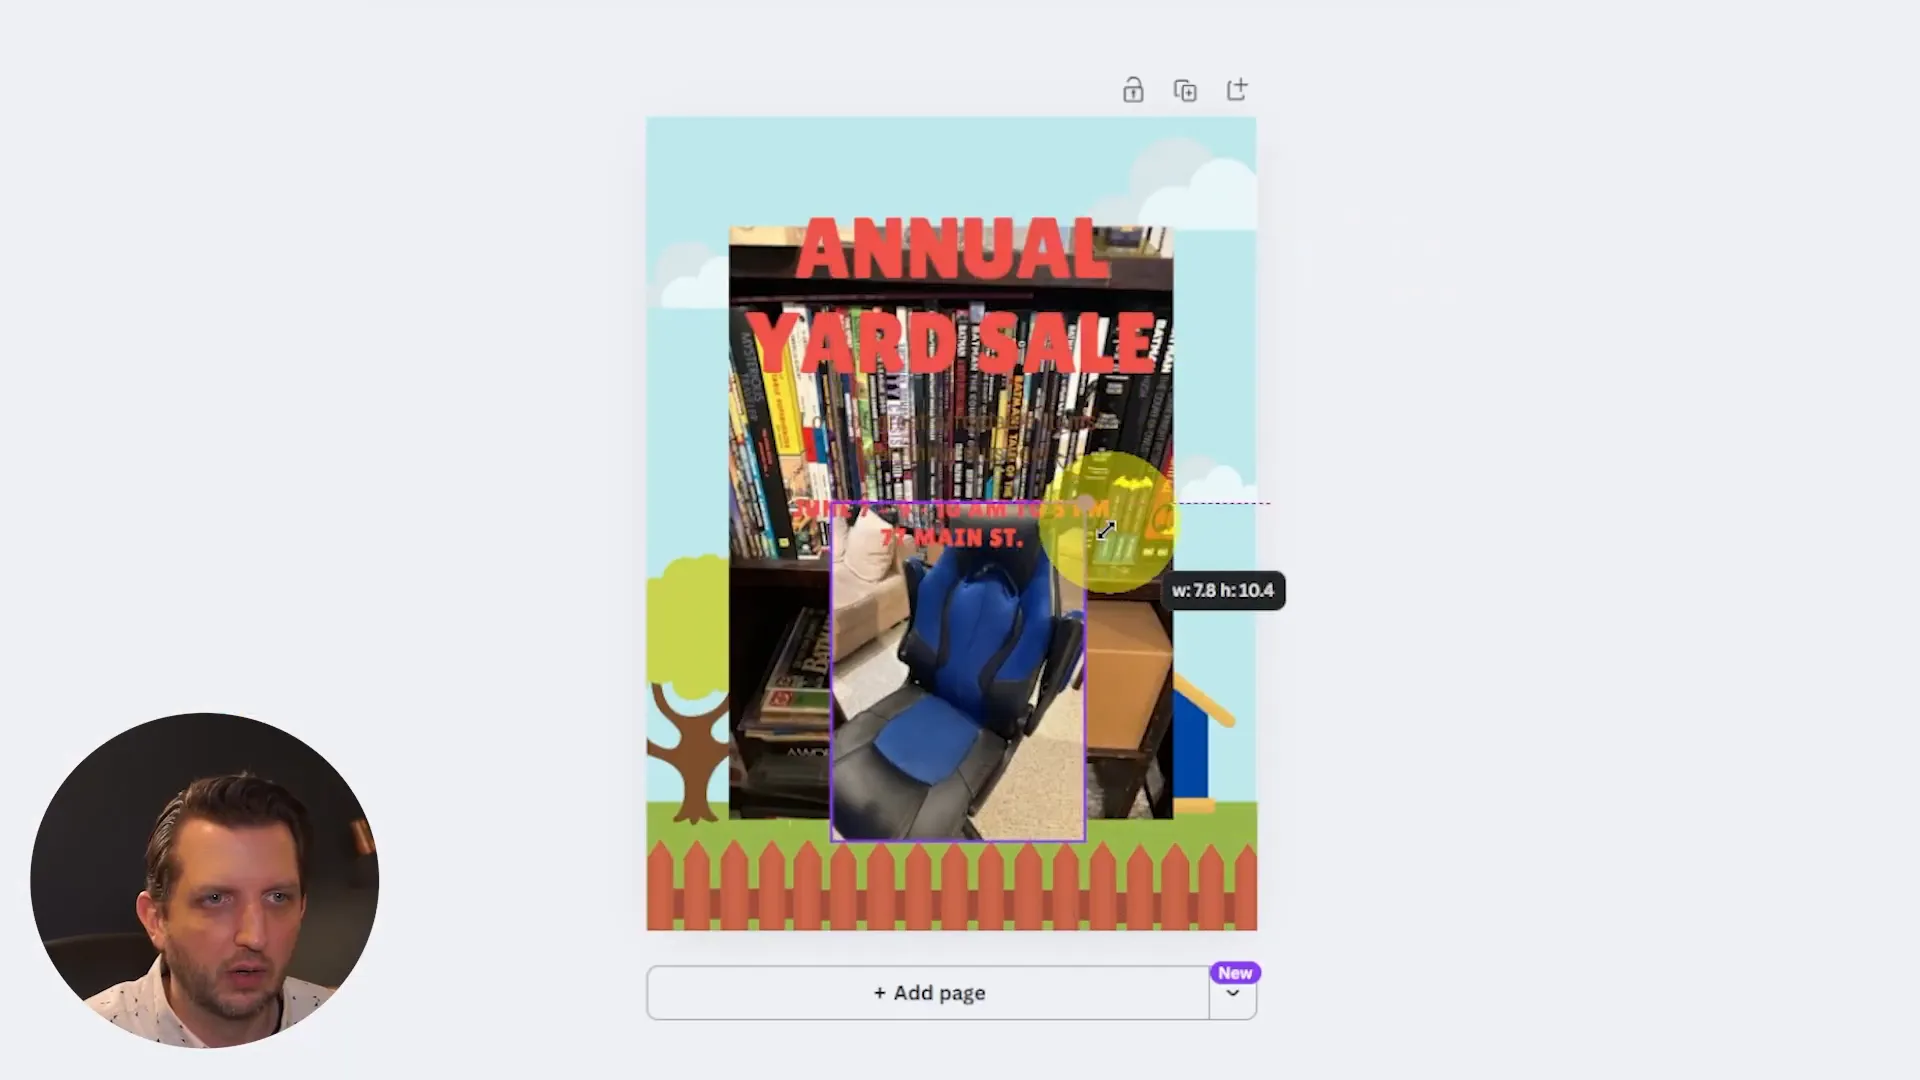
Photos make your poster more enticing. Click Uploads → Upload files, choose the images from your computer, and drop them onto the poster. You can resize, crop, and reposition photos within frames or shapes to create a tidy, organized display of featured items.
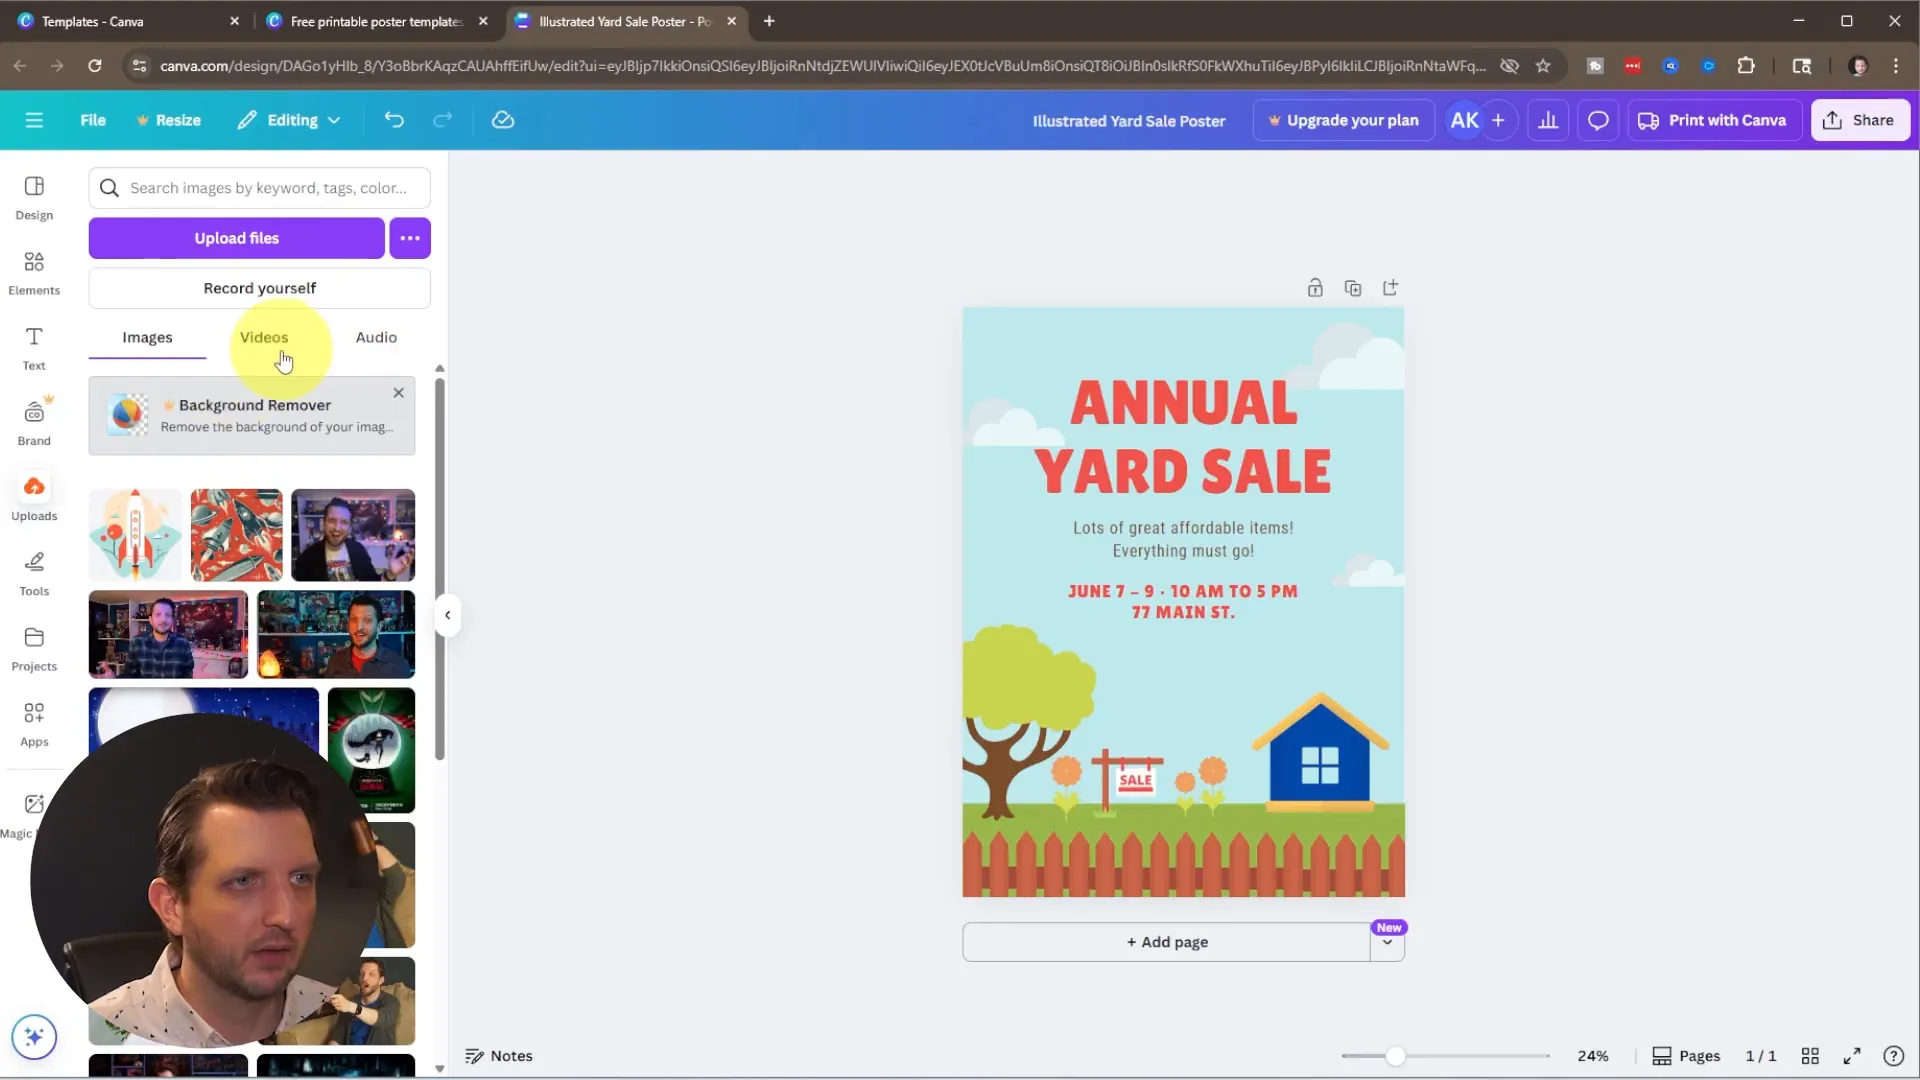
To resize a photo, drag the edges. If you need to crop or zoom, double-click the image and use the drag slider at the bottom of the image frame to zoom in and reposition the crop area. Lining up several small images works great for posters — people get a quick sense of what you’ll offer.
Step 6 — Add elements and icons (price tags, arrows, badges)
Canva’s Elements tab provides shapes, icons, and decorative graphics. If you want to add a price tag graphic or a small icon, search within Elements. Be careful to avoid items labeled Pro if you want to keep your poster in Canva entirely free.
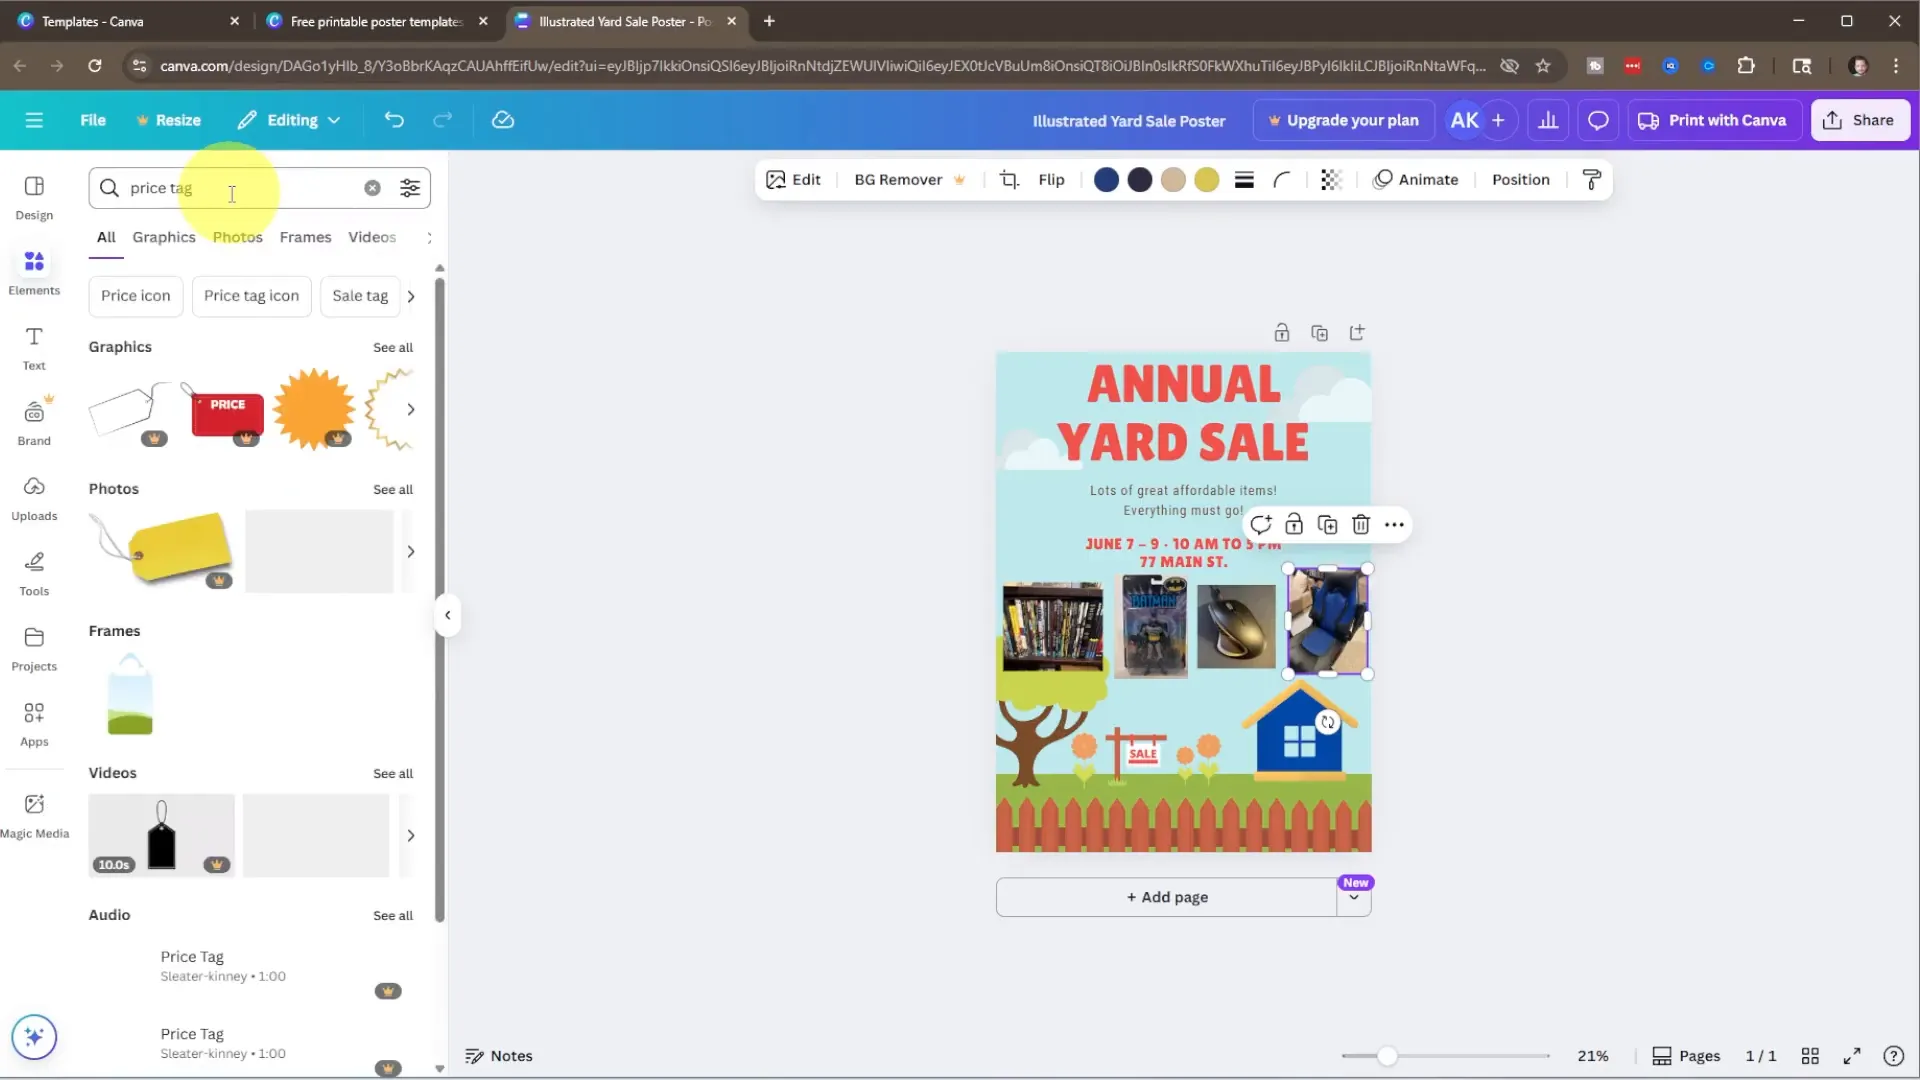
Once you find a free graphic, drag it onto your poster and resize or recolor it. For my poster in Canva I added a small price tag graphic near the images and scaled it down. Use these elements sparingly — they should support the message, not overpower it.
Step 7 — Final layout checks: balance, spacing, and readability
Before downloading, check the overall layout:
- Is the title the most prominent element?
- Are date, time, and address easy to find?
- Are images cropped consistently and aligned neatly?
- Do colors and contrast support legibility?
- Have you removed any unnecessary clutter?
Group elements if you want them to stay together when moving or resizing. Use alignment guides and snap-to-grid helpers that Canva provides to keep spacing consistent.
Step 8 — Download and print your poster
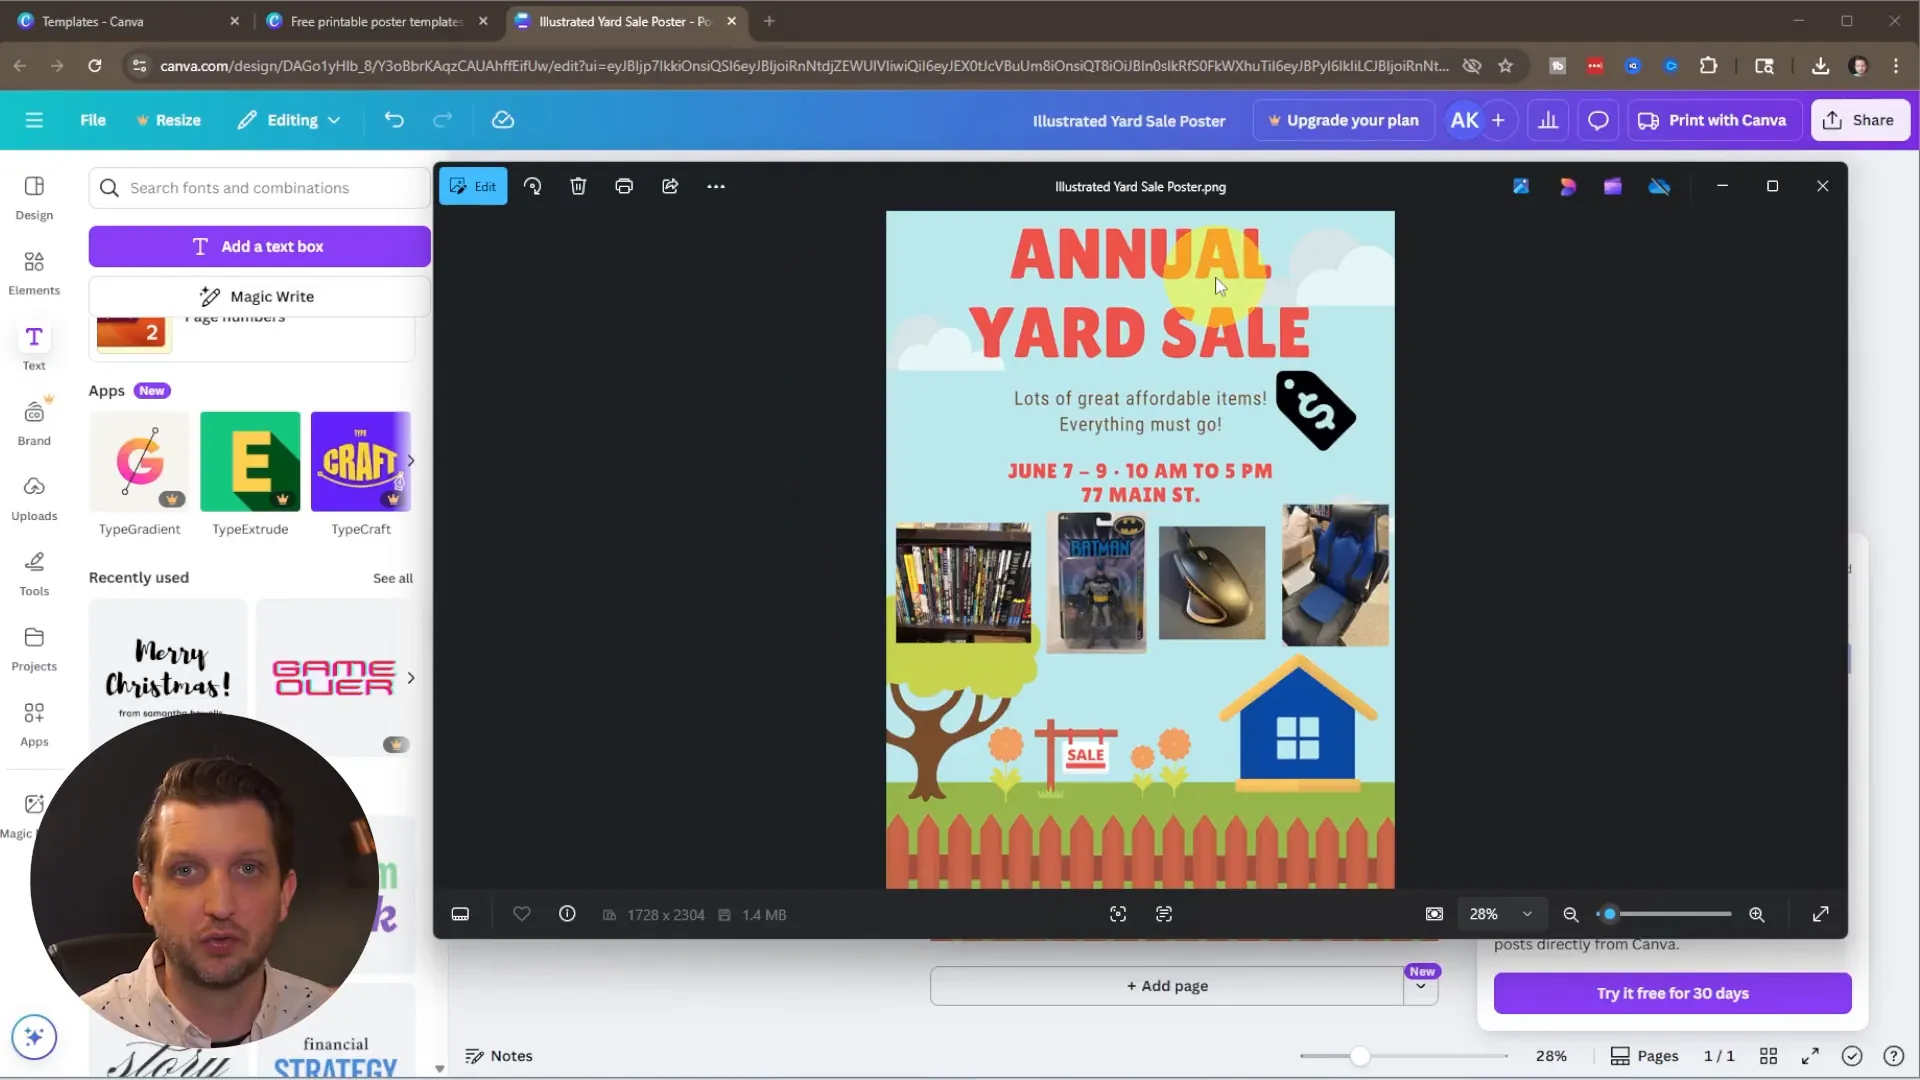
When everything looks right, click Share → Download. For print, PNG is a solid choice for good quality, but if you need vector or scalable files use PDF Print. I downloaded PNG for a high-quality print-ready file. Save it, send it to a local printer, or print at home on heavier paper for durability.
Tip: If you plan to print large (11×17 or larger), choose PDF Print and enable bleed and crop marks if your design touches the edges. That helps ensure clean cuts at the print shop.
Common questions and troubleshooting
How do I avoid Pro (paid) elements?
When browsing templates or elements, hover over items. If an item shows a crown or “Pro” label, it requires payment. Filter your searches by “Free” where possible, and choose templates and elements without the crown to keep your poster in Canva free.
Why does my image look pixelated when I download?
Pixelation usually means the image resolution is low for the size you want to print. Use high-resolution photos when uploading. For large prints, download as PDF Print or a high-resolution PNG to maintain clarity. Avoid zooming tiny images to fill large areas — that will reduce quality.
Can I use custom fonts?
The free account has many fonts included. If you have a custom or branded font, Canva Pro allows you to upload fonts. For a free poster in Canva, choose from the included font selections for consistent results.
What file formats should I use for printing?
- PNG — good for high quality, especially for online or small prints
- PDF Print — best for professional printing, supports CMYK, bleed, and crop marks
- JPG — smaller file size, still usable but not as crisp as PNG/PDF for large prints
Quick checklist before you download
- Title, date, time, and address are prominent and accurate
- Colors are high-contrast and legible
- Images are high-resolution and cropped consistently
- No Pro elements accidentally included
- Export settings (PNG or PDF) match your printing needs
Final thoughts — make your poster in Canva now
Designing a poster in Canva is fast, flexible, and beginner-friendly. Start with a template, customize text and colors, upload photos of your items, add a few tasteful elements, and download a print-ready file. Stick to the principles here — emphasis on clear event details and readable typography — and you’ll have an attractive poster in minutes.
“There are thousands and thousands of templates that are available to you to create any poster you want on Canva. Start there, and then you can customize it any way that you need.”
If you follow these steps, you’ll have a practical, eye-catching poster in no time. I made my poster in Canva using only free elements, and the same steps will work for flyers, event posters, or neighborhood signs. Try it now, and tweak colors and images until it matches your style and message.
Ready to create?
Open canva.com, pick a template, and build your poster in Canva today. If you want to replicate my exact results, use a template that has space for images and a bold title, update the date/time/address, upload photos of your best items, and download as PNG (or PDF Print for professional printing).
Optional: Printable Checklist
If you’d like a quick printable checklist to use while preparing your poster and event, copy this list into a new Canva design (or any text editor) and print it out. It helps ensure you don’t forget any important details before you download your final poster.
- Title: Large and clear (e.g., “Yard Sale”)
- Date & time: Double-check accuracy and format
- Address: Include house number and street; consider a small map or landmark
- Contact: Optional phone or email for questions
- Images: High-resolution photos of featured items
- Graphics: Use only free elements and avoid Pro tags
- Contrast: Ensure legible text against background
- Export: PNG for general use, PDF Print for professional printing
Quick Promotion Tips
After your poster is ready, consider these simple promotion steps you can do without external services:
- Print several copies and place them at local community boards and nearby intersections (where permitted).
- Share a photo of your poster in neighborhood social groups; include the date/time/address in the post text so viewers don’t need to zoom in on the image.
- Use a bold title and one clear photo on a lawn sign or flyer to attract passing foot and car traffic.
This additional content is designed to be pasted at the end of your post to give readers a handy checklist and promotion ideas when they finish designing their poster in Canva.