
Adobe Illustrator can feel overwhelming the first time you open it. The interface is rich with tools, panels, and options. Yet once you understand the fundamentals—what vector artwork is, how shapes and paths work, and which tools to rely on—you can create logos, icons, illustrations, and scalable graphics with confidence. This guide walks through the essentials of Adobe Illustrator, showing how to set up a file, build and edit shapes, use selection tools, draw with the pencil tool, and keep projects organized with layers.
Why use Adobe Illustrator?
Adobe Illustrator is a vector-based design application. Unlike pixel-based programs, it stores art as lines and shapes defined by mathematical paths. That means artwork stays sharp no matter how much you scale it. Logos, icons, illustrations, and print-ready artwork are ideal use cases because you can export a single file at any resolution without losing quality.
Photos edited in pixel programs can get grainy when enlarged. In contrast, files created in Adobe Illustrator retain crisp edges because the program redraws shapes rather than stretching individual pixels. You can still open and manipulate JPEGs or PNGs inside Illustrator, but the app really shines when you design with vector elements.
Starting a new document
When you open Adobe Illustrator, the first screen gives you options to create a new file, open an existing document, or access recent projects. Presets are available for common formats—web, mobile, print, and branding—so you don’t need to guess the right canvas size. You can also set a custom width, height, orientation, and margins.
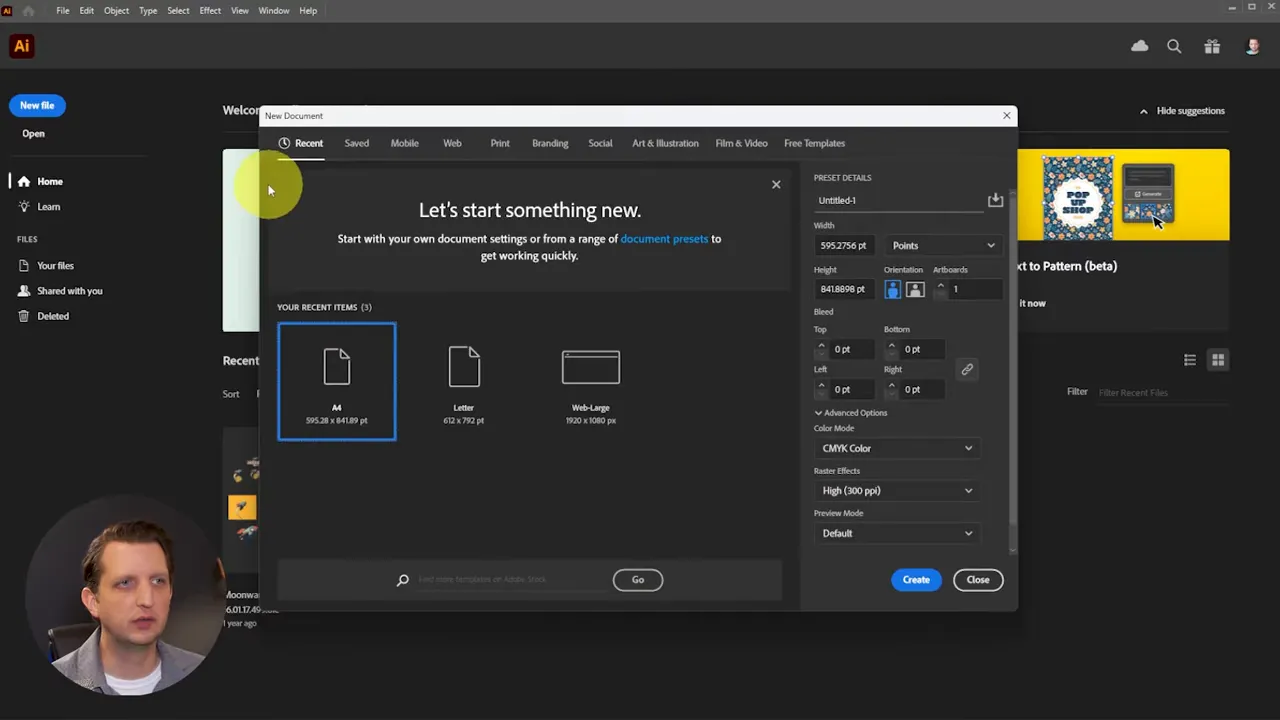
A small but important choice is color mode. Use RGB for anything that lives on screens and CMYK for physical printing projects such as shirts, posters, or mugs. Choosing the correct color mode before you begin saves headaches when it comes time to export or print.
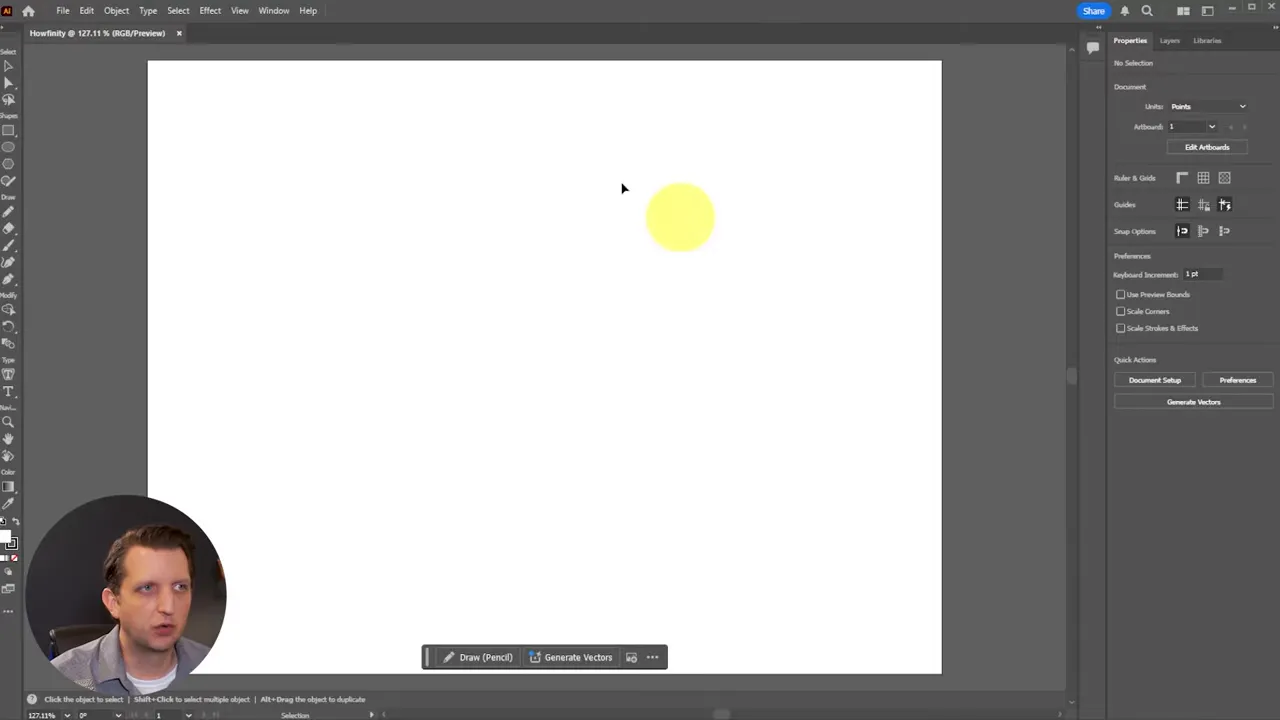
Understanding the workspace
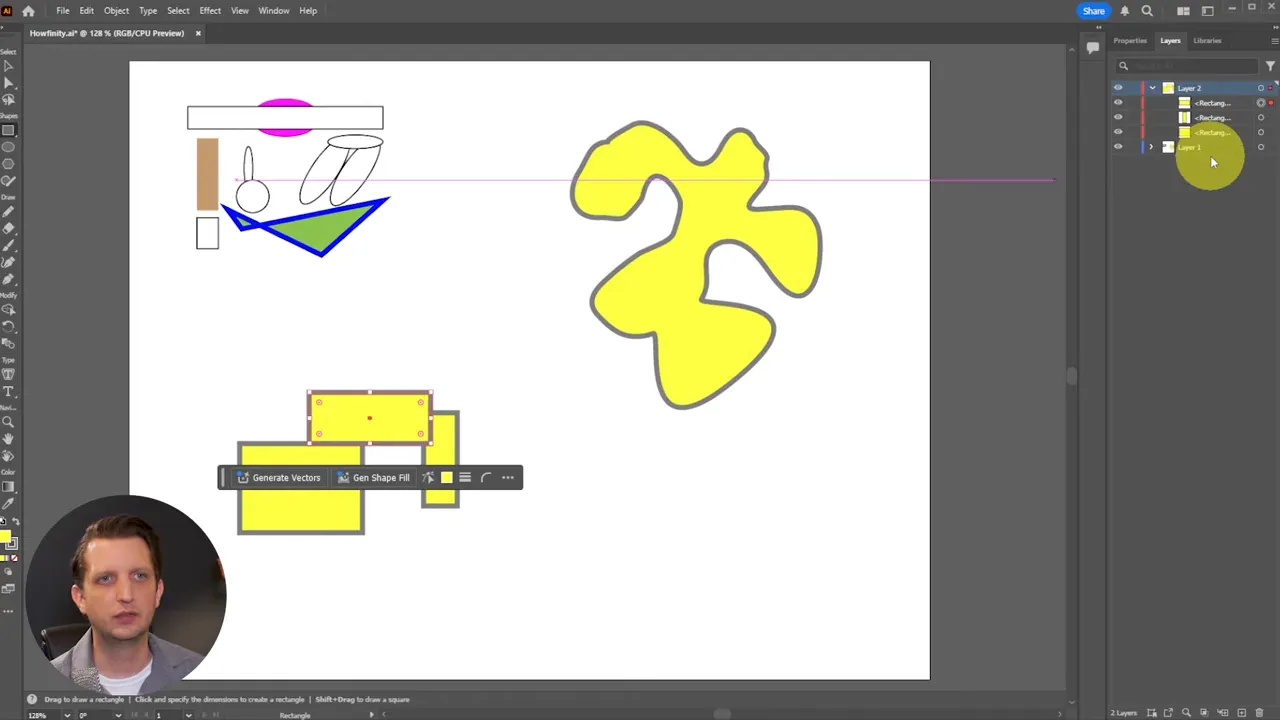
The workspace centers on the artboard—the page where you place shapes and illustrations. To the left is the toolbar with all the drawing and editing tools. The right side houses the Properties panel, which changes depending on the tool or object selected. Along the top are commands for saving, aligning, and applying effects.
Think of layers as a stacked view from top to bottom. Objects on the topmost layer appear in front of objects on lower layers. Layer management is crucial as projects grow more complex. A simple file might remain on one layer, but larger designs benefit from multiple named, color-coded layers so you can lock, hide, or isolate parts of the design.
Basic shapes: the foundation of vector work
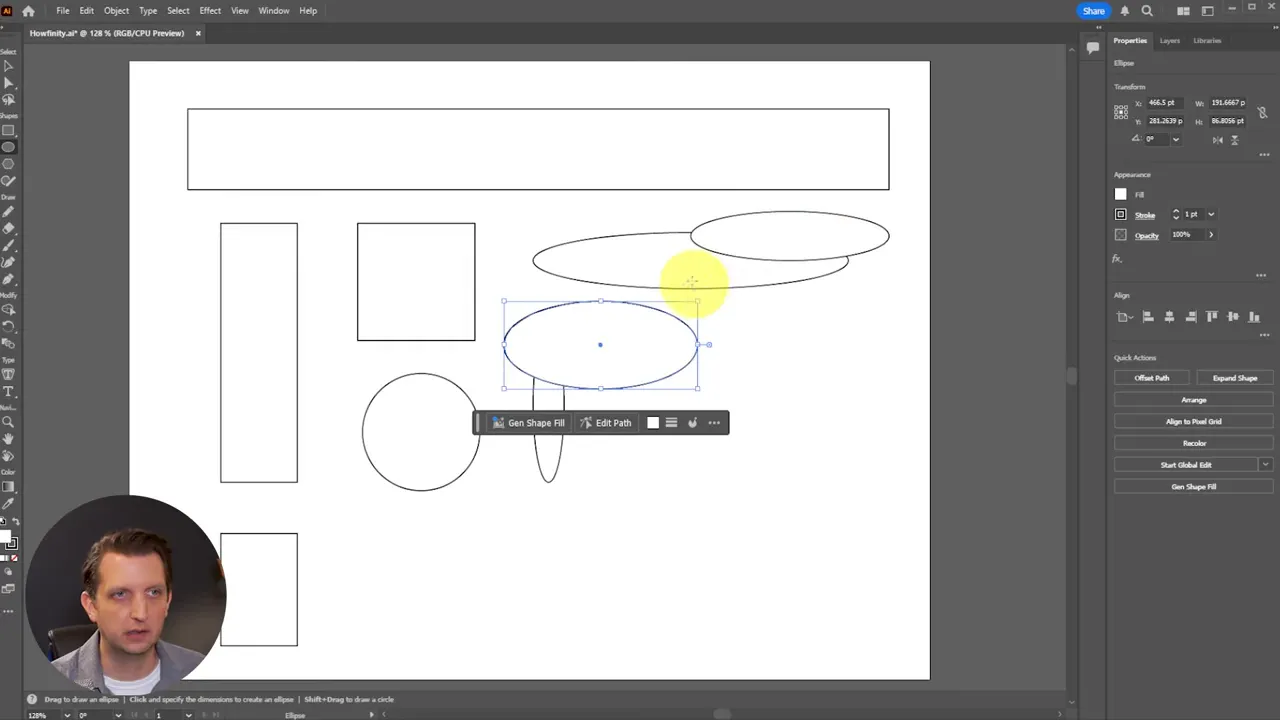
Vector artwork is built from shapes and paths. The rectangle tool and ellipse tool are two of the most used shape tools in Adobe Illustrator. Click and drag to create a rectangle or an oval. Hold the Shift key while dragging to constrain the proportions and make a perfect square or circle.
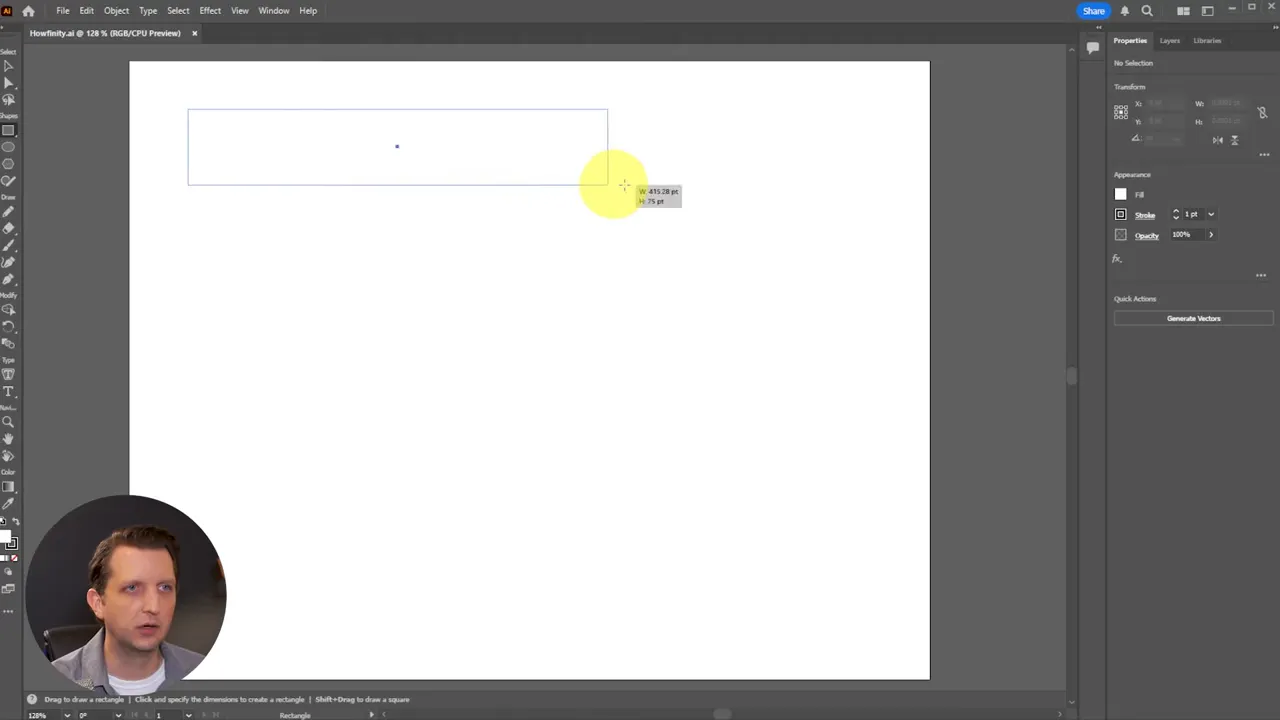
As you draw, smart guides appear to help you align objects precisely with existing elements. Those guides are invaluable for maintaining consistent spacing and alignment without switching to a ruler or grid.
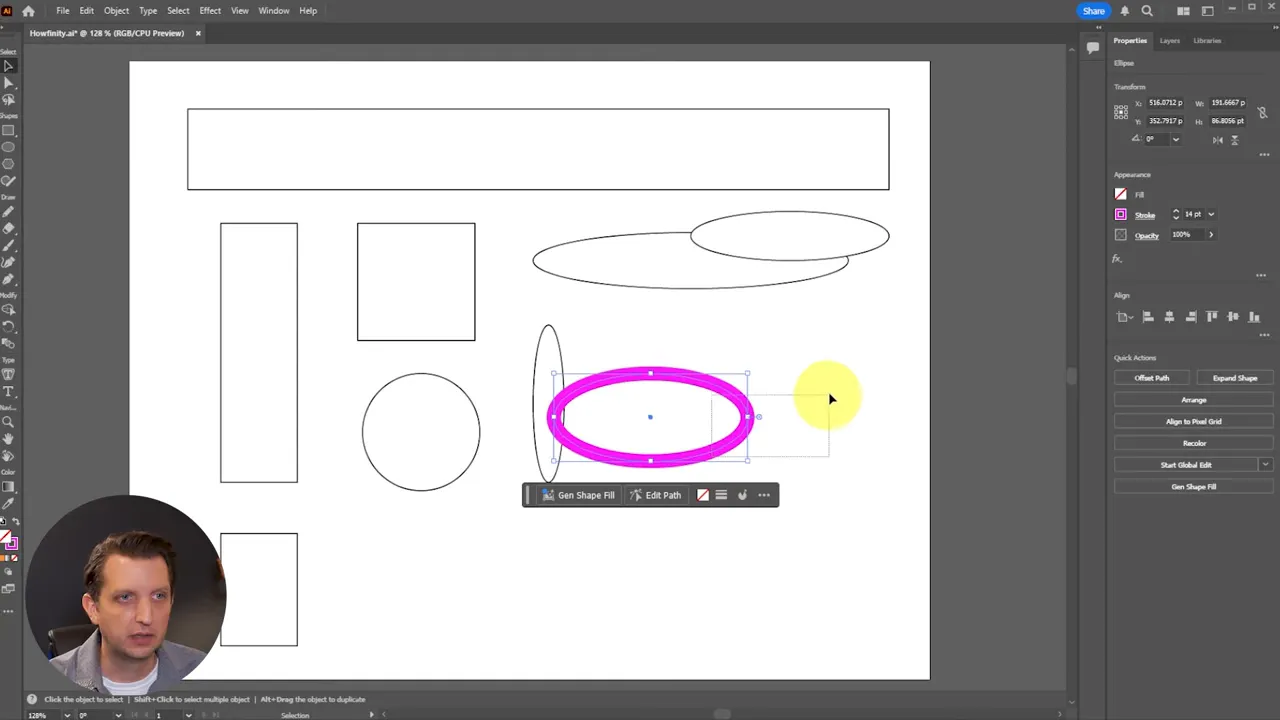
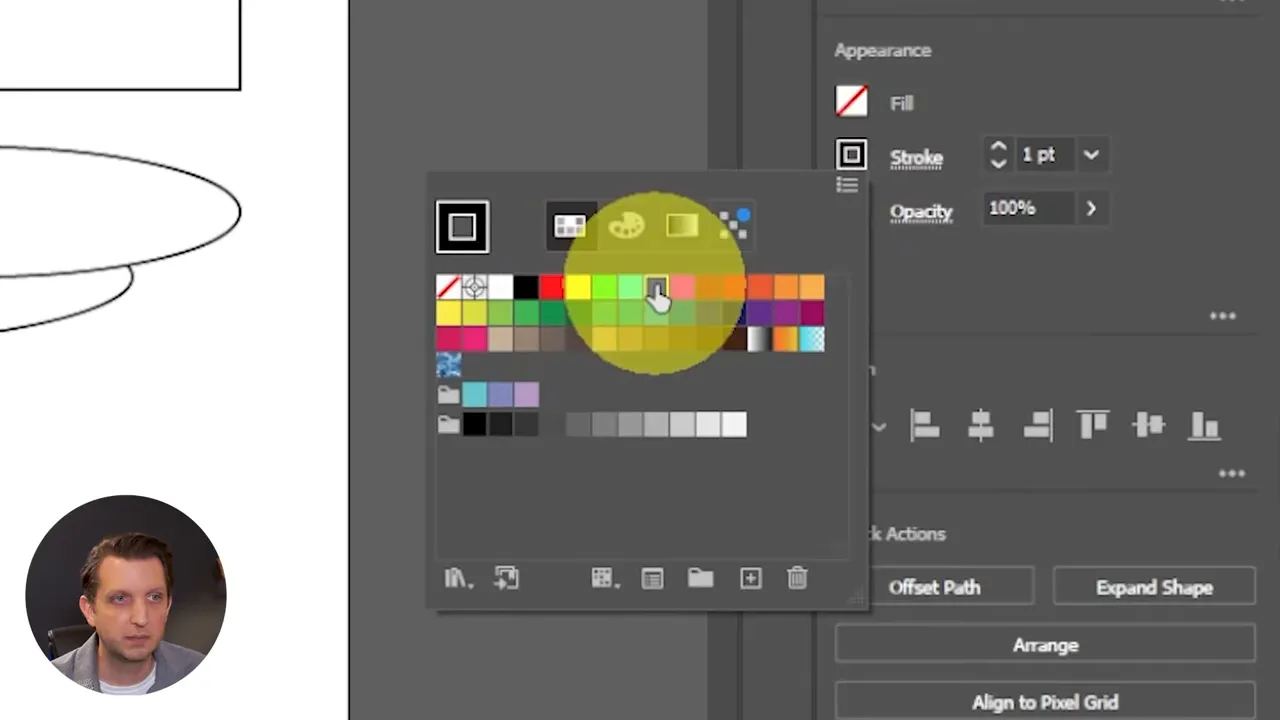
Every shape has two visual properties: the fill (the inside color) and the stroke (the outline color and width). You can set the fill to any color or make it transparent to show only the outline. Strokes can be adjusted for thickness and color to create a wide range of looks from thin line drawings to bold geometric layouts.
Moving, scaling, and duplicating objects
The Selection tool, the arrow at the top of the toolbar, is the main control for moving and transforming objects. Click an object to select it, then drag to reposition it on the artboard. Grab a corner handle to scale. Holding Shift while scaling constrains proportions to keep height and width uniform.
To duplicate quickly, select an object and use the Alt key (Windows) or Option key (Mac) while dragging. You can duplicate many times to build patterns, repeated elements, or variations.
Editing paths with the Direct Selection tool
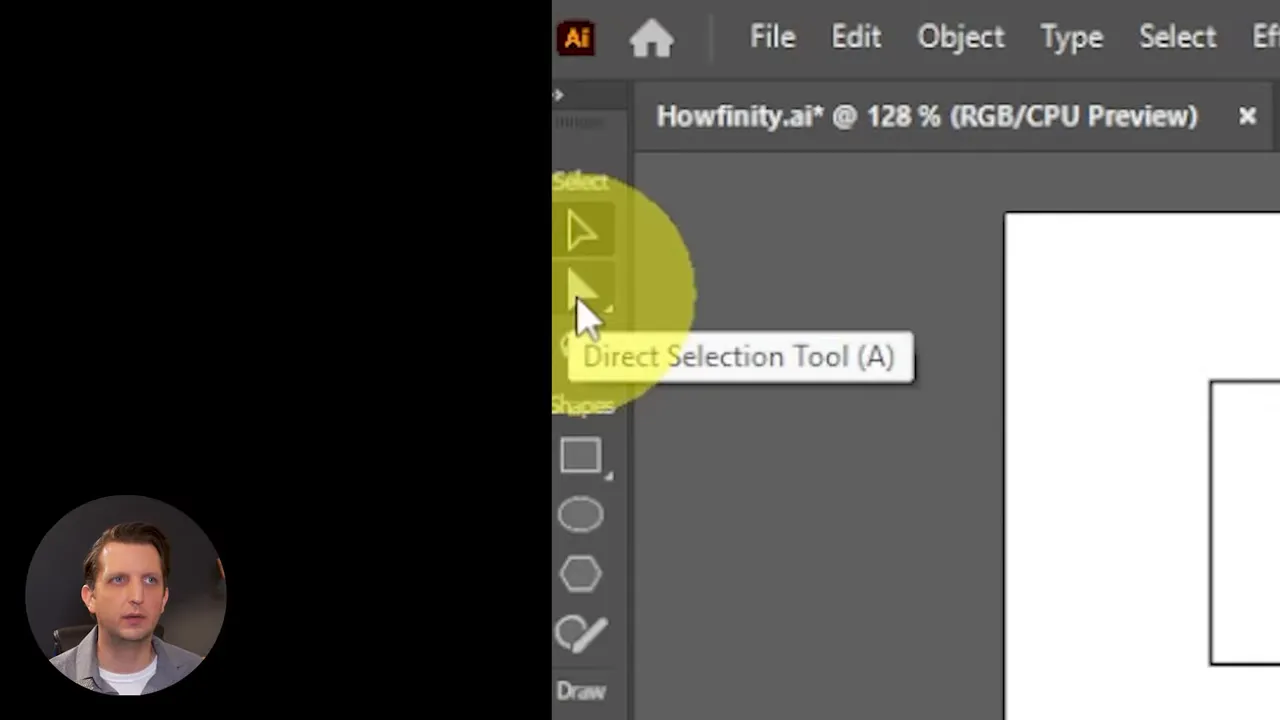
The Direct Selection tool (shortcut A) lets you edit the individual anchor points and paths that make up a shape. While the Selection tool treats the object as a single entity, the Direct Selection tool drills down into its construction. Click a path or an anchor point, and you can move, delete, or adjust it independently.
Curved segments display control handles—those little T-bar-like arms—that let you change the bend and smoothness of a path. Drag the handles outward to increase the curve or angle them to refine the shape precisely. Converting a square into a complex custom shape is often a matter of manipulating a handful of anchor points.
Drawing freeform: pencil and pen basics
For organic or hand-drawn shapes, the Pencil tool lets you sketch freely. Every stroke you draw is converted into a path composed of anchor points. After drawing, use the Direct Selection tool to tidy up points and curves.
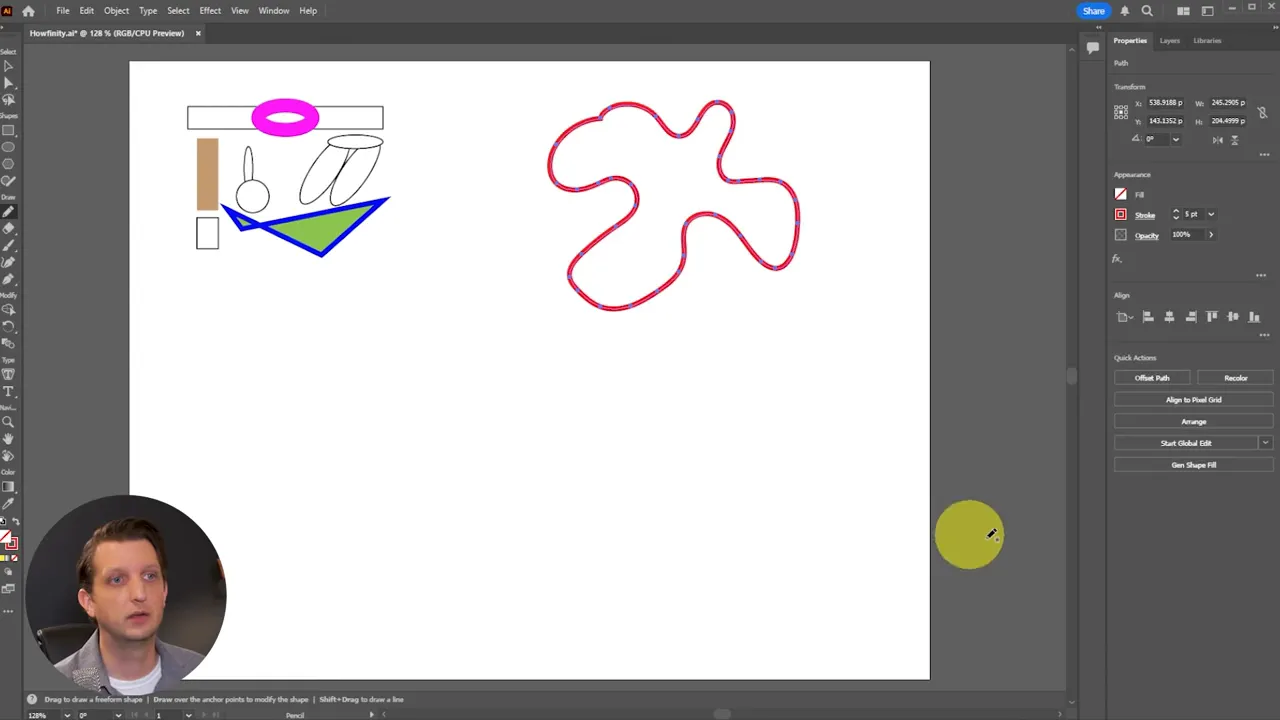
The Pen tool is more precise, creating paths point by point. It takes some practice but is indispensable for complex, clean outlines. With both Pencil and Pen, you can switch between creating and editing to refine your strokes until they match your intended design.
Combining shapes and using the Pathfinder
Building complex illustrations often starts with simple shapes that are combined, subtracted, or intersected. The Pathfinder panel provides operations like Unite, Minus Front, Intersect, and Exclude to merge or cut shapes into new forms. For example, combine two circles using Unite to create a compound shape, or use Minus Front to remove an overlapping section.
These operations let you quickly explore silhouette ideas and iterate on concepts without redrawing complex outlines from scratch.
Organizing with layers
Layers are more than a convenience; they are a production tool. Name layers to reflect the content they contain: Background, Text, Icons, and so on. Color-code them for quick visual identification. Lock layers you do not want to change, and hide layers to simplify the canvas while you focus on a specific element.
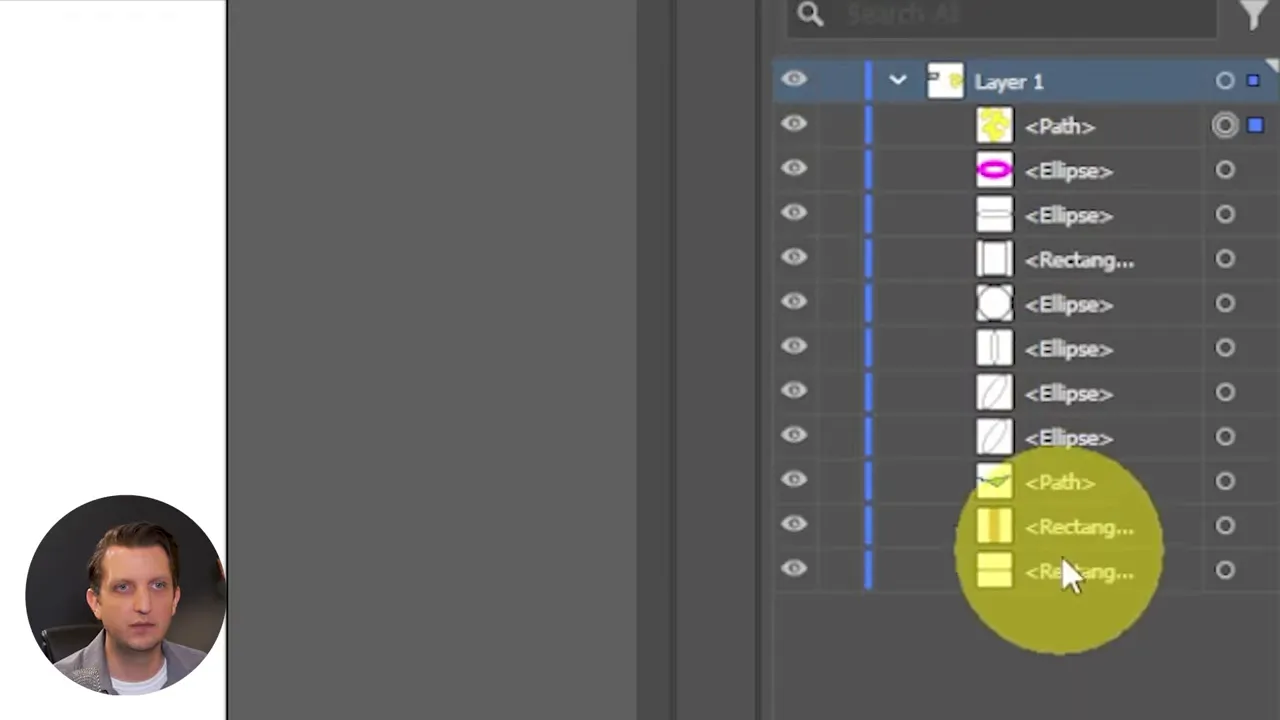
Creating a new layer means any new objects will be placed on that layer. This separation makes it easy to export elements individually, keep vector assets reusable, and hand off layered files for printing or sharing with other designers.
Practical tips for a smoother workflow
- Use smart guides and alignment: Let the program snap objects into place for consistent spacing and alignment.
- Set the right color mode: Choose RGB for screen projects and CMYK for print to avoid unexpected color shifts later.
- Use groups: Group related objects to move and transform them together while keeping the internal structure editable.
- Save versions: Keep incremental saves or use versioning so you can revert if an experiment goes wrong.
- Learn keyboard shortcuts: The Direct Selection tool (A), Selection tool (V), and quick copy with Alt/Option speed up your work tremendously.
Working with fills and strokes
Editing the fill and stroke is a central part of designing in Adobe Illustrator. The Properties panel provides immediate controls to change color, opacity, stroke weight, and stroke style. You can change a stroke to dashed or adjust corner styles and end caps to affect how lines terminate.
To make an object transparent, set the fill to the none option (usually shown as a square with a slash through it). That reveals objects behind the selected item and helps create layered, complex compositions without merging shapes.
Grouping and transforming multiple objects
Select multiple elements and group them to treat them as a single object. When grouped, transformations—such as rotate, scale, or skew—apply to the group as a whole. Ungroup when you need to edit individual components again.
Holding Shift while resizing keeps proportions intact. If you want to scale non-uniformly, resize without holding Shift and watch how the composition changes. This approach helps when designing responsive versions of graphics or adjusting emphasis between elements.
From beginner to confident designer
Start with the basics: rectangles, ellipses, and simple fills. Practice converting those shapes into new forms with the Direct Selection tool and Pathfinder operations. Add layers to organize your ideas and use the Selection tool to position and scale cleanly. Over time, the pencil and pen tools will expand what you can draw precisely, and mastering paths will unlock refined control over every curve.
Adobe Illustrator becomes more approachable with small, repeated experiments. Create a logo, redraw a favorite icon using vector shapes, or trace a rough sketch to build a clean illustration. Each task reinforces the same fundamental concepts: paths, anchor points, fills, strokes, and layers.
Common beginner mistakes and how to avoid them
- Wrong color mode: Setting a document to RGB and then printing can cause colors to look muted. Always start with the intended output in mind.
- Too many anchor points: Drawing with an overly noisy pencil tool creates complex paths that are hard to edit. Simplify paths where possible to keep files manageable.
- Poor layer organization: Working on a single layer for a complex project makes editing difficult. Use layers early to keep sections isolated and editable.
- Not grouping related elements: Without groups, moving related parts of a design can cause misalignment. Group for convenience and consistency.
Next steps and practice projects
Apply these fundamentals in small projects that challenge each skill. Suggested practice exercises:
- Create a simple logo using only rectangles, circles, and the Pathfinder panel.
- Draw a line icon set with consistent stroke weight, then convert them into grouped symbols.
- Trace a hand sketch using the Pen tool and clean the anchor points with the Direct Selection tool.
- Design a printable sticker: set up a CMYK document, build your art, and export at high resolution.
With each project, incrementally add complexity: more shapes, more layers, and more refined control over curves and strokes. Soon the interface will feel like a familiar studio rather than a maze of panels.
Final thoughts
Adobe Illustrator is the industry-standard for vector design for good reason. Its combination of precise path control, flexible shape-building tools, and layer-based organization makes it ideal for everything from logos to complex illustrations. Begin with the basic shapes, learn to manipulate anchor points, rely on smart guides for alignment, and organize work with layers. Those skills unlock the creative possibilities that make beautiful, scalable graphics possible.
Practice deliberately, build small projects, and gradually add new tools to your workflow. In a few sessions you will move from feeling overwhelmed to creating polished, reusable vector art with confidence.