
If you want to edit professional-looking videos without paying the professional price, this guide will walk you through using the Lightworks Video Editor free edition step-by-step. In this walkthrough, I’ll show you how I download and install Lightworks, set up a project, import footage, edit on the timeline, add transitions and titles, mix audio, and export a finished video — all using the free version of the Lightworks Video Editor.
Throughout this post I’ll explain not only where to click, but why each step matters, common pitfalls to avoid, and practical tips to speed up your editing. The instructions mirror the workflow I use for simple montage edits, vlogs, and short promotional videos, so you can get professional results without a steep learning curve or monthly subscription.
Why choose Lightworks Video Editor?
Lightworks Video Editor has a strong reputation among editors who want a powerful, punchy NLE (non-linear editor) without paying subscription fees. The free edition includes a lot of editing functionality you’ll actually use daily: a multi-track timeline, trimming tools, transitions, basic video FX, title creation, and an export pipeline that covers MP4 for web delivery.
In short, the Lightworks Video Editor free edition is an excellent choice if you:
- Want to learn a professional-grade interface without the cost.
- Need a reliable timeline-based editor for short- and mid-length projects.
- Prefer cross-platform software that runs on Windows, macOS, and Linux.
It’s not a full substitute for every paid program — there are export resolution limitations in the free version — but for many creators the balance of power and price is ideal.
Quick overview of what we’ll cover
- Download, install, and account setup
- Choosing workspace layout and keyboard mappings
- Importing media and prepping clips
- Timeline basics: move, trim, split, close gaps
- Adding transitions and resolving overlap issues
- Creating titles with the built-in Title FX
- Adding and shaping background music; audio gain and fades
- Exporting your final video and understanding free version limits
- Practical tips, shortcuts, and troubleshooting
1) Download and install Lightworks Video Editor
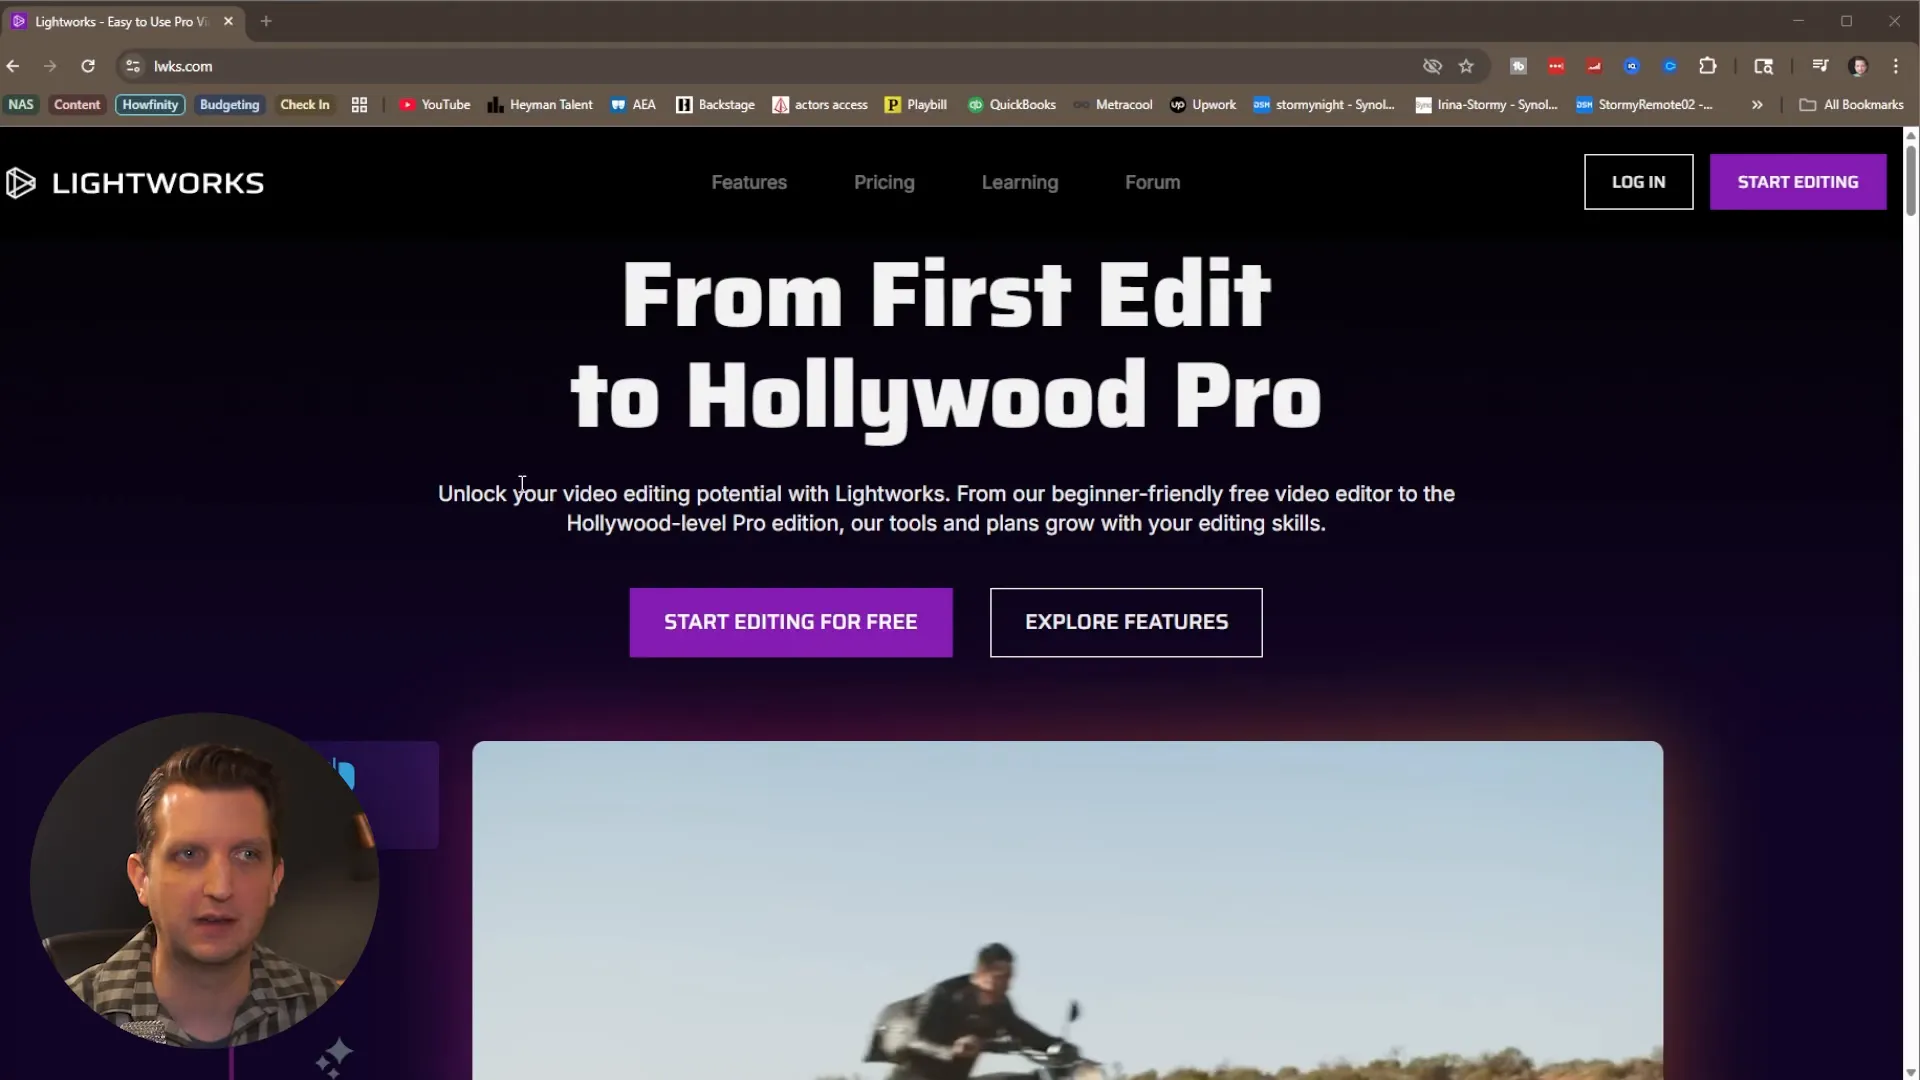
Start at the Lightworks website (lwks.com). The download is straightforward and Lightworks supports Windows, macOS and Linux. Click “Start editing for free” and then choose the download for your operating system. The installer walks you through language selection and license acceptance, and you can choose the install location just like any typical application.
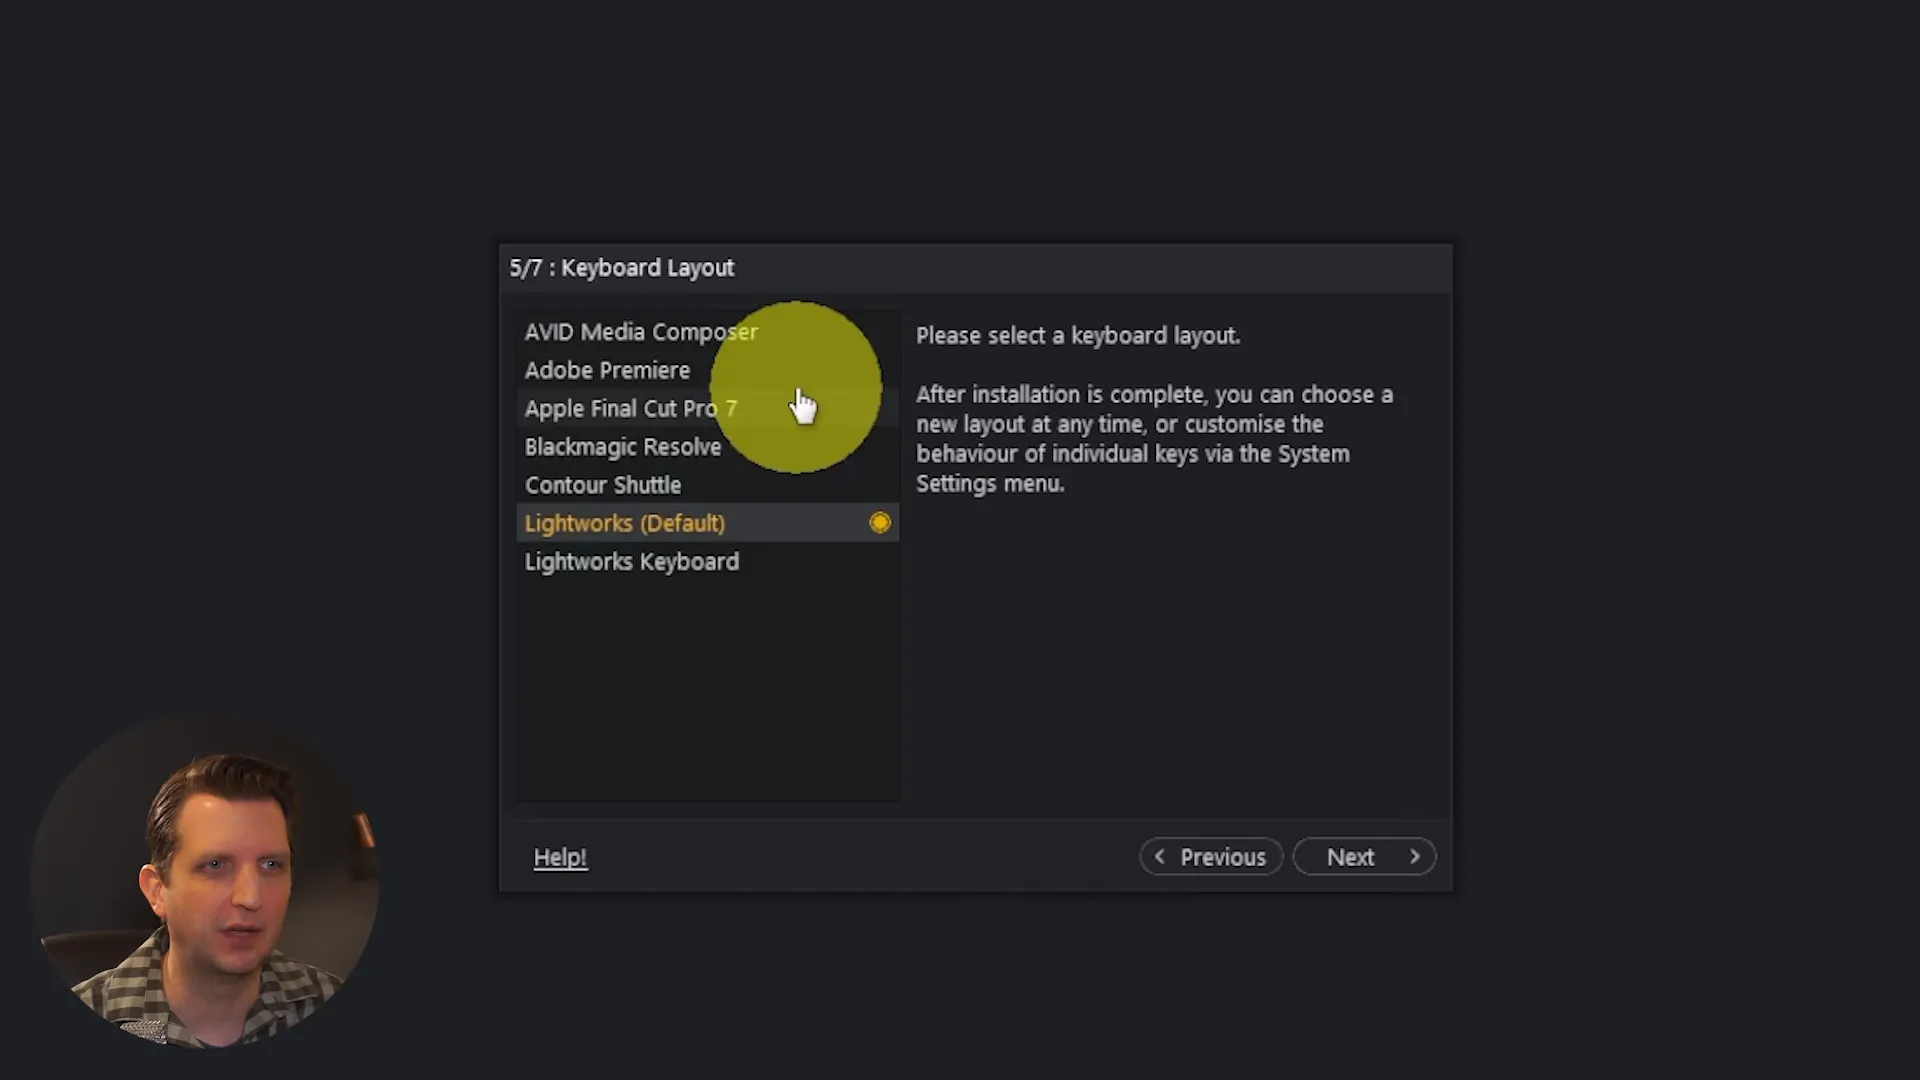
During installation you’ll pick language and keyboard layouts. Lightworks offers preset keyboard mappings if you’re coming from other editors such as Avid, Premiere, or Final Cut. If you’re brand new to editing, sticking with the Lightworks default mapping is a sensible choice — it keeps things predictable as you learn the interface.
Account creation and initial options
When you launch Lightworks for the first time you’ll be guided to create a free account. Provide your basic info, choose the small preference prompts (for example, whether you’re a YouTuber), and decide whether to enable automatic updates. You’ll also pick between fixed or flexible workspace layouts:
- Fixed: Panels are locked in place — great for beginners and for quickly learning where everything is.
- Flexible: Drag and rearrange panels for a customizable workspace once you’re comfortable.
I recommend starting with the fixed layout and Lightworks defaults. It minimizes learning friction and ensures screenshots and tutorials match what you see on-screen.
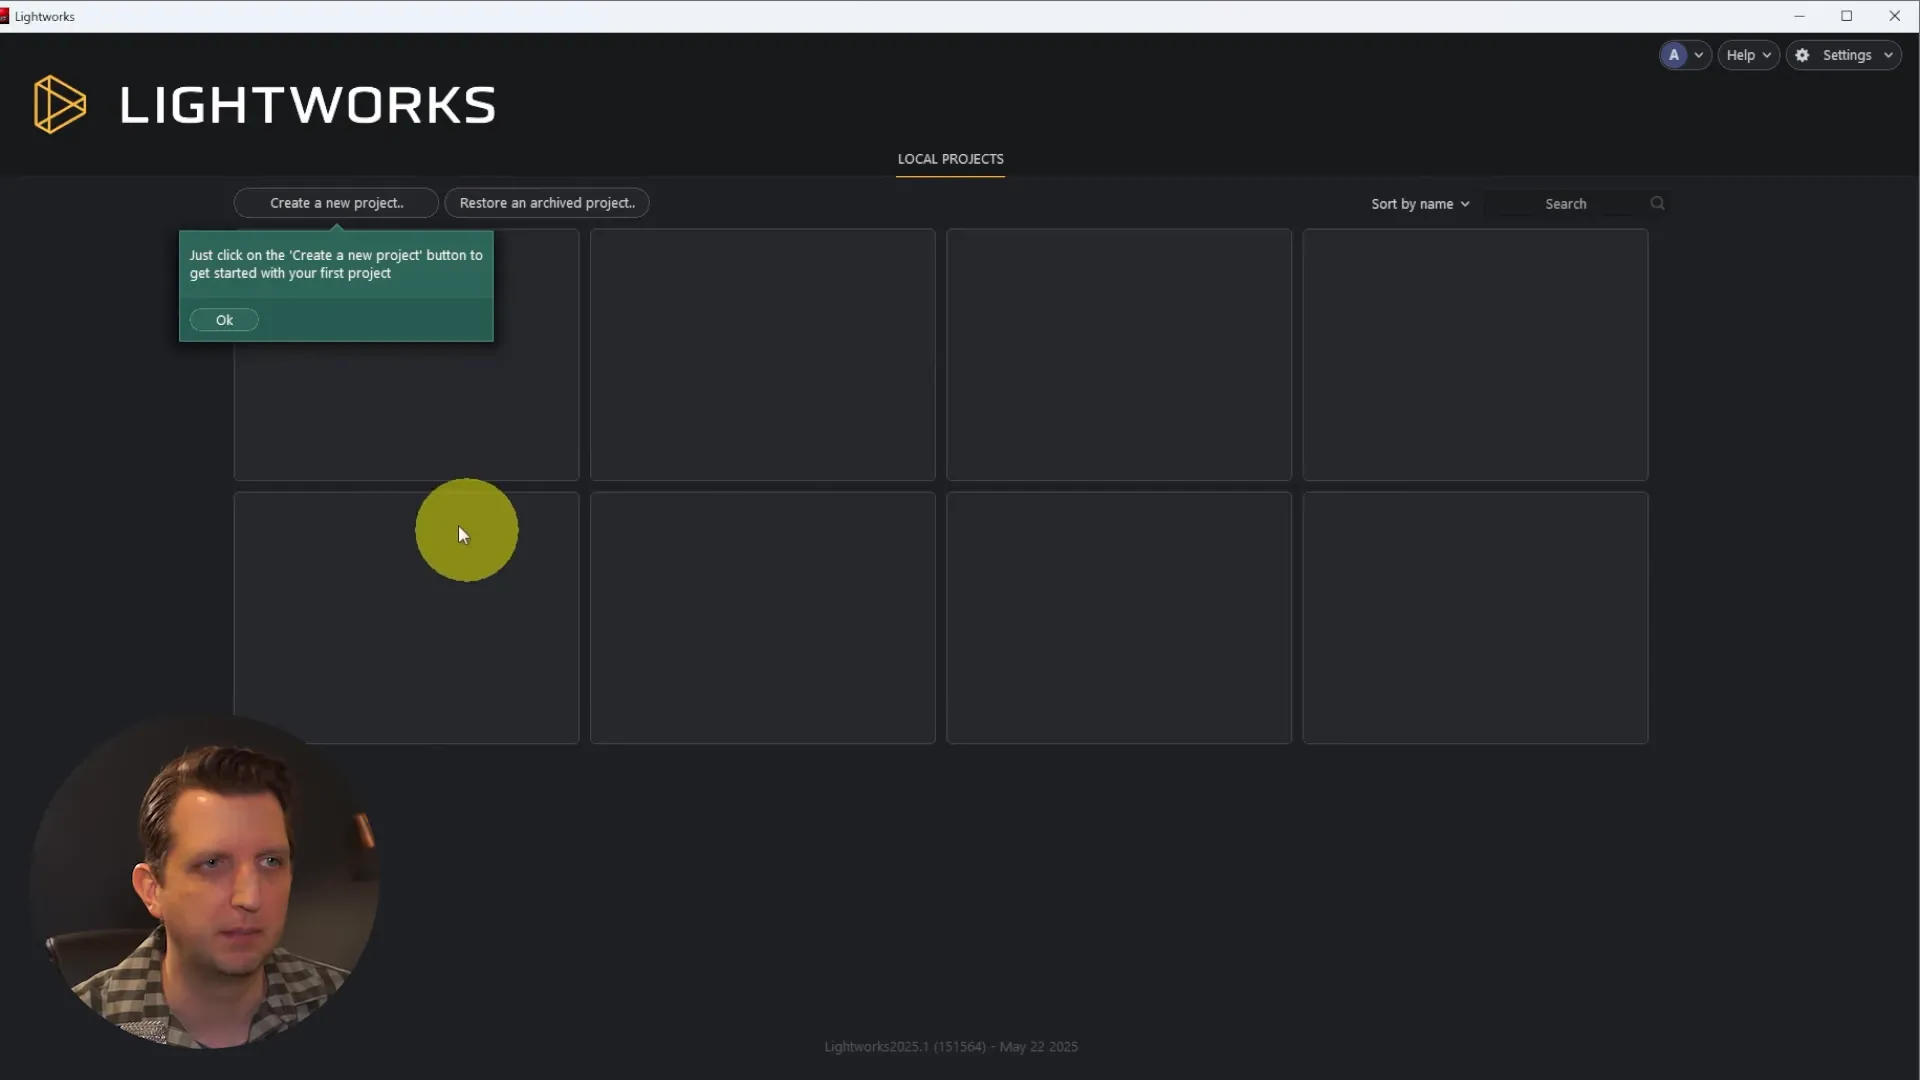
2) Creating a new project
Once you sign in you’ll land on a project hub. Click “Create a new project”, give your project a name, and click create. I usually name projects succinctly — for this guide I used “My Studio” — so it’s easy to locate later if you return to Lightworks and have multiple projects.
Lightworks separates modes across tabs near the top: Edit, Audio, VFX, and Logging. The majority of your work will happen in Edit for arranging clips and assembling the timeline. Use Audio when you need advanced mixing, and VFX for compositing and effects.
3) Importing media: clips, audio, and images
Click Import Clips to navigate to your footage. Lightworks reads common formats, and imported clips appear in the project content area. Each clip displays video and audio tracks, file names, and metadata. A practical tip: the highest frame rate among your imported clips will dictate the project’s sequence frame rate. If you mix clips with variable frame rates, be mindful of the sequence setting for consistent playback.
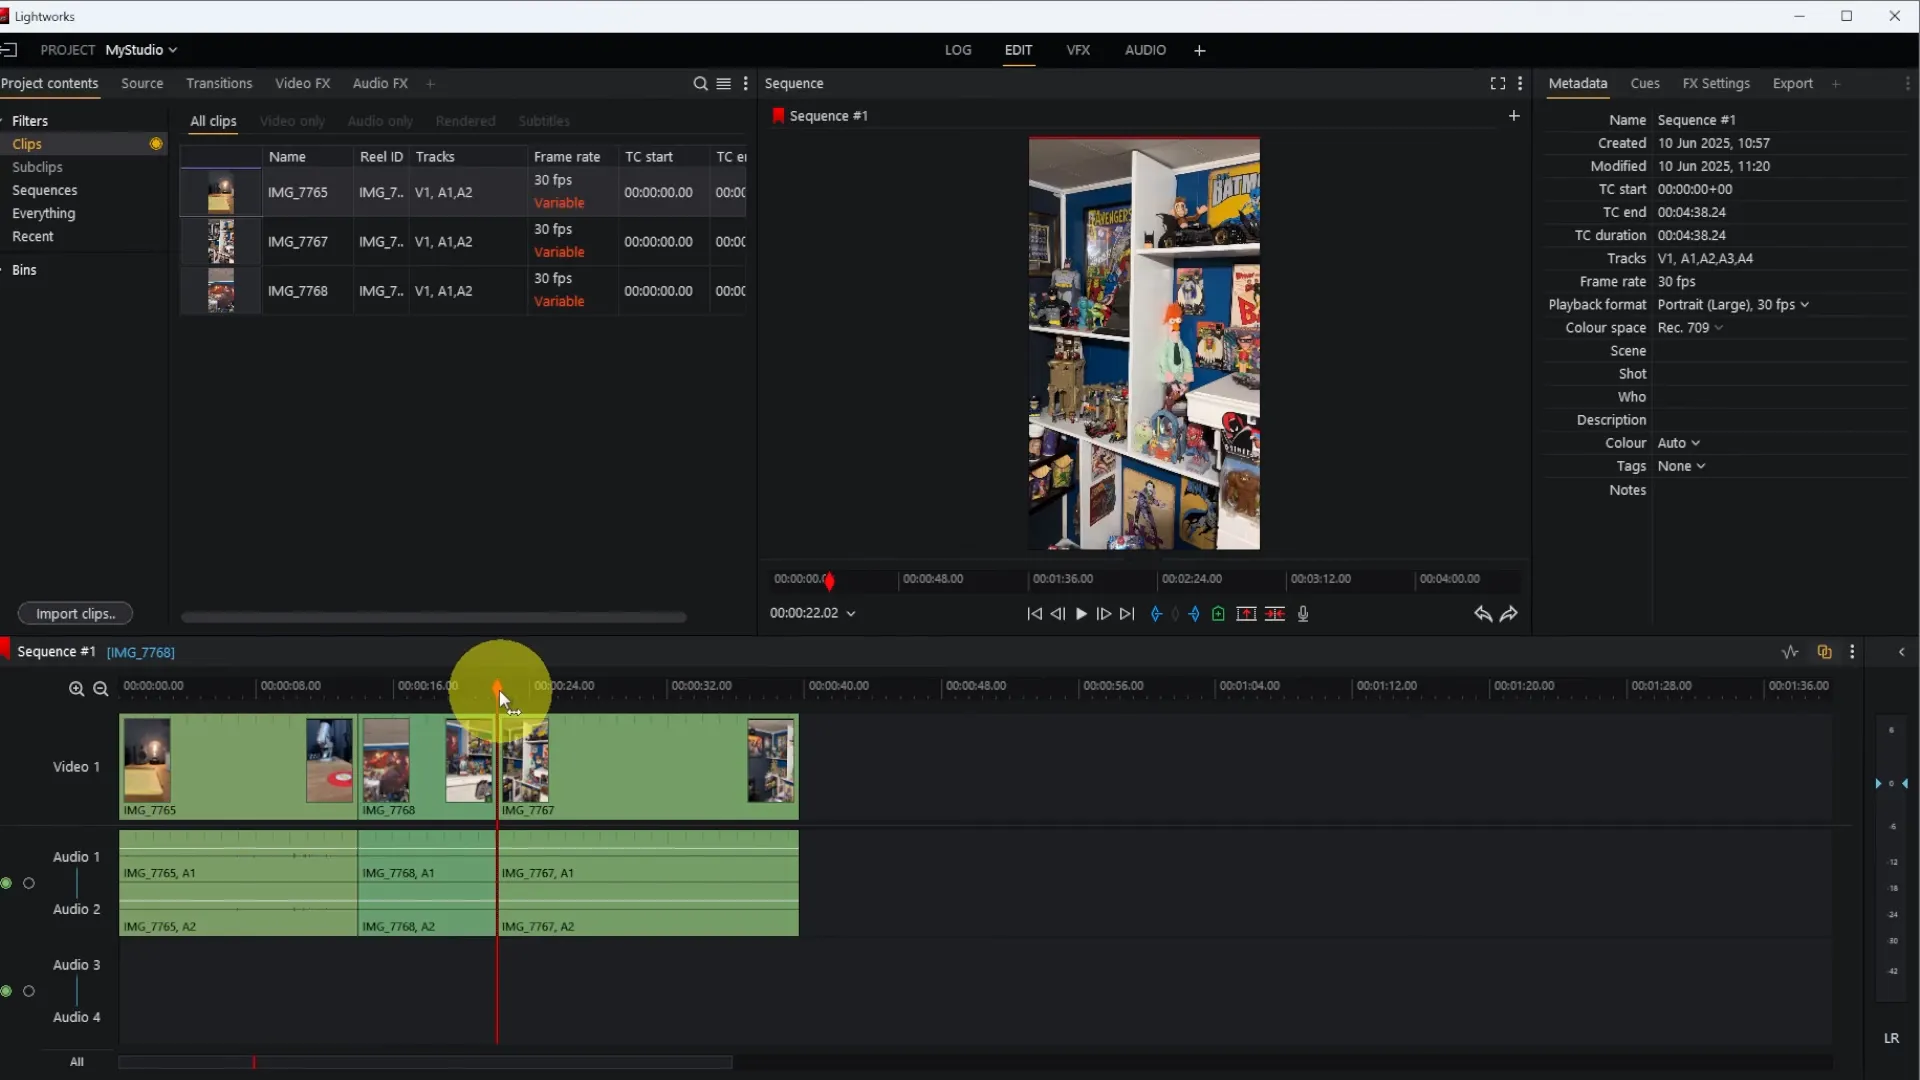
Once clips are in your project bin, drag them down to the sequence area (timeline). Lightworks visually separates the video track on top and audio below, giving you a clear view of waveform and video frames for precise edits.
4) Timeline basics: navigating, trimming, splitting
Understanding the timeline is critical. The red playhead shows the current position; drag it to scrub through the sequence. Zoom in and out to change your view without altering clip durations — use Ctrl + mouse wheel or the zoom controls to see more or less of the timeline.
Here are the most-used timeline operations:
- Trim: Hover the end of a clip until the edge highlights, then drag to shorten or lengthen the visible part.
- Split (cut): Position the playhead where you want to cut and press the C key (or use the razor tool) to split the clip into two segments.
- Delete & Close Gap: After deleting a segment, right-click the gap and choose Close Gap to ripple the timeline together.
- Move clips: Drag clips side-to-side to reorder. If you drag one clip onto another, it will overwrite at that position (useful for quick swaps).
An editing nuance: trimming can create a gap. You can manually slide the next clip to close it, or split and delete portions, then right-click > Close Gap to ripple edit automatically. Both methods are useful depending on whether you want to preserve timing or quickly close space.
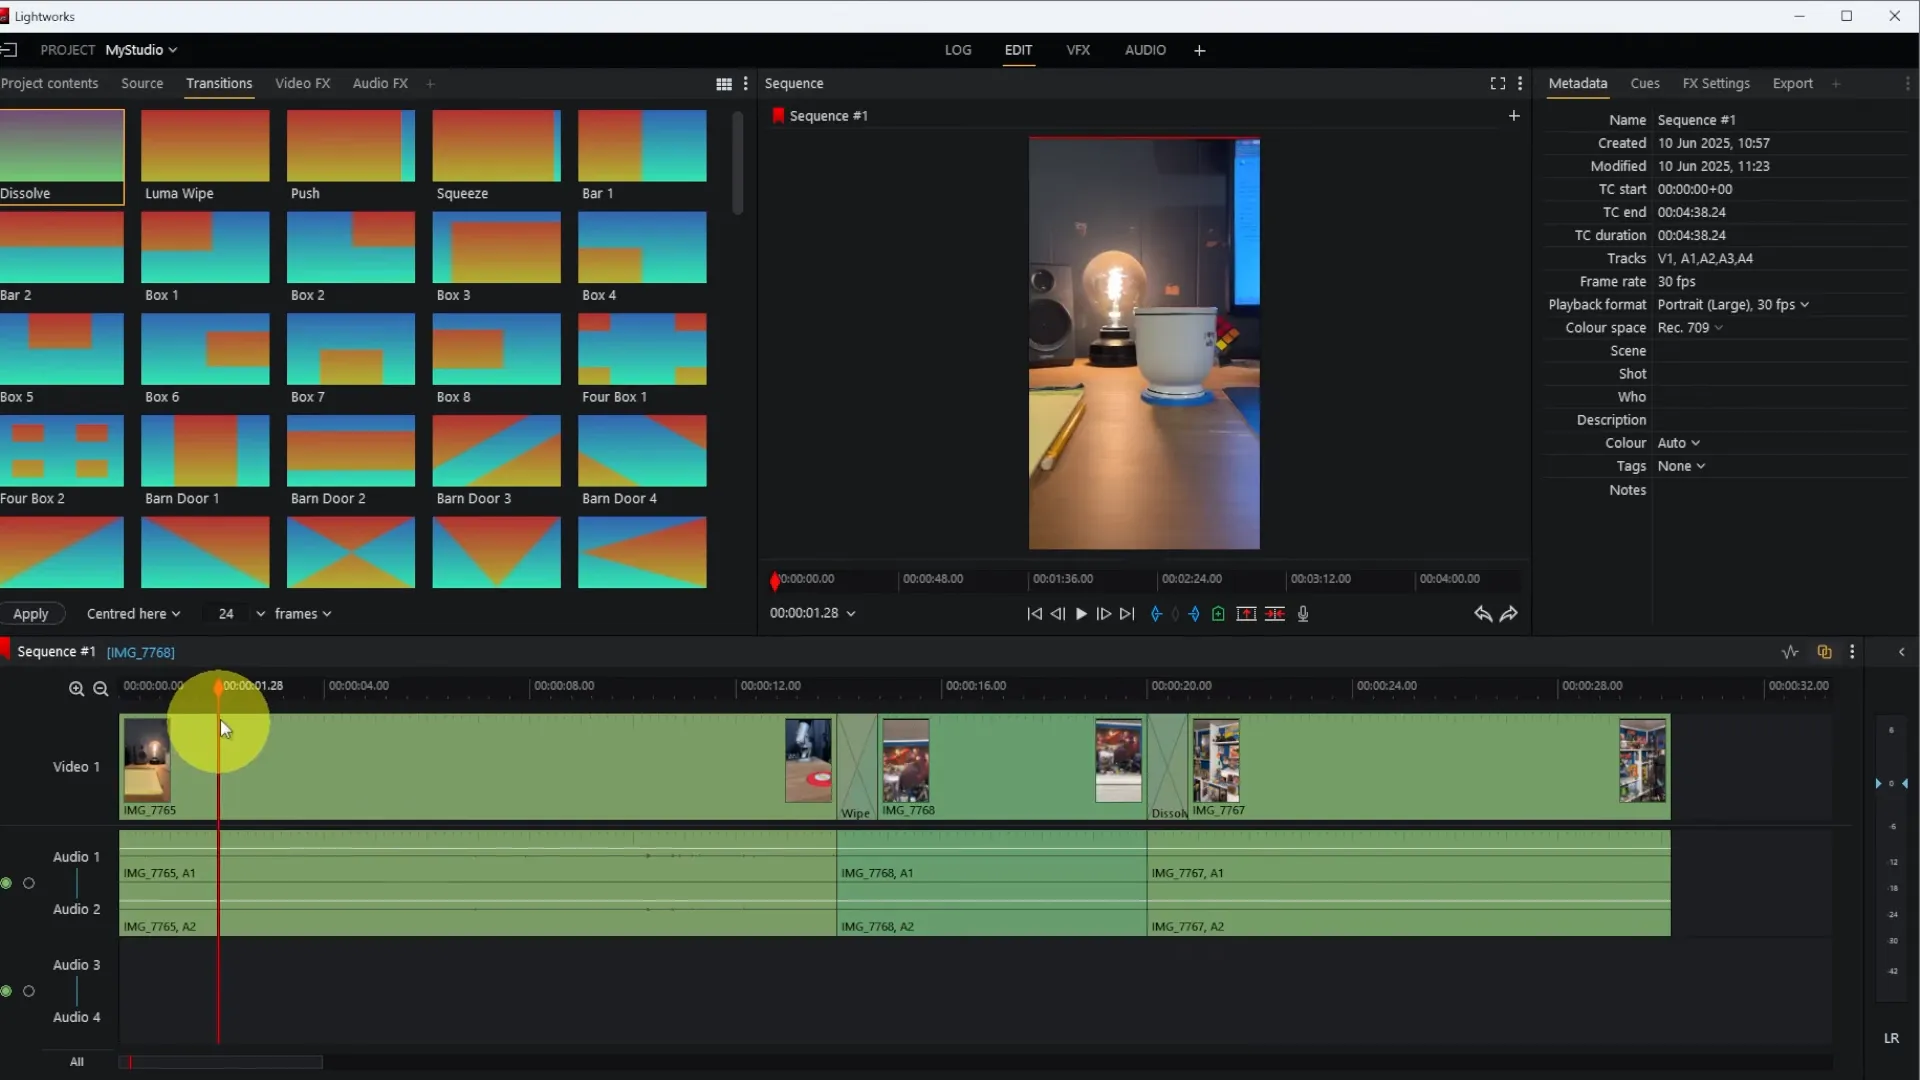
5) Adding transitions and handling edge artifacts
Lightworks includes a Transitions panel with previews for each effect. Drag a transition between clips to add it. By default a transition uses available handles on both clips; if one clip was trimmed to its original edge, you might see blank corners in the transition because that portion of the clip has no frames to blend.
Two fixes:
- Trim earlier to create proper handles so the transition has room to interpolate frames.
- Click the transition itself and drag it slightly over the clip so it starts at the clip boundary that does have frames.
Dissolves are commonly used for clean montages. If you want a fade-from-black at the start, drag a dissolve from black onto the beginning of the first clip; Lightworks will interpolate to black if the transition has available handles or if placed at the very start of the timeline.
6) Titles: create, style, and place
Titles live in Video FX under Title. You can choose crawls, lower thirds, or full-screen titles. I prefer placing titles on their own dedicated track — it makes timing, transitions, and position adjustments independent from the underlying video.
To add a title:
- Drag the Title effect to an empty portion of the timeline. Lightworks will create a separate VFX track.
- Place and stretch the title to control its duration.
- Use the Controls window (on the right) to edit text, choose a font, change size, and pick color or gradient.
- Enable an outline (stroke) if your text needs more contrast over background footage, and tweak position with X and Y coordinates.
Titles can also have transitions — fade-in and fade-out — and you can animate basic properties by changing duration and reapplying effects. For simple, polished results, stick to 1–2 fonts and avoid over-styling; readability is key.
7) Audio: adding music, fades, and gain
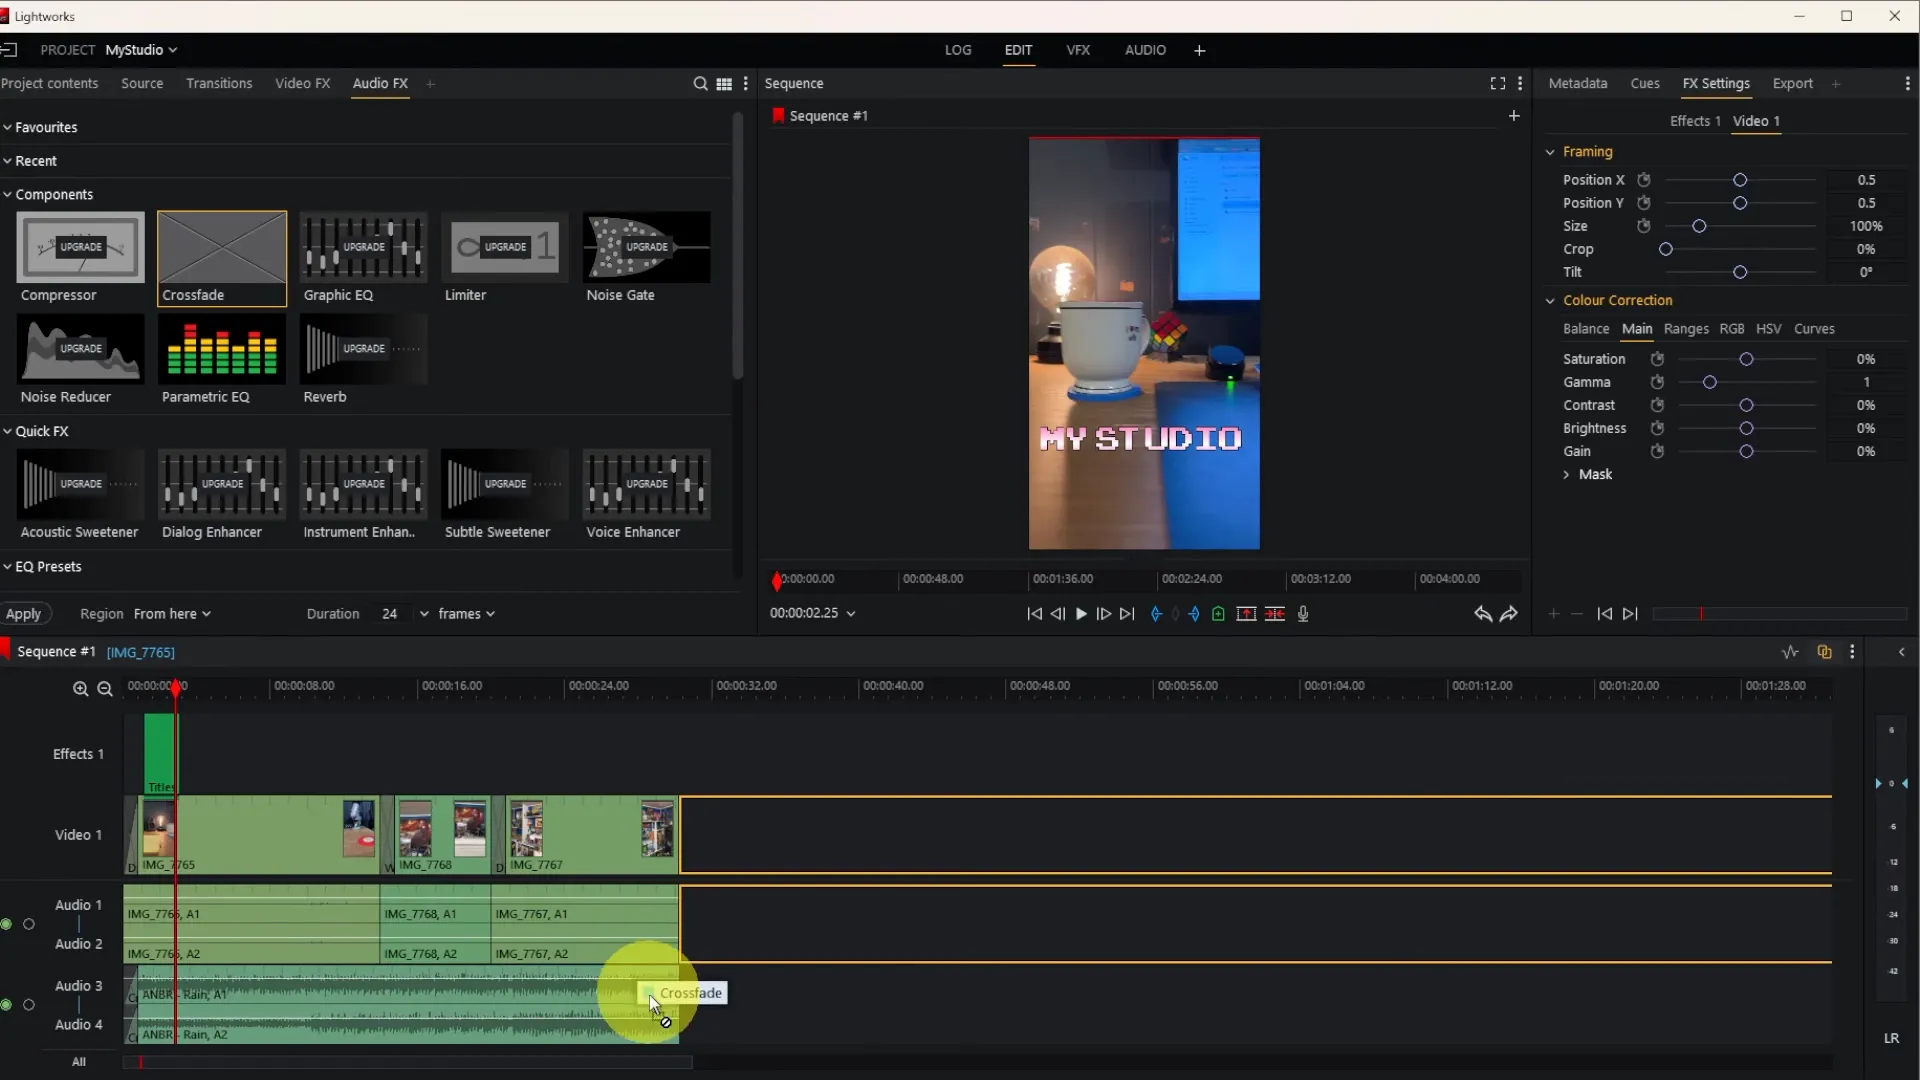
Music and sound are as important as visuals. In Lightworks, import audio the same way you import clips and drop it onto an audio track. Trim the length to match your sequence and use fades for smooth entries and exits.
To add a fade-in or fade-out, open Audio Effects and use Cross Fade or other fade presets. Drag the effect to the start or end of the audio clip and adjust duration to taste. This provides professional-sounding transitions for background music and prevents abrupt cuts.
For level adjustments, right-click the audio clip and choose Audio Gain. Drag the gain up or down to set a base level. Watch the waveform and the audio meters in the Audio tab to avoid clipping. You can also solo a track or mute the original camera audio when you’re using a separate music or voice track.
A short checklist for audio:
- Mute original camera audio if you’re replacing it with music or a voiceover.
- Use crossfades for smooth transitions.
- Adjust gain so music sits below dialogue (if any), typically -18 dB to -12 dB depending on source.
- Listen on headphones and speakers to check balances.
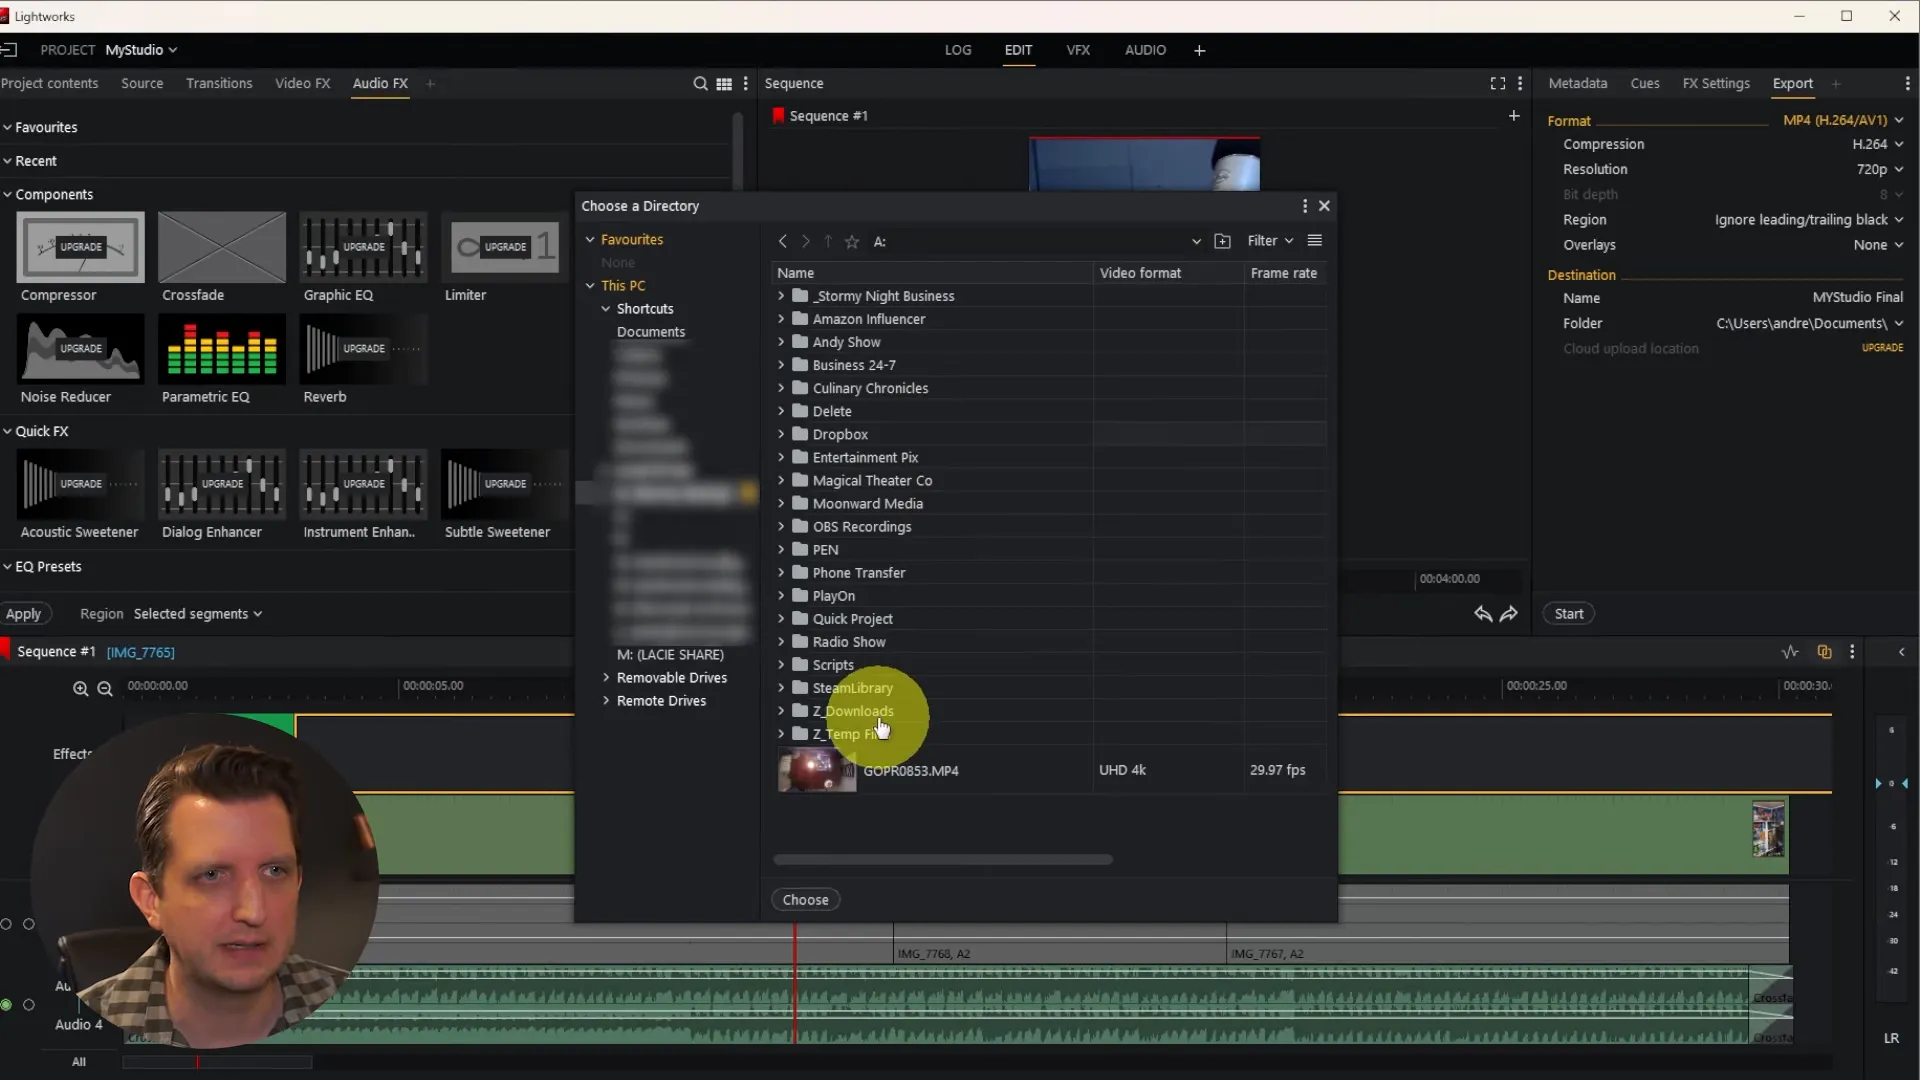
8) Exporting your final video — what to expect in the free version
When your edit is ready, go to Export. Lightworks offers presets for platforms like YouTube, or you can export to MP4. Important note: the free Lightworks Video Editor limits export resolution. If you need 1080p or higher, you’ll need to upgrade to a paid license. The free edition typically allows exports up to 720p MP4, which is still perfectly usable for many online platforms and social posts.
Steps for exporting:
- Choose MP4 (or a preset like YouTube if available).
- Set a name for your file and select an output folder.
- Double-check resolution and frame rate — remember the free version may cap you at 720p.
- Click Start to render; Lightworks will compile all tracks and effects into a single file.
Rendering speed depends on your machine and project complexity. After export finishes you can click “Open folder” to view the final MP4 and verify the result before uploading or sharing.
9) Tips, shortcuts, and practical workflow advice
Here are practical tips I use when editing with the Lightworks Video Editor to speed up the process and produce better results:
- Use the fixed layout when starting: It reduces cognitive load and helps you memorize where tools live.
- Learn a few keyboard shortcuts: C for cut, V for select (common defaults), and timeline zoom shortcuts will save huge time.
- Keep clip handles: When trimming, leave a few seconds of handle at each end so transitions can blend cleanly.
- Organize media: Put raw camera clips, B-roll, and audio into labeled bins in the project content area.
- Pre-mix audio: Set music levels using Audio Gain and meters rather than guessing by waveform alone.
- Save often: While Lightworks is stable, projects can be lost if you forget to save after big changes.
- Use the preview window: Monitor both video and audio playback to catch sync issues early.
Workflow example: fast 10-minute montage
- Create project and set a working frame rate based on the highest-framerate clip.
- Import all clips and drag best takes to timeline in rough order.
- Trim rough cuts, split unwanted bits, and Close Gap to maintain flow.
- Add transitions (dissolves) between scenes where appropriate.
- Create a 5–7 second title on a separate VFX track; add fade-in and fade-out.
- Import a music track, trim to length, add crossfades at start and end, and set gain.
- Mute original camera audio if not needed and solo the music track to check levels.
- Export MP4 at 720p for quick upload or upgrade if you need higher resolution.
This sequence gets you from raw footage to a shareable file in under an hour for short projects, and slightly longer for more refined edits.
10) Troubleshooting common issues
Here are quick solutions to issues you might run into:
- No audio on playback: Check track mute/solo toggles. If the webcam audio is muted, make sure the separate music track is enabled.
- Transitions look weird (blank corners): Ensure both clips have enough handles or drag the transition so it intersects the clip portion that contains frames.
- Export capped at 720p: This is a constraint of the free version. Upgrade if you require 1080p+ exports.
- Timeline sluggish: Close other apps, reduce preview resolution, or use optimized proxy files for heavy 4K footage (advanced workflow).
- Failed import: Convert your source file to a common codec (H.264 MP4) if Lightworks won’t read it.
Wrapping up: why you should try Lightworks Video Editor
Lightworks Video Editor gives you many of the editing tools you need to make polished videos without a subscription. The free edition is an excellent learning platform and a practical editor for short projects, montages, and social content. If you’re producing content on a budget but need reliable tools for trimming, transitions, titles, and audio mixing, Lightworks is a great option.
“This helps me get great video results without paying for expensive software.”
That statement sums up the appeal: you can produce professional-looking results with the Lightworks Video Editor free edition if you invest a bit of time to learn the interface and middle-of-the-road editing practices. Start with the fixed layout, bring your best clips into a clean timeline, and use the title and audio tools to add polish.
If you follow the workflow outlined here — from download to export — you’ll be able to create clean, sharable videos that look much pricier than the tools you used to make them. Happy editing, and I’ll see you in the next project.