
Creating a video that combines pictures and music is a wonderful way to commemorate special occasions like birthdays, weddings, and holidays. If you’re looking to make a video with pictures, you’ll be pleased to know that you can easily achieve this using a software that is likely already installed on your Windows PC: Clipchamp. In this guide, I’ll walk you through the steps to make a stunning photo video that captures your cherished moments, all while using Clipchamp’s intuitive interface.
Getting Started with Clipchamp
First things first, let’s open Clipchamp. If you’re using a Windows 11 machine, you should find Clipchamp preinstalled. If not, don’t worry! You can download it from the Microsoft Store. Once you have Clipchamp up and running, you’ll be greeted by the main screen.
To start your project, click on “Create a new video.” This action will lead you to the main editing workspace where all the magic happens.
Importing Your Media
The next step is to import the pictures that you want to include in your video. Navigate to the left-hand menu and click on the “Media” tab. From there, select “Import Media.” This will allow you to browse your computer for the photos you’d like to use.
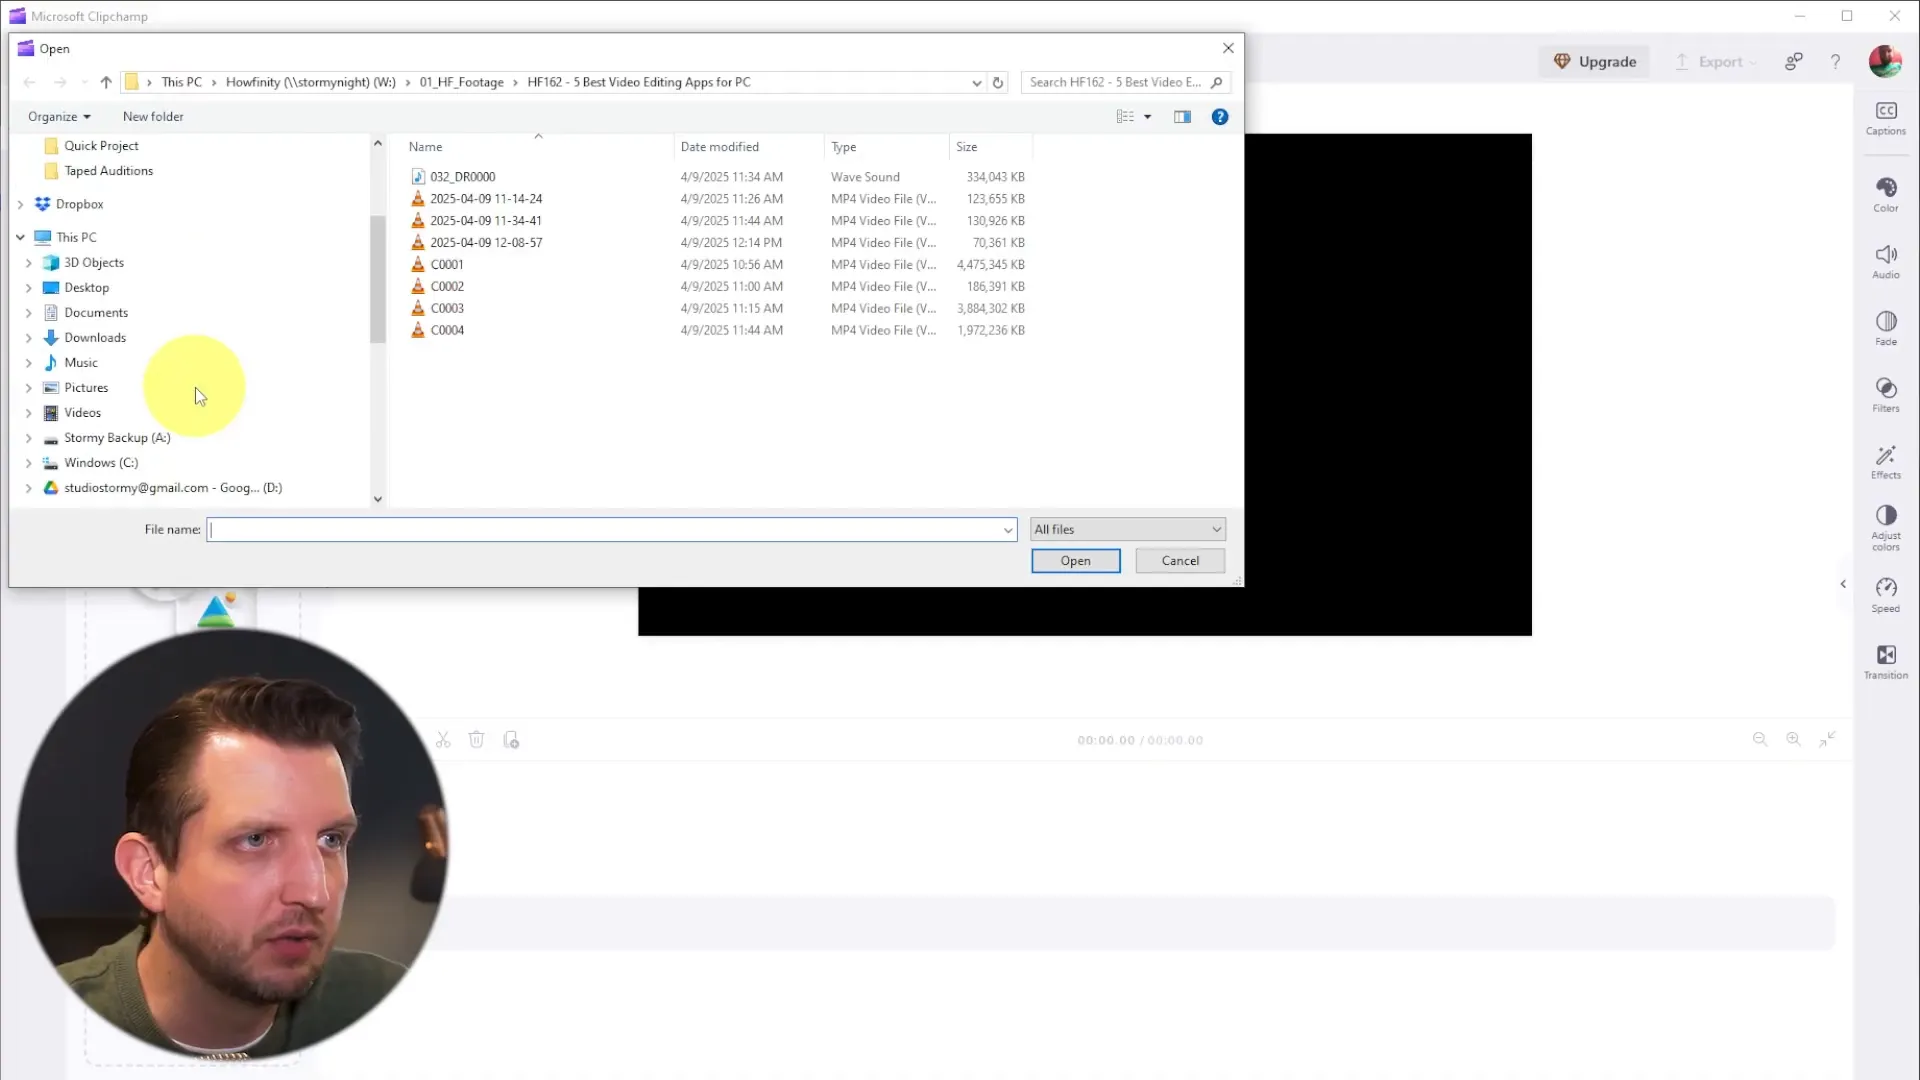
Once you find your pictures, select them and click “Open.” If you want to add music to your video, you can import it the same way. If you don’t have any music ready, don’t worry! Clipchamp has a built-in content library where you can find audio tracks.
Choosing the Right Music
To access the audio library, click on the “Audio” section in the content library. Here, you can browse through various music tracks. For our project, let’s choose some soothing piano music.
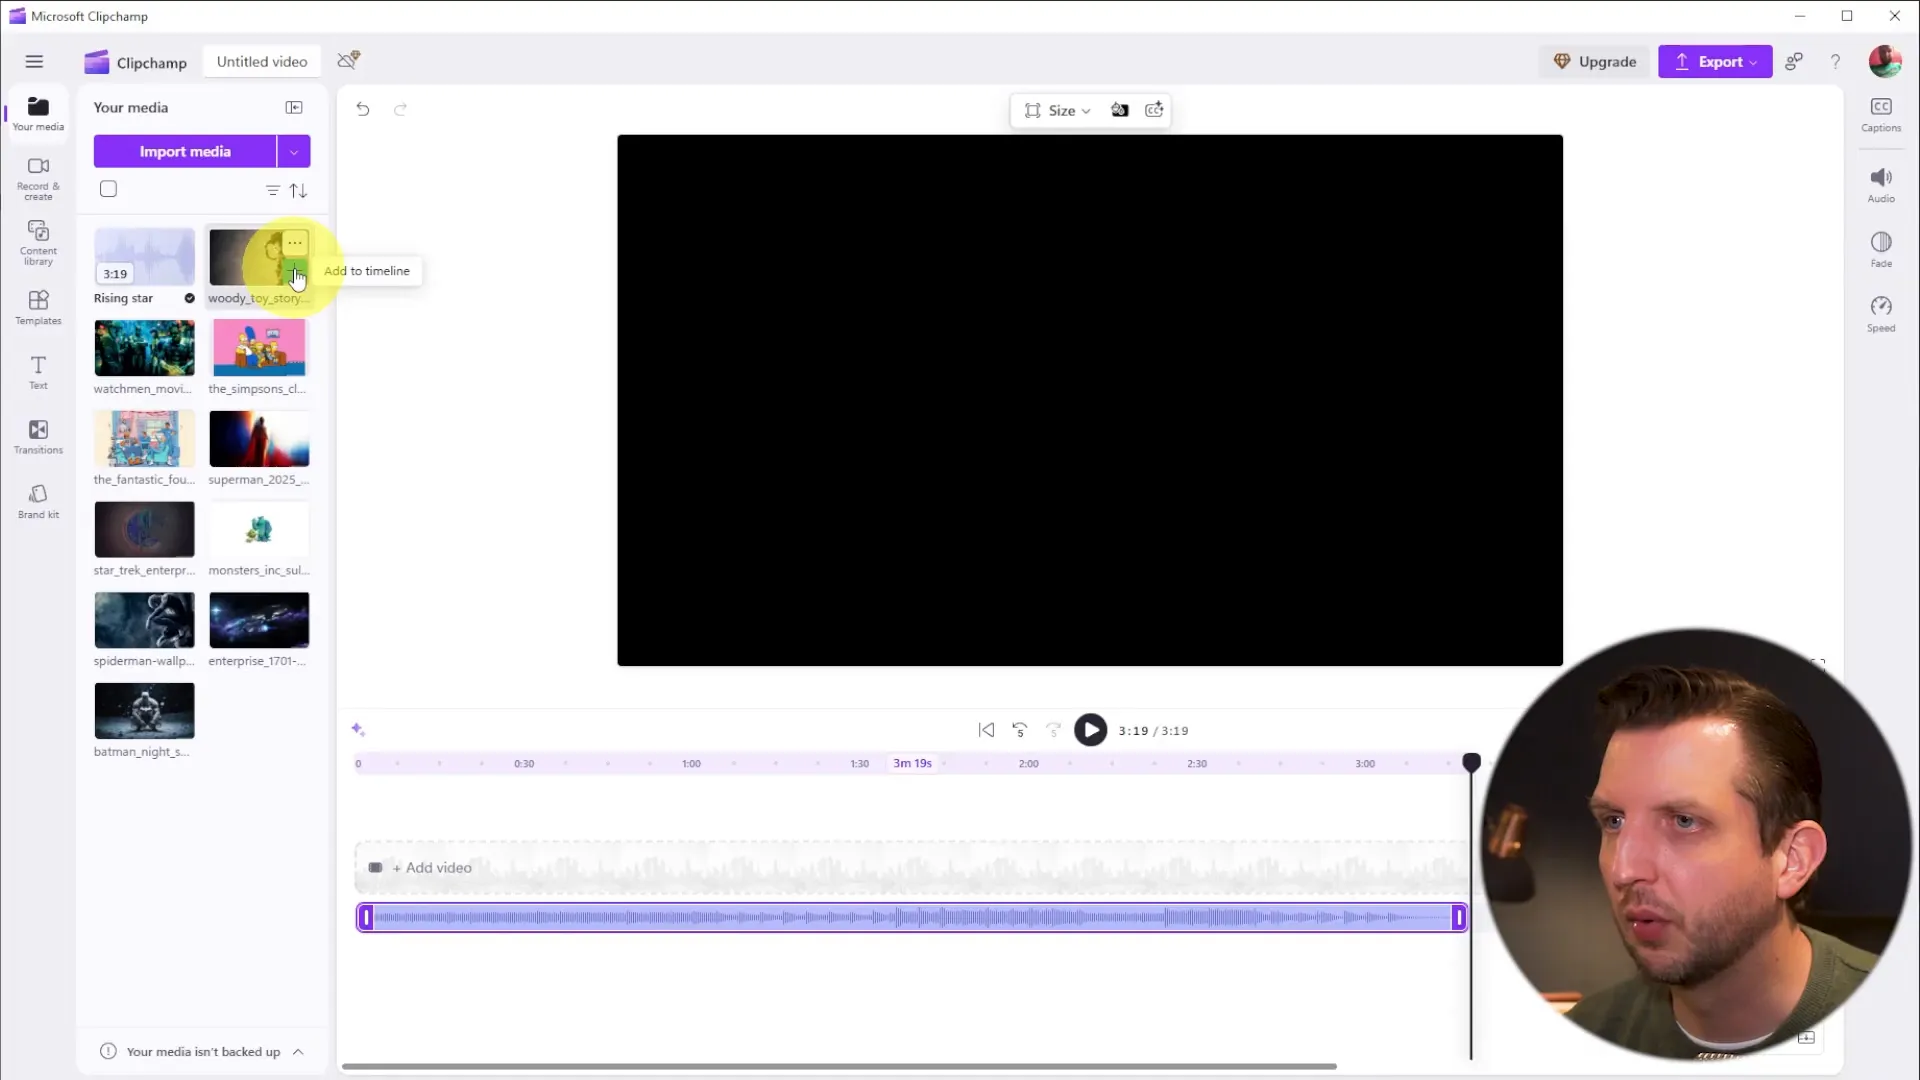
You can preview the tracks and once you find one that resonates with you, click the plus sign to add it to your timeline. This step will set the mood for your video!
Building Your Video Timeline
With your photos and music in place, it’s time to start building your video. Go back to your media and begin dragging your photos onto the timeline. You can either click the plus icons or simply drag and drop the images into position.
As you add your photos, you can rearrange them by sliding them around on the timeline. Make sure to remove any unnecessary spaces between the images to create a smooth flow.
Adjusting Photo Duration
Clipchamp allows you to adjust the duration each photo stays on screen. You can do this by clicking on the edges of each photo in the timeline and dragging them to make them longer or shorter, depending on your preference. It’s essential to match the duration of the photos with the length of the music track.
Customizing Your Photos
Clicking on any individual photo in the timeline opens up options to customize it. You can change the size, center it, or even apply filters and color effects. For instance, if you want a vintage look, you can easily convert a photo to black and white.
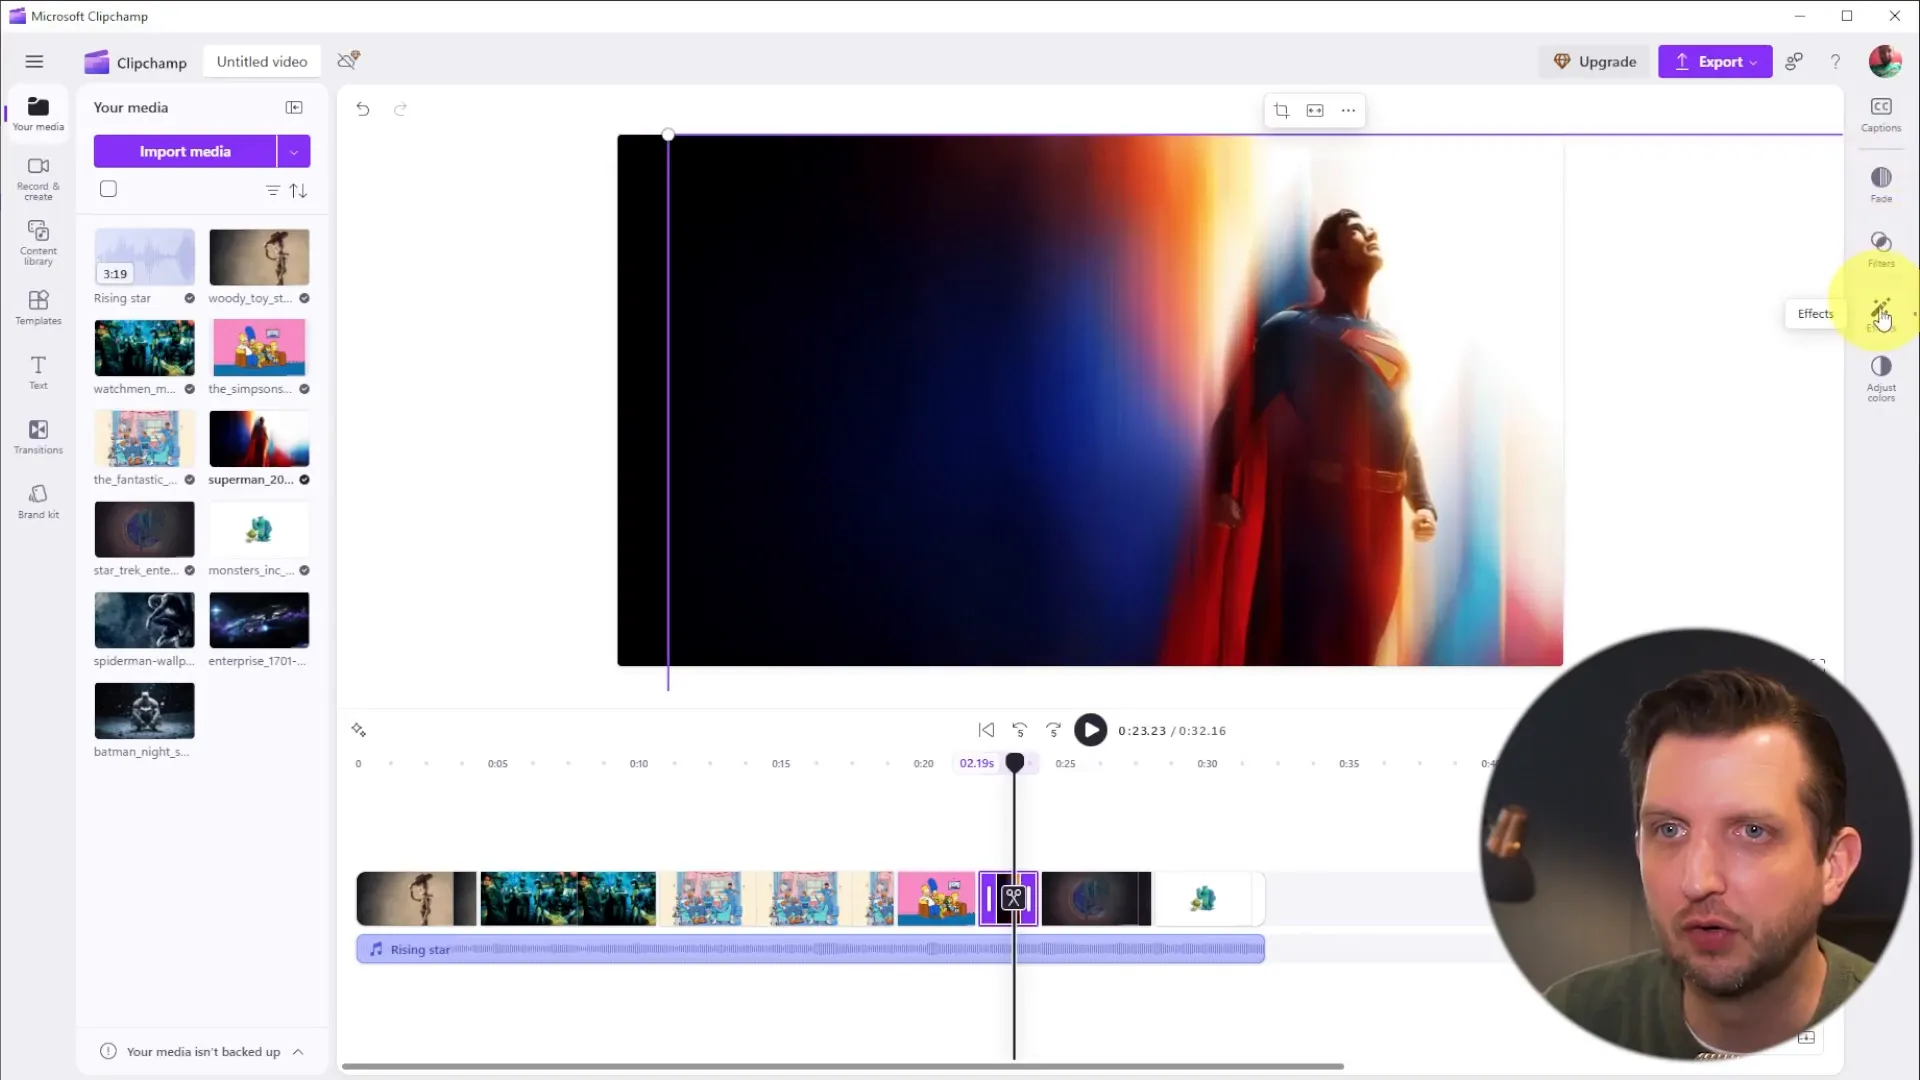
Adding Effects
To make your video visually engaging, you can add some effects to your photos. One popular effect is the slow zoom, which gives a dynamic feel to your video. To apply this, navigate to the effects panel and search for “slow zoom.” Once selected, apply it to your desired photos.
You can also adjust the speed of the zoom effect, making it faster or slower, depending on your artistic vision.
Incorporating Transitions
Another way to enhance your video is by adding transitions between photos. Click between two photos in the timeline, and you’ll see an option to “Add Transition.” You can choose from various transitions like crossfade or dissolve, and adjust their duration to match the mood of your music.
Transitions can help create a seamless flow from one image to the next, making your video feel more polished and professional.
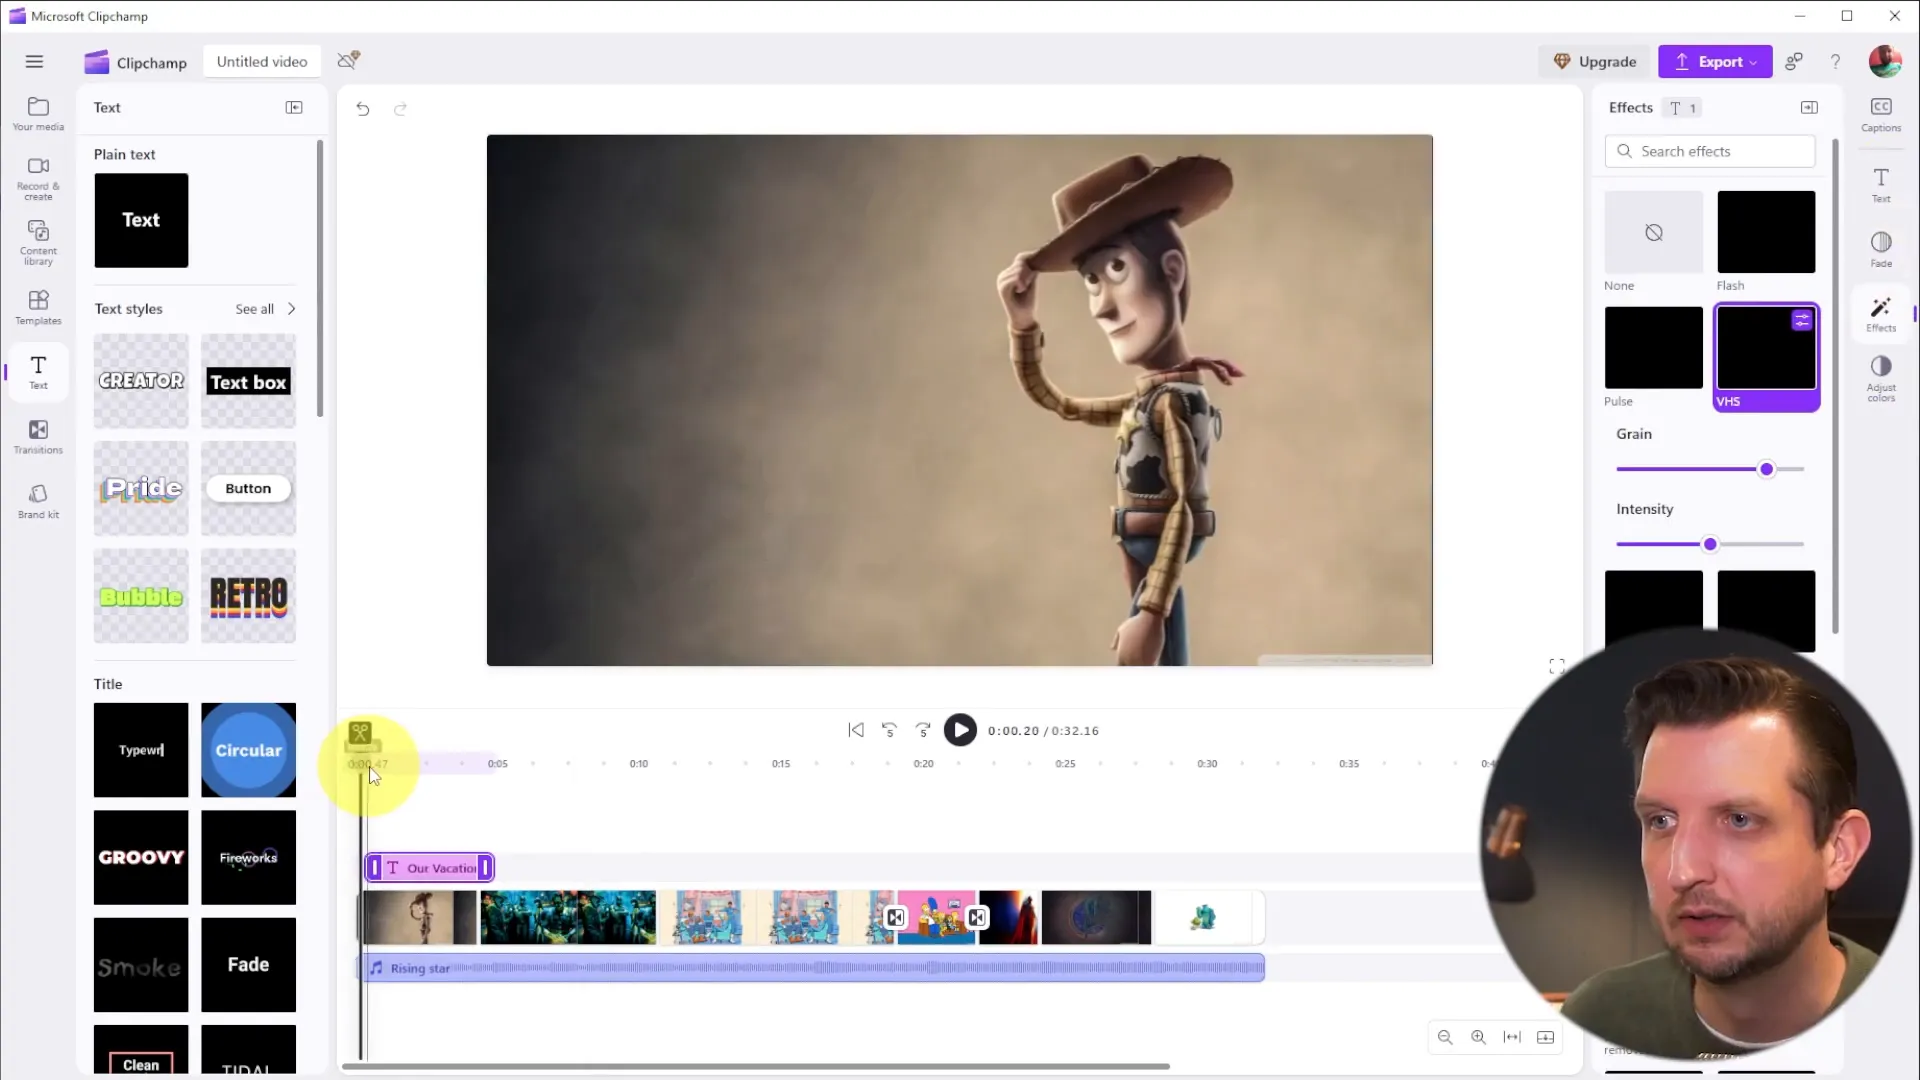
Adding Text to Your Video
Text is a great way to provide context or highlight specific moments in your video. You can easily add text by navigating to the text section. For example, if your video is about a vacation, you might want to title it “Our Vacation.” You can even apply effects to the text to make it stand out, such as a VHS effect for a retro touch.
Exporting Your Video
Once you’ve finalized your video and are happy with how it looks, it’s time to export it. Click on the “Export” button, and choose the format you want to save it in. You can download it directly to your computer or save it to cloud services like OneDrive or Google Drive.
As it processes, you can rename your video, and once done, it will download to your specified location. And just like that, you’ve created a beautiful photo montage!
Conclusion
Making a video with pictures and music using Clipchamp is not only simple but also incredibly rewarding. Whether it’s for a birthday, wedding, or any special occasion, you now have the tools to create a memorable video that you can cherish for years to come. So gather your photos, choose your favorite music, and start creating!
Remember, the key to making a great video is to let your creativity shine. Don’t be afraid to experiment with different effects, transitions, and music selections. I hope you found this guide helpful, and I can’t wait to see the amazing videos you create!